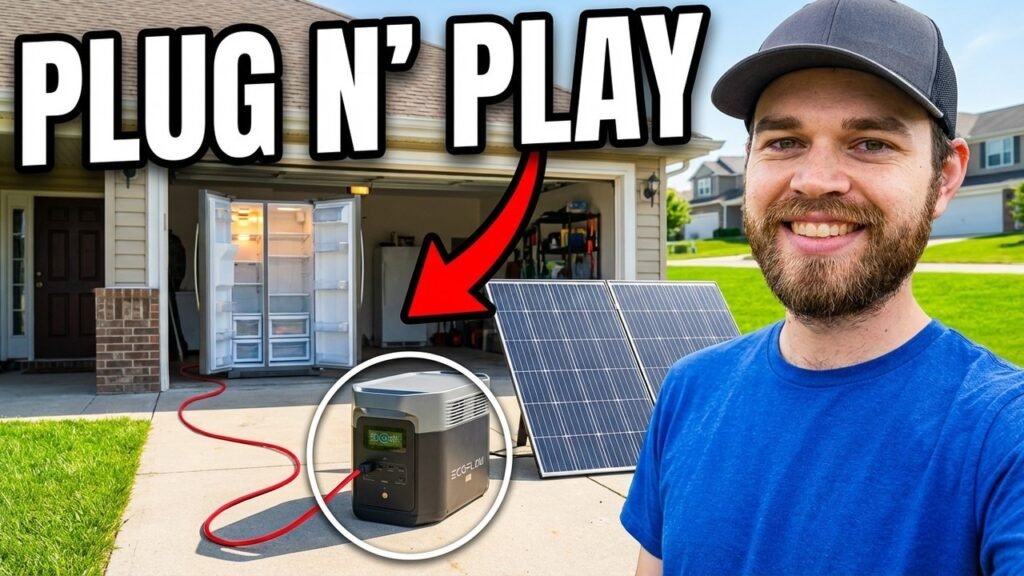
Three months of operation reveal the true capabilities of an 18.5kW off-grid solar setup. This build integrates 42 bifacial panels, a massive 90kWh battery bank, and a Sol-Ark inverter to handle total energy independence. It’s a robust, field-tested configuration designed for high-demand residential use without relying on the grid.
⚡ Quick Guide: How to Build an Off-Grid Solar Array
- Install heavy-duty ground mounts with wind-rated footings.
- Mount bifacial panels to maximize light absorption.
- Wire panels in series-parallel configurations for optimal voltage.
- Install a central combiner box with surge protection.
- Connect DC lines to a high-capacity hybrid inverter.
- Rack and wire high-density lithium battery banks.
- Integrate a backup generator for low-sun periods.
- Verify all grounding and conduit connections for safety.
📋 In This Article
- Technical Specifications & Components
- Tools & Materials Used — what you will need for this project
- Ground Mount Installation and Wind Rating
- Aptos 440W Bifacial Solar Panels
- Combiner Box, Fuses, and Surge Protection
- Array Two and Array One Layout
- Solar Lines Running to the Garage
- Inside the Garage Solar Setup
- 90kWh EG4 Lithium Battery Bank
- Battery Rack Setup and Future Improvements
- Chargeverters and Generator Charging
- Future Wiring and Upgrade Plans
- Our Original Barn Solar System
- Barn System Power Output
- Victron and Midnight Charge Controller Issue
- Current State of Trippy Electric
- FAQ
📊 Technical Specifications & Components
| Total Solar Capacity | 18.5kW |
| Panel Type | Aptos 440W Bifacial |
| Battery Storage | 90kWh EG4 Lithium |
| Inverter | Sol-Ark All-in-One |
| Mounting | Sinclair Skyrack Ground Mounts |
📊 Project Overview & Costs
🔧 Difficulty Level: Hard
⏱️ Time Investment: DIY: 4-6 weeks | Pro: 1-2 weeks
💰 Professional Service Cost: $25,000 - $40,000
💡 Verdict: You'll save at least $15,000 in professional installation fees by handling the mounting and wiring yourself.
🛠️ Tools & Materials Used
• Aptos 440W Bifacial Solar Panels
• Sinclair Skyrack Ground Mounts
• Sol-Ark All-in-One Inverter
• EG4 Lithium Battery Bank
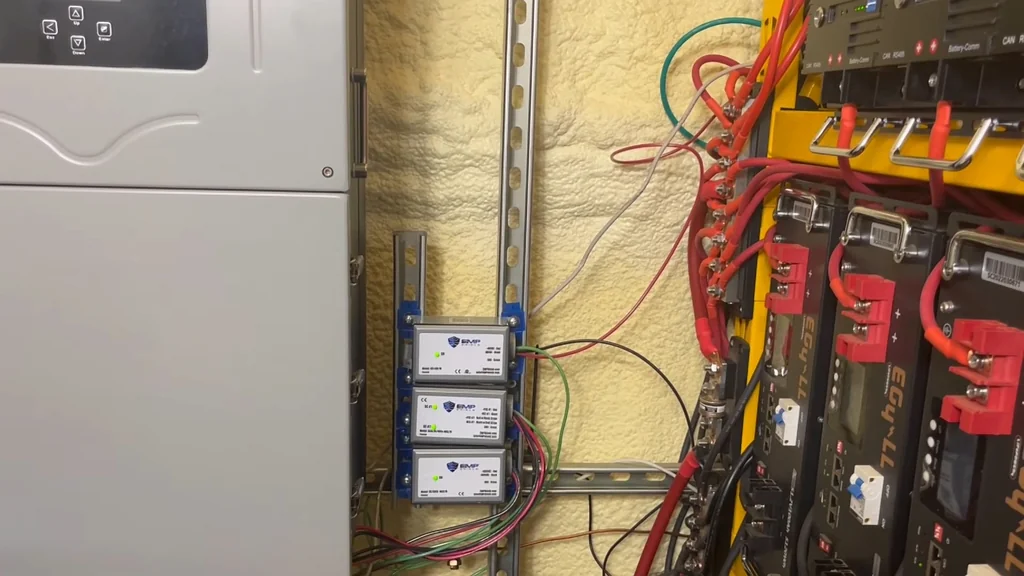
• EMP Shield Surge Protection
• PVC Conduit and Fittings
Step-by-Step Assembly, Repair, Testing & Inspection
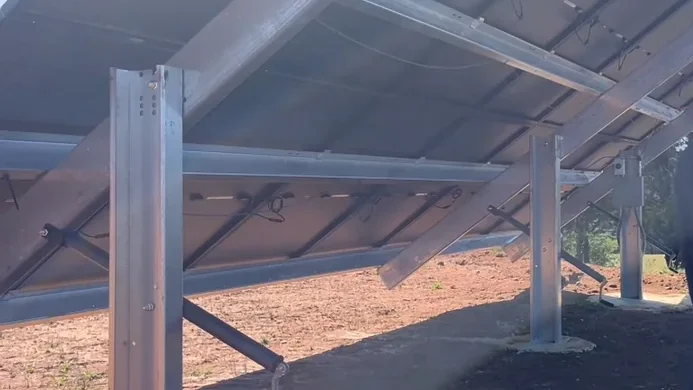
Ground Mount Installation and Wind Rating
Start by setting the ground mounts. These Sinclair Skyrack units need solid footings to handle high wind loads. You're looking for structural rigidity here. Don't cut corners on the concrete depth or bolt tension. It's the foundation of the whole array. Solid fit.
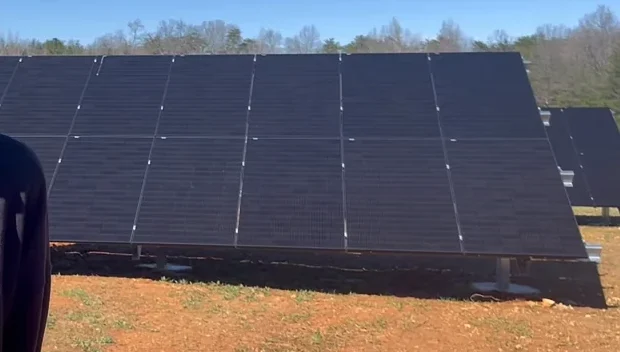
Aptos 440W Bifacial Solar Panels
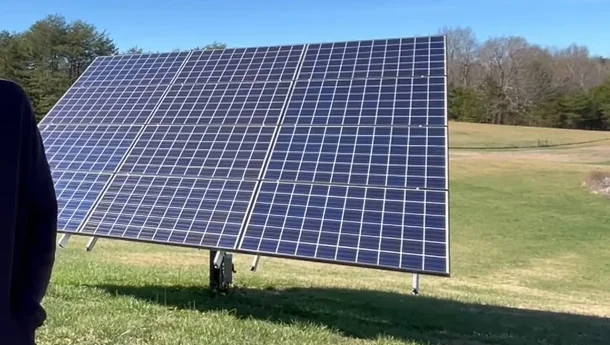
Mount the 42 Aptos 440W bifacial panels onto the racks. Bifacial panels collect light from both sides, so keep the area under the panels clear of debris. It boosts efficiency significantly. Tighten all clamps to spec. You want them secure but not crushed.
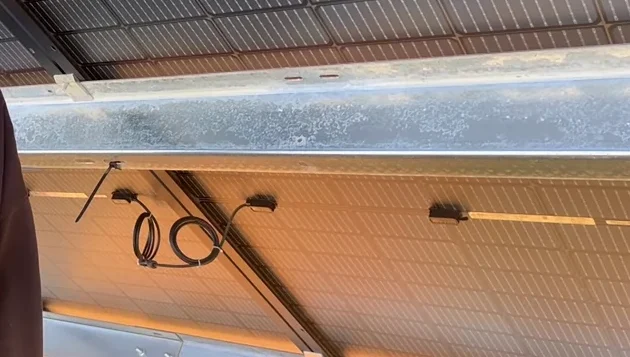
Combiner Box, Fuses, and Surge Protection
Route the DC lines into the combiner box. This is where you house the fuses and surge protection devices. Keep the wiring neat and labeled. It makes troubleshooting a breeze later on. Ensure all connections are tight to prevent arcing. Voltage steady.
Array Two and Array One Layout
Organize the arrays to minimize shading. You've got three distinct arrays here. Each one needs clear access for maintenance. Watch the cable runs between arrays. Keep them protected in conduit. It's all about minimizing voltage drop across the long runs. Check the tilt angles on each array. You want them optimized for your latitude. Consistent performance across all arrays ensures the inverter stays happy. No bottlenecks.
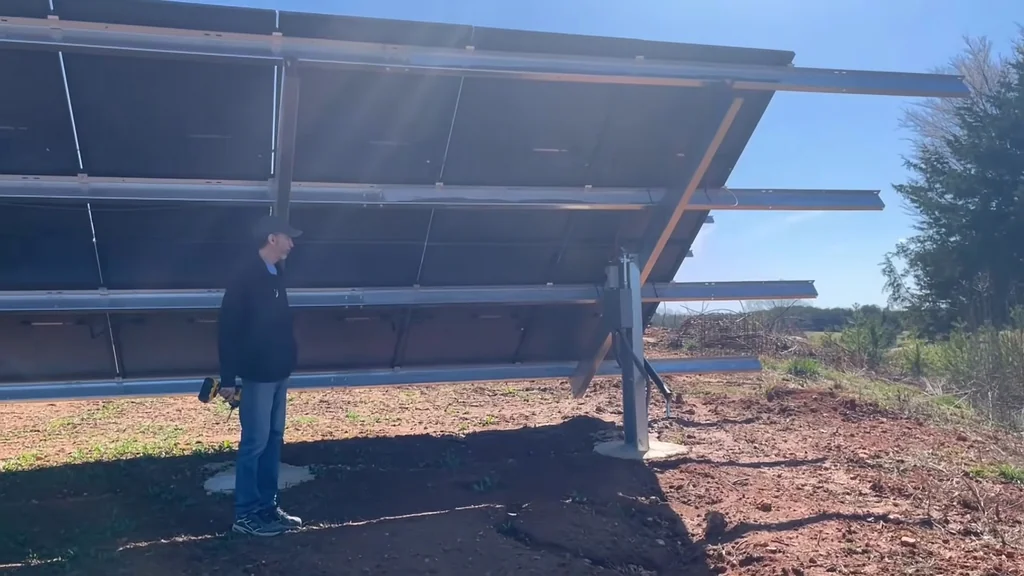
Solar Lines Running to the Garage
Run the DC lines through underground conduit to the garage. Use proper burial-rated cable. Seal all entries to keep moisture out. It's a long run, so use thick gauge wire to handle the current. Don't skimp on the conduit size. It's a pain to pull wire later.
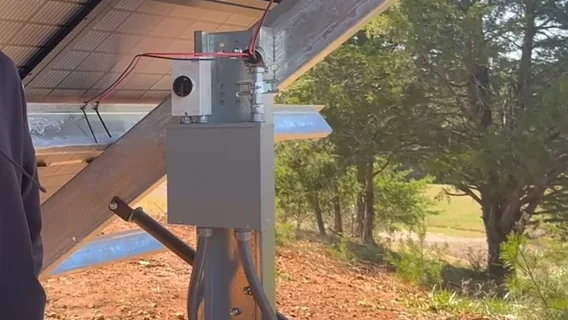
Inside the Garage Solar Setup
Set up the inverter and charge controllers in the garage. This is the heart of the system. Keep the area ventilated. You'll need enough space for the Sol-Ark unit and the generator backup integration. Keep the wiring runs as short as possible. Clean layout.
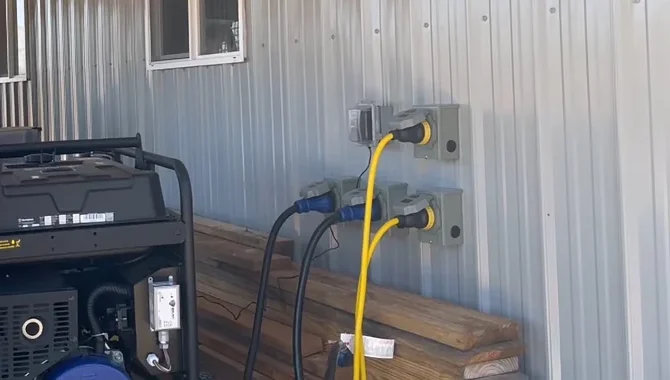
90kWh EG4 Lithium Battery Bank
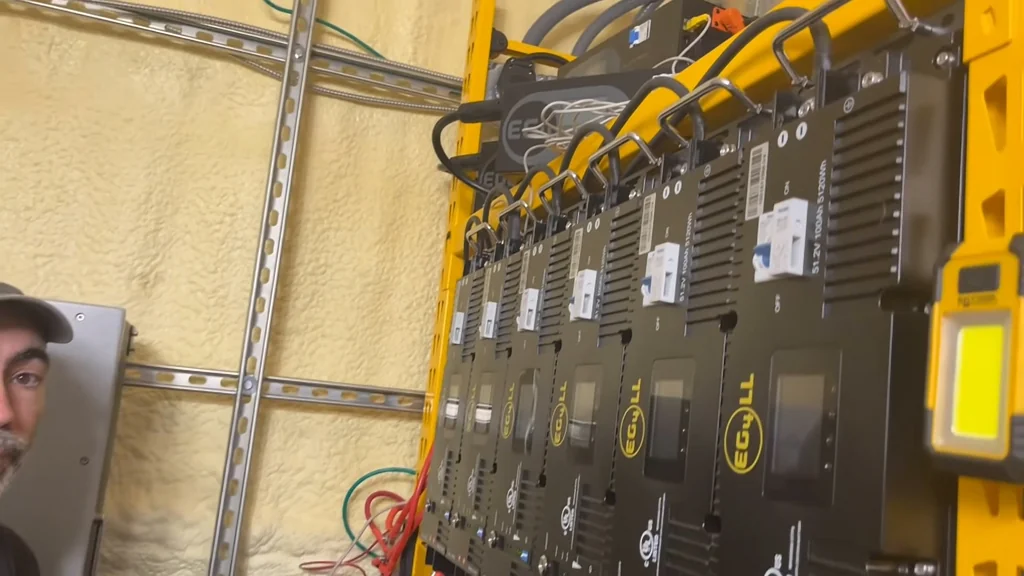
Install the EG4 lithium battery bank. These units are heavy, so use a proper rack. Connect them in parallel to reach the 90kWh capacity. Use high-current cables. Double-check the polarity before you flip the breakers. It's a lot of energy. Watch out.
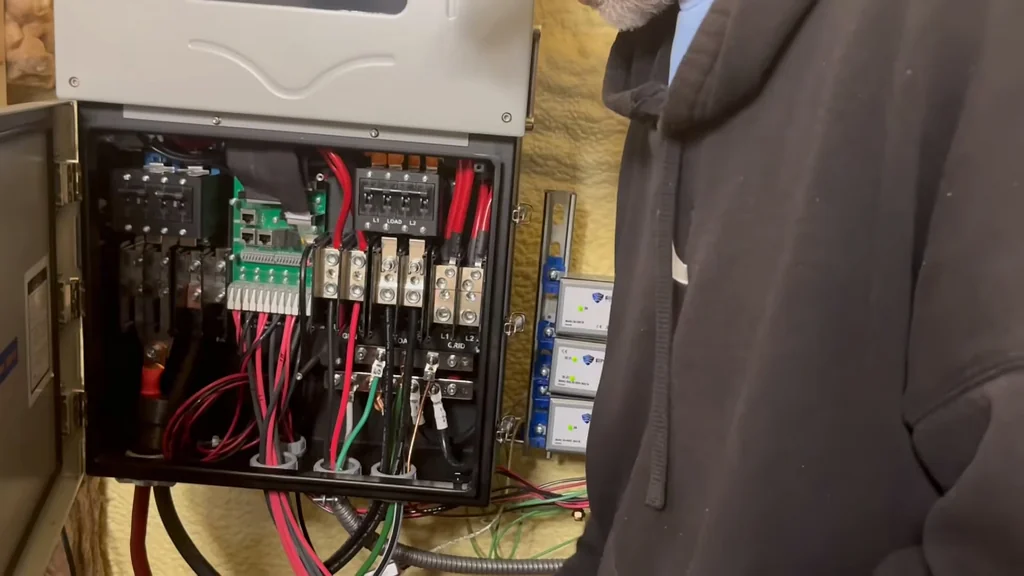
Battery Rack Setup and Future Improvements
Secure the battery racks to the wall or floor. You want them stable. Leave space for airflow between the batteries. If you're planning for future expansion, leave some empty slots in the rack. It saves you from redoing the whole setup later. Solid mounting.
Chargeverters and Generator Charging
Wire the chargeverters for generator support. This allows the generator to charge the battery bank directly. It's a lifesaver during extended cloudy weeks. Test the generator-to-battery handoff. It should be seamless. Everything stays powered.
Future Wiring and Upgrade Plans
Map out your future circuits. You'll want to add more loads eventually. Keep your wiring diagrams updated. It's easy to forget what goes where after a few months. Keep the panel organized. Future-proof your work.
Our Original Barn Solar System
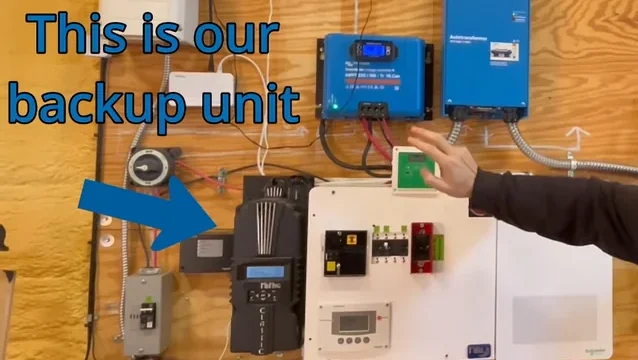
Look at the older barn system for reference. It's been running for five years. It uses a Schneider Conext inverter and Simpliphi batteries. It's proof that a well-maintained system lasts. Learn from the older install. It's still kicking.

Barn System Power Output
Measure the output of the barn system. It's consistent. This system shows how different battery chemistries perform over time. It's a good baseline for the new build. Reliability is key. Still running strong.
Victron and Midnight Charge Controller Issue
Address any issues with the older charge controllers. Sometimes you'll run into communication glitches between different brands. Keep your firmware updated. It usually fixes the weird stuff. Don't let it stress you out. Just troubleshoot one component at a time.
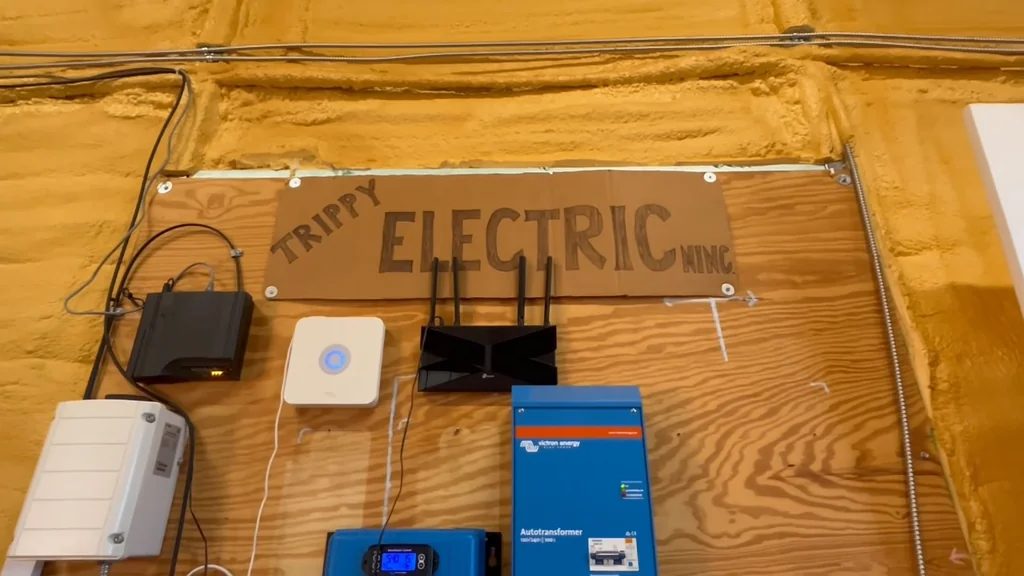
Current State of Trippy Electric
Review the final status of the system. Everything is balanced and running. You've got 18.5kW of power and massive storage. It's a complete off-grid solution. Enjoy the independence. System fully operational.
Summary & Tips
Building an off-grid system of this scale requires patience and strict adherence to electrical codes. You're dealing with high voltages, so respect the gear. Once it's tuned, the freedom of being off-grid is worth every hour of labor. Keep your connections clean and your documentation updated.
📋 FAQ
❓ Can I really run a whole house on this?
Yeah, 18.5kW is plenty for most homes if you manage your heavy loads wisely.
❓ Is the EMP shield actually worth it?
Depends on your location, but it's cheap insurance for expensive electronics.
❓ How hard is the wiring for a beginner?
Honestly, it's manageable if you follow the manuals and take your time with the DC runs.
❓ Do I need a generator with 90kWh of storage?
Nah, not usually, but it's a solid backup for those long, cloudy winter stretches.
Disclaimer: I purchased all tools for this guide with my own money to ensure an unbiased review. This post contains affiliate links, meaning I earn a small commission if you make a purchase at no extra cost to you.
[smartslider3 slider="1"]