Mounting a 5kW Victron MultiPlus-II onto a MidNite E-Panel takes some fabrication work, but it remains a practical method for technicians seeking robust power capacity. Combining these separate components yields a reliable hybrid setup. Minor mechanical adjustments align the mounting footprints, delivering a durable configuration for demanding solar installations.
⚡ Quick Guide: How to Make It in 10 Steps
- Align the inverter knockouts with the E-Panel.
- Remove the inverter front cover carefully.
- Use provided bushings for a clean pass-through.
- Secure the unit with self-drilling screws.
- Grind down screw tips to prevent internal shorts.
- Hang the inverter onto the E-Panel chassis.
- Open up the 3-inch access holes.
- Upgrade the DC breaker for 5kW capacity.
- Verify AC wiring for 50-amp continuous load.
- Run jumpers between boxes to complete the circuit.
📋 In This Article
- Technical Specifications & Components
- Tools & Materials Used — required items for execution
- Aligning Inverter and E-Panel Knockouts
- Removing the Inverter Front Cover
- Installing Bushings and Mounting Screws
- Selecting the Right Self-Drilling Screws
- Grinding Down Sharp Screw Tips
- Hanging the Inverter on the Panel
- Opening the 3-Inch Access Holes
- Upgrading the DC Breaker
- Verifying AC Pass-Through Wiring
- Finalizing Jumpers and Connections
- FAQ
📊 Technical Specifications & Components
| Inverter Model | Victron MultiPlus-II 5kW |
| Panel Compatibility | MidNite E-Panel |
| AC Pass-through Rating | 50A |
| Mounting Hardware | #12 Self-drilling screws (1.25 inch) |
| Access Hole Diameter | 3 inches |
| DC Breaker Requirement | Upgraded for 5kW load |
📊 Project Overview & Costs
🔧 Difficulty Level: Medium
⏱️ Time Investment: DIY: 3-4 hours | Pro: 1-2 hours
💰 Professional Service Cost: $150-$300 (labor and hardware)
💡 Verdict: Eliminates expenses associated with pre-integrated systems by utilizing standard modular hardware.
🛠️ Tools & Materials Used
• Flap disc
• Number 12 self-drilling screws (1.25 inch)
• 3-inch chase nipples
Step-by-Step Guide
Aligning Inverter and E-Panel Knockouts
I started by matching the Victron 5kW MultiPlus-II to the MidNite E-Panel. This combination requires manual adjustment despite lacking a factory template. Rear knockouts on the inverter align with specific ports on the E-Panel housing. Positioning the E-Panel lid beneath the chassis provides a stable reference plane for alignment.
Removing the Inverter Front Cover
I detached the front enclosure panel after establishing alignment. The internal LED wiring harness requires caution during removal to prevent tension damage. Unplugging the harness beforehand protects the fragile connector interface. Precision matters during disassembly.
Installing Bushings and Mounting Screws
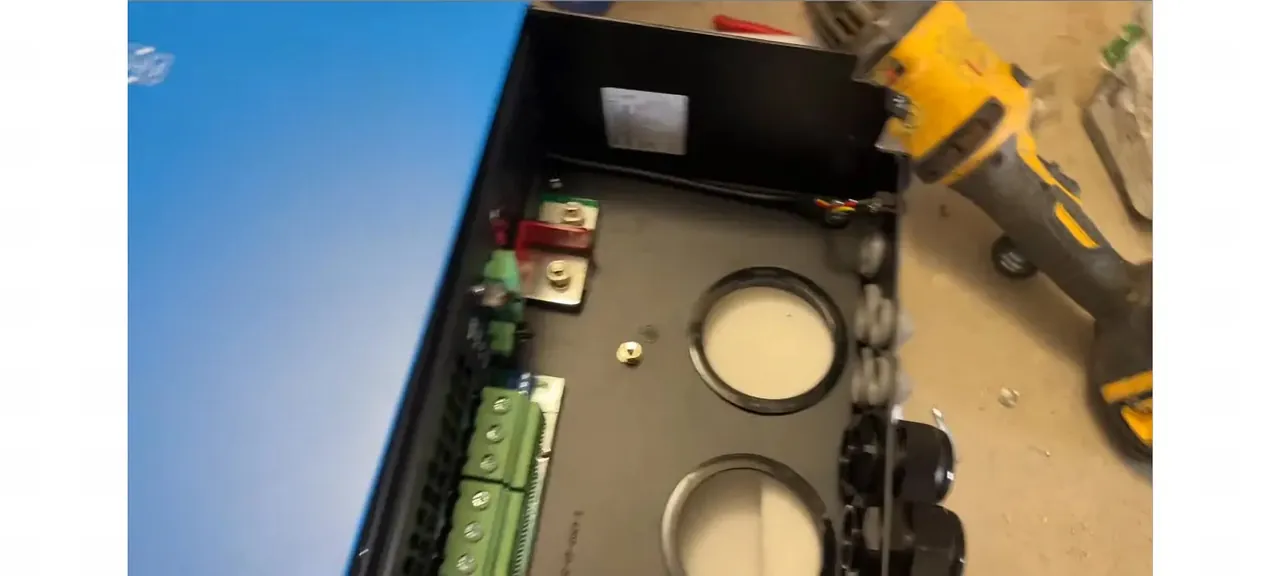
I located the four corner mounting points for structural fastening. Included E-Panel bushings simplify the pass-through preparation. Future iterations may utilize 3-inch chase nipples to eliminate bottom fasteners entirely. Standard bushings provide adequate rigidity.
Selecting the Right Self-Drilling Screws
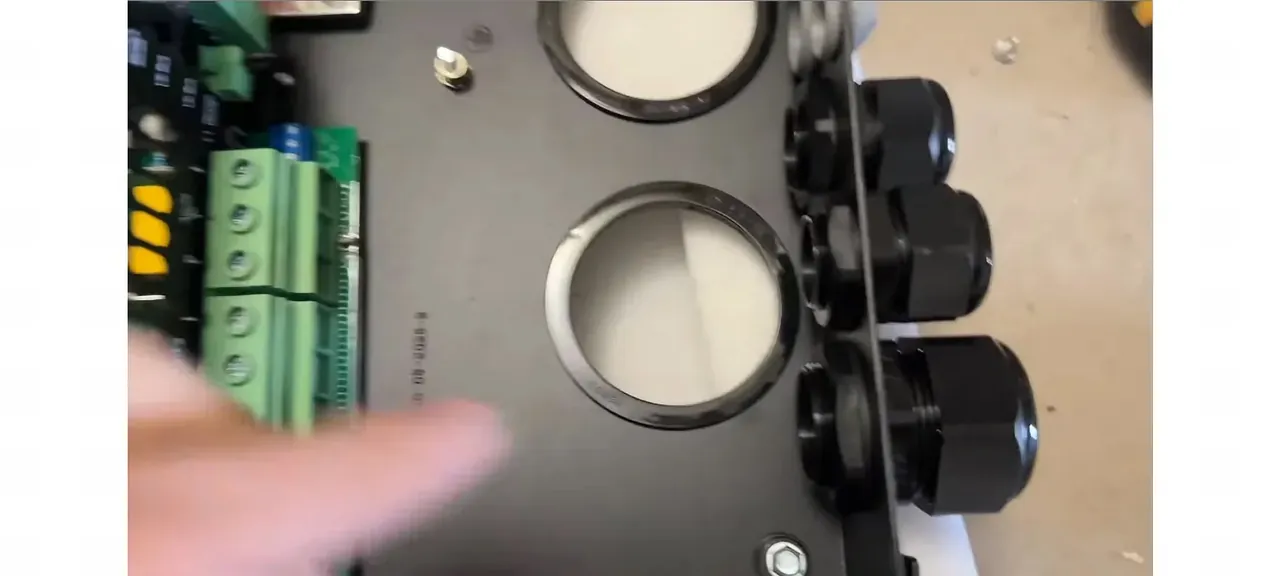
I drove number 12 self-drilling screws measuring 1.25 inches in length. Shorter one-inch variants lack adequate engagement depth. Correct fastener sizing ensures secure clamping force across overlapping metal sheets. Proper penetration depth prevents structural failure under load.
Grinding Down Sharp Screw Tips
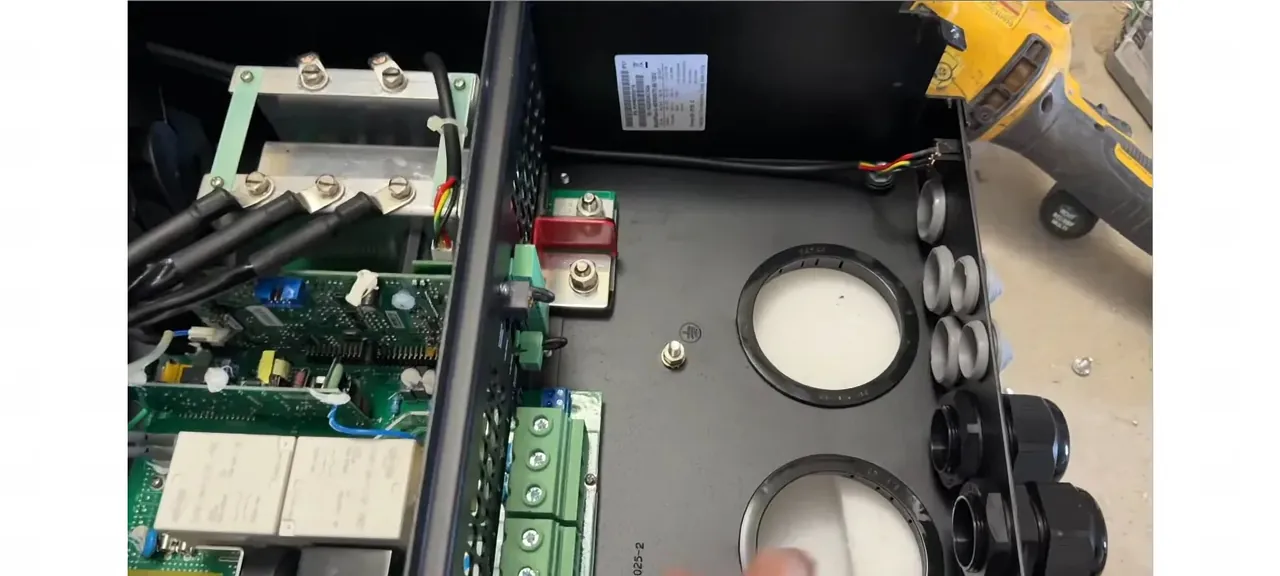
Fastener tips protruded through the rear panel after driving. Protruding metal creates insulation hazards for internal wiring. I used an angle grinder equipped with a flap disc to flatten the tips. Flush surfaces protect cable insulation.
Hanging the Inverter on the Panel
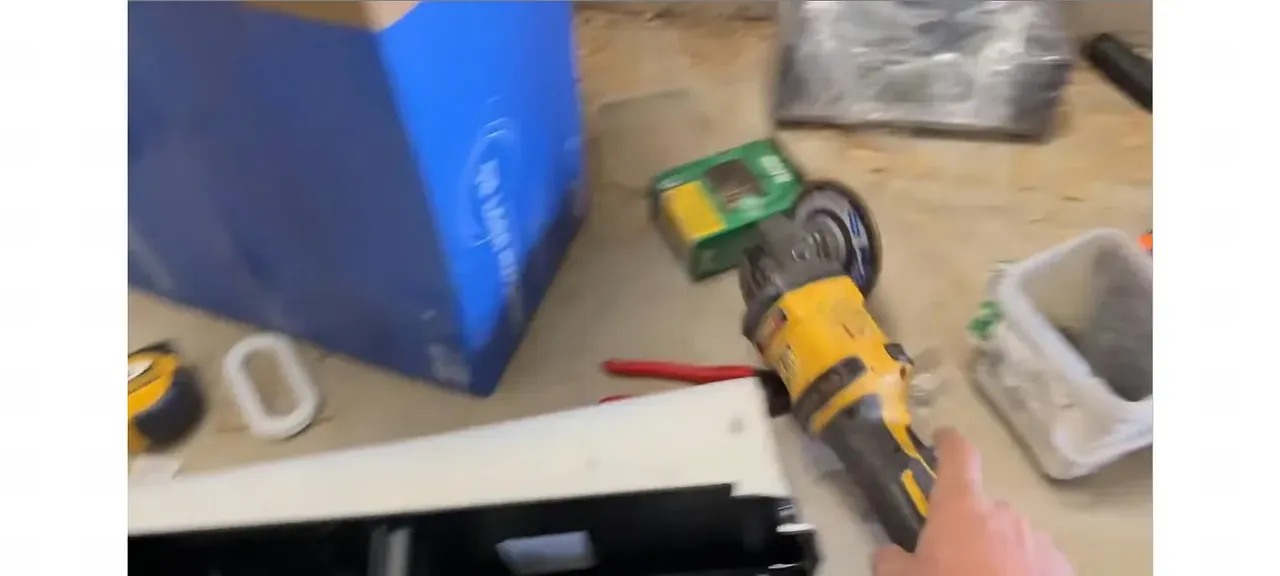
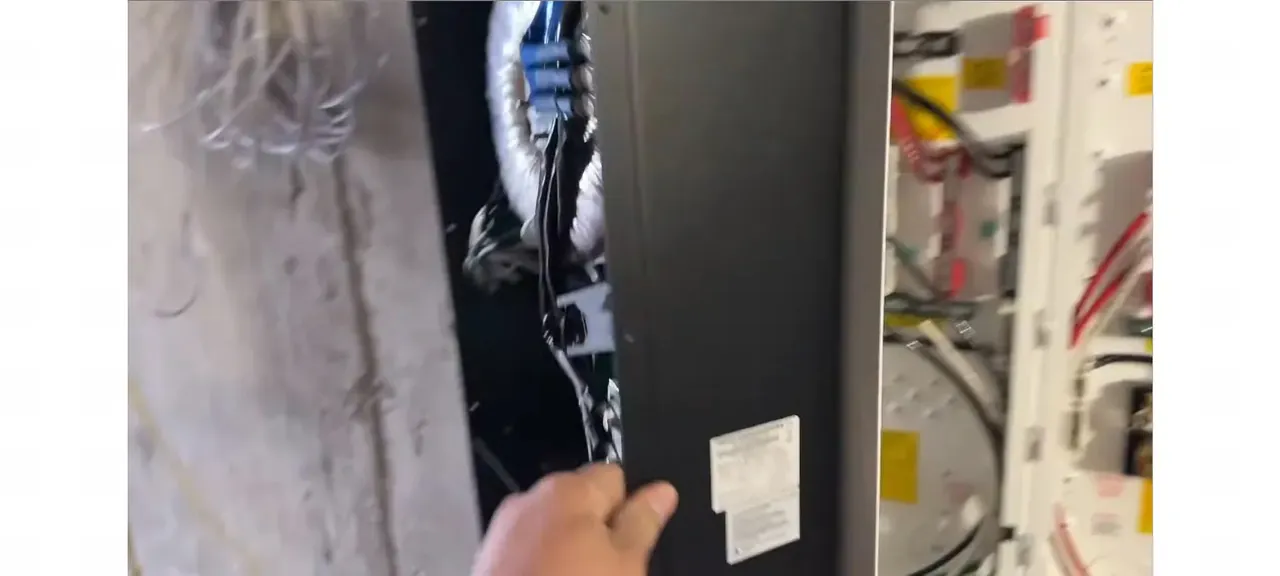
I mounted the heavy inverter chassis onto the prepared E-Panel bracket. The enclosure seated flush against the mating surface. Careful handling prevents structural misalignment. Weight distribution stabilized.
Opening the 3-Inch Access Holes
Expanded 3-inch ports create adequate internal routing volume. Enlarged openings eliminate cable congestion between enclosures. Conduits pass cleanly across the assembly interface. Routing efficiency improved.
Upgrading the DC Breaker
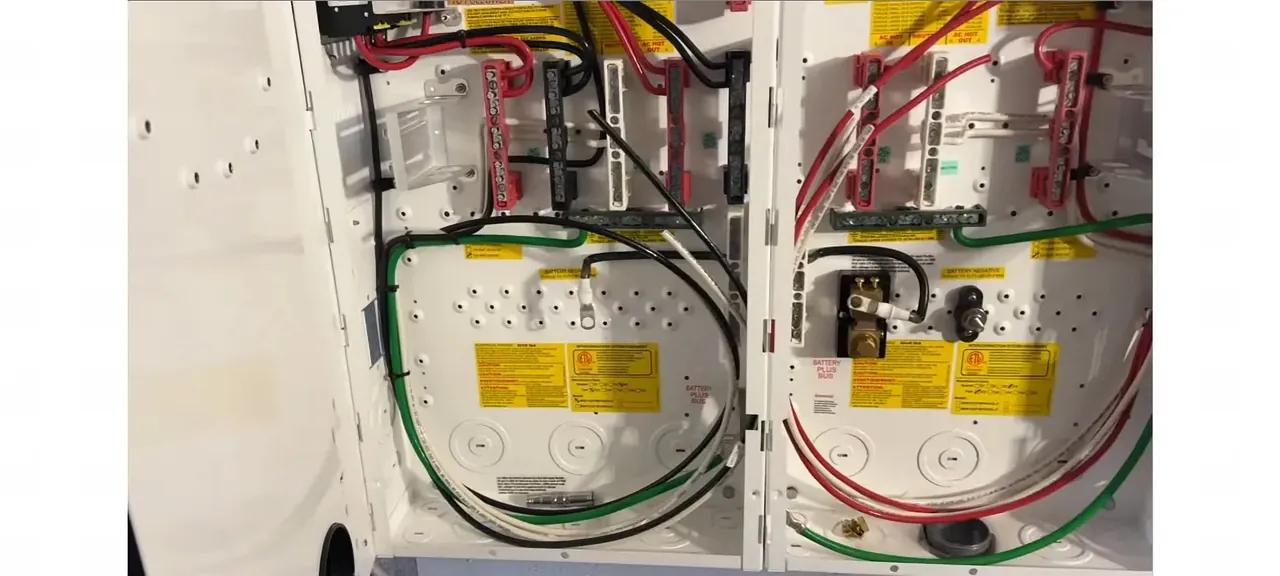
Standard E-Panels target 3kW inverter specifications, rendering the stock DC breaker undersized. I replaced the factory component with an upgraded overcurrent device. Component replacement prevents nuisance tripping. Current capacity matches the 5kW output.
Verifying AC Pass-Through Wiring
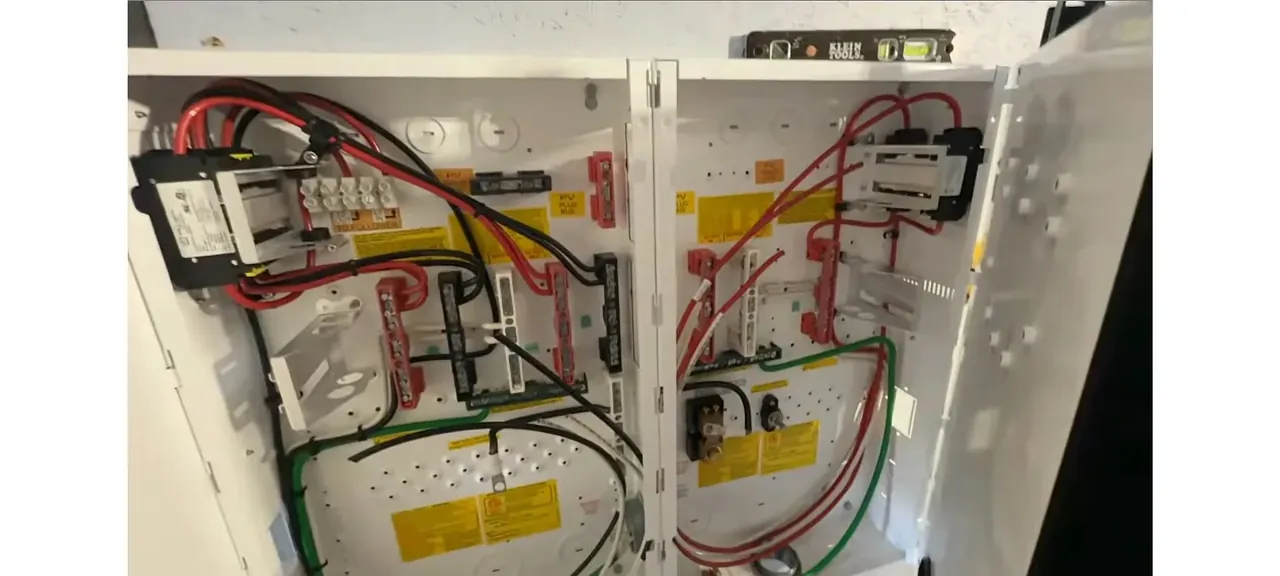
Continuous output limits on the 5kW inverter cap output currents below 50 amps. Existing E-Panel AC conductors easily handle this threshold. Higher 70-amp configurations require complete rewiring, but standard setups operate within safe thermal limits. Thermal ratings verified.
Finalizing Jumpers and Connections
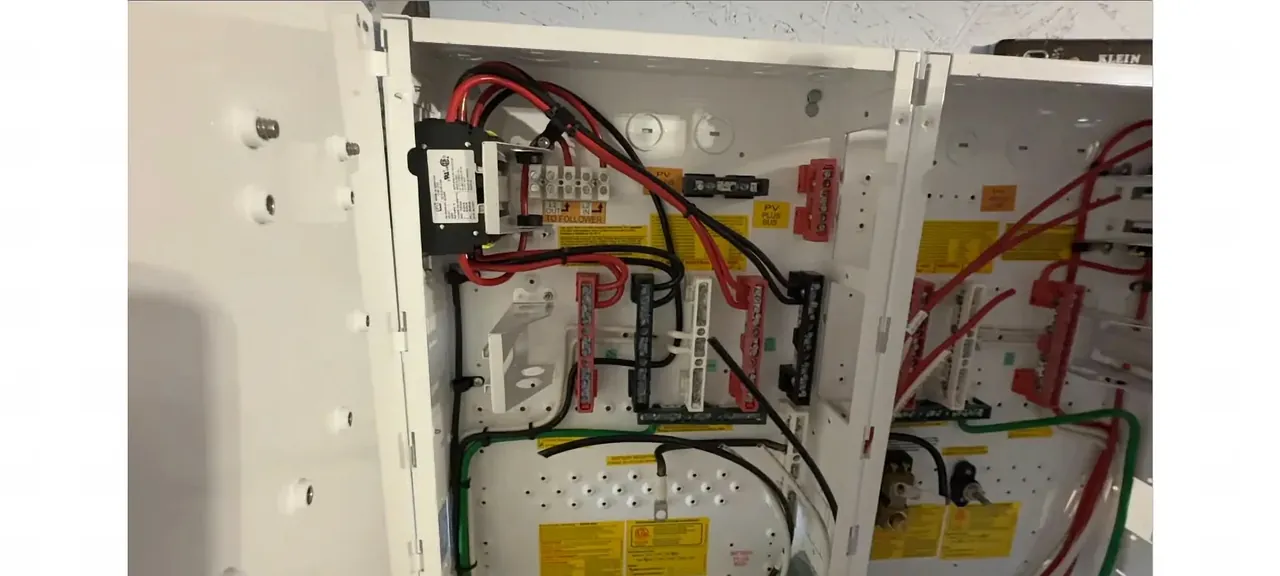
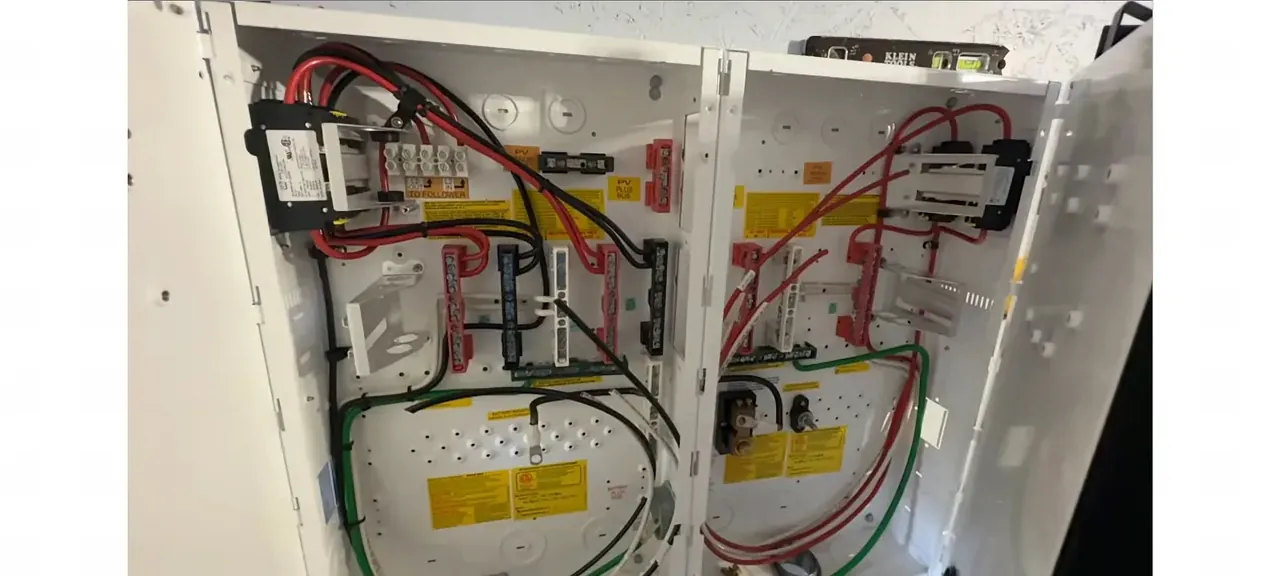
I ran connection jumpers between enclosures to complete the AC circuit path. Remaining internal volume accommodates future solar array breakers. Assembly completed successfully.
⚠️ CAUTION: SAFETY WARNING!
Always disconnect all power sources before touching the internal wiring of the inverter or the E-Panel. Those capacitors can hold a charge, so verify with a meter before you stick your hands in there.
Summary & Tips
Adapting an E-Panel for a 5kW Victron inverter requires mechanical modification and breaker replacement. Resulting assemblies provide professional integration with adequate expansion capacity. Procedural diligence ensures long-term operational reliability.
📋 FAQ
❓ Can I use the stock DC breaker with the 5kW inverter?
Factory breakers sized for 3kW units cannot handle continuous 5kW loads without frequent tripping or thermal degradation. Upgrading the overcurrent protection is mandatory.
❓ Is the 50-amp AC wiring sufficient for this install?
Standard 50-amp conductors match the maximum continuous output threshold of the 5kW inverter.
❓ Why do I need to grind the screw tips?
Protruding fasteners risk insulation abrasion and internal short circuits against internal conductors.
❓ Are the bushings included with the MidNite E-Panel?
Factory packaging includes required pass-through bushings.
Disclaimer: I purchased all tools for this guide with my own money to ensure an unbiased review. This post contains affiliate links, meaning I earn a small commission if you make a purchase at no extra cost to you.