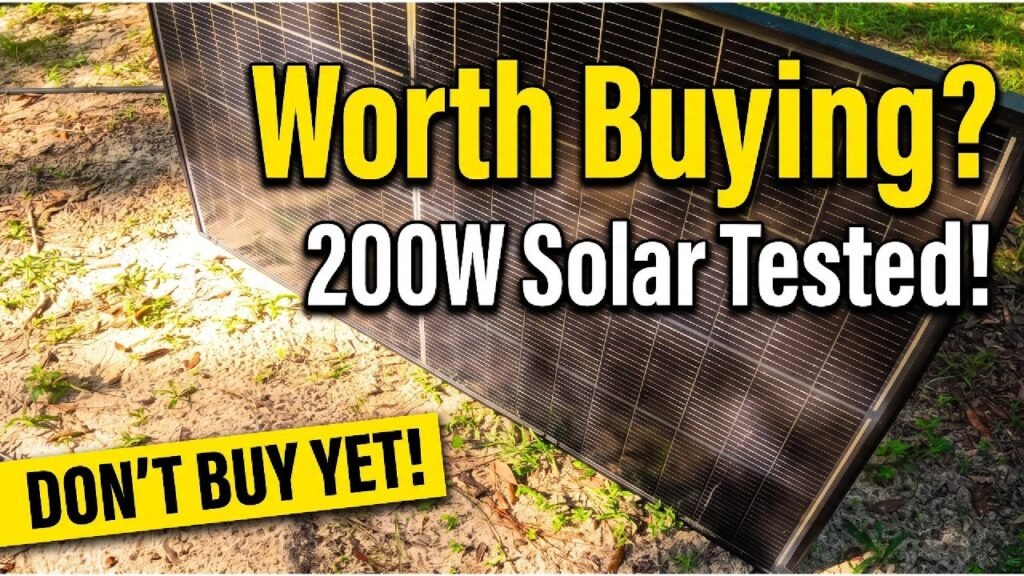
Expanding your off-grid solar setup isn’t just about slapping on more panels. You’ve got to think through the mounting structure and make sure your wiring can actually handle the extra juice. This walkthrough covers building a beefy 2×6 frame and wiring in modern N-Type panels so you get the most out of your system, even when shade is messing with your output.
⚡ Quick Guide: How to Make It in 15 Steps
- Compare panel specs to make sure everything plays nice together.
- Get your brackets and hardware lined up for the new frame.
- Cut your 2×6 lumber to size for the structure.
- Kill the power and disconnect the old panels safely.
- Tear down the outdated mounting setup.
- Put together the new heavy-duty frame.
- Do a quick wildlife check around the site.
- Double-check your voltage and amperage numbers.
- Figure out your series vs. parallel wiring plan.
- Strip and crimp new MC4 connectors.
- Run cables through protective conduit.
- Bolt the panels down to the rack.
- Make the final connections and power up.
- Test the output with a digital multimeter.
- Start thinking about what’s next for the system.
📋 In This Article
- Technical Specifications & Components
- Tools & Materials Used — what you will need for this project
- Comparing the New 200W Panels vs. Old
- Preparing the Brackets & Hardware
- Building the Solar Frame with 2x6s
- Disconnecting the Old Panels & Safety
- Taking Down the Old Setup
- Assembling the New Heavy-Duty Frame
- Chicken Emergency! (Wildlife Check)
- Tech Specs: Voltage & Amperage Differences
- Wiring Strategy: Series vs. Parallel
- Prepping Cables & Crimping Connectors
- Final Connections & Switch On
- Testing the System with a Multimeter
- Initial Power Results: 750 Watts!
- Future Plans & Next Upgrade Steps
- Final Result
- FAQ
📊 Technical Specifications & Components
| Total Capacity | 1000W |
| Panel Type | 200W N-Type ShadowFlux |
| Mounting | 2x6 Custom Wooden Rack |
| Charge Controller | Victron SmartSolar MPPT RS 450V |
📊 Project Overview & Costs
🔧 Difficulty Level: Medium
⏱️ Time Investment: DIY: 8-10 hours | Pro: 4-5 hours
💰 Professional Service Cost: $400 - $700
💡 Verdict: Doing the framing and wiring yourself will save you at least $500 in labor.
🛠️ Tools & Materials Used
• Solar Crimper Tool Kit 13 PCS
• Renogy 200W N-Type ShadowFlux Panels
• Victron SmartSolar MPPT RS 450V
• 2x6 Pressure-Treated Lumber
• MC4 Connectors
• Heat Shrink Tubing
Step-by-Step Assembly, Repair, Testing & Inspection
Comparing the New 200W Panels vs. Old
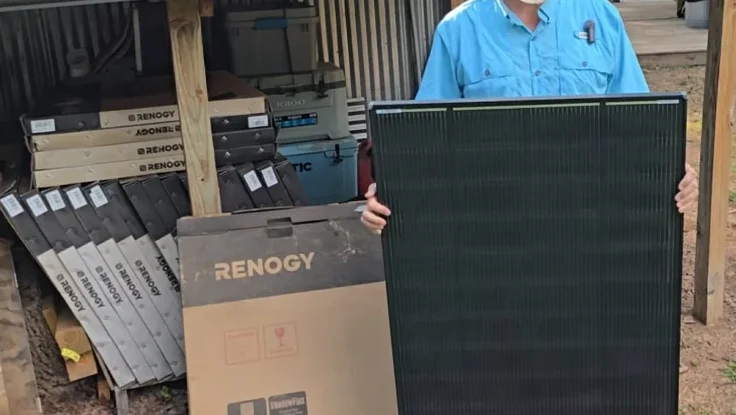
First thing — take a hard look at what you've got versus what you're putting in. The Renogy N-Type ShadowFlux panels handle partial shade way better than older models. But don't just rip out the old ones and slap these in. Check the voltage and amperage ratings on the back labels. If you mix panels with different specs in the same string, your efficiency tanks. Match the Voc and Isc values as close as you can so the whole system stays balanced.
Preparing the Brackets & Hardware
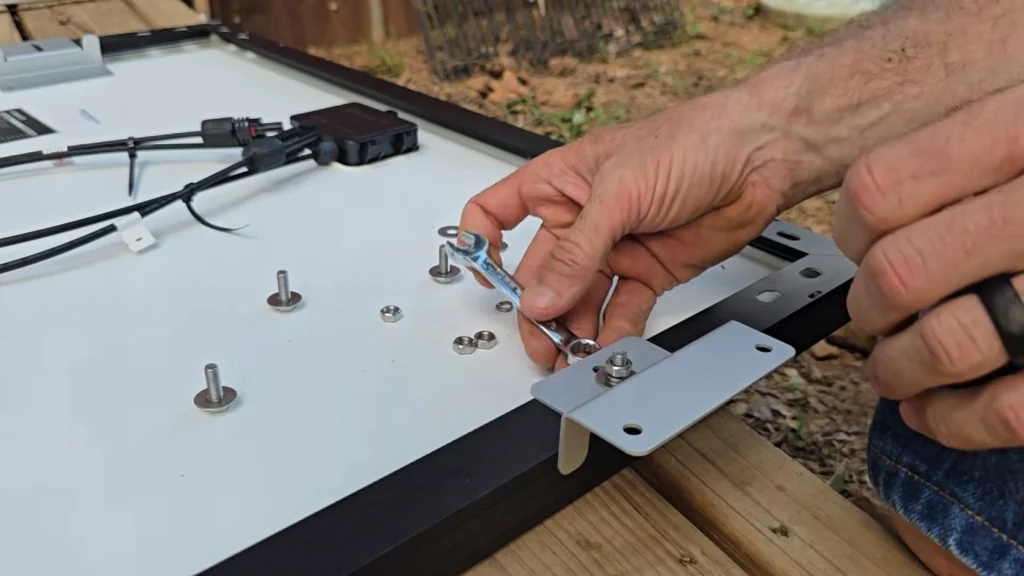
Get all your mounting hardware together before you climb up there. You'll want stainless steel bolts and heavy-duty brackets that can take the wind load on a five-panel array. If you're reusing old brackets, check them for rust or stress cracks. It's way easier to replace questionable hardware now than to chase down a loose panel in the middle of a storm.
Building the Solar Frame with 2x6s
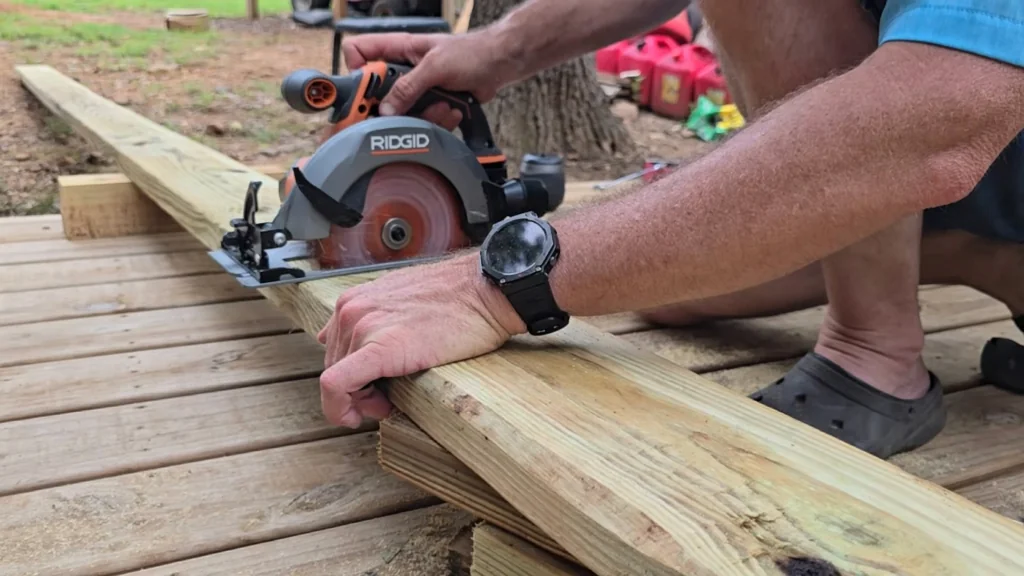
The 2x6 rack gives you the rigidity you need for a bigger array. Measure your spacing carefully so the panels sit flush without binding. Use pressure-treated lumber so it doesn't rot out from under you — this thing lives outside. Keep your corners square and use heavy-duty screws to tie it all together. A solid base makes the rest of the install go way smoother.
Disconnecting the Old Panels & Safety
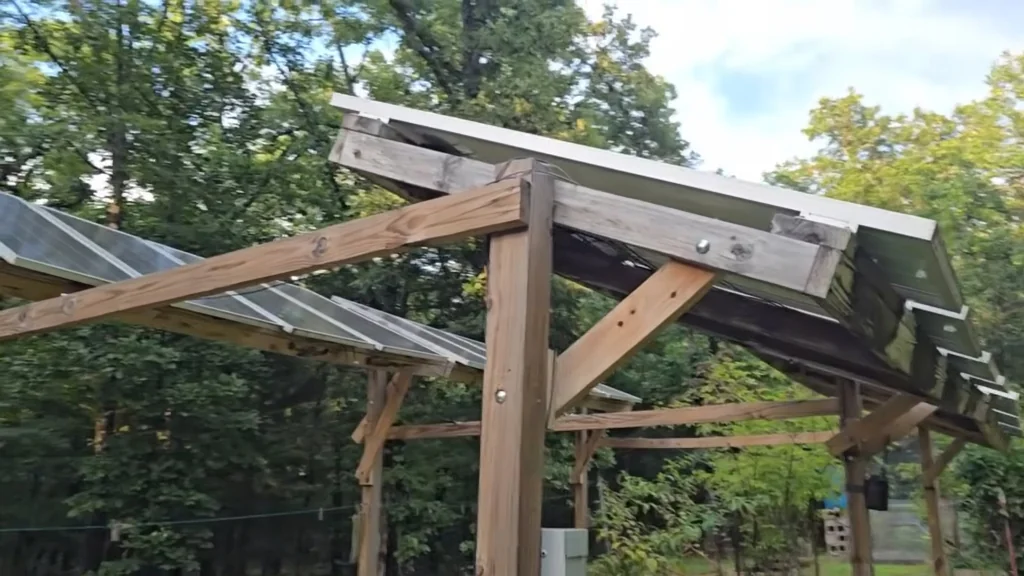
Cut the power at the charge controller before you touch any wiring. Seriously — you don't want to arc a live circuit. Use wire strippers to carefully disconnect the MC4 connectors. If you find old corroded connections, cut them back to clean copper. That corrosion is just eating your solar energy for no reason. Take your time with the teardown. It's tempting to rush when you're excited about the new gear, but safety comes first. Keep your tools organized so you're not fumbling around on a ladder.
Taking Down the Old Setup
Pull the old panels off one at a time. If they still work, set them aside for a backup project or a secondary array. Once the panels are clear, unscrew the old frame from the mounting surface. Clear away any debris or old cable ties that might get in the way of the new structure. A clean slate makes for a way better finish.
Assembling the New Heavy-Duty Frame
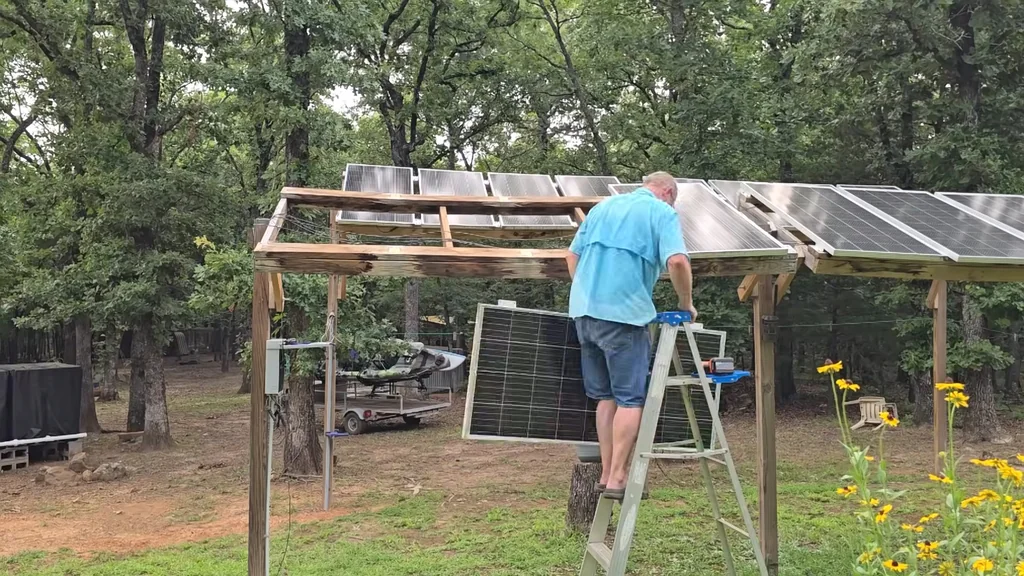
Mount the new 2x6 frame to the support structure. Grab a level and make sure the array is flat — it helps with water runoff and even sun exposure. Double-check your bolt tightness. You're building this to last for years, so don't cut corners on structural integrity. Everything should feel rock solid when you're done.

Chicken Emergency! (Wildlife Check)
Homesteading throws curveballs. If you hear the chickens freaking out about a predator, take a quick break and secure the flock. It's part of the lifestyle. Once the area's clear, get back to the array. Just don't let the distraction throw off your wiring plan.

Tech Specs: Voltage & Amperage Differences
Run the system math one more time. If you're doing a series-parallel setup, make sure your total string voltage stays within the MPPT input range of your charge controller. Push past that limit and you'll cook the electronics. Stick to the specs. High-voltage DC isn't something you want to gamble with.

Wiring Strategy: Series vs. Parallel
Decide how you're going to wire this thing based on what your controller needs. Series bumps the voltage, which is great for long wire runs. Parallel keeps voltage low and handles shade better. Pick the layout that matches your specific panel output and controller capacity. Keep it simple and repeatable.
Prepping Cables & Crimping Connectors
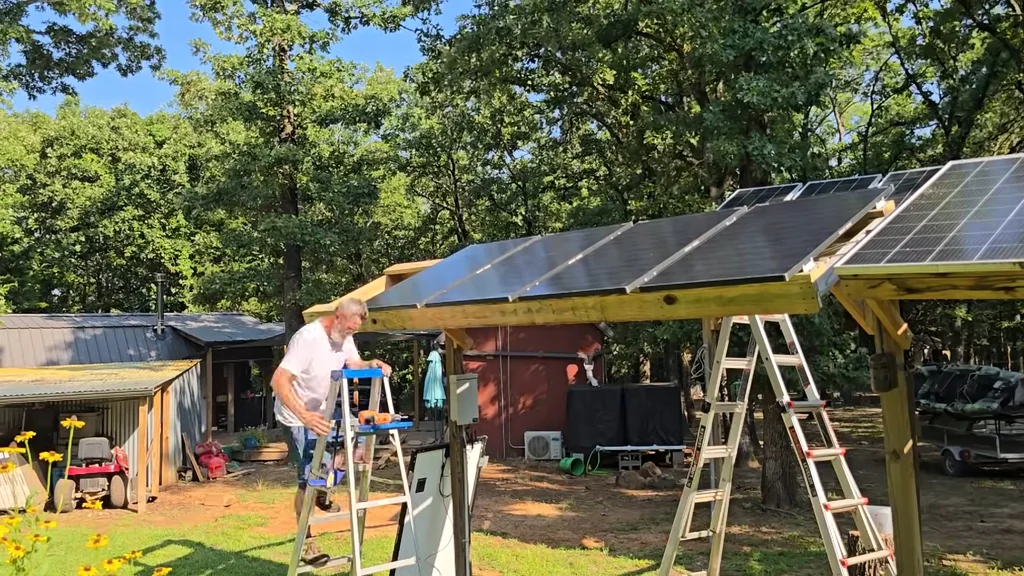
Break out the solar crimper and attach new MC4 connectors to your wire ends. Strip just enough insulation to seat the terminal properly. A bad crimp is a major point of failure down the road. Throw some heat shrink on the back of the connector to keep moisture out. It's a small step that saves you from corrosion headaches later.
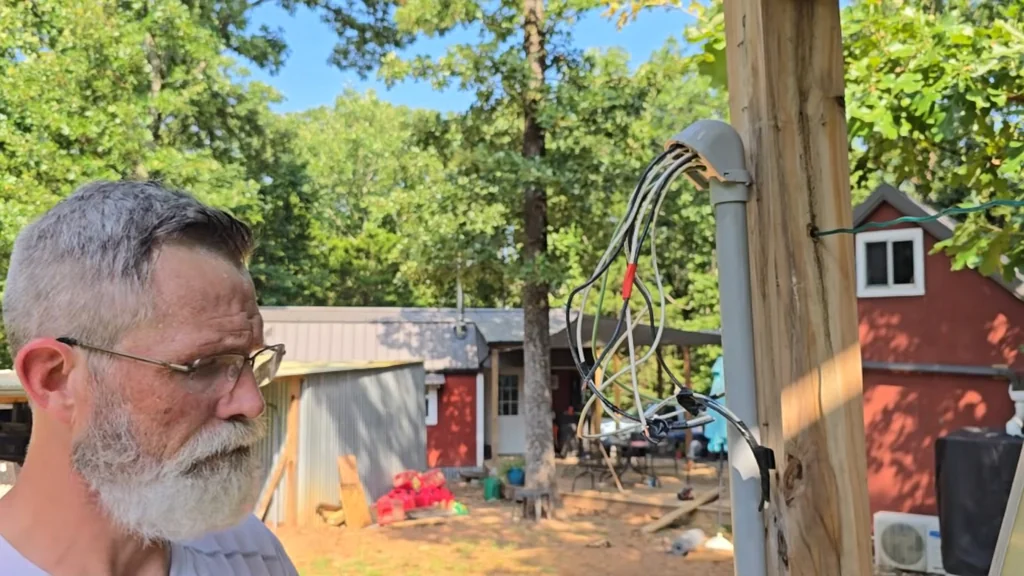
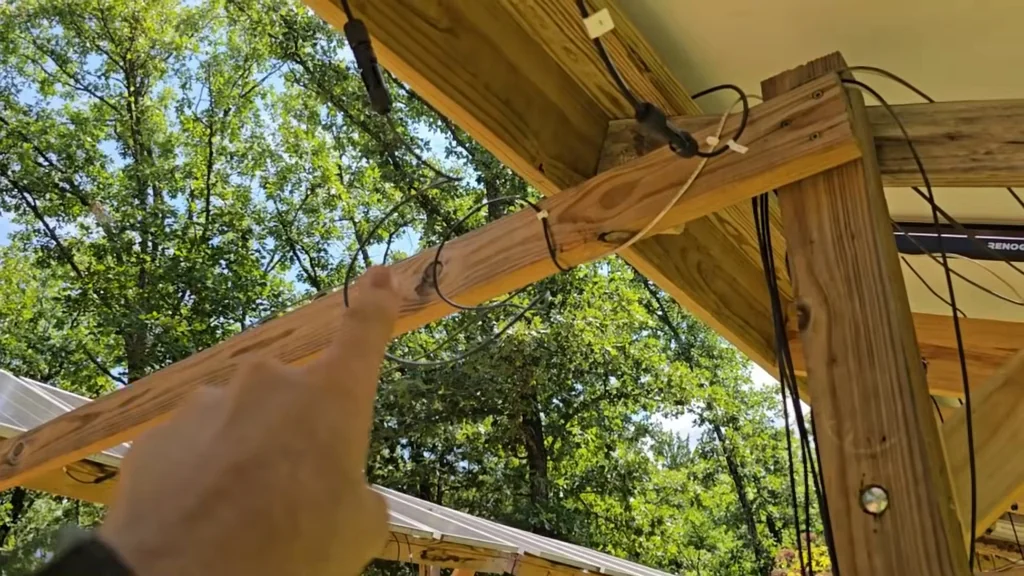
Hook the panels up to the main trunk line. Use cable ties to secure the wires to the frame so they're not flapping in the wind. Once everything's connected, double-check your polarity at the charge controller input. Flip the breaker or make the final connection. Voltage should be steady.
Testing the System with a Multimeter
Grab your multimeter and check the voltage at the charge controller input. You should see the expected voltage for your string configuration. If it reads zero, start checking connections and fuses. Don't panic — it's usually just a loose wire or a tripped breaker. Troubleshoot step by step.
Initial Power Results: 750 Watts!
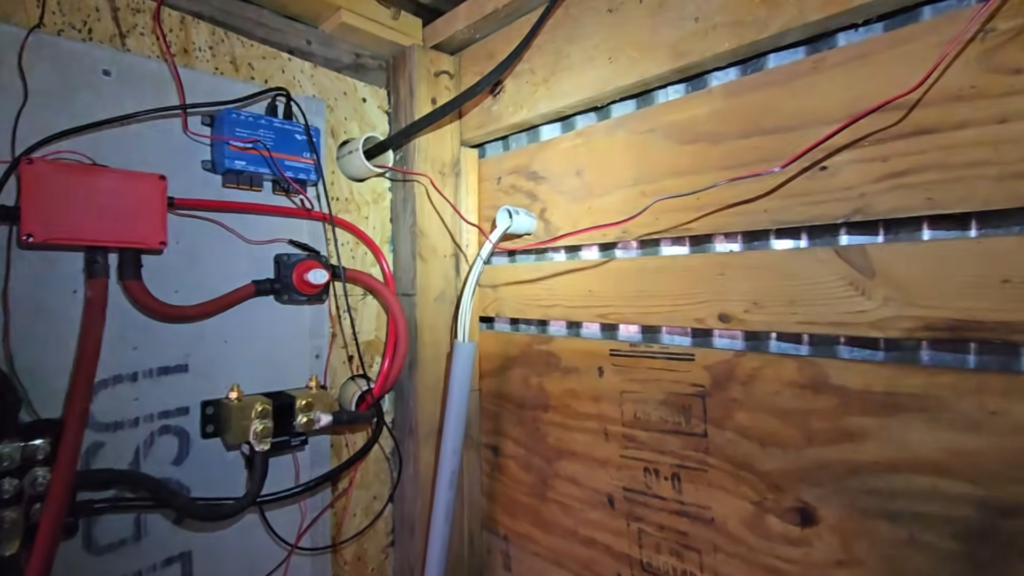
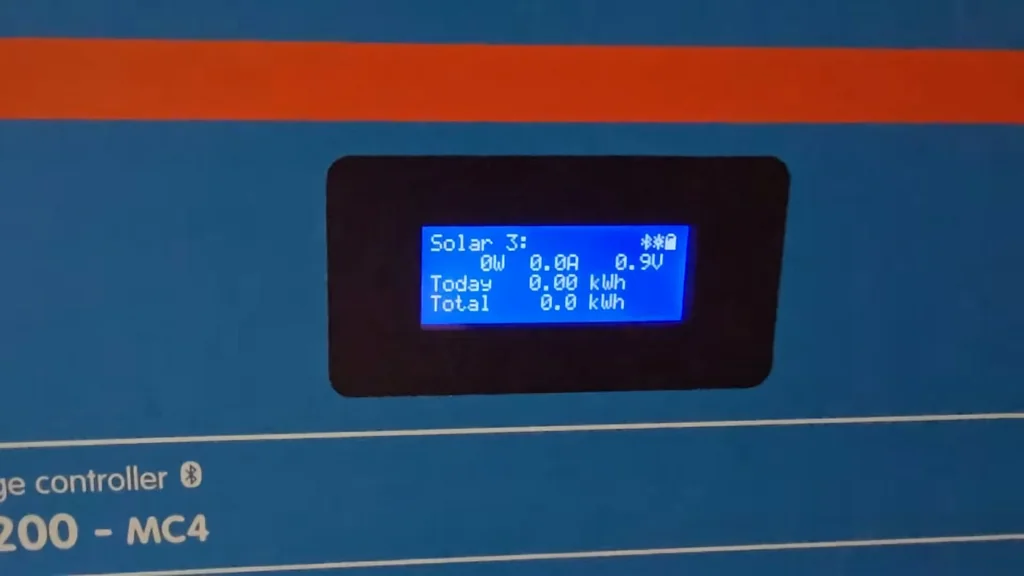
Watch the charge controller display as it wakes up. The wattage should climb as the MPPT tracks the max power point. Pulling 750 watts from the new array is a solid result. Verify the numbers match what you expected. Seeing that power flow into your battery bank is a good feeling.
Future Plans & Next Upgrade Steps
Now think about what's next. More battery storage? A bigger inverter to handle the extra power? Keep a log of how the system performs over the next few weeks. Small tweaks now lead to a more durable and efficient setup down the road.
Final Result
You've successfully expanded your solar array. The new 2x6 frame is solid, the wiring is clean, and the system is producing power. You're better set up for off-grid life now. Keep maintaining those connections and enjoy the free energy.
⚠️ CAUTION: SAFETY WARNING!
Solar arrays carry high-voltage DC that can kill you. Cover your panels while working on the wiring and always verify connections with a multimeter before finalizing the circuit.
Summary & Tips
Upgrading your solar setup pays off in real energy independence. Build the frame right, make sure your connections are solid, and don't rush the wiring — that's the most critical part of the whole build. Enjoy the extra power and keep the system maintained.
📋 FAQ
❓ Can I mix different brands of solar panels?
Honestly, don't. Mixing panels with different specs throws off your voltage and amperage, and your whole system suffers for it.
❓ Is a wooden frame durable enough for solar?
Yeah, as long as you use pressure-treated 2x6 lumber and seal it properly. It's a pretty standard DIY approach that holds up fine.
❓ Why did my charge controller read zero?
Usually it's a loose connection or a tripped breaker. Grab a multimeter and check your wiring first before assuming the worst.
❓ Do I really need a crimping tool for MC4 connectors?
If you care about your equipment, yes. A proper crimp is the only way to get a safe, low-resistance connection that won't fail on you later.
Disclaimer: I purchased all tools for this guide with my own money to ensure an unbiased review. This post contains affiliate links, meaning I earn a small commission if you make a purchase at no extra cost to you.