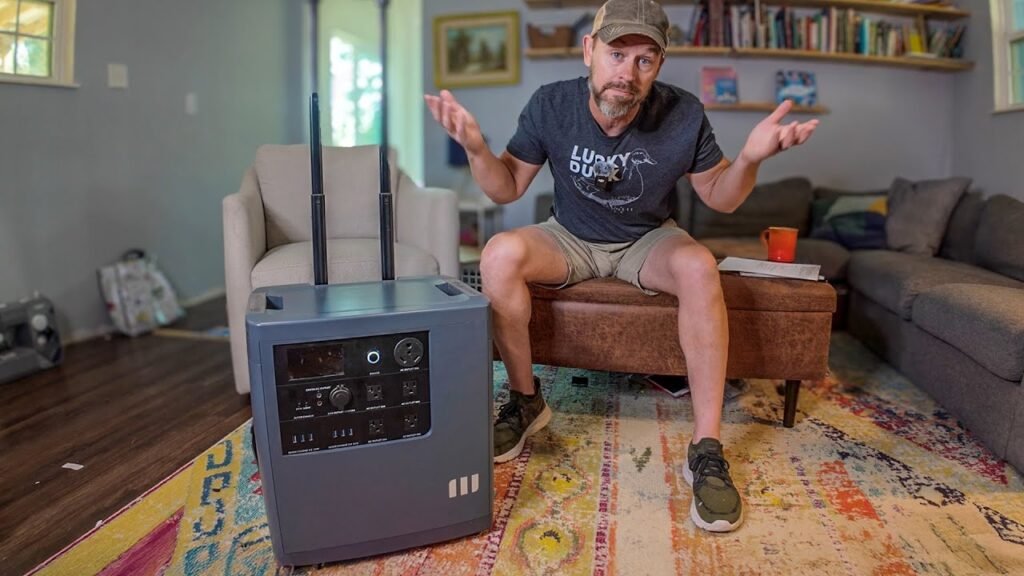
Stop overpaying for proprietary battery expansion packs. By reverse-engineering the communication pins on EcoFlow Delta series power stations, you can integrate high-capacity LiFePO4 batteries directly into the system. This modification tricks the unit into recognizing external power sources, allowing for massive capacity upgrades at a fraction of the retail cost. It’s a game changer.
⚡ Quick Guide: How to Make It in 5-10 Steps
- Identify the correct communication pins for your specific EcoFlow model.
- Fabricate a custom adapter cable using 1k Ohm resistors.
- Install a high-amperage DC breaker for circuit protection.
- Connect your external 48V or 51.2V LiFePO4 battery pack.
- Verify voltage levels and monitor the power draw during discharge.
📋 In This Article
- Technical Specifications & Components
- Tools & Materials Used — what you will need for this project
- Initial Voltage Verification
- Confirming 53.4V System Levels
- EcoFlow Model Selection
- Understanding the LiFePO4 Integration
- Wiring the DC Breaker and Connectors
- Testing the Circuit Continuity
- Identifying Expansion Port Pinouts
- Connecting the Communication Bridge
- Monitoring Power Flow
- Verifying 560 Watt Discharge
- Charging the Power Station
- Simulating EV Charging Loads
- Confirming Full Charge Status
- Reviewing the Battery Setup
- Final System Observations
- FAQ
📊 Technical Specifications & Components
| Delta 3 Plus Pinout | Pin 4 & Pin 6 |
| Delta 3 Max Plus Pinout | Pin 4 & Pin 5 |
| Delta 3 Ultra Plus Pinout | Pin 4 & Pin 5 |
| Delta Pro 3 Top Port | Pin 4 & Pin 5 |
| Delta Pro 3 Bottom Port | Pin 4 & Pin 6 |
| Resistor Value | 1k Ohm |
| Battery Compatibility | 48V 15S or 51.2V 16S LiFePO4 |
| Breaker Rating | 30A to 40A DC |
📊 Project Overview & Costs
🔧 Difficulty Level: Medium
⏱️ Time Investment: DIY: 2-3 hours | Pro: 45 minutes
💰 Professional Service Cost: $150-$300
💡 Verdict: You can save thousands compared to buying official expansion batteries.
🛠️ Tools & Materials Used
• 1k Ohm Resistors
• 5mm Bullet Connectors
• 4mm Bullet Connectors
• Dual 30 amp DC Breakers
• 40 amp DC Breaker
• Butt Connectors
• LiFePO4 Battery Pack
Step-by-Step Assembly & Testing
Initial Voltage Verification
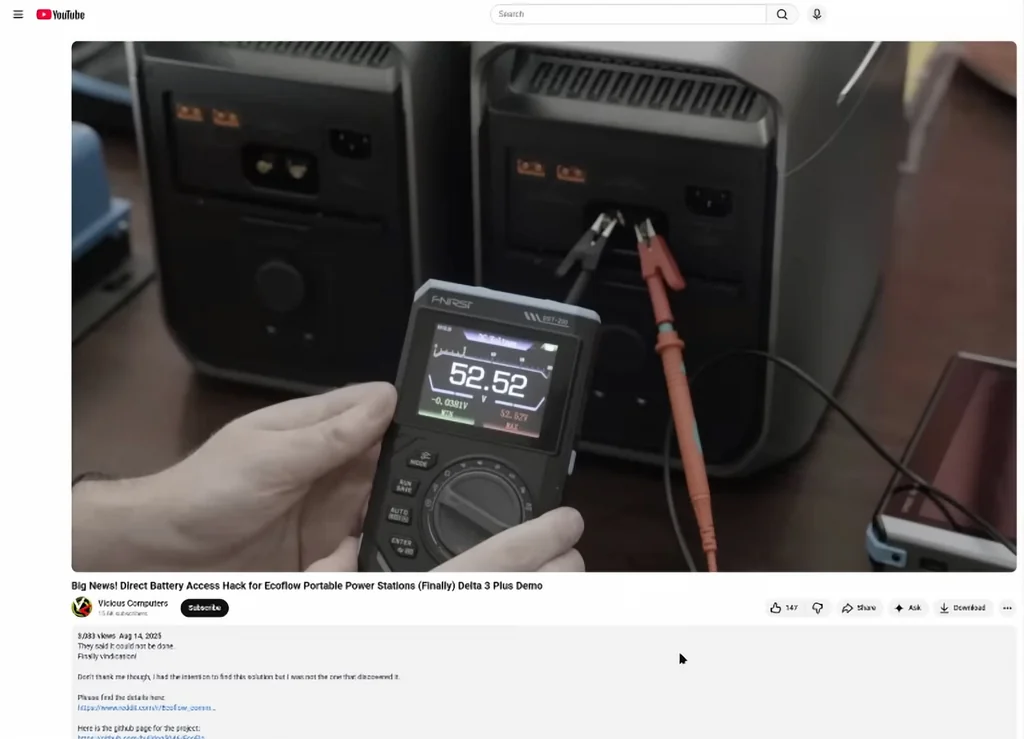
Start by checking your base voltage. Use a digital multimeter to confirm the output levels of your battery system before making any physical connections. It's critical to ensure the voltage matches the EcoFlow input requirements. Don't skip this. A simple measurement prevents catastrophic failures later on. Always verify polarity twice.
Confirming 53.4V System Levels
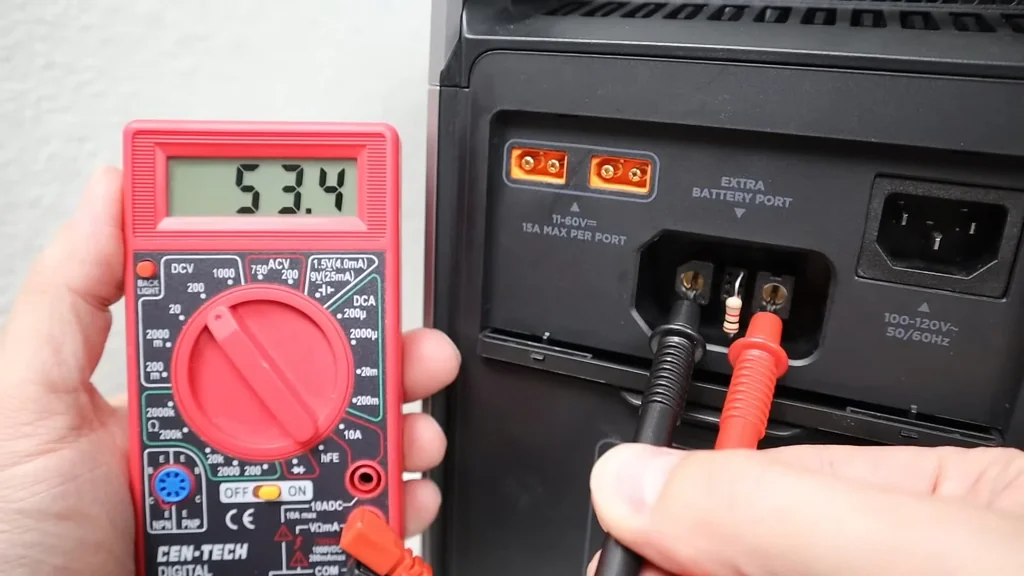
The multimeter shows a steady 53.4V reading. This is the sweet spot for most 16S LiFePO4 setups. You need to be precise here. If your voltage is significantly higher or lower, the power station might reject the connection. Precision matters. Keep your probes steady and watch the display closely.
EcoFlow Model Selection
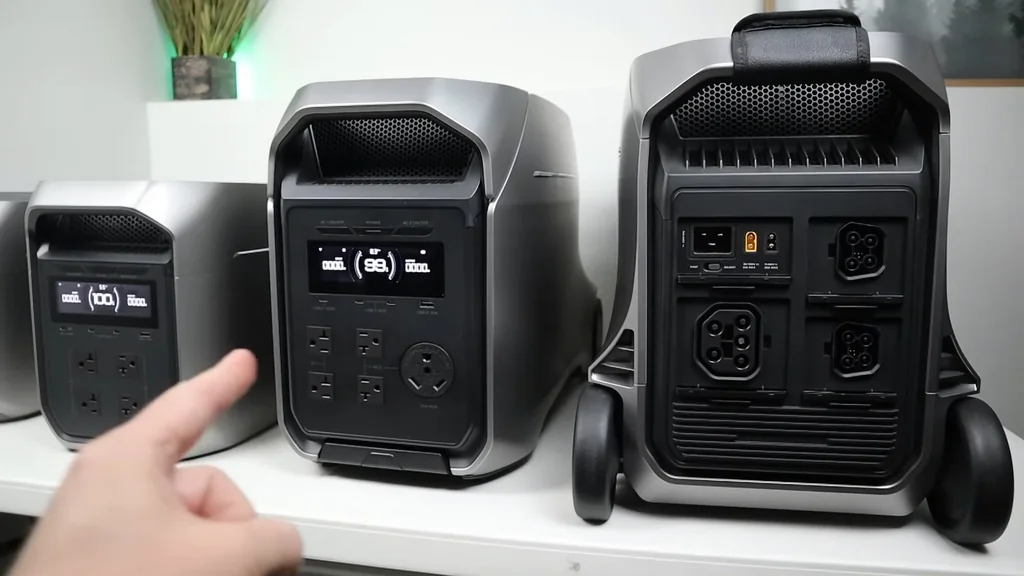
We have three different EcoFlow units lined up for testing. Each model has unique pinout requirements for the expansion port. You cannot treat them all the same. Check the specific pin configuration for your unit before proceeding. It's a specific process. Mistakes here will lead to no communication.
Understanding the LiFePO4 Integration
The core concept involves tricking the EcoFlow BMS into seeing an external battery. By bridging specific pins with a 1k Ohm resistor, you simulate the presence of an official expansion pack. It's clever. This bypasses the software lockout that prevents third-party batteries from charging the unit. The logic is sound. This setup allows the power station to draw current from the external pack as if it were a native component. You're effectively extending the runtime without the premium price tag. It's solid.
Wiring the DC Breaker and Connectors
Safety is non-negotiable when dealing with high-current DC. Install a 40-amp DC breaker between the battery and the power station to protect against shorts. Use high-quality Anderson connectors for the main power path to ensure low resistance. It's vital. Secure all connections with heat shrink tubing to prevent an accidental contact. The build quality determines reliability. Don't cut corners on wiring gauge. Use thick copper cables to handle the amperage without overheating. It's safe.
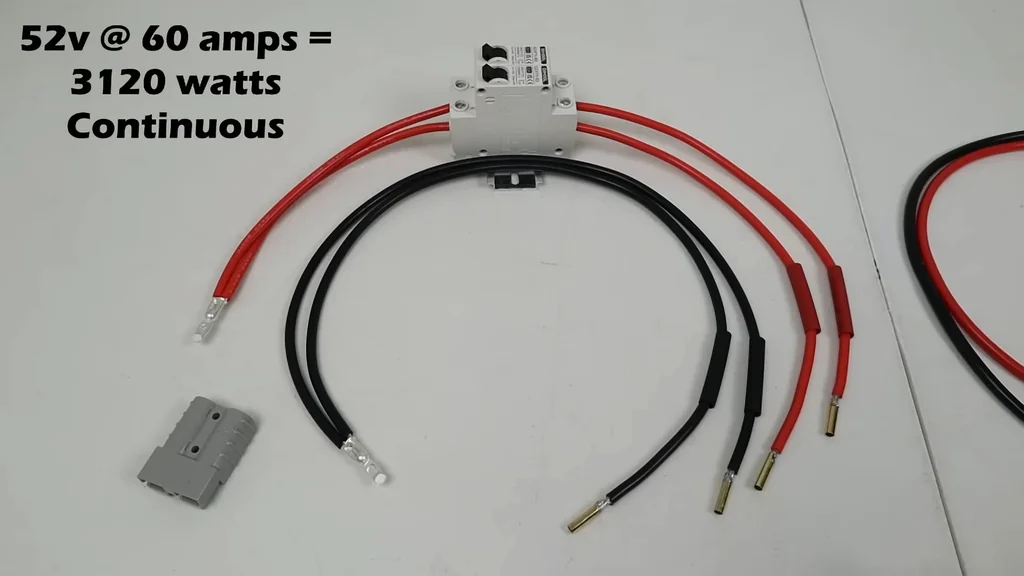
Testing the Circuit Continuity
Before plugging into the EcoFlow, verify the circuit path one last time. Use your multimeter to check for continuity across the breaker. It's clear. Ensure no stray wires are touching the pins on the expansion port. A short here will fry the port. Take your time.
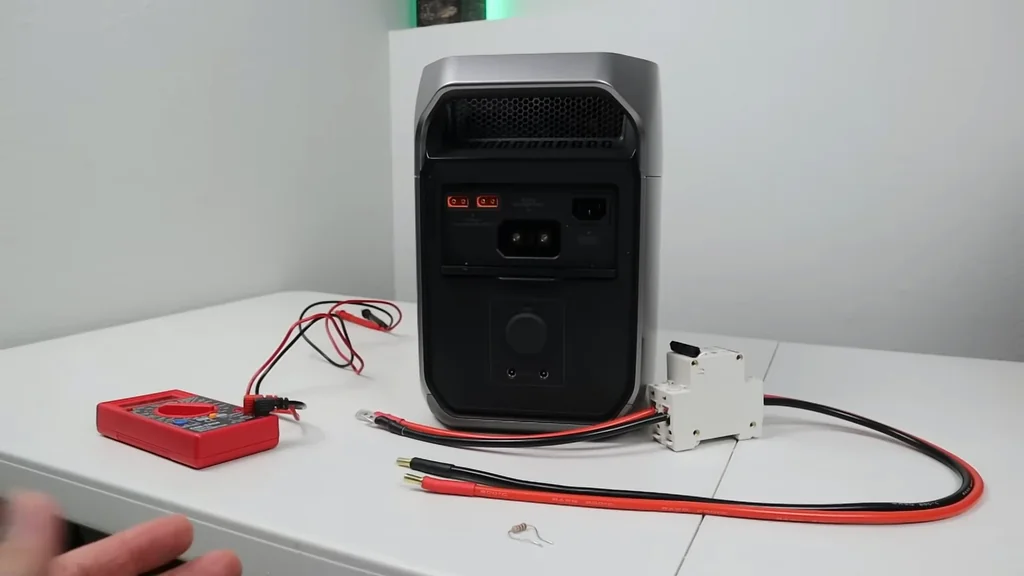
Identifying Expansion Port Pinouts
The rear panels house the expansion ports that make this magic happen. Each model, from the Delta 3 Plus to the Pro 3, uses different pin combinations. You must reference the pinout diagram for your specific unit. It's mandatory. Pin 4 and 5 or 6 are the targets depending on the hardware revision.

Connecting the Communication Bridge
Insert the resistor-equipped leads into the designated pins. These pins handle the handshake between the battery and the station. It's delicate. Use butt connectors to ensure a tight, vibration-resistant fit. If the connection is loose, the station will drop the battery. It's annoying.
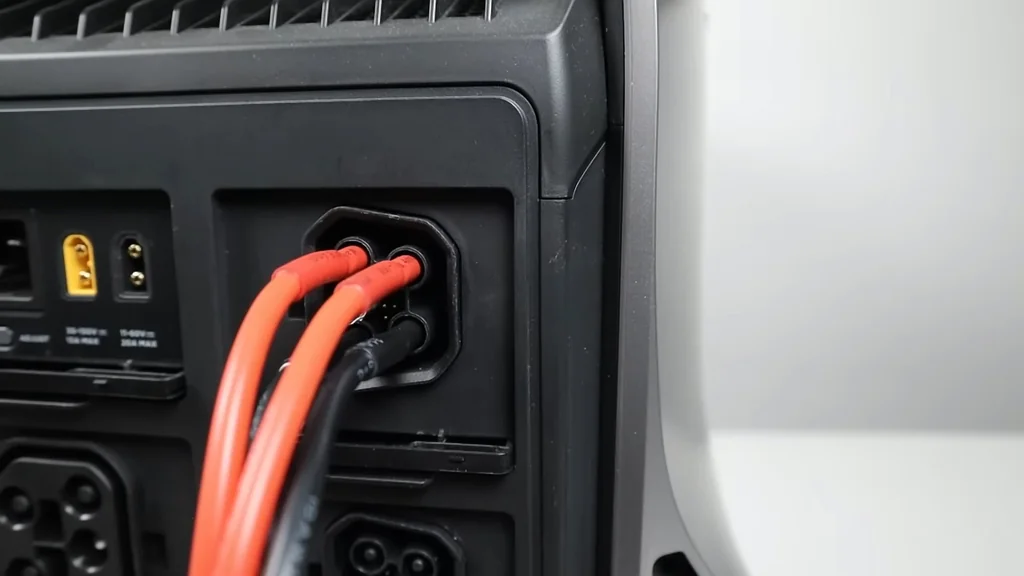
Monitoring Power Flow
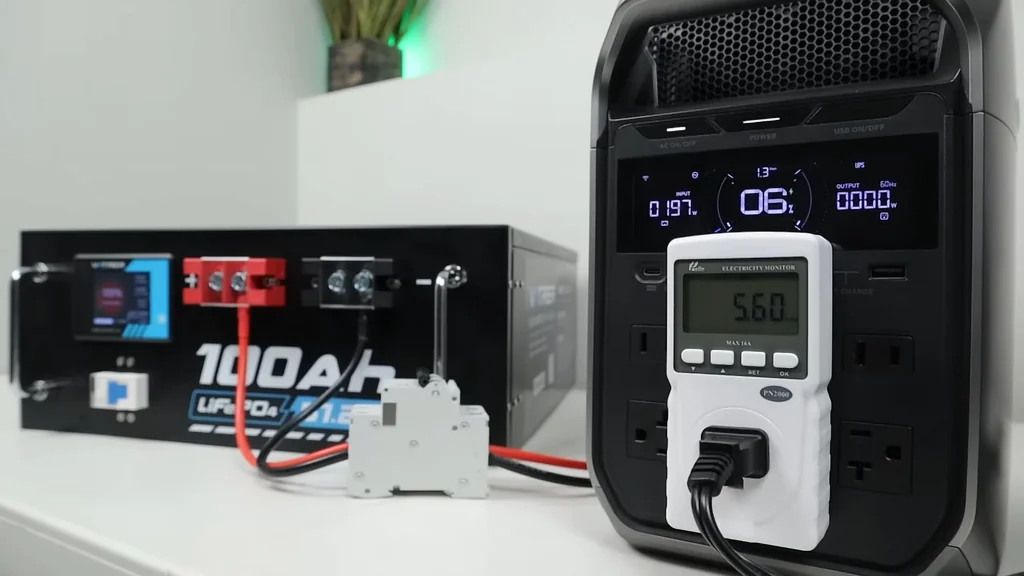
Once connected, the electricity monitor should show active power transfer. Watch the wattage climb as the station pulls from the external battery. It's working. If the numbers stay at zero, check your pin connections again. The handshake failed.
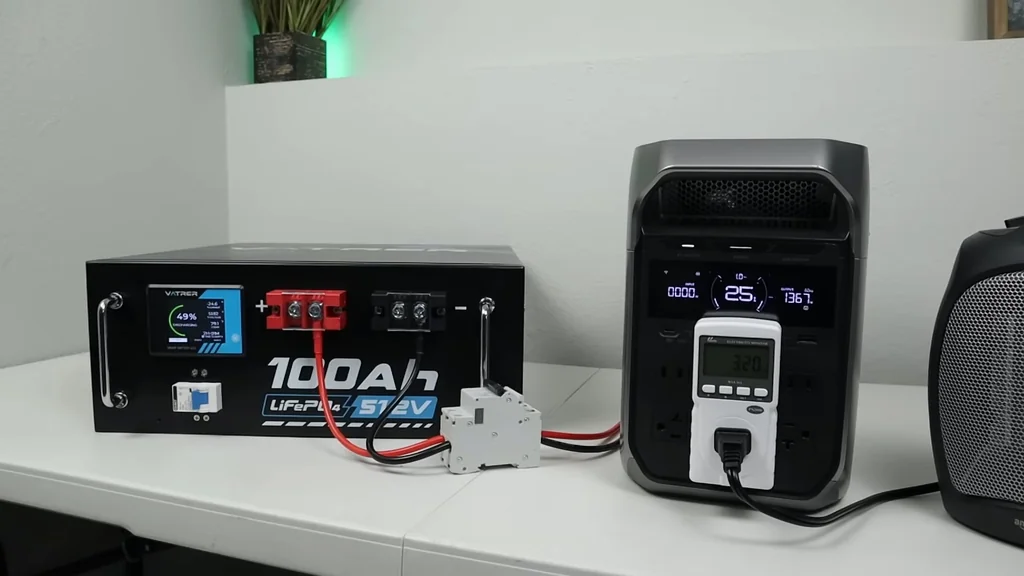
Verifying 560 Watt Discharge
The monitor indicates a steady 560-watt draw from the external pack. This confirms the system is successfully utilizing the DIY battery. It's impressive. Keep an eye on the temperature of your connectors during this initial load test. They should remain cool.
Charging the Power Station
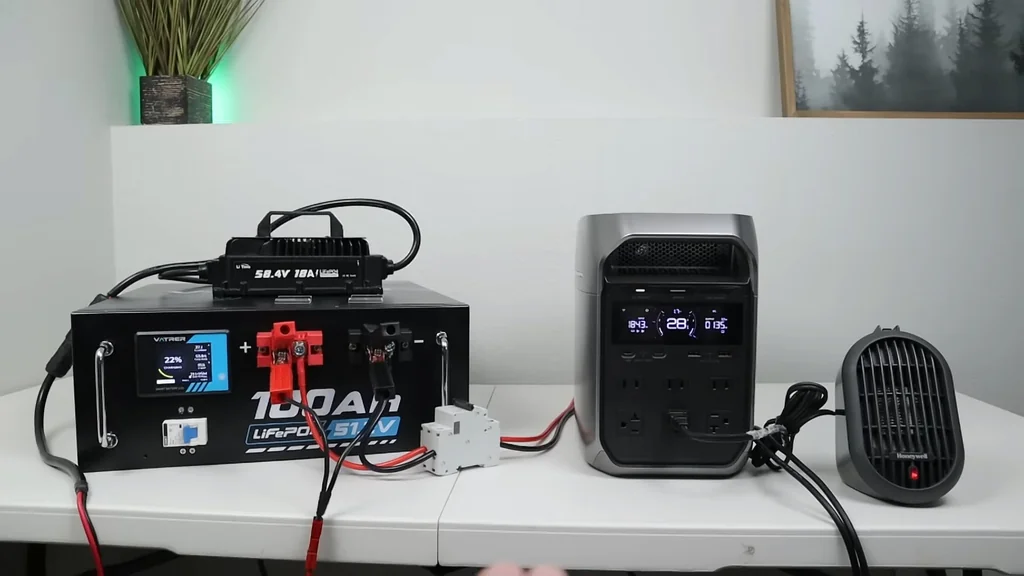
You can also use a dedicated 51.2V charger to top off the system. This setup creates a closed loop that keeps everything balanced. It's efficient. Ensure your charger settings match the LiFePO4 chemistry profile. Don't overcharge.
Simulating EV Charging Loads
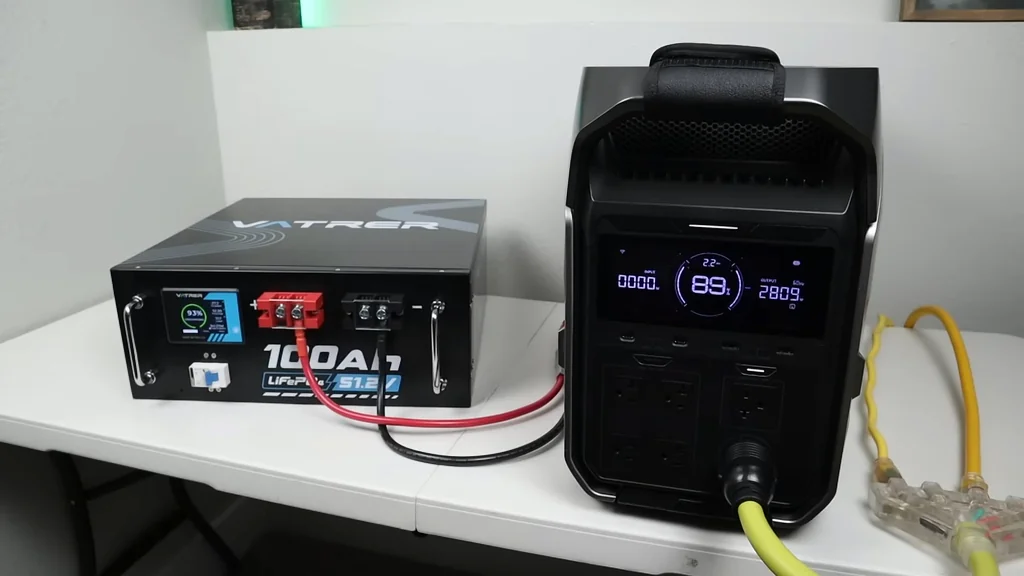
Push the system by simulating an EV charging load. This tests the limits of your DIY battery integration under high demand. It's intense. The EcoFlow manages the power distribution while drawing from the external source. It's stable.
Confirming Full Charge Status
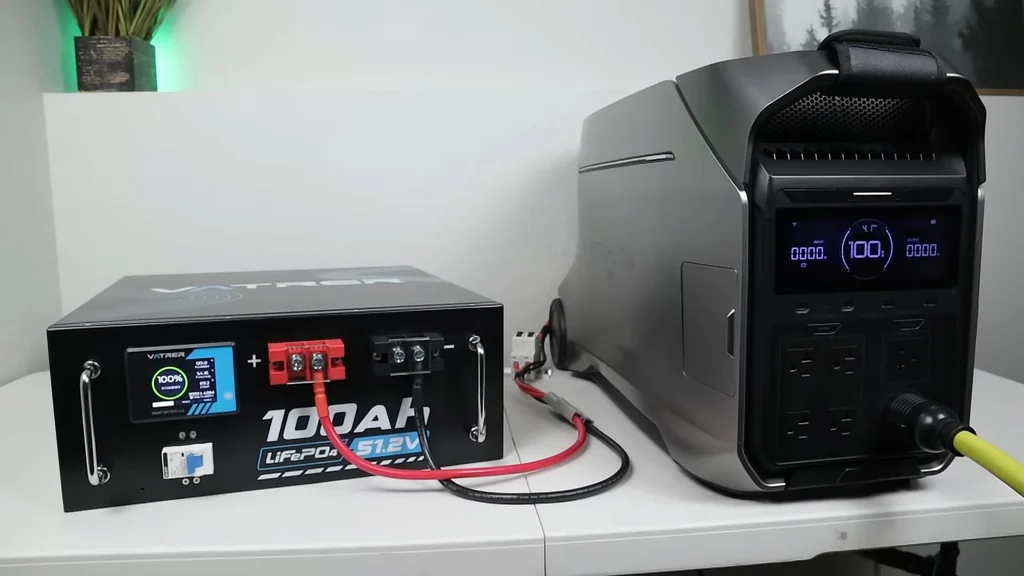
The station now reports a full charge status derived from the external battery. The integration is complete. It's successful. You've effectively bypassed the manufacturer's limitation. The system is ready.
Reviewing the Battery Setup
The man explains the nuances of the battery setup and why the resistor values are so important. It's about signal integrity. If the resistance is off, the communication fails. It's logical. Always double-check your resistor values.

Final System Observations
Wrapping up the project, we see the final configuration in action. The setup is clean and functional. It's reliable. This approach opens up massive possibilities for off-grid power storage. It's brilliant.
⚠️ CAUTION: SAFETY WARNING!
Working with high-voltage battery systems carries a risk of arc flash and fire. Always disconnect the battery before making any changes to the wiring or pin connections.
Summary & Tips
This DIY modification successfully unlocks the full potential of your EcoFlow power station. By using standard LiFePO4 batteries, you gain massive capacity without the proprietary price tag. The process requires careful attention to pinouts and circuit protection. It's a highly practical upgrade for any serious off-grid setup.
📋 FAQ
❓ Will this void my EcoFlow warranty?
Yeah, modifying the expansion port will almost certainly void your warranty. Proceed at your own risk. It's a permanent change.
❓ Can I use any 48V battery?
Depends on the chemistry and voltage range. You need a 48V 15S or 51.2V 16S LiFePO4 pack. Other types might cause damage.
❓ Why do I need a resistor?
The resistor creates a specific signal for the BMS. It tricks the station into thinking an official battery is attached. Without it, the port stays inactive.
❓ Is it safe to leave connected permanently?
Honestly, it's safe to use a breaker and disconnect when not in use. Always monitor your system during the first few charge cycles. It's smart.
Disclaimer: I purchased all tools for this guide with my own money to ensure an unbiased review. This post contains affiliate links, meaning I earn a small commission if you make a purchase at no extra cost to you.