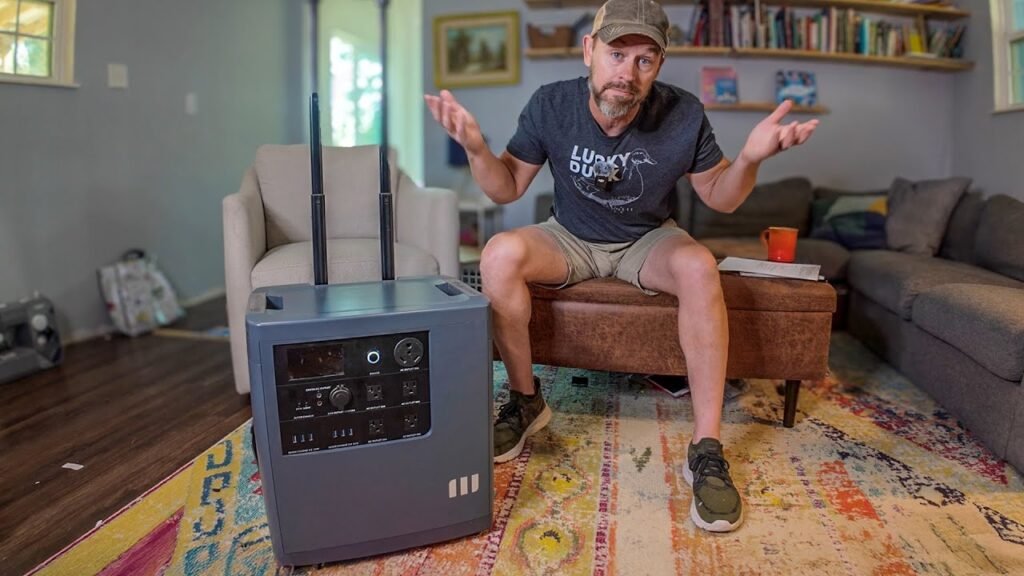
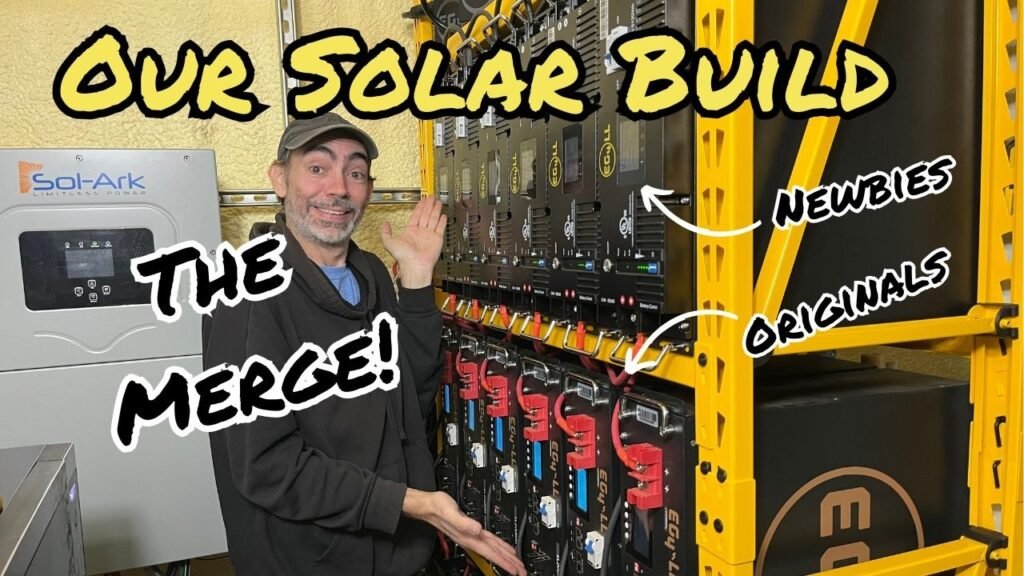
Build your own portable setup with LiFePO4 though, and you get way more control, maintenance is a breeze, and it just works better when you’re off-grid. We’re actually building a 1000W system here that you can service, all with a 100Ah slim battery and a pure sine wave inverter. And honestly, it’s a pretty simple build that puts you totally in charge.
⚡ Quick Guide: How to Make It in 15 Steps
- Plan your layout within a waterproof tote.
- Mount the battery and inverter on a rigid base.
- Install bus bars to simplify wiring connections.
- Crimp custom cables for the inverter and battery.
- Integrate a 100A breaker for safety.
- Connect the solar charge controller.
- Test the system with AC and DC loads.
- Testing Solar Performance
- Managing Voltage Drop
- Battery Operating Parameters
- Powering Up and Testing Loads
- Running High-Draw Appliances
- Monitoring System Efficiency
- Evaluating DIY Satisfaction
- Scalability and Future Upgrades
📋 In This Article
- Technical Specifications & Components
- Tools & Materials Used — what you will need for this project
- Planning the Portable Power Build
- Why Build Instead of Buying
- Mounting the Battery and Frame
- Installing Inverter and Bus Bars
- Wiring the Main Power System
- Selecting the Solar Panel
- Understanding the Charge Controller
- Testing Solar Performance
- Managing Voltage Drop
- Battery Operating Parameters
- Powering Up and Testing Loads
- Running High-Draw Appliances
- Monitoring System Efficiency
- Evaluating DIY Satisfaction
- Scalability and Future Upgrades
- FAQ
📊 Technical Specifications & Components
| Battery Type | LiFePO4 (Lithium Iron Phosphate) |
| Battery Capacity | 100Ah |
| Nominal Voltage | 12.8V |
| Charge Voltage | 14.4V (+/- 0.2V) |
| Inverter Output | 1000W continuous / 2000W surge |
| Inverter Efficiency | 91% |
| Operating Temperature | -4°F to 140°F |
| Max Continuous Discharge | 100A |
| Solar Input | 20A recommended |
| Inverter Weight | 6.6 lbs |
📊 Project Overview & Costs
So, difficulty-wise, it's a medium.
If you're doing it yourself, you're looking at maybe 4 to 6 hours, but a pro could probably knock it out in 2.
Hiring someone would run you between $600 and $900.
💡 Verdict: But the real deal? You'll save a bunch of money compared to those fancy store-bought ones, and if something breaks, you can just swap out the part instead of trashing the whole thing.
🛠️ Tools & Materials Used
• Unistrut metal framing
• MDF shelving material
• 100Ah LiFePO4 Slim Battery
• 100A circuit breaker
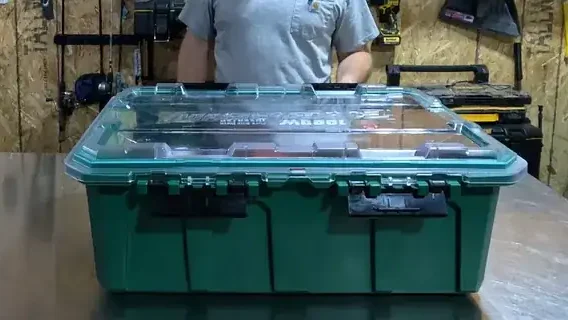
• Waterproof plastic storage tote
• USB panel charger
• 100W foldable solar panel
Step-by-Step Guide
Planning the Portable Power Build
First off, figure out what kind of power you actually need. Doesn't matter if it's for camping or just backup at home, it's gotta fit how you use it. We're gonna use a 1000W inverter and a 100Ah slim LiFePO4 battery for this one. That's a real good start. And you'll also need some basic hardware, bus bars, and a tough, waterproof box to keep all your stuff safe from the weather. Keep it simple, though.
Why Build Instead of Buying
Alright, those ready-made units, like EcoFlow or BlueEdi, yeah, they're handy, but they're basically sealed boxes. Once one of those kicks the bucket, it's just a big paperweight. But building your own? That means if your inverter goes bad or a breaker acts up, you can just swap out that one part instead of throwing away the entire thing. It's about being able to fix your own stuff, you know? And you end up with something repairable that cost you less money.
Mounting the Battery and Frame
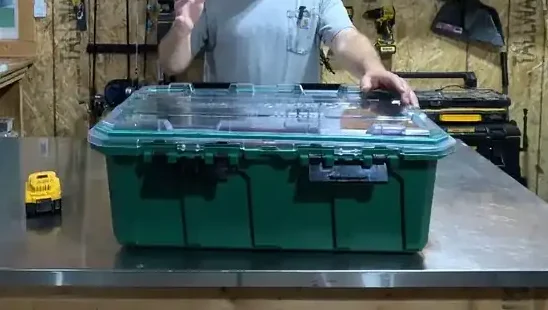
So, for the frame, we're using unistrut. It's super rigid and easy to mess with. I just cut the 1.5-inch by 0.75-inch strut to size, then used some quarter-20 screws to bolt those legs down. That makes a really solid platform inside the tote. It ain't going anywhere. Everything's locked in.
Installing Inverter and Bus Bars
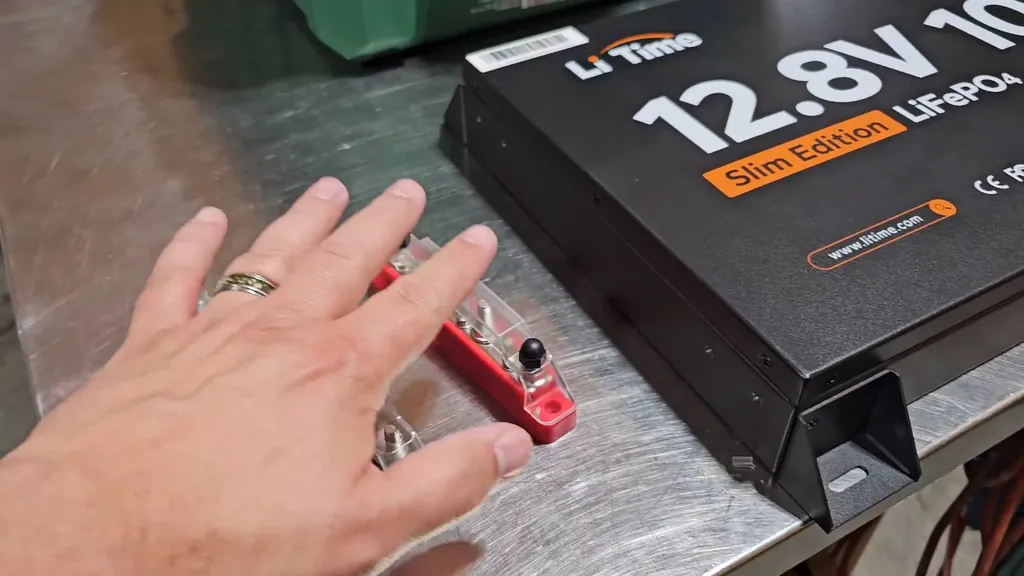
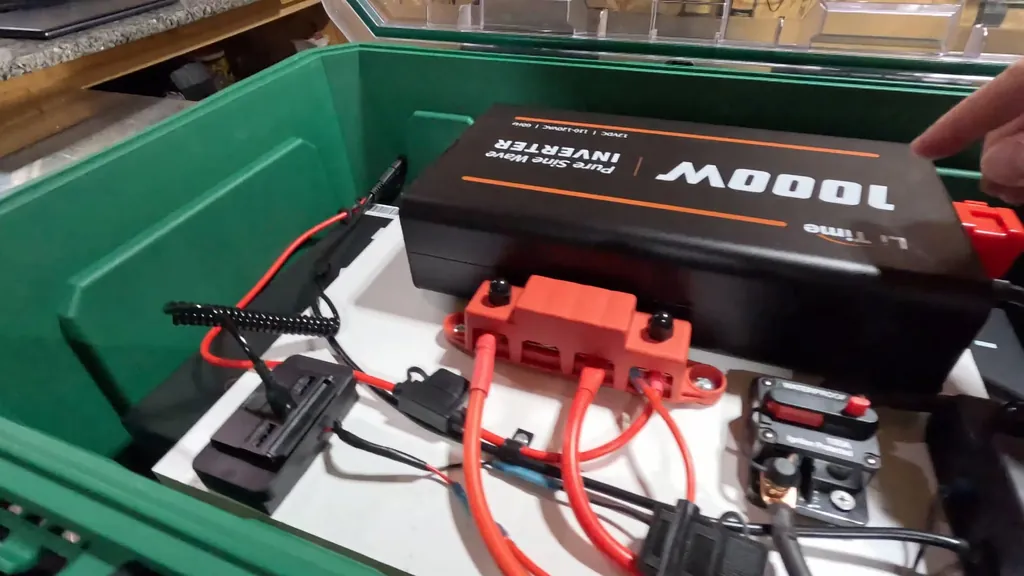
Alright, battery's in. Got the top shelf mounted, negative bus bar all secured. Inverter's bolted, so now it's time for the real wiring. Gotta run those cables. And yeah, you'll need custom cables here. You can use the leads that came with the inverter, but you're gonna have to crimp your own for the battery-to-bus bar connections, which isn't hard at all.

Wiring the Main Power System
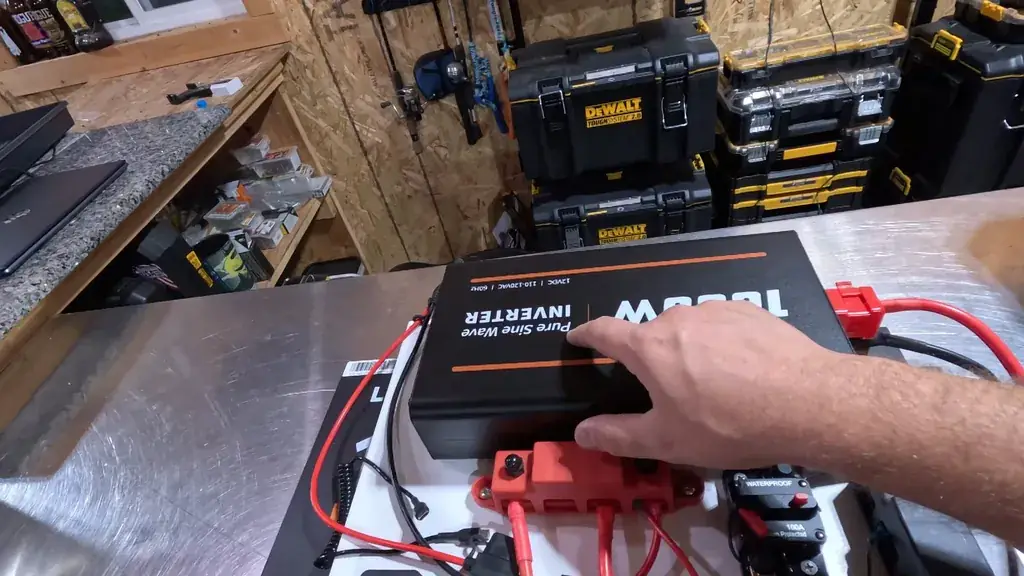
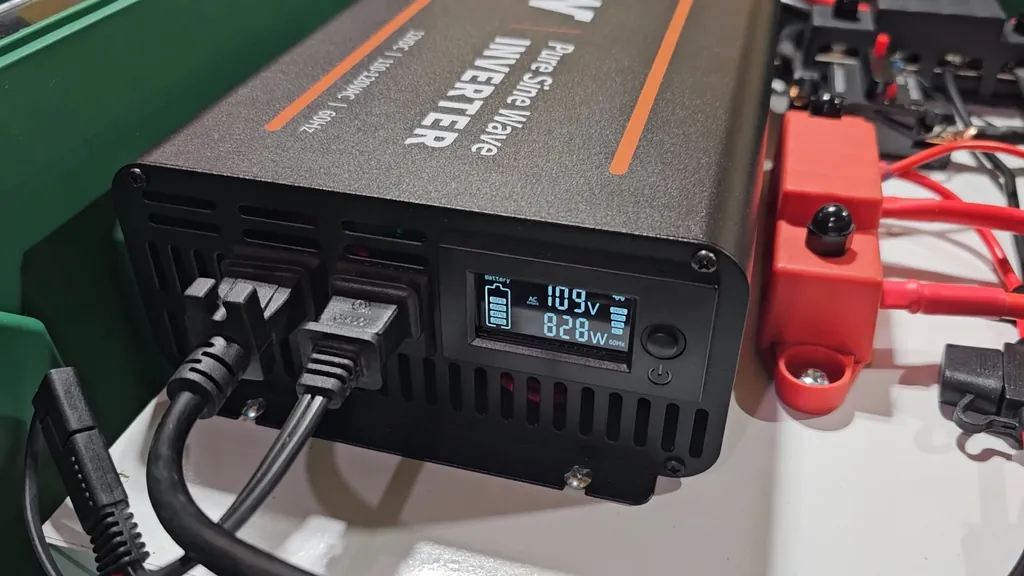
So, here's how it ended up. We've got that 1000W pure sine wave inverter mounted right up top. The main cables run from the inverter right to the bus bar, and the solar input is fused directly into that same bus bar to charge the battery. Looks clean. And the negative side goes through a 100A breaker, so if anything goes sideways, you can kill the power in a flash. It's real safe.
Selecting the Solar Panel
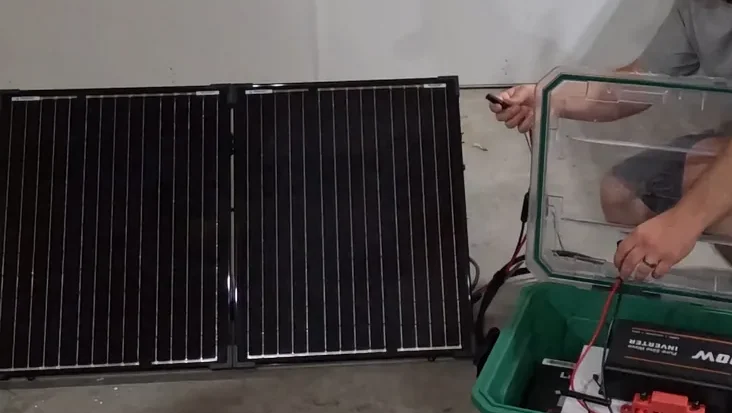
You're gonna need a good source for that power, right? I grabbed this 100W foldable rigid solar panel. It's super portable and just gets the job done. I'll link all the stuff down below. For the money, it's a really solid panel. You'll be set with it.
Understanding the Charge Controller
The charge controller? That's kinda like the bouncer for your battery. It controls exactly what goes in and out. This specific one is actually built right into the back of the panel. And you can totally expand this setup by putting panels in parallel or series, just depends on how much power you need. It's pretty flexible. So, let's take a closer look at these connections.

Testing Solar Performance
I've even tried this panel on a cloudy day, and it still did great. It brought the battery from half-dead to completely full in just one day. Man, that's really good performance. Plus, this brand usually beats everyone else on price per watt. Yeah, it just works.
Managing Voltage Drop
I'm running a 10-foot extension for the solar panel so I can keep it a good distance from the main box. You really want to cut down on any voltage drop. It's a pretty easy trick, actually. Sunlight goes in, power comes out. Works great.
Battery Operating Parameters
The battery's sitting at 12.8V nominal. It charges right up to 14.4V. And the recommended input current is 20 amps, which is perfect because that's exactly what the solar panel puts out. Yeah, it's a perfect match. You're all good to go.
Powering Up and Testing Loads
Alright, fire it up. You'll hear that inverter start humming. So I'm plugging in my phone and a DeWalt battery charger right now. Everything's purring along just fine. It works.
Running High-Draw Appliances
This ain't no small draw, man. I've got a 120V, 8-amp shop vac hooked up right now. And it's pulling about 828 watts. The system just chugs along, doesn't trip a single breaker. This thing's a beast.
Monitoring System Efficiency
Today, we've already cranked out 4.7 amp hours. And the system's putting out a nice 13.3 volts. It's charging up just like it's supposed to. That Voyager charge controller? It's doing its thing. Real steady.
Evaluating DIY Satisfaction
So, why go through all this to build it yourself? Well, for starters, you learn exactly how the damn thing works. And when something inevitably breaks, you'll actually know how to fix it. You're not stuck waiting for some warranty department to get back to you. Plus, it's way cheaper, too. That's the big win right there.
Scalability and Future Upgrades
The cool thing is, this system's totally scalable. You can just bolt on more batteries to the inverter and input you've already got. It's completely modular, buddy. You literally built your own little electrical powerhouse from nothing. And that's it.
⚠️ CAUTION: SAFETY WARNING!
Seriously, always, always check your polarity before you connect anything up. Slamming a negative on a positive? You're gonna get sparks, and probably fry your parts.
Summary & Tips
Look, building your own power station is just a smart way to get off the grid, or at least be ready for it. You'll actually learn how the whole darn system works, from the inside out. So when some part eventually craps out, you won't be scratching your head, you'll just fix it yourself. It's a really solid project, and honestly, it pays for itself every time you fire it up.
📋 FAQ
❓ Can I add more batteries later?
Yep, totally can. The whole setup's modular, so just tossing in another battery pack is pretty straightforward. Just be sure your wiring's beefy enough for that extra juice.
❓ Is this system waterproof?
Honestly, that just depends on how well you seal up the box. The tote itself is waterproof, but you'd have to add some proper sealed inputs and outputs if you really wanna use it when it's pouring.
❓ How long does it take to charge?
Typically, with a 100W panel and some good sunlight, you're looking at about 10 hours. But that really changes with the season and how many clouds are rolling around.
❓ Do I need to be an electrician?
Nah, you definitely don't need to be an electrician. You just gotta be careful, really double-check your connections, and get the hang of basic DC wiring. Actually, it's a pretty sweet way to learn that stuff.
Disclaimer: I purchased all tools for this guide with my own money to ensure an unbiased review. This post contains affiliate links, meaning I earn a small commission if you make a purchase at no extra cost to you.