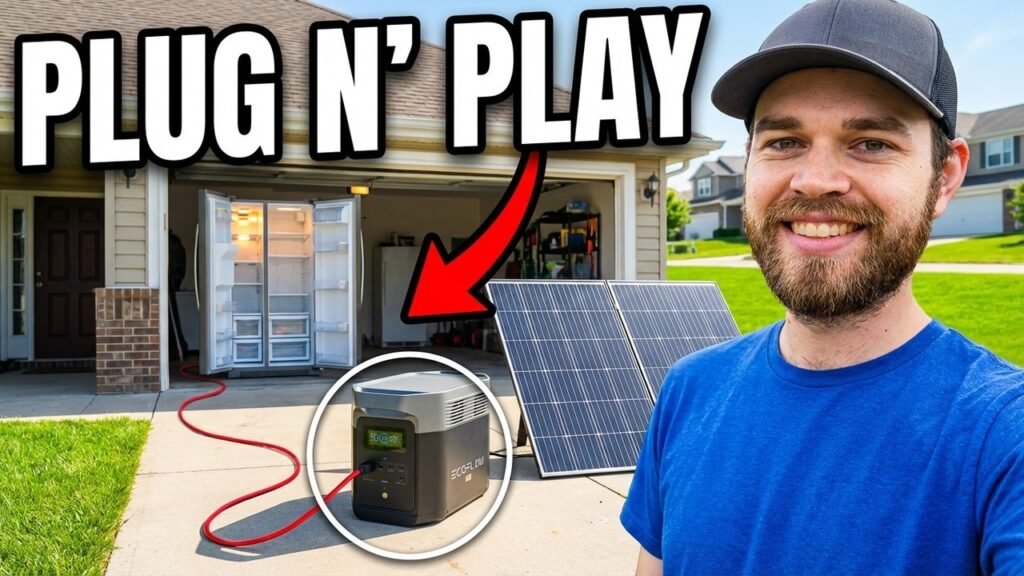
Building a dependable off-grid solar backup doesn’t necessitate spending ten thousand dollars on large-scale home battery banks. For exactly $988, I combined a high-capacity LiFePO4 battery, a clean pure sine wave inverter, and a rigid folding panel into a versatile mobile power rig. Here is how I wired, tested, and optimized a practical budget solar setup.
⚡ Quick Guide: How to Make It in 15 Steps
- Unbox budget components targeting under $1,000 cost.
- Inspect Pecron 12V 2560Wh LiFePO4 battery ports.
- Check handle mounting options for secure positioning.
- Connect DC socket attachment for accessory power.
- Unfold Rich Solar 200W rigid panel legs.
- Angle panels directly to eliminate all shadow.
- Wire inverter thick cables to battery terminals.
- Verify solar pass-through charging via battery monitor.
- Plug light bulb into inverter to calculate watts.
- Test 650W toaster and 1500W electric kettle.
- Run multiple small appliances simultaneously under 2000W.
- Observe overload shutdown when exceeding 2000W limit.
- Evaluate inverter long-term durability and component matching.
- Calculate solar charge times and practical capacity limits.
- Pack setup securely into portable storage totes.
📋 In This Article
- Technical Specifications & Components
- Tools & Materials Used — what you will need for this project
- Setting Budget Goals for Custom Solar
- Inspecting the Pecron 12V LiFePO4 Battery
- Evaluating Hardware Mounting and App Interface
- Connecting DC Accessories and Main Inverter Leads
- Unfolding the Rich Solar 200W Panel
- Optimizing Solar Alignment and Component Costs
- Wiring Sequence and Initial Power Check
- Monitoring Solar Pass-Through Performance
- Testing AC Inverter Output with Household Lamps
- Running High-Draw Heating Elements
- Simultaneous Appliance Load Testing
- Triggering Inverter Safety Overload Protection
- Analyzing Inverter Build Quality vs Cheaper Alternatives
- Calculating Solar Recharging Times and Mobility
- Final Workshop Verdict and Practical Application
- FAQ
📊 Technical Specifications & Components
| Battery Capacity | 2560 Wh (12V 200Ah LiFePO4) |
| Battery Input Connector | High-current XT90 port |
| Inverter Output Power | 2000W Continuous Pure Sine Wave |
| Solar Array Output | 200W Rigid Folding Monocrystalline Panel |
| Auxiliary Outlets | Dual USB-A ports, 12V automotive lighter socket |
| System Total Price | $988 total |
| Estimated Solar Recharge | ~6.5 hours in optimal sunlight |
📊 Project Overview & Costs
🔧 Difficulty Level: Easy
⏱️ Time Investment: DIY: 20–30 minutes | Pro: 10 minutes
💰 Professional Service Cost: $150 - $250 labor
💡 Verdict: Self-assembly eliminates labor charges while retaining component-level repair access.
Step-by-Step Guide
Setting Budget Goals for Custom Solar
Most commercial off-grid solar kits cost between five and twenty thousand dollars. That pricing makes zero sense for basic home backup or weekend camping. I set out to build a modular solar package for under $1,000 without buying unbranded online parts that fail under load. My total bill came to $988 flat. I kept twelve bucks in my pocket. Every piece of hardware selected here is field-tested, standardized, and easily replaced if an individual part fails.

Inspecting the Pecron 12V LiFePO4 Battery
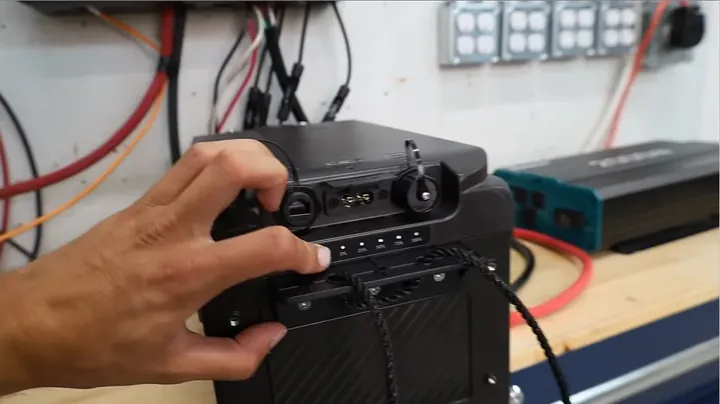
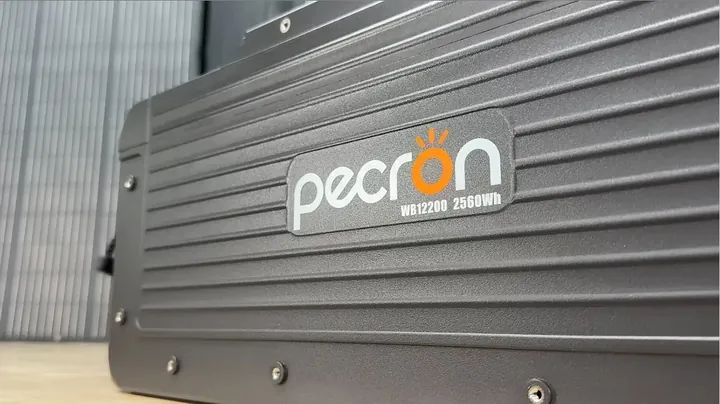
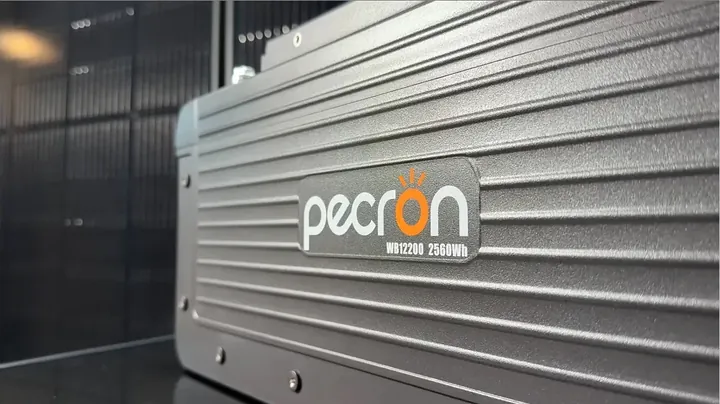
I based this build around the Pecron WB122000 12V LiFePO4 battery, which provides 2560 watt-hours of capacity. Plug-and-play design saves time. Instead of fabricating custom cable lugs or clamping bare wire, I plugged straight into an integrated XT90 solar input port on the front panel. Dedicated communication ports allow smart inverter integration. The top enclosure includes a clear digital screen displaying exact state-of-charge percentages whenever I walk past the unit.
Evaluating Hardware Mounting and App Interface
Most companion mobile apps packaged with cheap batteries crash constantly. Pecron designed a Bluetooth interface that actually connects, showing live solar generation watts, discharge metrics, and cell balancing data without forcing me to crouch by the unit. The physical housing offers great mounting flexibility. Threaded metal inserts line the aluminum body, letting me reposition grab handles or bolt the chassis straight into a truck bed or cabin floor. It stays put. That stops this heavy battery from shifting during transit.
Connecting DC Accessories and Main Inverter Leads
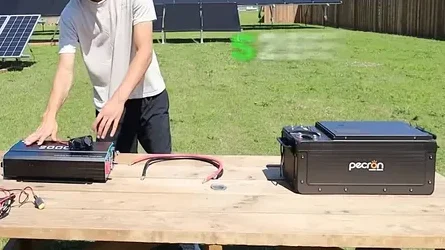
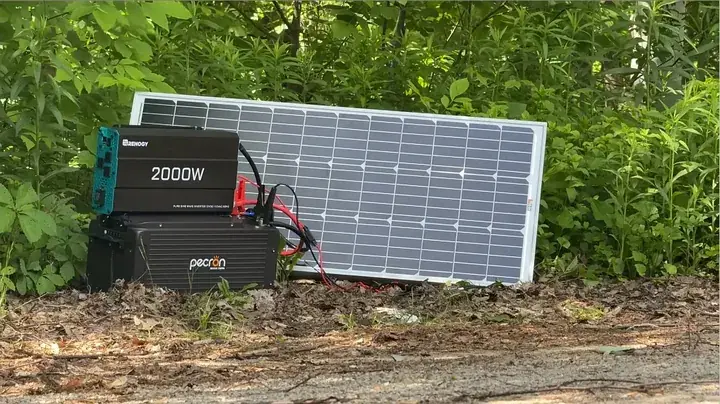
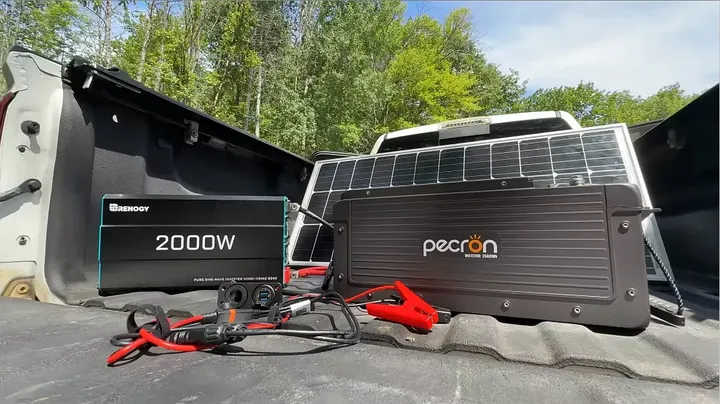
Auxiliary equipment connects via a direct-current distribution box featuring twin USB ports and a standard 12V lighter socket. I can run portable fridges or air compressors directly off DC power without losing efficiency to AC conversion. Next, I wired the Renogy 2000W pure sine wave inverter. Thick copper battery cables bolt tightly from the inverter studs directly to the battery terminals. Front AC receptacles deliver household voltage capable of driving loads up to 2000 continuous watts.
Unfolding the Rich Solar 200W Panel
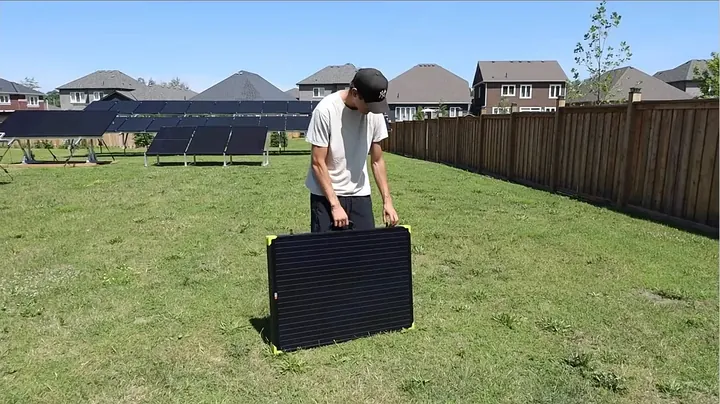
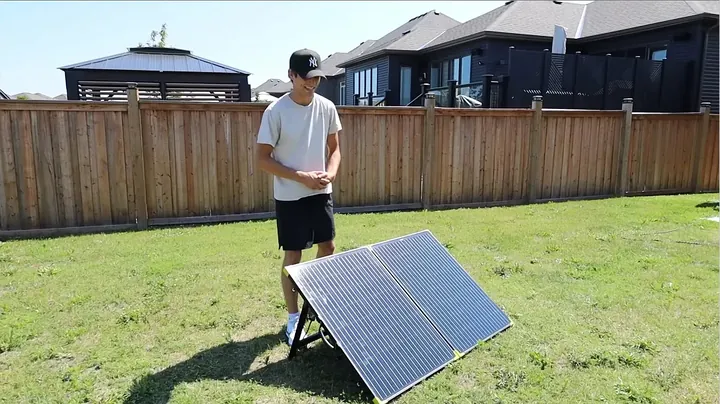
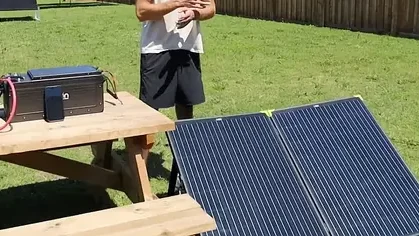
Flexible solar blankets degrade quickly under UV exposure and wind stress. I chose the Rich Solar 200W folding panel for its rigid aluminum frame that survives field use. Built-in folding legs lock into place to maintain a solid tilt angle toward the sun. In the back, standard solar leads connect to an XT90 adapter plug that mates with the battery input. Deployment takes seconds. Internal voltage matching ensures safe operation with the built-in charge controller.
Optimizing Solar Alignment and Component Costs
Precise panel orientation maximizes power harvest. Here is a workshop trick I use: check the leg shadow cast by the frame. If the shadow angles off to the side, my alignment is wrong. I pivot the panel until the support shadow disappears directly behind the frame, ensuring perpendicular sunlight. Accounting for costs: the panel was $260, the battery cost $379, the inverter ran $285, and the DC socket box cost $18.75. That kept total spending safely below my thousand-dollar limit.
Wiring Sequence and Initial Power Check
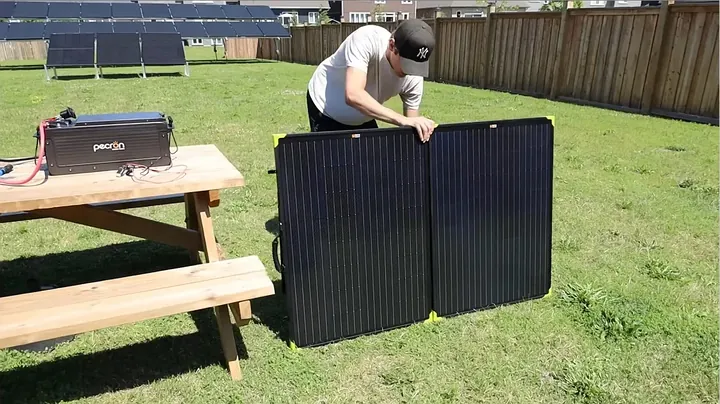
Following a strict connection sequence prevents accidental voltage spikes on sensitive components. First, I bolted the positive and negative inverter leads to the binding posts and clamped them onto the battery. Then I connected the 12V DC accessory harness to the same studs. I turned on the inverter main switch to verify healthy status LEDs prior to introducing solar input. Finally, I stretched out the solar cable and plugged the XT90 connector into the battery charge port.
Monitoring Solar Pass-Through Performance
Checking the mobile dashboard showed the battery sitting at 78% capacity. With the inverter powering a test lamp, solar input registered roughly 50 watts due to live pass-through consumption. Shutting off the inverter routed all generated solar current directly into the battery cells, raising panel input to 159 watts. Angling the array closer to perpendicular sunlight will push output near its 200W rating. The assembly phase is finished. The solar circuit performs properly.
Testing AC Inverter Output with Household Lamps
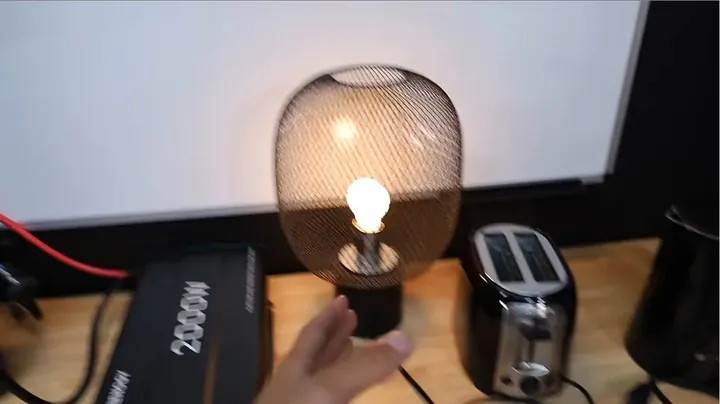
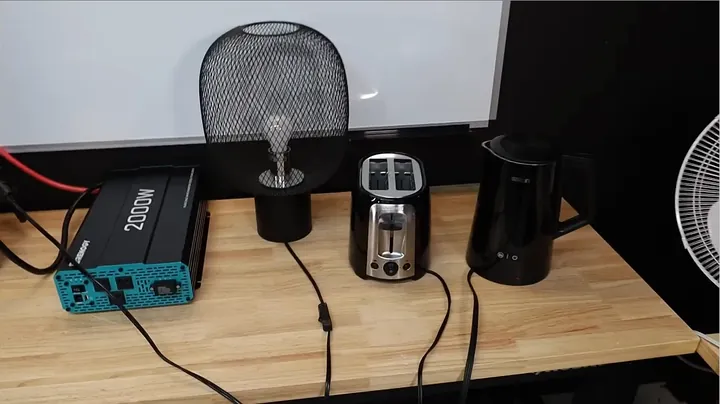
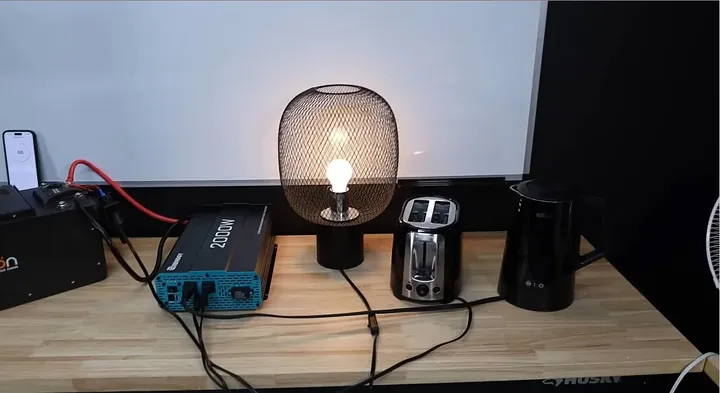
I moved on to bench testing under physical electrical loads, setting up a test lamp, toaster, kettle, fan, and a mini fridge. Interestingly, Pecron's monitoring app displays discharge in raw amperage rather than running wattage. I had to multiply system voltage by current manually to calculate actual power draw. Hopefully, a software update fixes that interface quirk. The 100-watt test lamp lit up cleanly without flickering or audible transformer hum.
Running High-Draw Heating Elements
Resistive heating loads stress portable power systems quickly. Connecting a standard 650-watt kitchen toaster drew immediate current. The internal wire coils turned orange within seconds and the inverter held steady output voltage. Next, I tested a heavy 1500-watt electric water kettle. The internal relay engaged and water started heating instantly. The inverter handled the 1.5kW resistive demand without voltage sag.
Simultaneous Appliance Load Testing
Running single devices is straightforward, but real outages demand multi-load capacity. I plugged the 100W lamp, a workshop fan, and the 650W toaster into a power strip attached to the inverter. Combined draw stayed under 1000 watts. The fan maintained full speed, the lamp stayed bright, and the toaster operated normally without pulling down system voltage. This configuration handled mixed garage loads smoothly.
Triggering Inverter Safety Overload Protection
Every inverter has a hard operational ceiling. Swapping the fan for the 1500W electric kettle pushed total load past 2250 watts. The moment the kettle activated, the inverter tripped its internal protection circuit and cut AC output to protect the MOSFET transistors from thermal damage. Output dropped instantly. That is how overload protection should function. Operating under the 2000W threshold prevents these safety trips.
Analyzing Inverter Build Quality vs Cheaper Alternatives
Using reputable hardware like Renogy matters over generic alternatives. Buying a cheap unbranded 4000W inverter online saves a few dollars, but subpar internal capacitors and undersized heat sinks typically fail under sustained loads. I stick with pure sine wave units. The main limitation with this budget layout is storage runtime. Drawing a max 2000W load from a 2560Wh battery drains the cells completely in roughly one hour. That is the physical reality.
Calculating Solar Recharging Times and Mobility
Recharging a depleted 2560Wh battery with a single 200W panel takes about 6.5 hours of direct sunlight. That recharge speed is slow if you draw high continuous wattage, but for weekend trips or basic backup duty, it keeps the energy bank replenished. Transporting the kit requires a protective storage tote to safeguard loose cabling and panels. I had twelve dollars left in my budget, so I skipped buying a plastic crate to stay under $1,000.
Final Workshop Verdict and Practical Application
For a $988 total cost, this custom solar kit offers real modular flexibility that pre-built power stations lack. You get separate components, clean wiring, pure sine wave AC output, and direct 12V DC capability. It works well. If a component fails down the road, I can replace that specific part instead of throwing away an entire integrated power unit. Keep power demands under 2000 watts and this setup performs reliably wherever I take it.
⚠️ CAUTION: SAFETY WARNING!
Always double-check wire polarity (+ to + and - to -) before connecting heavy battery cables to inverter binding posts. Reversing DC terminals will cause severe electrical arcing, terminal melting, and immediate inverter destruction.
Summary & Tips
Building a custom $1,000 DIY solar system provides unmatched modular flexibility compared to expensive pre-built power stations. Choosing reliable tested components like the Pecron LiFePO4 battery and Renogy inverter guarantees clean power up to 2000W continuous output. Keeping panel alignment direct maximizes input solar current for consistent off-grid battery charging. This setup delivers practical, long-term emergency backup power without wasting money on questionable equipment.
📋 FAQ
❓ Can this $1,000 solar setup power my entire house during a blackout?
Nah, this isn't a whole-home backup system. It is designed to handle essential loads like emergency lights, mini fridges, phone chargers, and small kitchen appliances up to 2000W total. Trying to power central air units or electric water heaters will trip overload protection instantly.
❓ Why do modular components buy instead of an all-in-one power station?
Modularity is the biggest advantage here. If a single component breaks inside an all-in-one power box, the whole machine becomes useless junk. With individual modular components, you can replace or upgrade a single battery, panel, or inverter whenever you want.
❓ How long will the 2560Wh LiFePO4 battery run standard appliances?
Depends entirely on your total wattage load. Running a modest 100W light bulb continuously will last over 20 hours on a full charge. High-draw resistive heating loads like a 1500W electric kettle will drain the cells in under two hours.
❓ Do I need an extra MPPT charge controller for this battery?
Usually yes, but this specific Pecron battery features integrated charge logic designed for direct solar connection via its high-current XT90 port. Always check maximum input voltage limits before connecting solar panels directly.
Disclaimer: I purchased all tools for this guide with my own money to ensure an unbiased review. This post contains affiliate links, meaning I earn a small commission if you make a purchase at no extra cost to you.