The E015 error on a FlashForge Adventurer 5M Pro typically indicates a communication failure between the mainboard and the extruder assembly. Often, this isn’t a faulty nozzle but a damaged print head bus cable that has overheated due to high-temperature operation. This guide walks you through the physical inspection, cable replacement, and reassembly process required to restore thermal feedback and get your printer back to printing.
⚡ Quick Guide: How to Make It in 20 Steps
📋 In This Article
- Technical Specifications & Components
- Tools & Materials Used — what you will need for this project
- Powering Down and Safety Preparation
- Accessing the Extruder Interface Board
- Inspecting the Interface Card for Damage
- Sourcing the Replacement Print Head Cable
- Removing the Hotend Assembly Screws
- Detaching the Fan and Filament Guide
- Loosening the Interface Card Fasteners
- Managing Small Fasteners During Disassembly
- Identifying the Shorted Connector
- Installing the New Ribbon Cable
- Connecting the Extruder Board Ports
- Realigning the Extruder Assembly
- Securing the Fan and Filament Path
- Tightening Screws Evenly
- Finalizing Cable Connections
- Securing the Interface Board
- Attaching the Extruder Cover
- Testing the Printer Startup
- Verifying Extruder Heating
- Confirming Successful Repair
- FAQ
📊 Technical Specifications & Components
| Printer Model | FlashForge Adventurer 5M Pro |
| Error Code | E015 (Extruder Temperature Error) |
| Fastener Sizes | 2mm, 2.5mm, 3mm |
| Interface Board | Extruder Bus Interface Card |
| Operating Temperature | Up to 230°C |
| Cable Type | Print Head Bus Cable |
📊 Project Overview & Costs
🔧 Difficulty Level: Medium
⏱️ Time Investment: DIY: 45-60 minutes | Pro: 20-30 minutes
💰 Repair Cost: $50 - $100 (parts + labor if outsourced)
💡 Verdict: Replacing the cable yourself saves the cost of a full print head assembly replacement.
🛠️ Tools & Materials Used
• Allen Key Set
• Magnetic Screwdriver
• Replacement Print Head Bus Cable
• Replacement Extruder Interface Board
FlashForge Adventurer 5M Pro E015 Error: Step-by-Step Repair Procedure
Powering Down and Safety Preparation
Before touching any internal electronics, you must ensure the machine is completely dead. Unplug the power cable from the back of the FlashForge Adventurer 5M Pro. It's a brand new machine, so it's frustrating to see an E015 error this early. The error indicates the printer can't read the extruder temperature. Always power off first. This prevents shorting the mainboard during disassembly.
Accessing the Extruder Interface Board
Locate the two screws on the extruder interface board. Use the provided Allen key to remove them. Wiggle the cover gently left and right to free it. You will see the main power cable connected to the extruder. Squeeze the connector sides to release it. Don't pull by the wires. Pull by the connector housing.
Inspecting the Interface Card for Damage
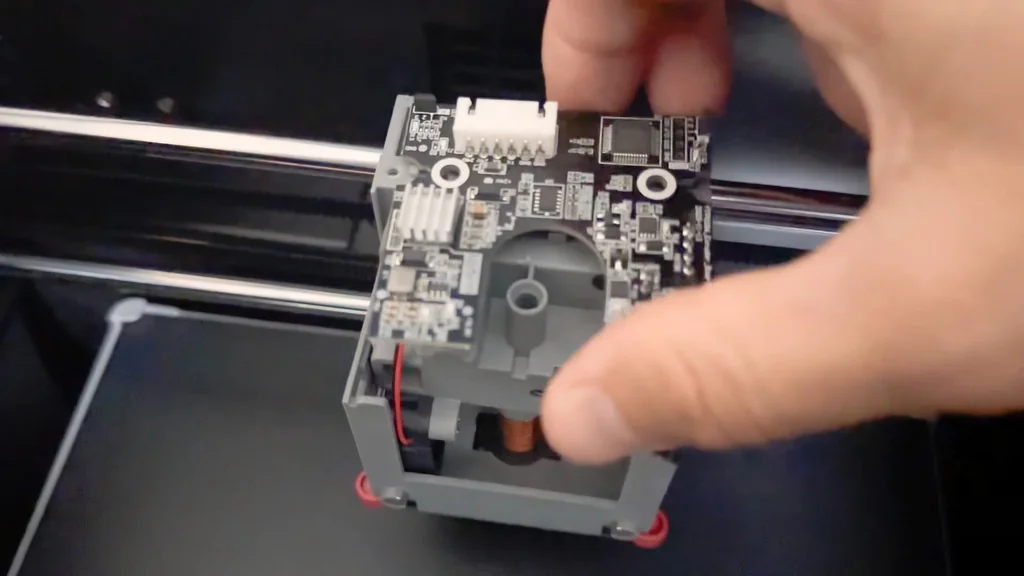
The interface card is now exposed. This is the component that often fails. FlashForge might send a replacement, but the cable is usually the culprit. Use a flashlight to inspect the connections. Look closely at the wiring harness. You'll likely see the failure point right there. It's a common point of heat-related stress.
Sourcing the Replacement Print Head Cable
You need the specific print head bus cable. It's a proprietary part. If you are within the warranty period, contact FlashForge support directly. They have warehouses in places like Texas that can ship these out. Don't lose your screws during this process. Keep them organized in a small tray. This cable is the primary fix for the E015 error.
Removing the Hotend Assembly Screws
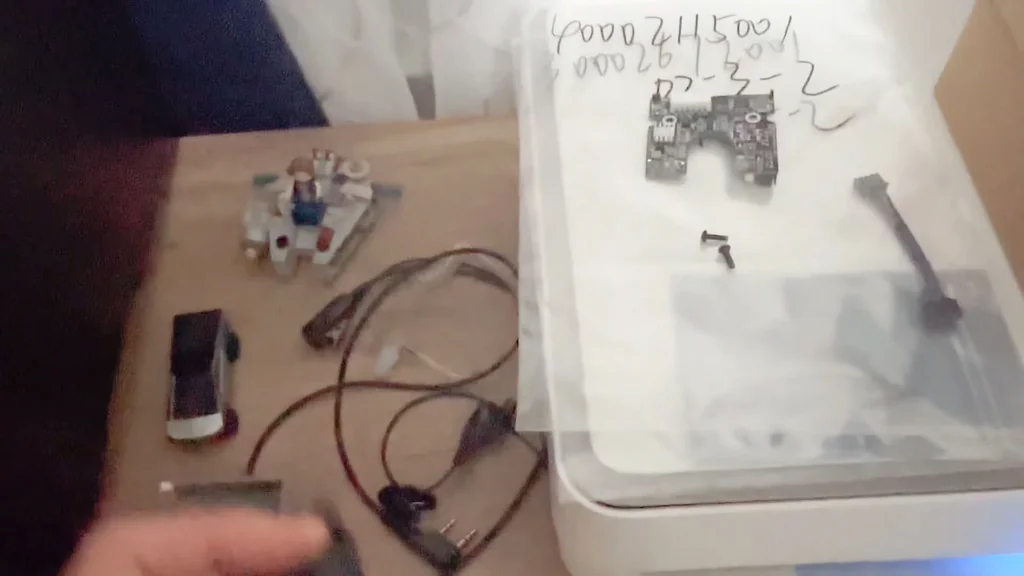
Remove the three long screws holding the assembly. Use a 2mm Allen key for these fasteners. These screws aren't magnetic, so use a magnetic screwdriver if you have one. Don't touch the fourth screw in the back. That one holds the assembly to the carriage. Just remove the three primary screws.
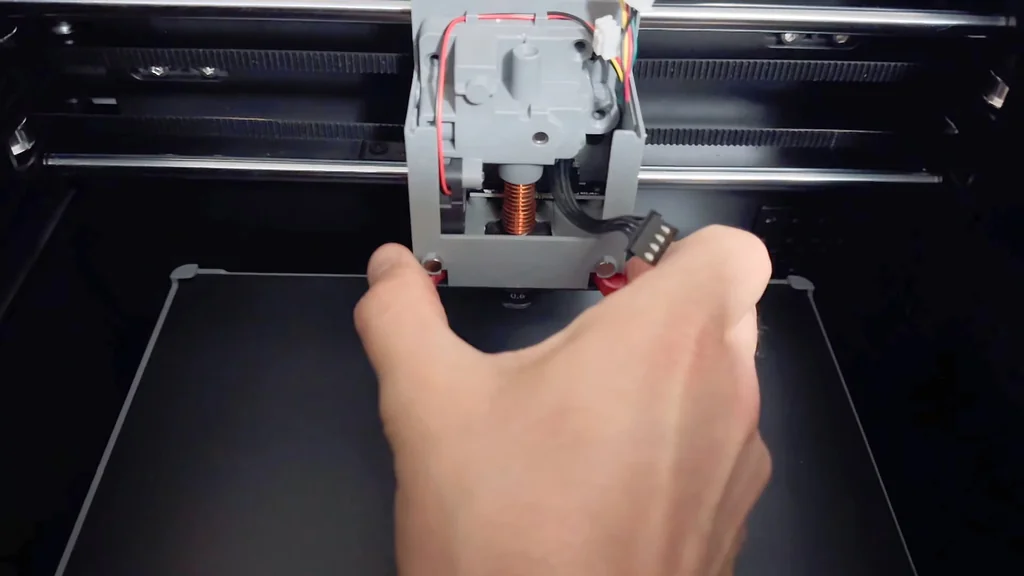
Detaching the Fan and Filament Guide
The fan assembly needs to be moved aside. It's connected to the filament tube line. Lift the middle piece gently. You don't need to disconnect everything. Just lift it up to gain access. It's a simple mechanical lift. This reveals the underlying cable connections.
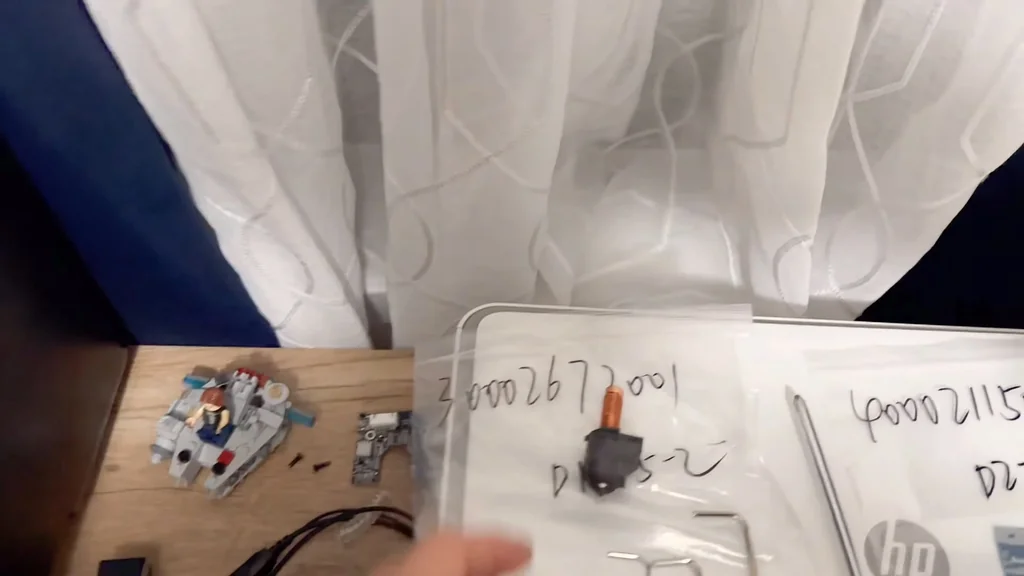
Loosening the Interface Card Fasteners
Now you are ready to remove the interface card. Use your 2mm Allen key again. Remember the rule: righty-tighty, lefty-loosey. Turn counterclockwise to loosen the screws. Keep your magnetic screwdriver handy. It makes retrieving the small screws much easier.
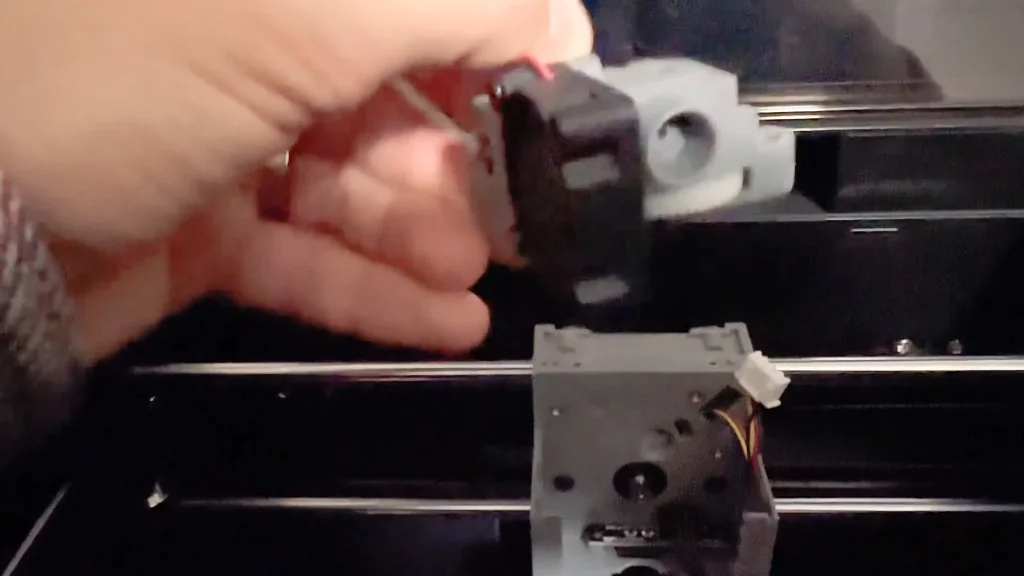
Managing Small Fasteners During Disassembly
Keep your screws organized by placing them next to their respective components. You don't want to mix them up. There are only two screws for this part. It's a straightforward process. The interface board will become loose once these are out. Shine your light to see the board clearly.
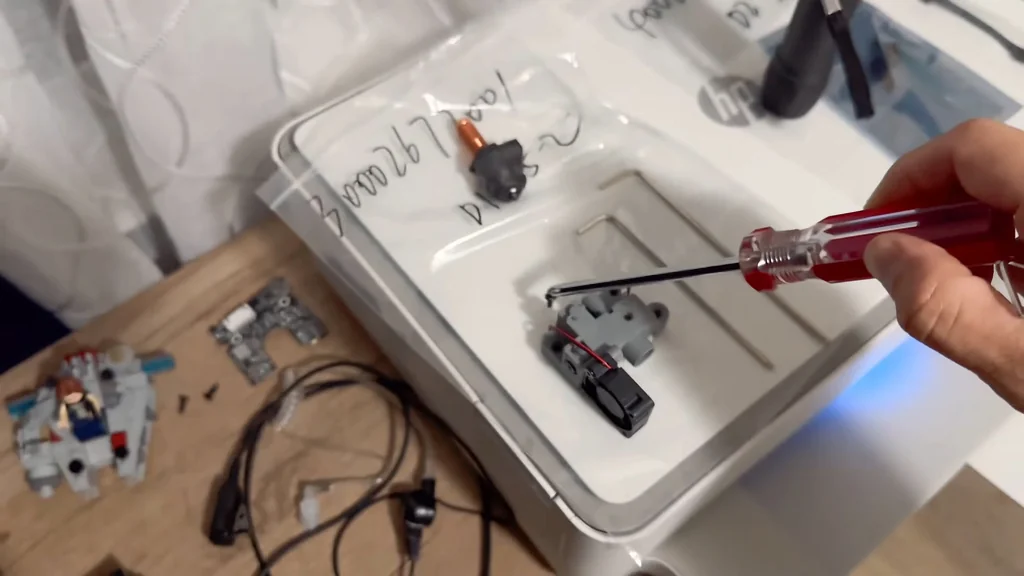
Identifying the Shorted Connector
The board is out. Look at the connector pins. Three out of four cables are separated. This is definitely causing the E015 error. It likely overheated during operation. Match the new cable to the old one. This is the exact part you need.
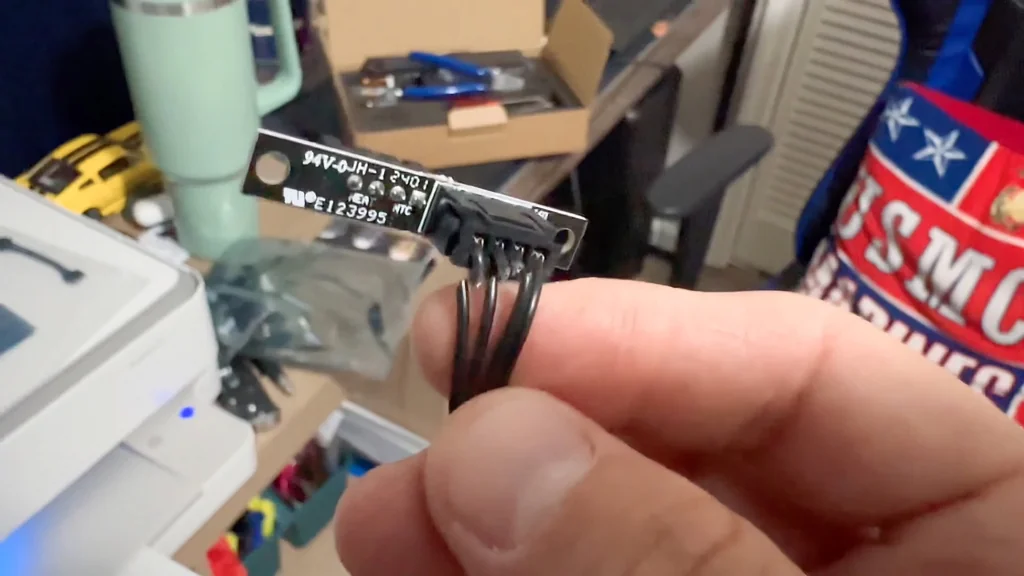
Installing the New Ribbon Cable
Ensure the lines on the ribbon cable face up. Push it into the connector firmly. Support the back of the plastic piece with your thumb. Push until you hear a distinct snap. It should be perfectly flush. This ensures a solid electrical connection.
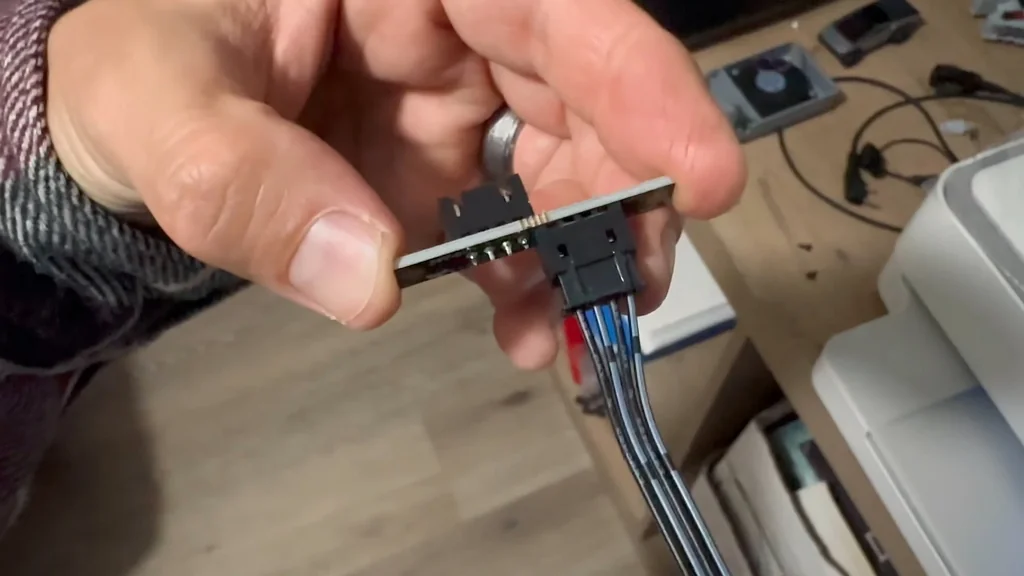
Connecting the Extruder Board Ports
The other port is for the main bus cable. It plugs into the bottom of the extruder board. There are four connectors total. The nozzle likely got too hot, which cooked the cable. Let your printer cool down between long prints. That prevents this kind of burnout.
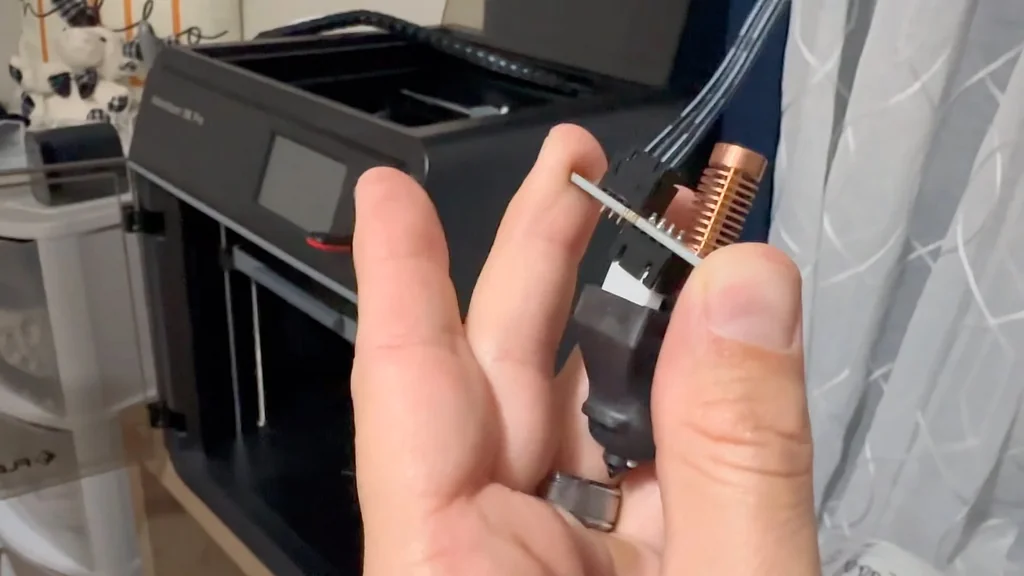
Realigning the Extruder Assembly
Put the assembly back in its original position. Use the two screws on the left and right sides. Don't force them into the holes. They should rest naturally where the threads are. Tighten them just a little bit at first. This keeps everything aligned.
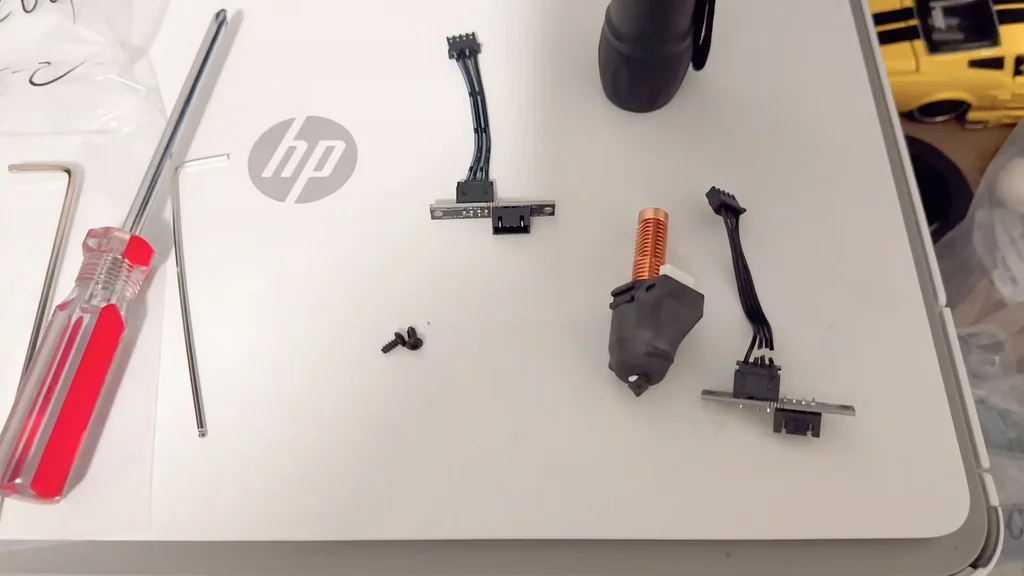
Securing the Fan and Filament Path
Slide the fan back into place. Move the wires out of the way so they don't get pinched. The fan should slide in smoothly. Push the wires down behind the tabs. It's a tight fit. Everything should sit flush.
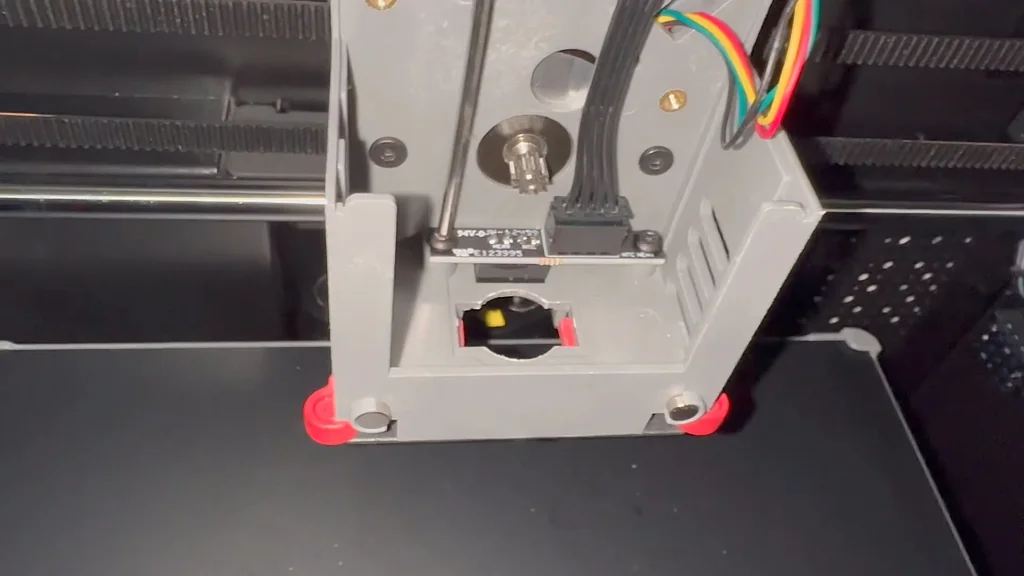
Tightening Screws Evenly
Install the three screws for the fan assembly. Tighten them in a cross pattern. Don't tighten one all the way first. Distribute the load evenly across the mount. This prevents warping. It's a good practice for all 3D printer maintenance.
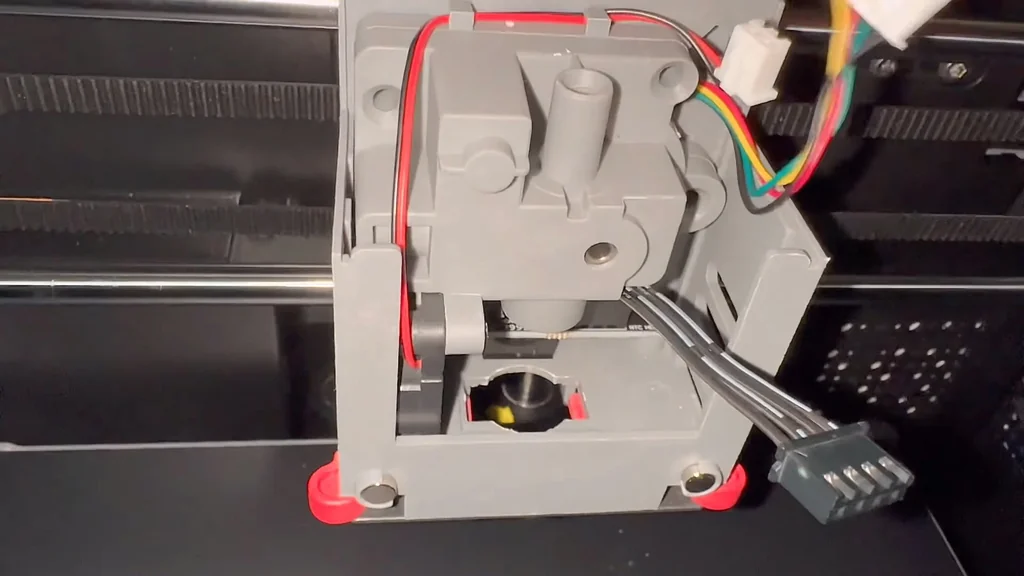
Finalizing Cable Connections
Plug in all four cables to the interface board. The board might tilt slightly due to wire tension. As you tighten the screws, the board will straighten out. Plug the fan power port in last. It's the final connection.
Securing the Interface Board
Ensure the lines on the connectors face out. Use your magnetic screwdriver to keep the screws from falling. This prevents the wires from dangling and getting pinched. The board drops down after the two top screws are set. You will hear a click when it's seated.
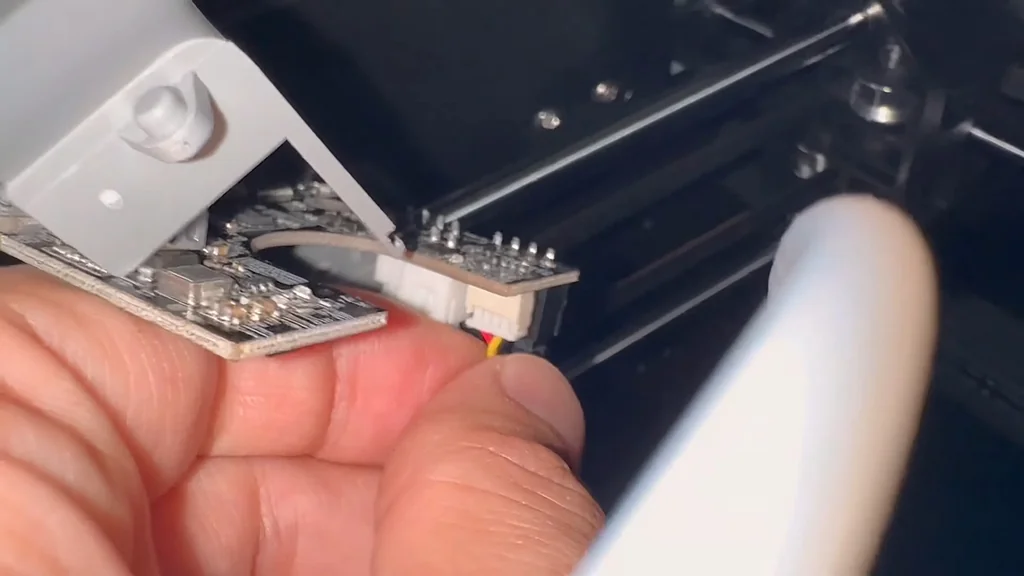
Attaching the Extruder Cover
The cover goes on with the triangle facing you. The connector points to the back. Push it in straight. The white piece clicks into the black connector. That's how you know it's fully inserted. Now, turn the printer on.
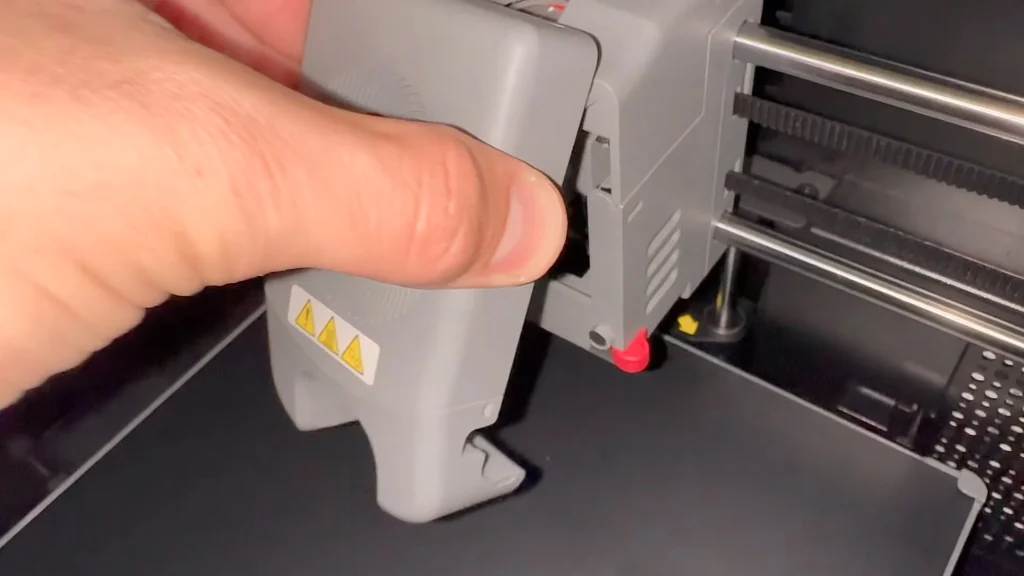
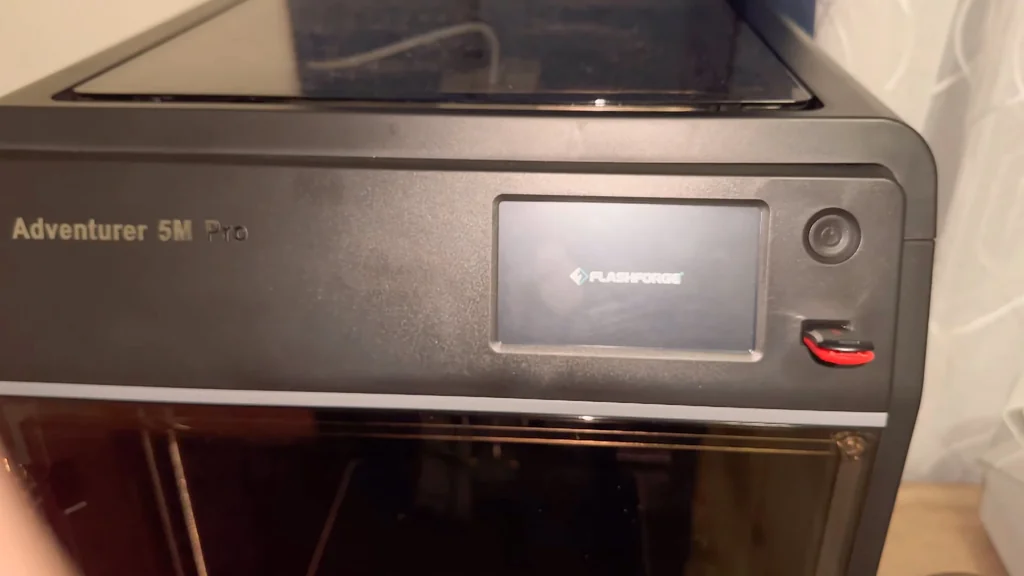
Testing the Printer Startup
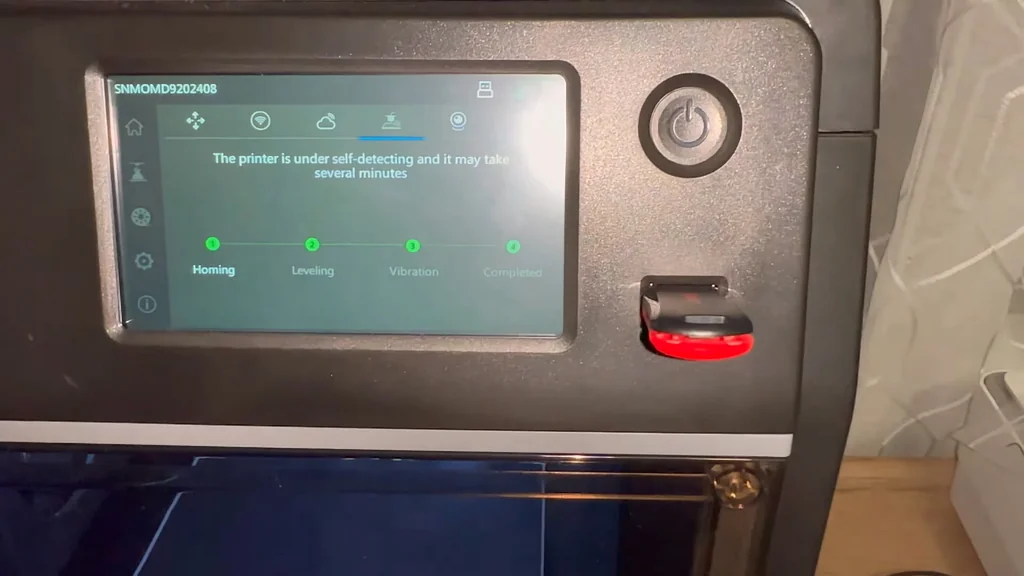
Power the printer on. The E015 error should be gone. The system will reset. It's a good sign if it goes to the home screen. Run a leveling test to be sure. It's working correctly now.
Verifying Extruder Heating
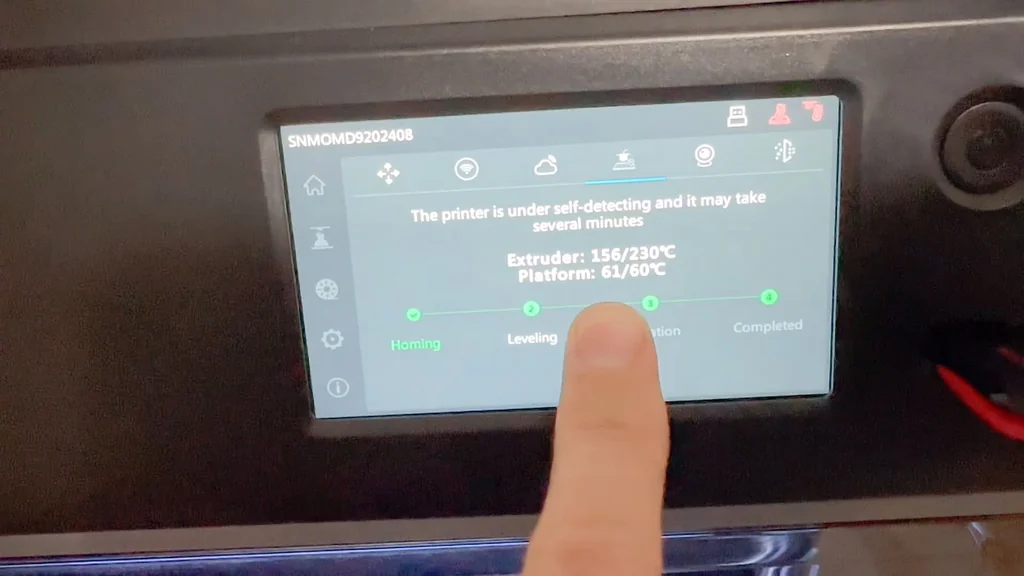
The extruder temperature was zero before. Now it should start increasing. The platform heats up to 60°C. The extruder is heating up properly. This confirms the problem is solved. It's a great result.
Confirming Successful Repair
The extruder is reaching 230°C. The error is definitely gone. All because of that one cable. Contact FlashForge if you need a replacement. You're ready to print again.
⚠️ CAUTION: SAFETY WARNING!
Always unplug the printer before working on the extruder assembly to avoid short circuits. The hotend can remain extremely hot even after power-off, so allow it to cool completely before touching it.
Summary & Tips
The E015 error is a common but manageable issue caused by cable fatigue. By replacing the damaged bus cable, you restore the vital thermal feedback loop. Proper maintenance and cooling cycles will help prevent this from recurring. Your printer is now back in service and ready for production.
📋 FAQ
❓ Can I just solder the broken wires?
Usually, it's better to replace the cable entirely. The wires are thin and subject to constant movement. Soldering might create a weak point that fails again quickly.
❓ Is the E015 error always the cable?
Mostly, yes. It indicates a break in the thermistor circuit. It could also be the interface board, but the cable is the most frequent point of failure.
❓ How do I prevent this from happening again?
Honestly, let the printer cool down between long, high-temperature prints. Avoid excessive cable strain during maintenance. Good cable management helps a lot.
❓ Where can I get the replacement cable?
Contact FlashForge support if you are under warranty. They are the best source for the specific print head bus cable. Don't rely on generic parts.
Disclaimer: I purchased all tools for this guide with my own money to ensure an unbiased review. This post contains affiliate links, meaning I earn a small commission if you make a purchase at no extra cost to you.