Buying a broken 3D printer for $40 is a gamble, but the Anycubic Mega X offers a solid foundation for a workshop project. This unit arrived with a smoky mainboard and a history of electrical issues. Instead of parting it out, the goal is to diagnose the shorted components, perform a board-level repair, and get the machine printing again without over-investing in new hardware.
⚡ Quick Guide: How to Make It in 5-10 Steps
📋 In This Article
- Technical Specifications & Components
- Tools & Materials Used — what you will need for this project
- Initial Assessment and Power-On Test
- Internal Component Inspection
- Evaluating the Hotend and Motion System
- Tracing the Smoky Smell
- Mainboard Diode Replacement Strategy
- Bridging the Damaged Trace
- Executing the Board Repair
- Testing the Power Rail
- Verifying the Boot Process
- Diagnosing the Heater MOSFET Board
- Replacing the Optoisolator
- Soldering the New Optoisolator
- Confirming Bed Heating Functionality
- Finalizing the Electronics Repair
- Troubleshooting the Extruder Jam
- Clearing the Hotend Nozzle Jam
- Leveling the Print Bed
- Monitoring the First Layer
- Reviewing the Print Results
- Final Verdict on the $40 Printer
- FAQ
📊 Technical Specifications & Components
| Printer Model | Anycubic Mega X |
| Extruder Type | Bowden |
| Motion System | V-Wheels (X and Y axis) |
| Z | Axis Configuration: Dual Z-steppers |
| Levelling | Dual micro-switches for auto-tramming |
| Mainboard | Trigorilla V0.0.2 |
| Hotend | E3D V6 Clone |
| Heater Bed | PCB type |
| Control Signal | 11.3V output (measured) |
📊 Project Overview & Costs
🔧 Difficulty Level: Medium
⏱️ Time Investment: DIY: 4-6 hours | Pro: 2 hours
💰 Professional Service Cost: $150-$200
💡 Verdict: You save significant cash by salvaging existing components instead of buying a new mainboard.
🛠️ Tools & Materials Used
• Flux
• Solder
• Donor 3D printer mainboard
• M8 screws
Step-by-Step Assembly, Repair, Testing & Inspection
Initial Assessment and Power-On Test
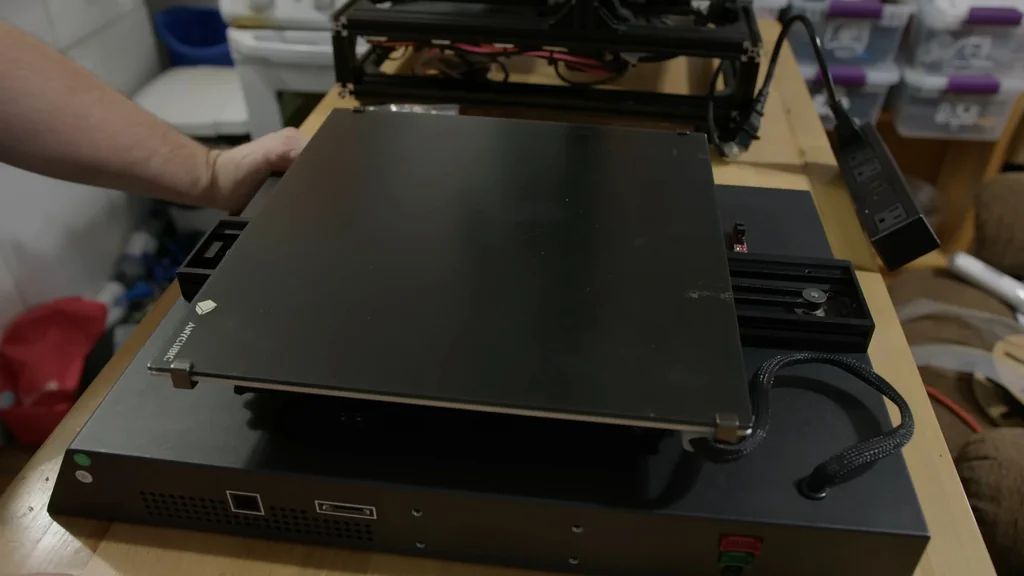
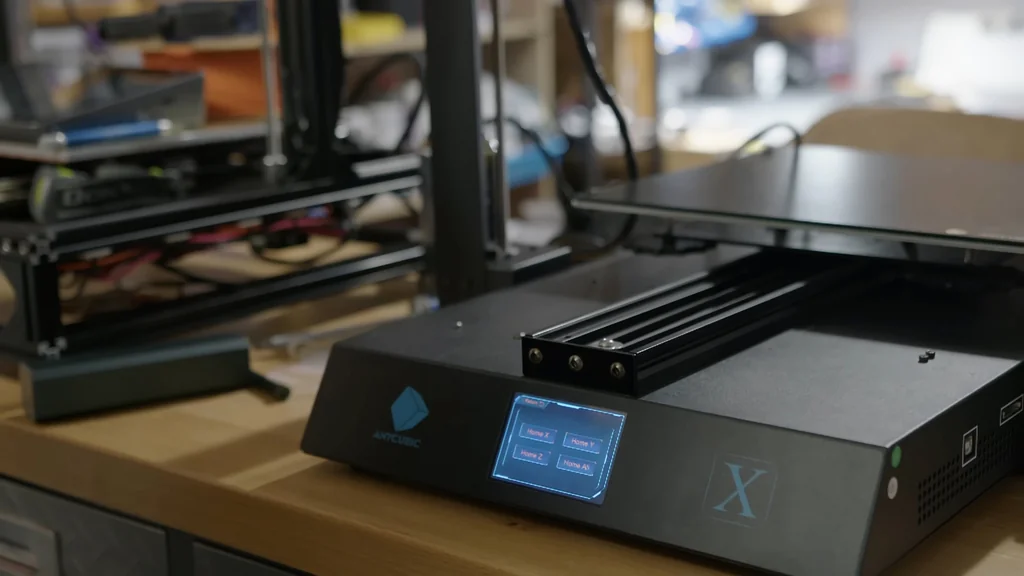
The Anycubic Mega X arrived as a non-functional unit with a known history of smoke emitting from the PCB. Powering it up is the first step to confirm the failure mode. It's dead. The unit features a 300mm cube build volume, which is larger than the compact bench-top printer originally sought for this project. The goal is to fix the board and potentially flip the machine.
Internal Component Inspection
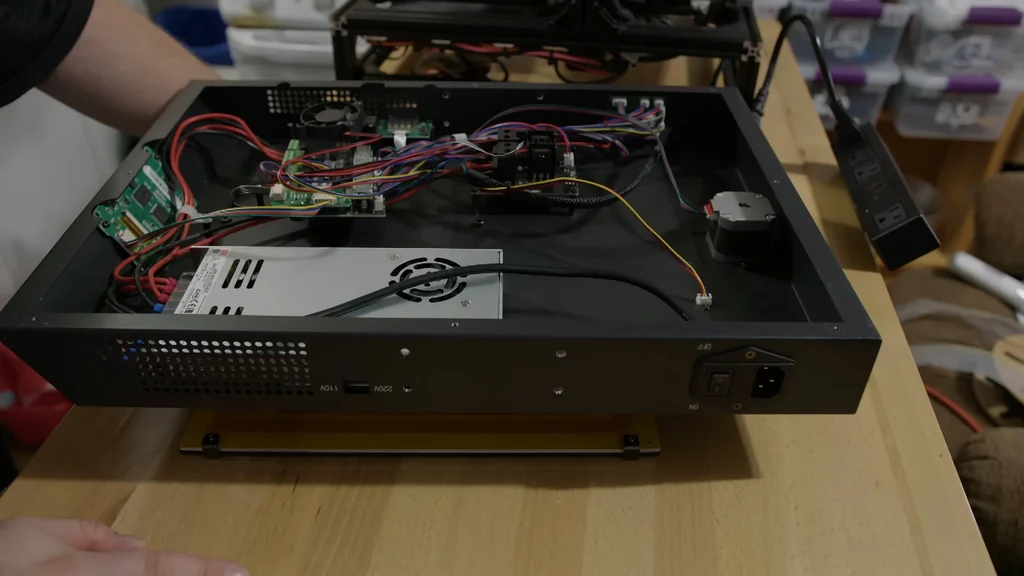
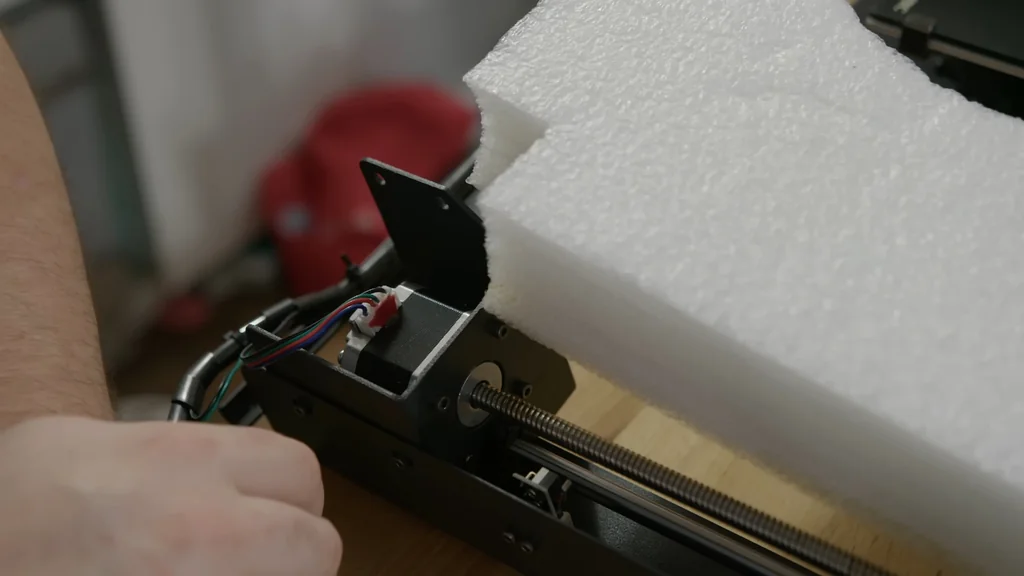
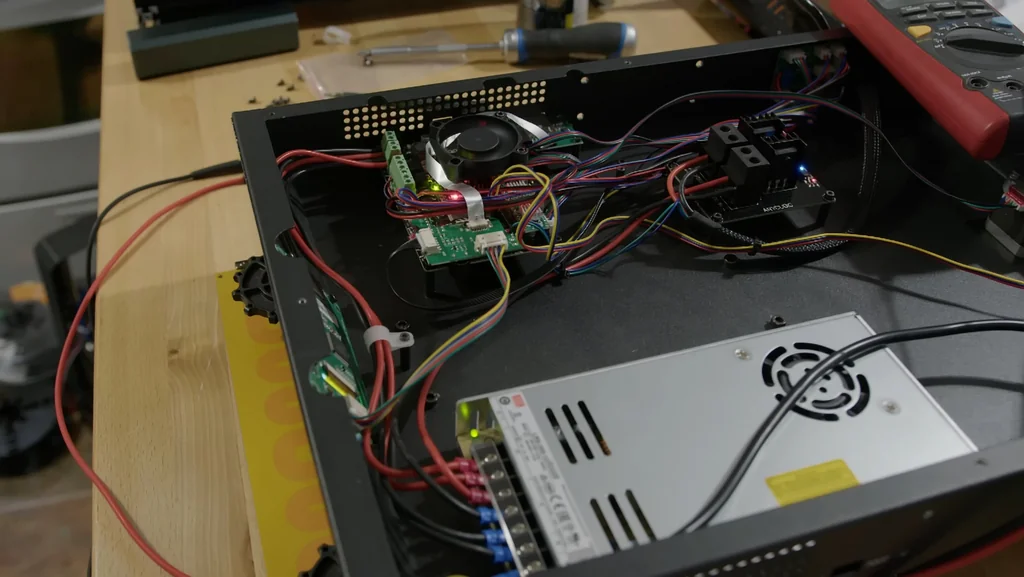
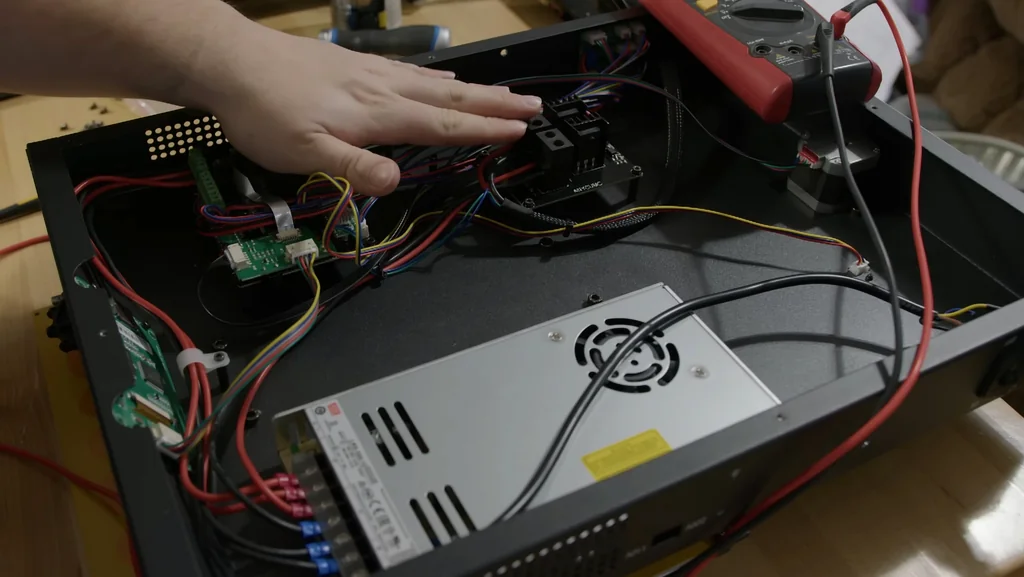
Opening the enclosure reveals a Bowden extruder setup and V-wheels for X and Y motion. The machine utilizes dual Z-steppers and two micro-switches for auto-tramming, suggesting the Z-axis is driven separately. It's a clean layout. The stepper drivers are integrated, which limits modularity but keeps the footprint small. The enclosure itself is quite tidy.
Evaluating the Hotend and Motion System
The hotend is a standard E3D V6 clone, which is common but functional. V-wheels are quiet but can be a pain to tension properly. I haven't messed with them much. If I were to keep this machine, I would swap to a 0.8mm or 1mm nozzle for faster throughput. The mainboard is the real priority here.
Tracing the Smoky Smell
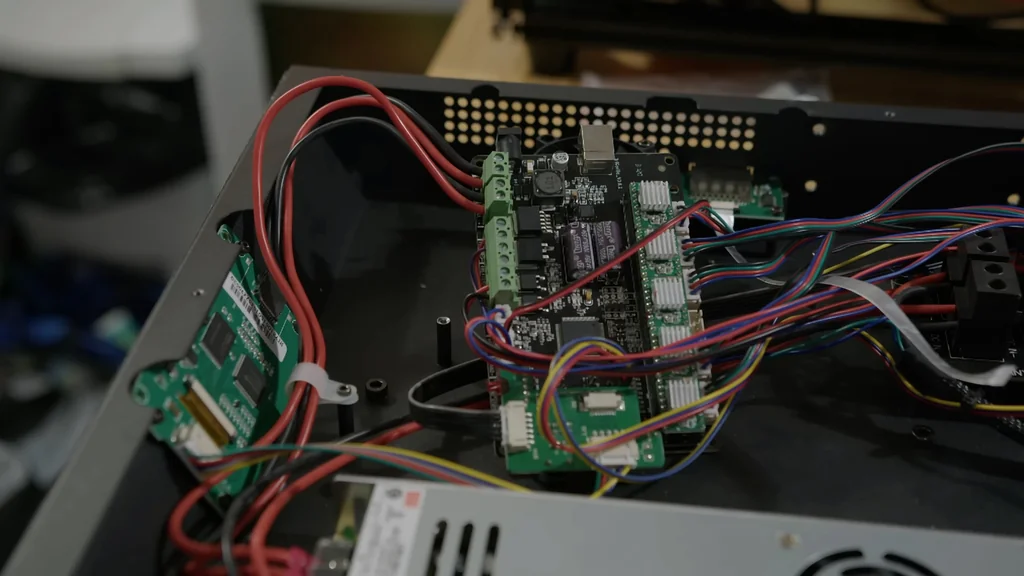
Powering the board again confirms a dim indicator light and a distinct burning smell. It's definitely shorted. A visual inspection reveals a diode with a visible pimple on its casing, indicating a catastrophic failure. This component is likely pulling the power rail down. It needs to be pulled for testing. It's a clear failure.
Mainboard Diode Replacement Strategy
The plan is to find a replacement SMD diode and perform a janky but functional repair. The current short is dragging the power rail down, preventing the boot process from completing. I'm not familiar with this specific board, but the logic remains the same. We need to clear the short. It's a standard repair.
Bridging the Damaged Trace
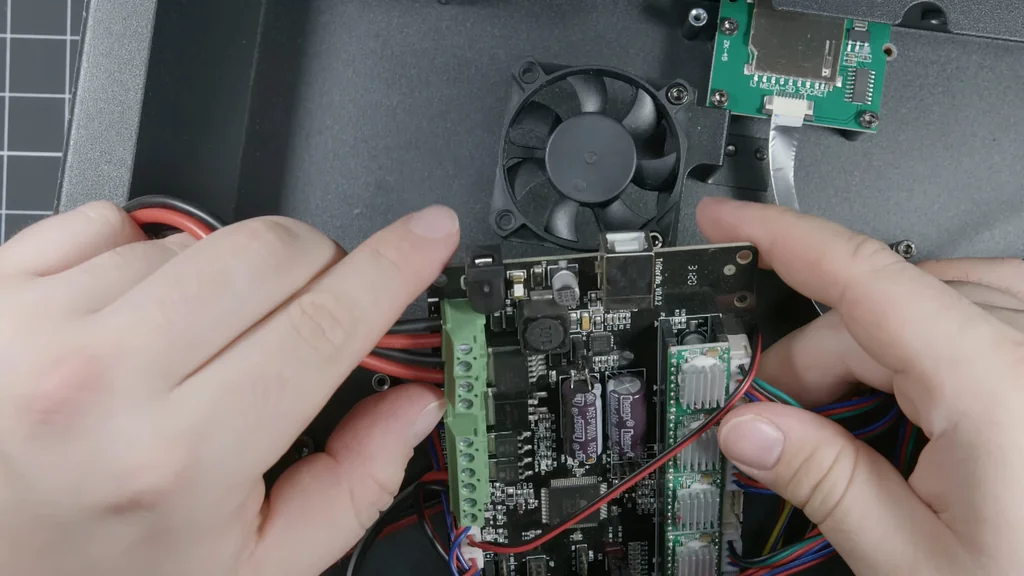
Ripping a pad during the removal process is a risk, but it appears to connect directly to an inductor. We can bridge that with solder easily. It's not pretty. I'm pulling a donor diode from an old A8 board to complete the fix. It's a crusty donor board, but the part should work.
Executing the Board Repair
The repair is admittedly sloppy, but it serves the purpose of getting the printer operational. Converting to Klipper later would allow for higher speeds, so aesthetics aren't the priority. It's functional. I just need to get it to work. The logic holds up.
Testing the Power Rail
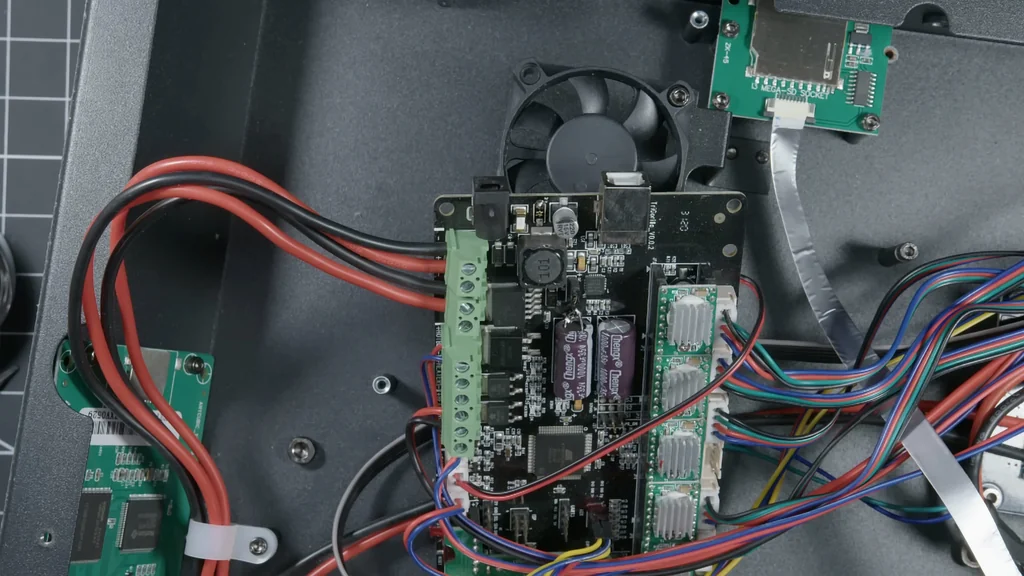
After the diode swap, the screen remains blank. It's still dead. The diode value shouldn't be hyper-critical, but I might have misaligned a header by one pin. That could have cooked something else. It's a common mistake.
Verifying the Boot Process
A quick check reveals the header was indeed off by one position. Fixing the orientation brings the screen back to life. It's back up. A simple diode swap and a header correction saved the board. It's a win.
Diagnosing the Heater MOSFET Board
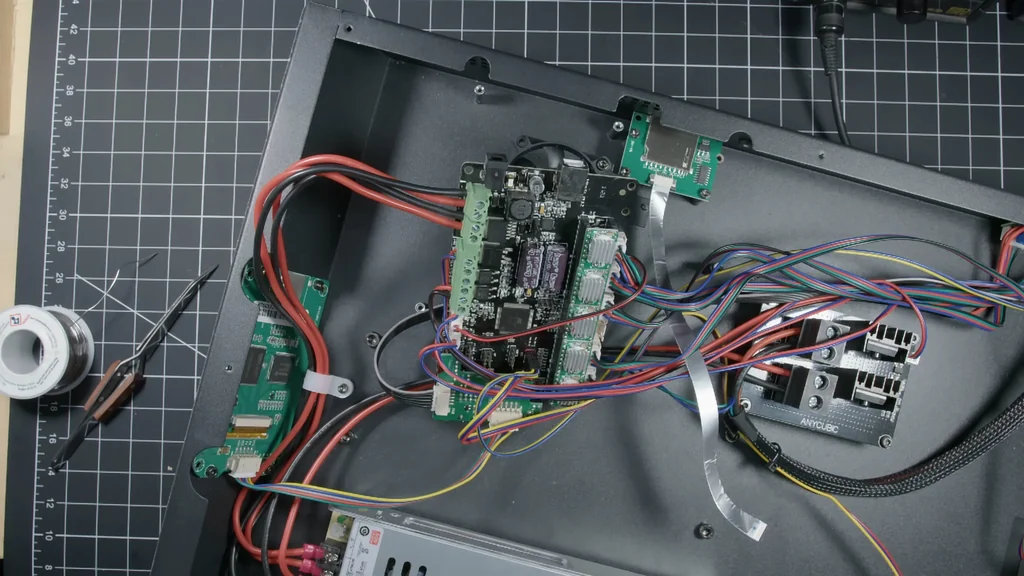
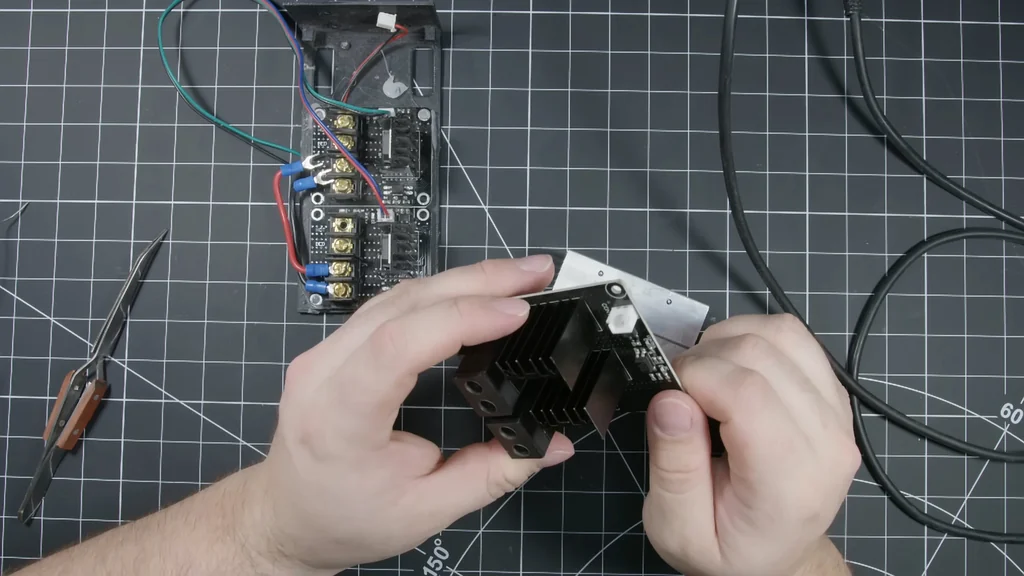
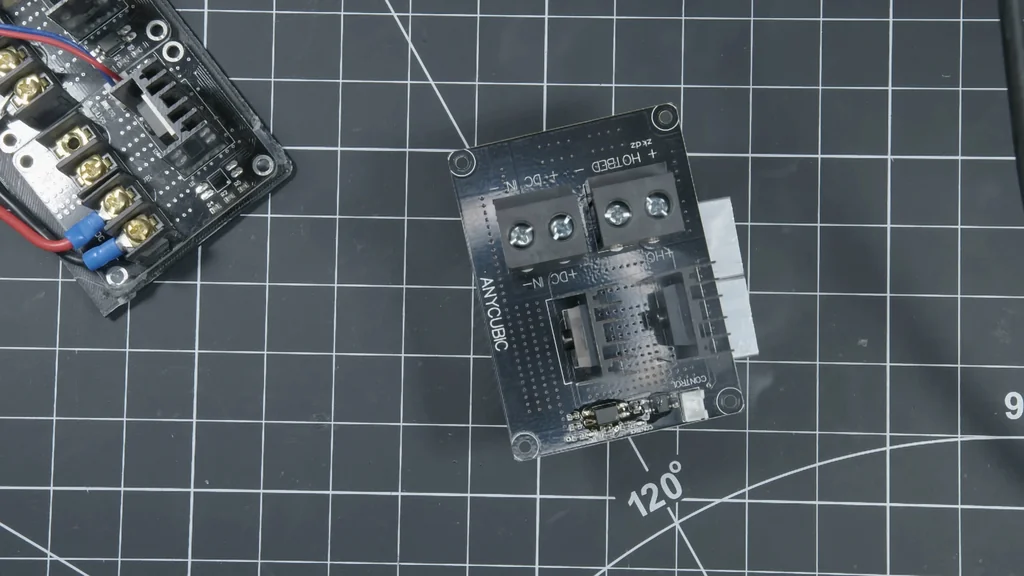
The heater isn't engaging properly, pointing to an issue with the MOSFET expansion board. I'm getting a control signal output, but no power to the MOSFETs. The MOSFETs themselves seem good. It's likely the optoisolator. I need to poke around more.
Replacing the Optoisolator
The optoisolator likely failed when the diode on the mainboard shorted, sending a spike down the line. It's a weird failure. I'm pulling a replacement from a spare control board to match the parts. It's a direct swap. I've been up too long, but this should work.
Soldering the New Optoisolator
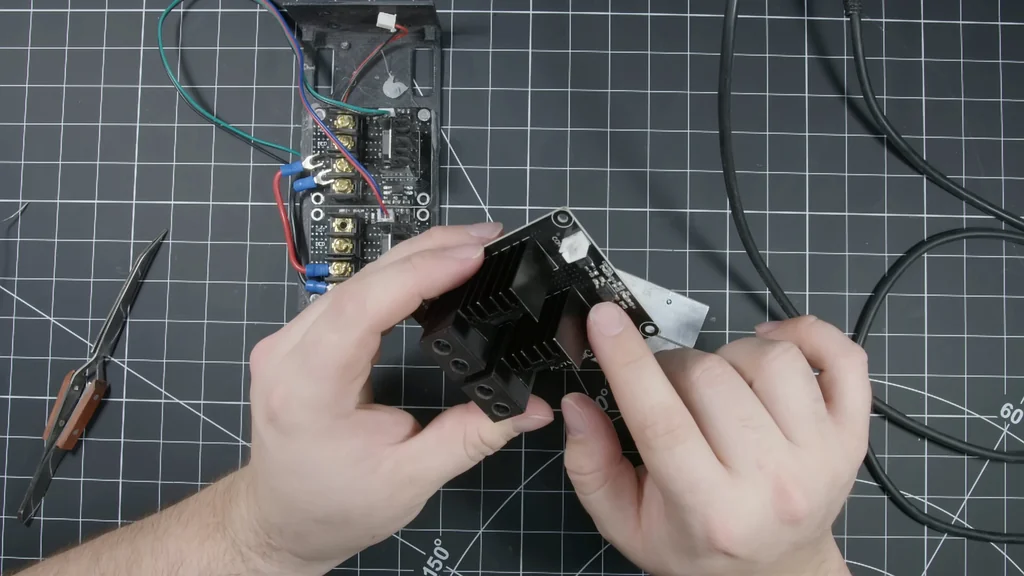
Applying heat and fresh solder clears the old component. There's a good amount of flux burning off. This board is well past its prime. It's ready now.
Confirming Bed Heating Functionality
With the new optoisolator, we are seeing proper PWM pulsing. The voltage drop is minimal. The bed is warming up to 28°C. It's a PCB heater bed. It's working.
Finalizing the Electronics Repair
The mainboard and MOSFET board are now fully operational using scavenged parts. It's a successful $40 project. I need to grab some M8 screws to mount the gantry. Then, it's time for a test print. It's running well.
Troubleshooting the Extruder Jam
The extruder was annoying me, but I've identified the issue. It's a Bowden setup, so it's not great for flexibles. I wouldn't push this printer as hard as my Klipper-ized machine. It's working now.
Clearing the Hotend Nozzle Jam
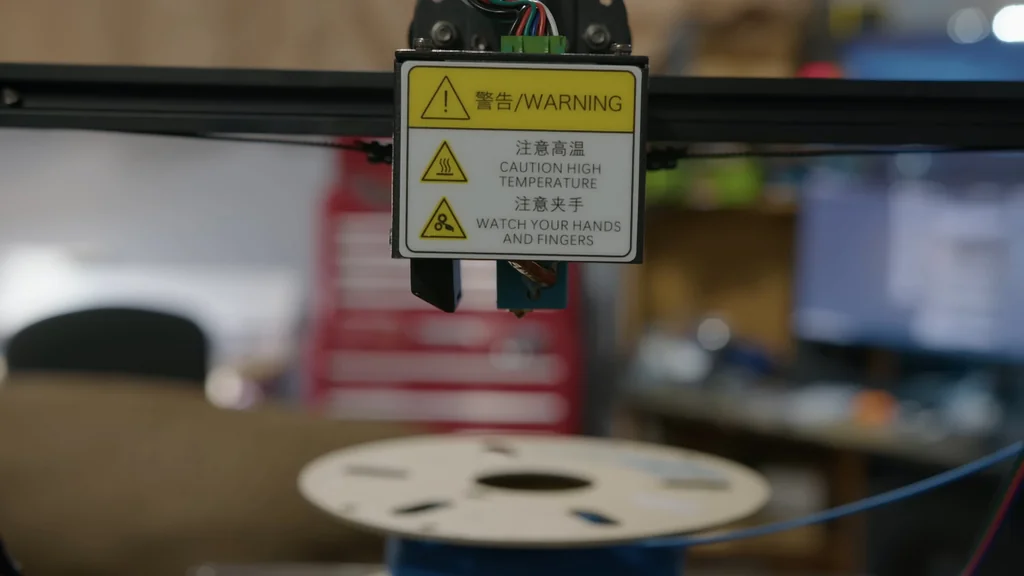
The nozzle was jammed with old yellow filament. It's a standard E3D V6 clone. It's likely Teflon-lined, not full metal. The blue filament is now extruding properly, showing a nice blue-green gradient. It's clear.
Leveling the Print Bed
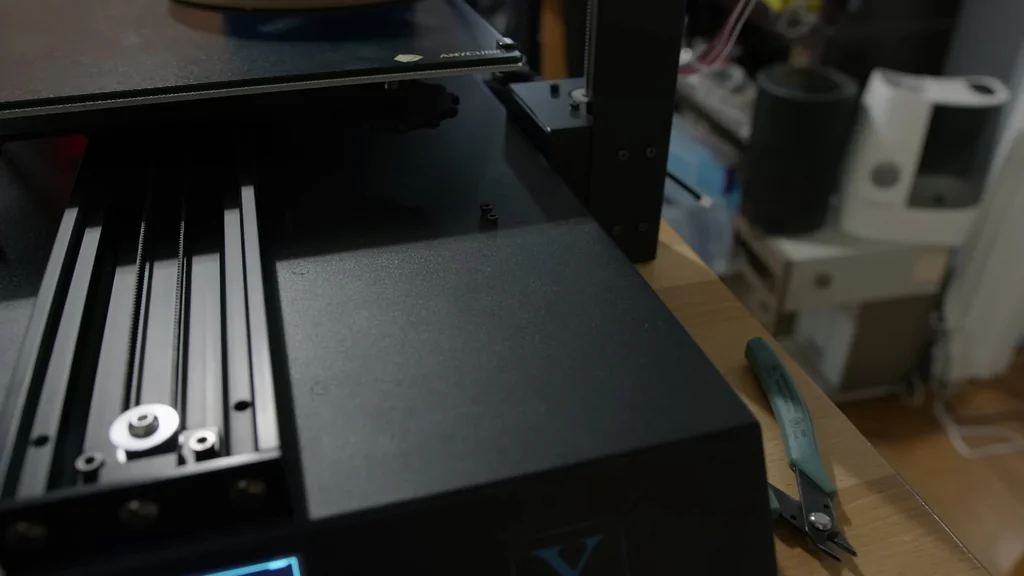
The bed isn't perfectly level, so I've adjusted the corners and checked the midpoints. There are a few scratches, but they aren't permanent. The Z-axis movement is loud, but the first layer is laying down. It's not that bad.
Monitoring the First Layer
The motion system is louder than my linear rail machine, but the drivers are quiet. The first layer looks rough, but it's acceptable. I'll leave it running for an hour. It's decent.
Reviewing the Print Results
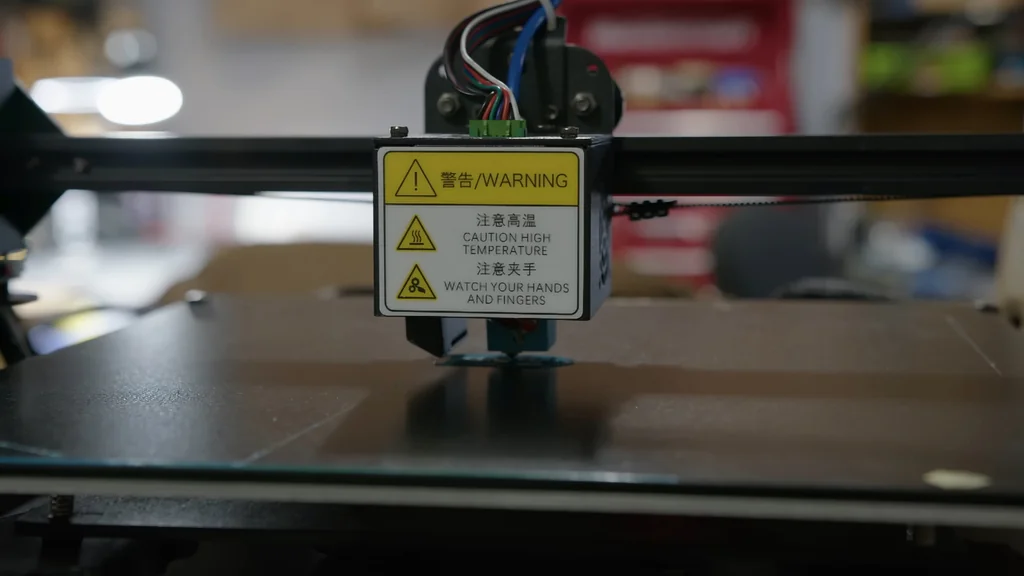
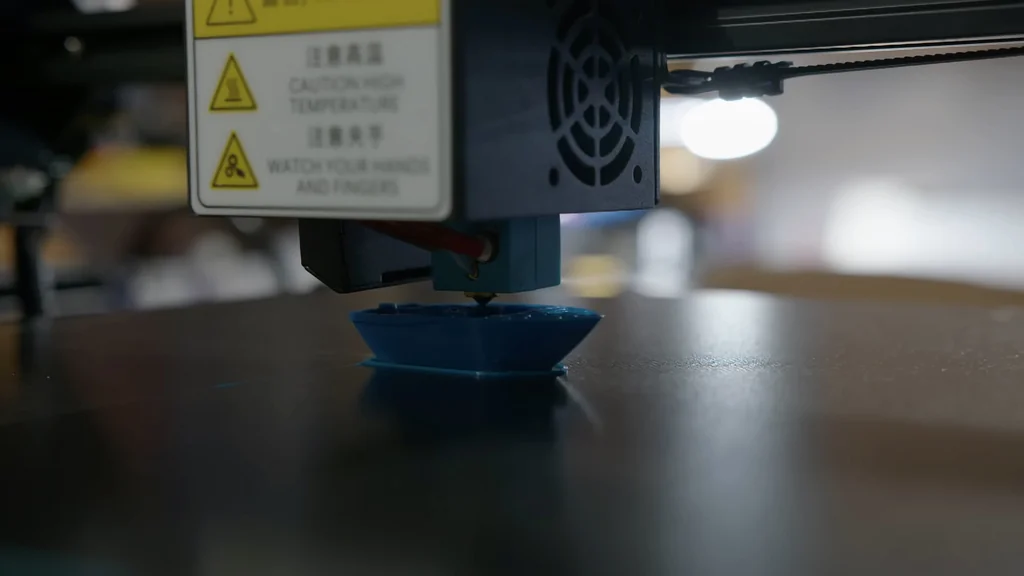
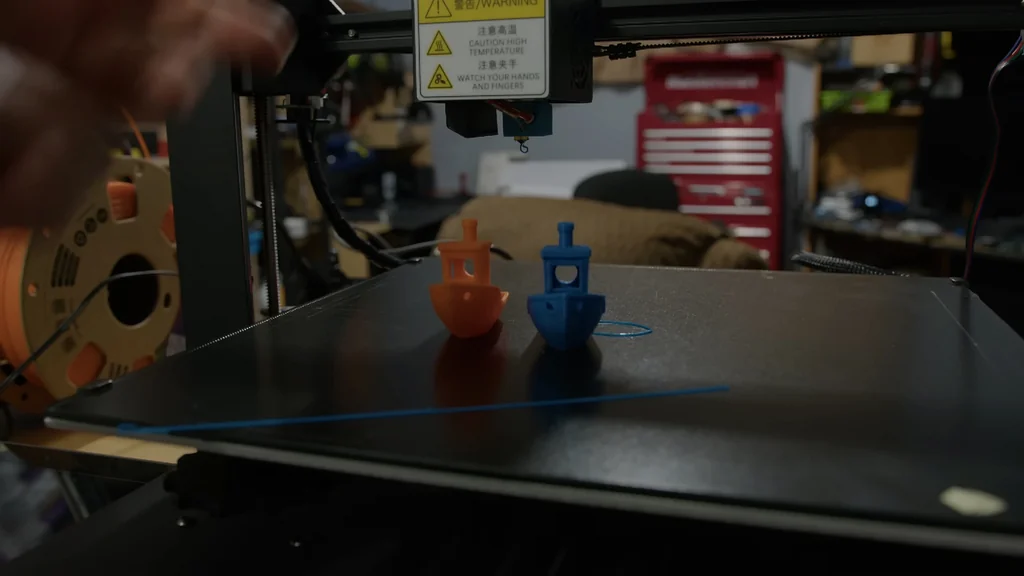
The print took 1 hour and 41 minutes. The quality difference compared to my other printer isn't as vast as I expected. Speed-wise, it's worse, but that's tunable. It's working better than expected.
Final Verdict on the $40 Printer
I might sell it or try a Volcano hotend upgrade later. I haven't touched Marlin in years. For $40 and a bit of time, I can't complain. It's a solid machine.
⚠️ CAUTION: SAFETY WARNING!
Always disconnect the power supply before probing the mainboard or soldering components. High-voltage capacitors can retain a charge even after the unit is unplugged.
Summary & Tips
The Anycubic Mega X is a capable machine when restored correctly. Board-level repairs are often more cost-effective than full replacements. This project proves that even 'broken' electronics can be salvaged with basic tools. It's a satisfying result for a small investment.
📋 FAQ
❓ Is it worth buying a broken 3D printer?
Honestly, it depends on your comfort level with electronics. If you enjoy troubleshooting and soldering, it's a great way to save money. If you just want to print, buy a new one.
❓ How do I identify a shorted diode?
Usually, you'll see physical damage like a burn mark or a 'pimple' on the casing. Use a multimeter in continuity mode to check for shorts across the component. It's a quick test.
❓ Can I use donor parts from other printers?
Yeah, absolutely. Most 3D printer boards share common components like diodes and MOSFETs. It's a standard practice in the DIY community.
❓ Is the Anycubic Mega X good for flexible filament?
Nah, the Bowden extruder setup makes it tricky. You'll likely struggle with jams and under-extrusion. It's better suited for PLA or PETG.
Disclaimer: I purchased all tools for this guide with my own money to ensure an unbiased review. This post contains affiliate links, meaning I earn a small commission if you make a purchase at no extra cost to you.