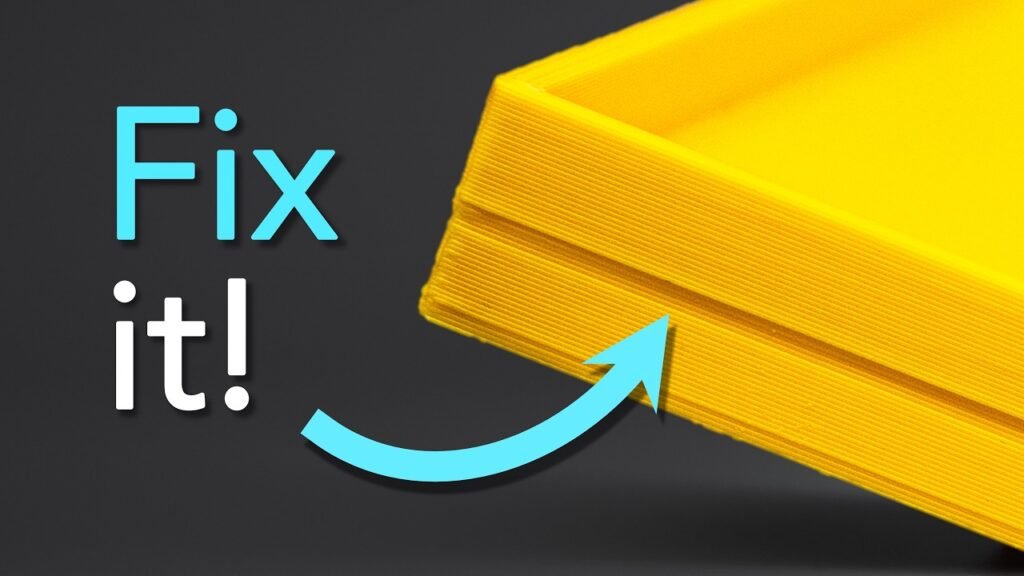
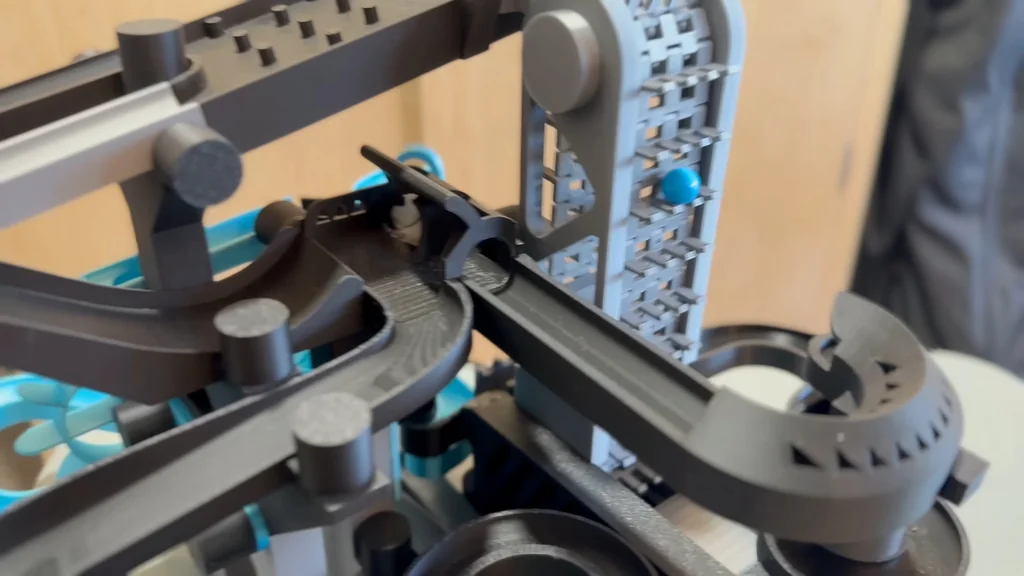
Printing carbon fiber reinforced nylon, or PA6-CF, requires specific environmental controls and hardware to succeed. This industrial-grade composite offers exceptional stiffness and weight reduction for functional parts, but it is highly abrasive and hygroscopic. Getting clean, reliable results on a 0.4mm nozzle is entirely possible if you manage your moisture levels and printer settings correctly.
⚡ Quick Guide: How to Make It in 10 Steps
- Verify you have a hardened steel nozzle installed.
- Dry your PA6-CF filament for at least 12 hours.
- Apply adhesive to your gold PEI build plate.
- Preheat the printer chamber to 100°C.
- Use the specific PA6-CF profile in your slicer.
- Reduce print speeds to help the carbon fiber clear the nozzle.
- Ensure you are not using a PLA-CF profile by mistake.
- Print directly from the dryer if possible.
- Test the mechanical fit of your finished parts.
- Monitor for any signs of nozzle clogging.
📋 In This Article
- Technical Specifications & Components
- Tools & Materials Used — what you will need for this project
- Understanding PA6-CF Material Properties
- Managing Abrasive Filament Wear
- Surface Adhesion and Moisture Control
- Drying and Chamber Preheating
- Optimizing Print Parameters
- Avoiding Common Slicer Mistakes
- The Pre-Print Checklist
- Functional Testing of Printed Parts
- Final Assembly and Durability
- Conclusion and Community Feedback
- FAQ
📊 Technical Specifications & Components
| Material | PA6-CF (Polyamide 6 Carbon Fiber) |
| Composition | 80% Nylon / 20% Carbon Fiber |
| Nozzle Size | 0.4mm |
| Nozzle Material | Hardened Steel |
| Build Plate | Gold PEI |
| Chamber Temperature | 100°C |
| Auxiliary Fan Setting | 40% |
| Drying Time | 12 Hours |
| Printer | Bambu Lab X1-Carbon |
📊 Project Overview & Costs
🔧 Difficulty Level: Medium
⏱️ Time Investment: DIY: 14 hours (including drying) | Pro: 14 hours
💰 Professional Service Cost: $50 - $100
💡 Verdict: Printing custom industrial-strength parts in-house saves significant lead time compared to outsourcing or purchasing proprietary replacements.
🛠️ Tools & Materials Used
• Bambu Lab X1-Carbon
• Hardened Steel Nozzle
• Gold PEI Build Plate
• Filament Dryer
• Glue Stick Adhesive
Step-by-Step Assembly, Repair, Testing & Inspection
Understanding PA6-CF Material Properties
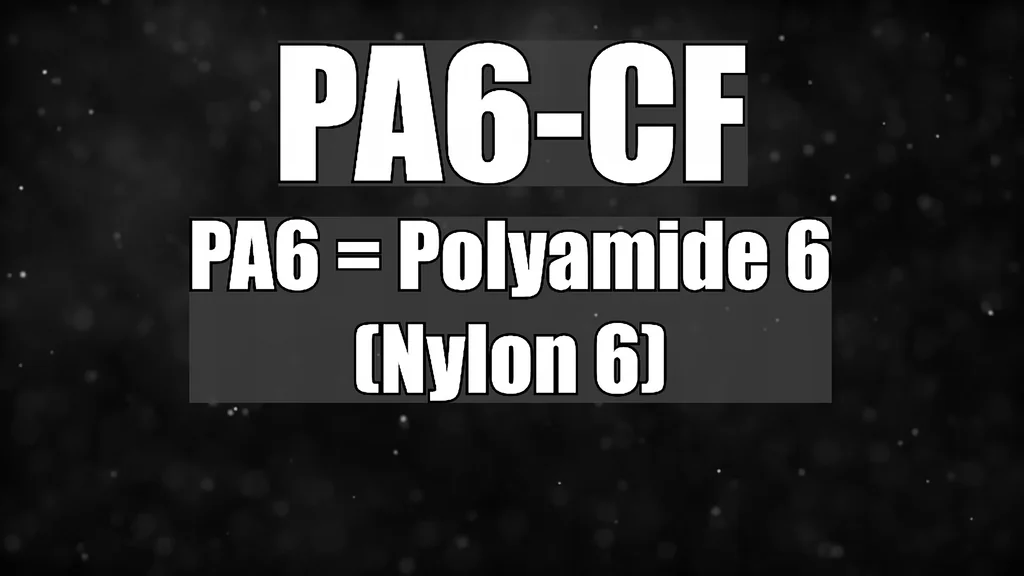
PA6-CF is an industrial-grade composite nylon filament reinforced with carbon fiber. It's tough. The nylon base provides flexibility and impact resistance, while the carbon fiber significantly increases stiffness and reduces overall weight. This material is a powerhouse for functional components. You need to respect its requirements to get good prints.
Managing Abrasive Filament Wear
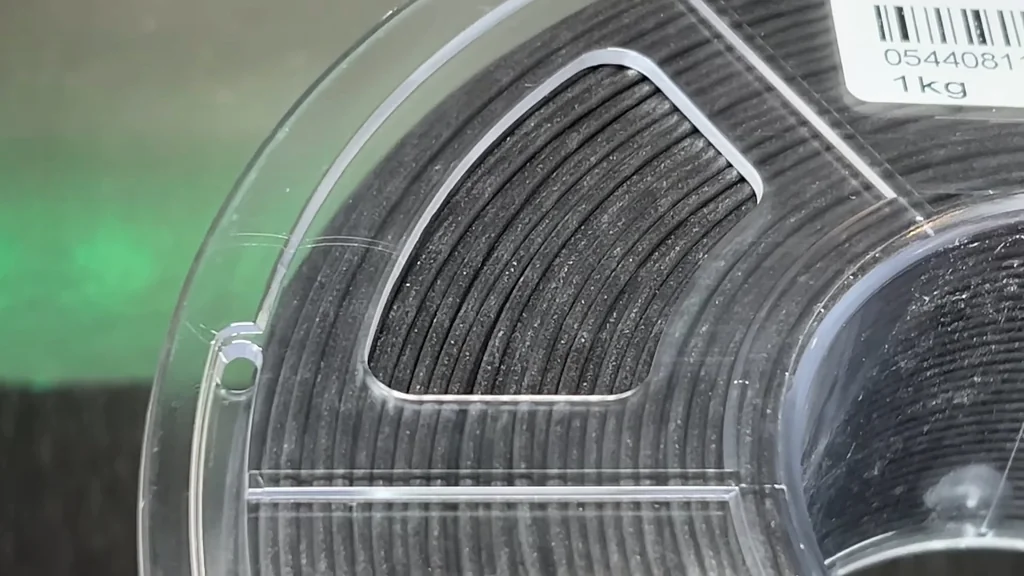
Carbon fiber is inherently abrasive to standard 3D printer components. You absolutely must use a hardened steel nozzle for this material. A standard brass nozzle will wear down rapidly, causing extrusion issues and poor print quality. The Sunlu variant used here is an 80/20 blend of nylon and carbon fiber. It's strong stuff.
Surface Adhesion and Moisture Control
Printing on a gold PEI sheet requires an adhesive layer to keep parts from breaking free. I tried printing without glue, and the parts failed every time. Nylon is also extremely hygroscopic, meaning it absorbs moisture from the air almost instantly. You must dry the filament thoroughly before use. It's a must.
Drying and Chamber Preheating
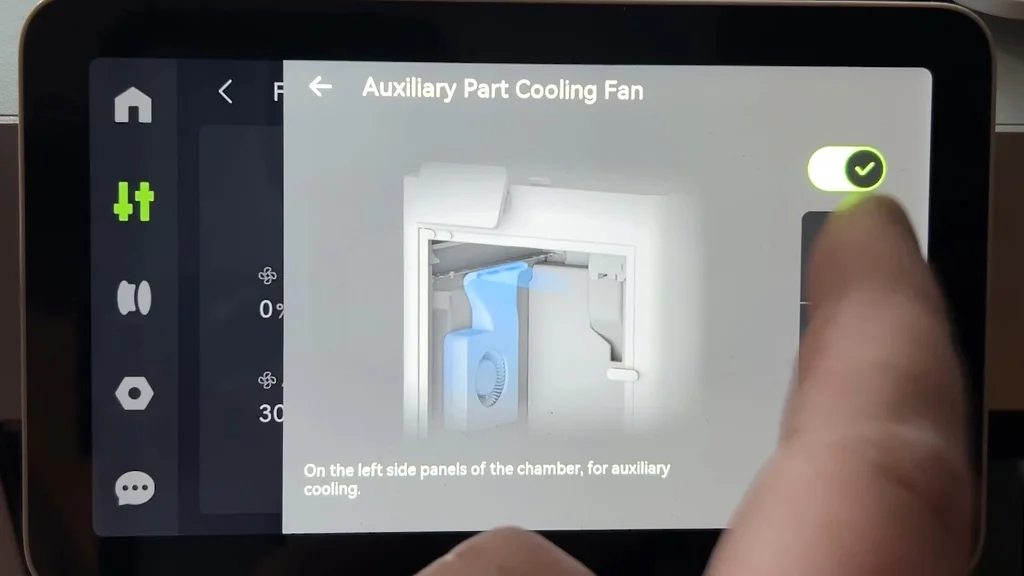
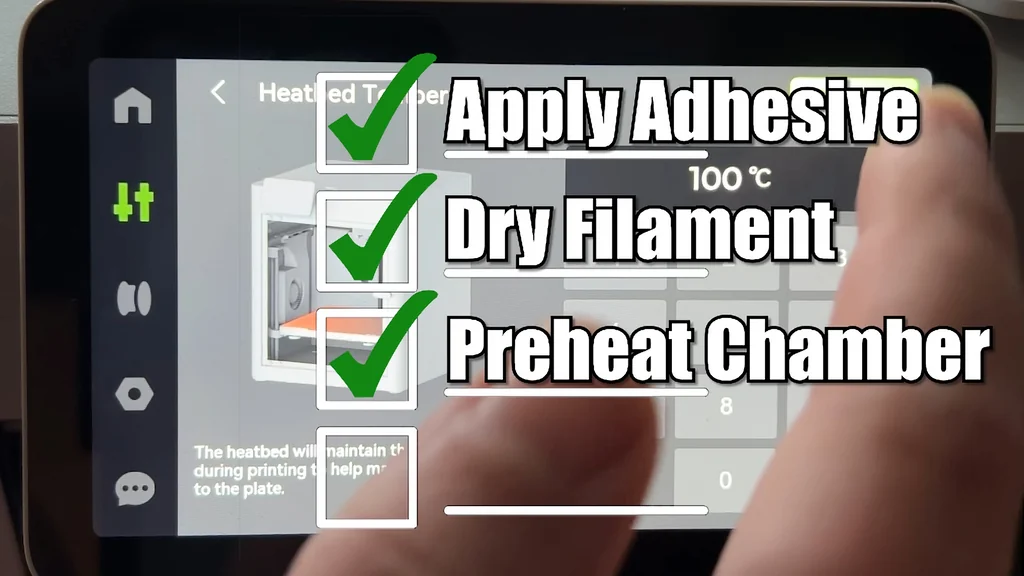
You need a dedicated filament dryer to get the moisture out of the nylon. I dried the roll for 12 hours and printed directly from the dryer to ensure the material stayed dry. Before starting, preheat your printer chamber by setting the bed to 100°C. Turn the auxiliary fan to 40% to circulate the heat. This creates a stable environment. It's crucial for nylon.
Optimizing Print Parameters
Let the chamber heat up for at least 20 minutes before loading the filament. Use the stock Bambu PA6-CF profile but slow down the parameters to help the material flow. While a 0.6mm nozzle is often recommended, you can make a 0.4mm nozzle work if you reduce the speed. It helps the carbon fiber clear the tip. The temperatures on the preset usually work fine.
Avoiding Common Slicer Mistakes
Double-check your slicer profile before hitting print. I once accidentally used a PLA-CF profile, and while it didn't clog, the print quality was weird. Always verify you are on the correct PA6-CF preset. It's a simple check. This prevents unnecessary headaches.
The Pre-Print Checklist
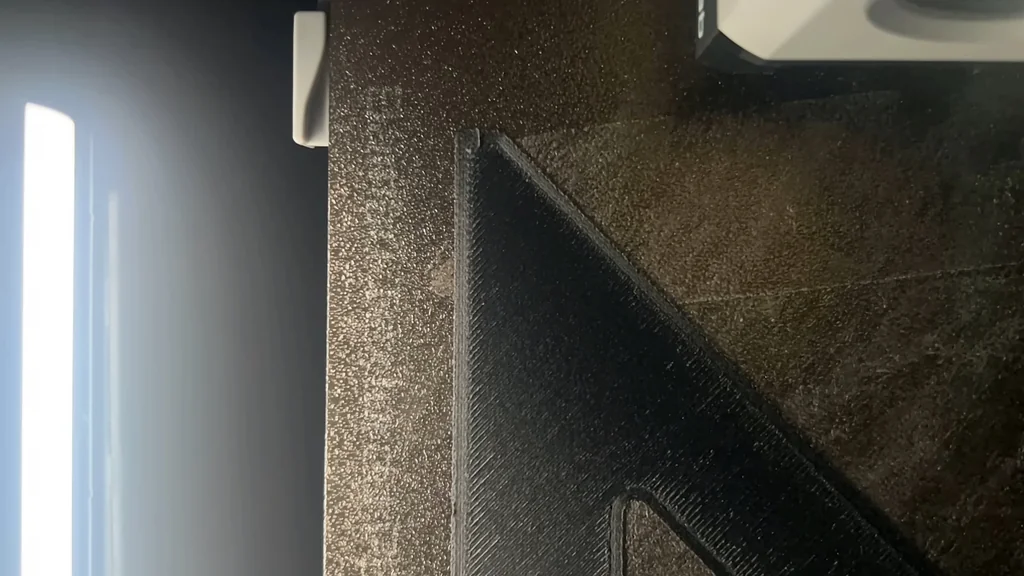
Follow this workflow for consistent results: apply adhesive, dry filament for 12 hours, preheat the chamber for 20 minutes, and use the correct profile with reduced speeds. I've had zero clogs using this method. The parts are incredibly durable. They handle heat well, even in a trailer reaching 110°F.
Functional Testing of Printed Parts
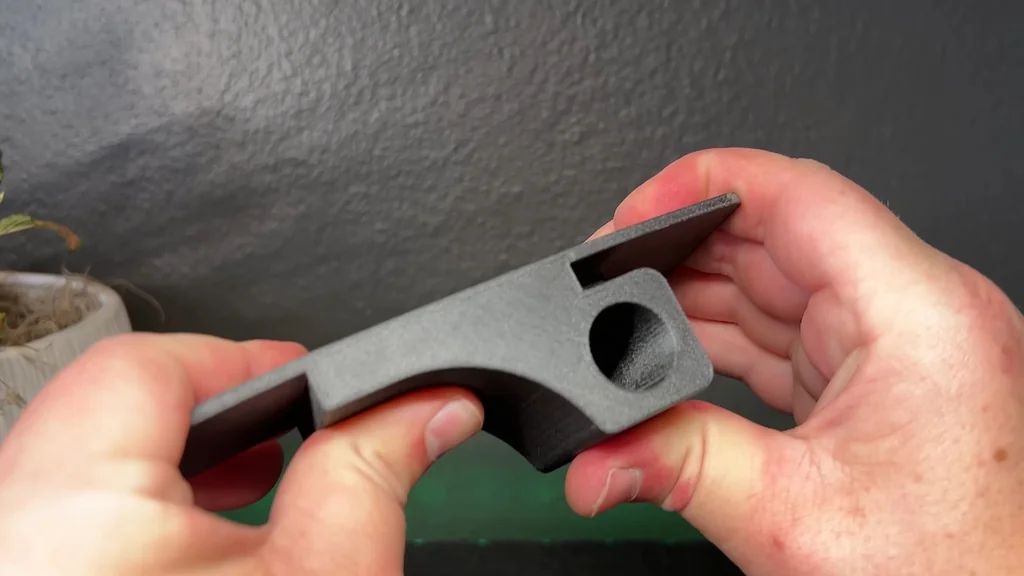
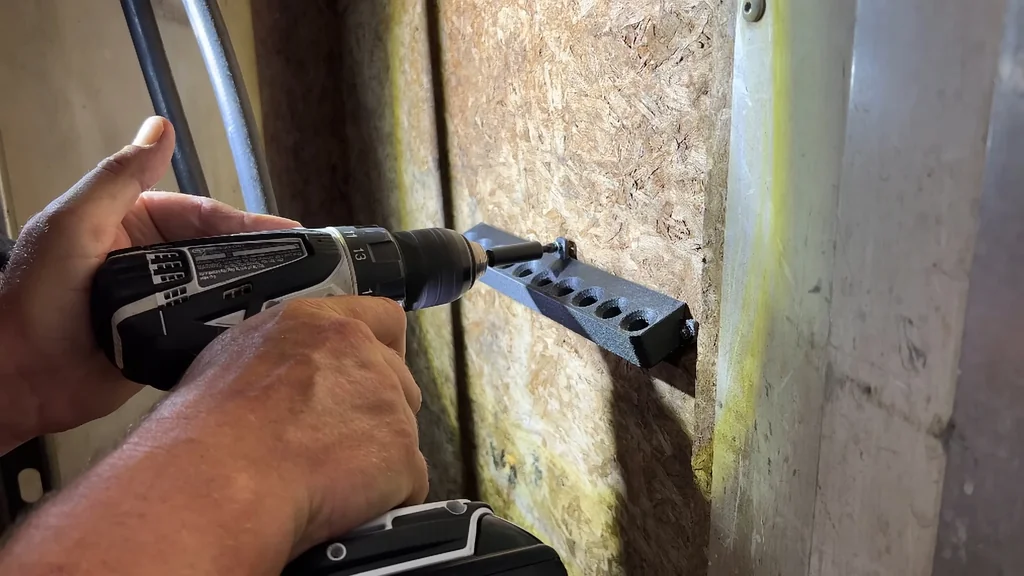
These parts are designed for real-world stress. I printed shelving brackets and a nozzle for an Ego leaf blower. They are stiff and strong. The pressure washer tip holder is another great example of how this material holds up. It's solid.
Final Assembly and Durability
I also printed a throttle housing for a high-speed electric scooter. These components are built to last. PA6-CF might seem intimidating, but it's manageable once dialed in. I actually prefer the 0.4mm nozzle for the clean finish it provides. It looks great.
Conclusion and Community Feedback
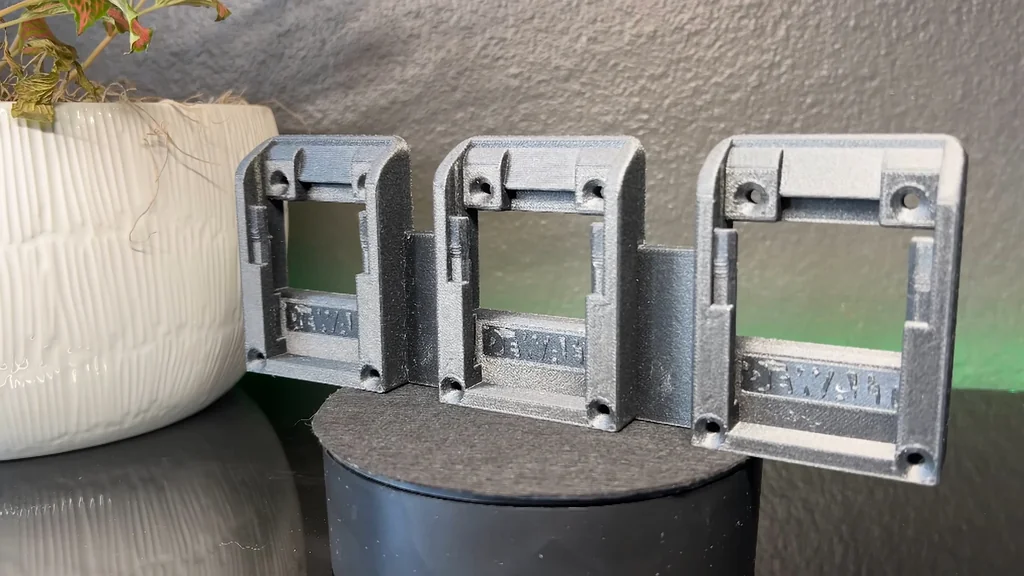
The prints look professional and perform even better. If you have questions about the process, drop them in the comments. Thanks for watching the project. I'll see you next time.
⚠️ CAUTION: SAFETY WARNING!
Always operate your 3D printer in a well-ventilated area, especially when printing nylon composites which can off-gas. Be careful when handling the build plate, as it reaches temperatures of 100°C.
Summary & Tips
Printing with PA6-CF is a game changer for functional workshop fabrication. By managing moisture and using the correct hardware, you can produce parts that rival injection-molded components. Stick to the preheat and drying protocols to ensure success. It's a reliable process once you have the workflow down.
📋 FAQ
❓ Can I print PA6-CF without a hardened steel nozzle?
No, don't try it. The carbon fiber will chew through a brass nozzle almost immediately. You'll end up with a ruined nozzle and poor print quality.
❓ How long should I dry the filament?
Usually, 12 hours is the minimum. Nylon loves water. If you don't dry it, you'll see popping and stringing during the print.
❓ Do I really need glue on a PEI plate?
Yes, you do. Without adhesive, the nylon will likely warp or pop off the bed. It's a simple step that saves the whole print.
❓ Why slow down the print speed?
Honestly, it helps the material flow. Carbon fiber can be tricky to push through a small 0.4mm orifice. Slower speeds lead to cleaner, stronger parts.
Disclaimer: I purchased all tools for this guide with my own money to ensure an unbiased review. This post contains affiliate links, meaning I earn a small commission if you make a purchase at no extra cost to you.