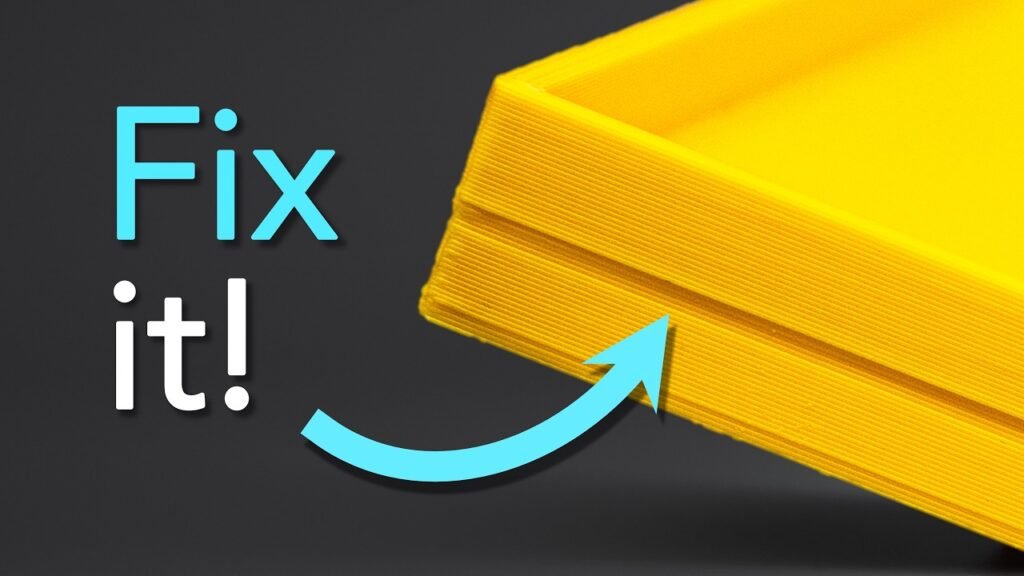
Getting a Bambu Lab machine is a huge step up, but the ecosystem around it can feel overwhelming at first. You don’t need to absorb everything in one go. The stuff that actually matters day-to-day is filament management, getting comfortable with the software, and knowing how the hardware fits together. Master those basics and you’ll save yourself hours of frustration down the road.
⚡ Quick Guide: How to Make It in 15 Steps
- Get your timelapse settings dialed in for better documentation.
- Use the AMS for multi-material efficiency.
- Calibrate your hardware with digital calipers.
- Set up Gridfinity for workspace organization.
- Optimize print profiles in Bambu Studio.
- Try fuzzy skin for aesthetic textures.
- Use Makerworld for community-tested profiles.
- Earn and spend points in the Makerlab shop.
- Learn basic CAD with Fusion 360.
- Troubleshoot filament issues with community resources.
- Dry your filament for consistent extrusion.
- Decorate your space with functional 3D prints.
- Explore external model repositories.
- Use ‘Print by Object’ for batch production.
- Maintain your build plate for perfect adhesion.
📋 In This Article
- Technical Specifications & Components
- Tools & Materials Used — what you will need for this project
- Optimizing Timelapse Captures
- Managing Bearings and Kinetic Parts
- Leveraging Software for Organization
- Configuring Phone Stands and Hardware
- Refining Print Profiles
- Applying Fuzzy Skin for Texture
- Navigating Makerworld Profiles
- Maximizing Makerlab Rewards
- Modeling Tips with Fusion 360
- Seeking Community Help
- Drying Your Filament
- Creating Functional Decor
- Exploring Other 3D Sites
- Using Print By Object
- Final Inspection and Maintenance
📊 Technical Specifications & Components
| Printer | Bambu Lab X1 Carbon |
| Material Compatibility | PLA, PETG, TPU, ABS, ASA |
| Software | Bambu Studio |
| Hardware Standard | M3 Heat Set Inserts |
📊 Project Overview & Costs
🔧 Difficulty Level: Easy
⏱️ Time Investment: DIY: 20 minutes | Pro: 5 minutes
💰 Professional Service Cost: $0 - $50
💡 Verdict: You'll save hundreds of dollars in wasted filament and failed prints by getting these workflow basics down early.
🛠️ Tools & Materials Used
• Eibos Filament Dryer
• M3 Threaded Heat Inserts
• Magnet Pack
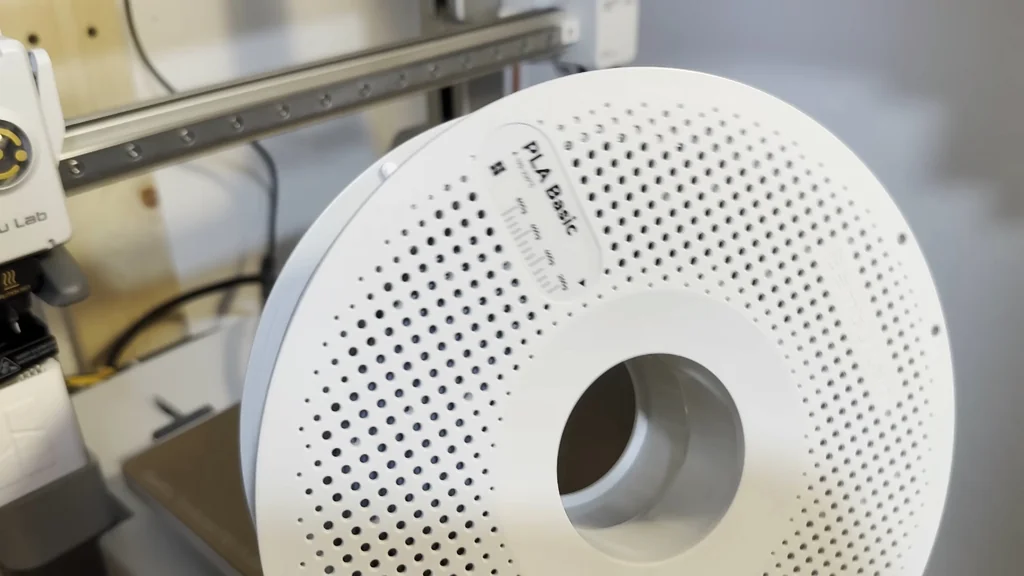
• Bambu Lab Reusable Spool
• PLA Basic Filament
Step-by-Step Assembly, Repair, Testing & Inspection
Optimizing Timelapse Captures
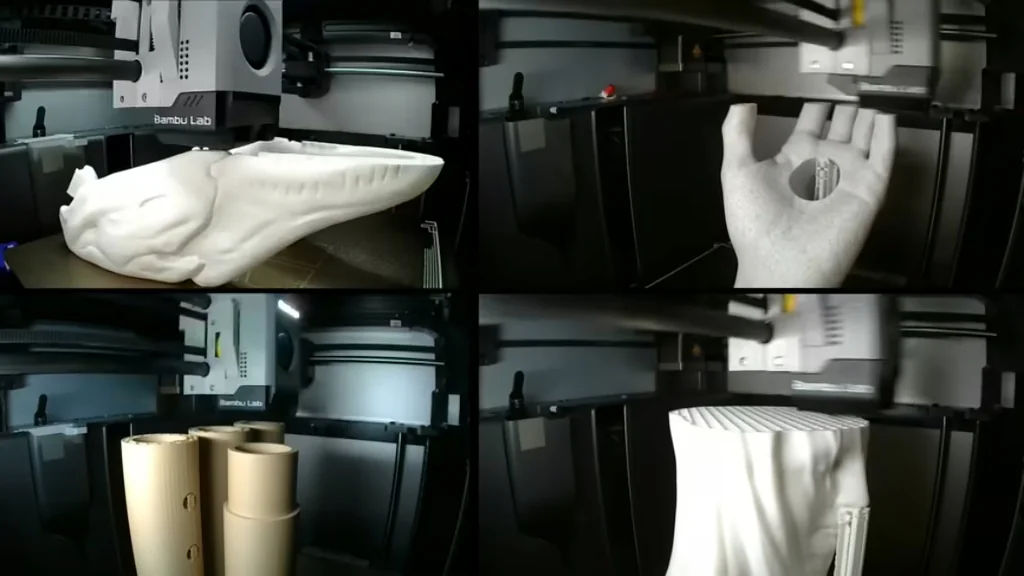
First thing — get your timelapse settings sorted in Bambu Studio. You want the camera positioned so it captures the build plate without getting in the way of the nozzle. It's a simple way to keep a record of what actually happened during a print, especially when something goes wrong. Watch the layer transitions closely — they'll show you extrusion issues or temp fluctuations before they become bigger problems. Good footage tells the story.
Managing Bearings and Kinetic Parts
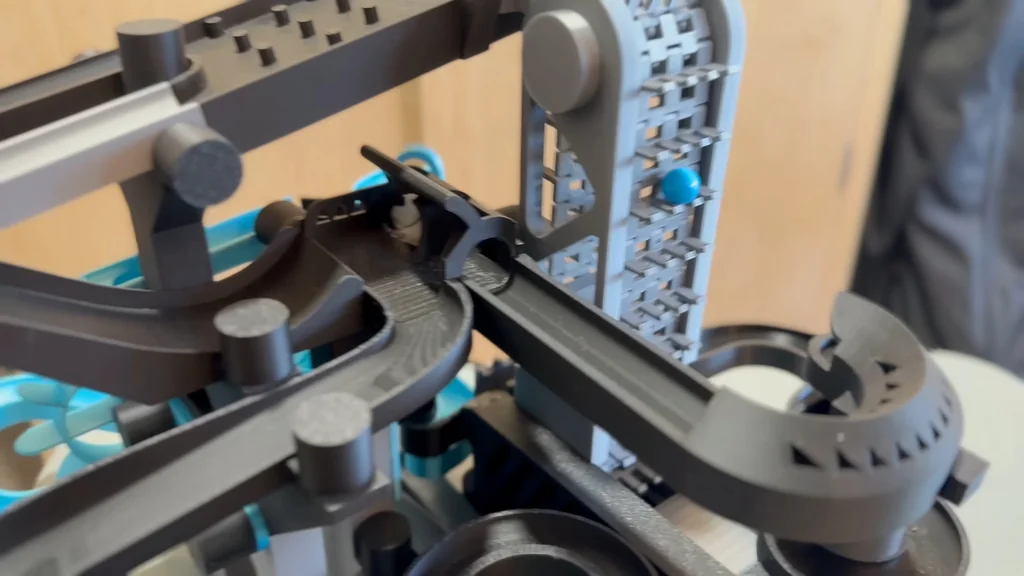
If you're printing moving assemblies like marble runs, bearing quality is everything. Cheap components will cause friction and wear out fast. Inspect every printed part for tolerance issues before you put it together. If the fit's too tight, the motor strains and your print quality goes downhill. Calibrate your flow rate first so the dimensions come out right. Smooth movement is the goal.
Leveraging Software for Organization
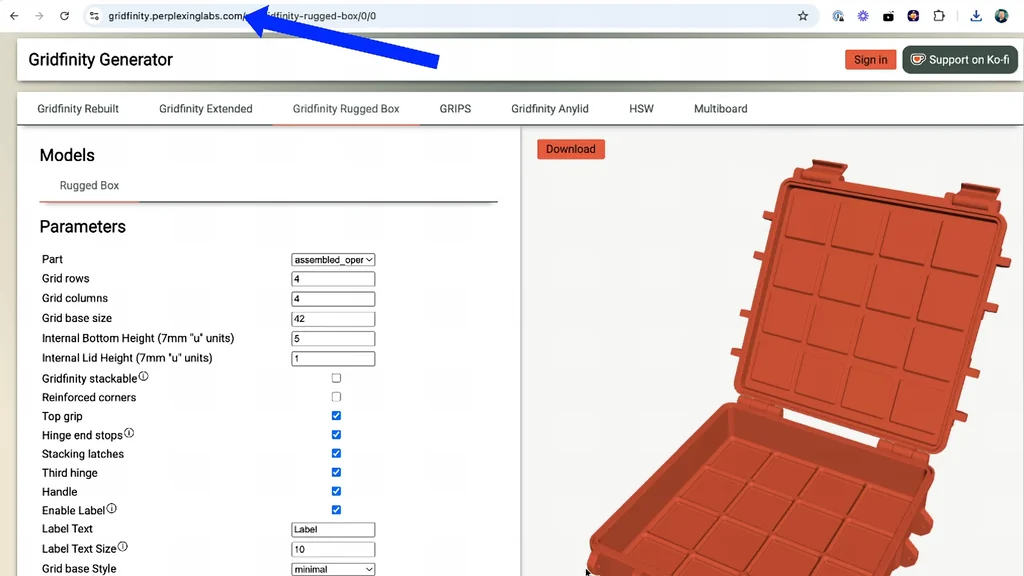
Gridfinity is your best friend for keeping a workspace organized. Use the online generators to make custom bins that fit your exact tools and drawers. Once you've got a spot for every screwdriver and caliper, you'll stop wasting time hunting for stuff. It's a modular system that grows with your collection. Print a few base plates and start organizing today.
Configuring Phone Stands and Hardware
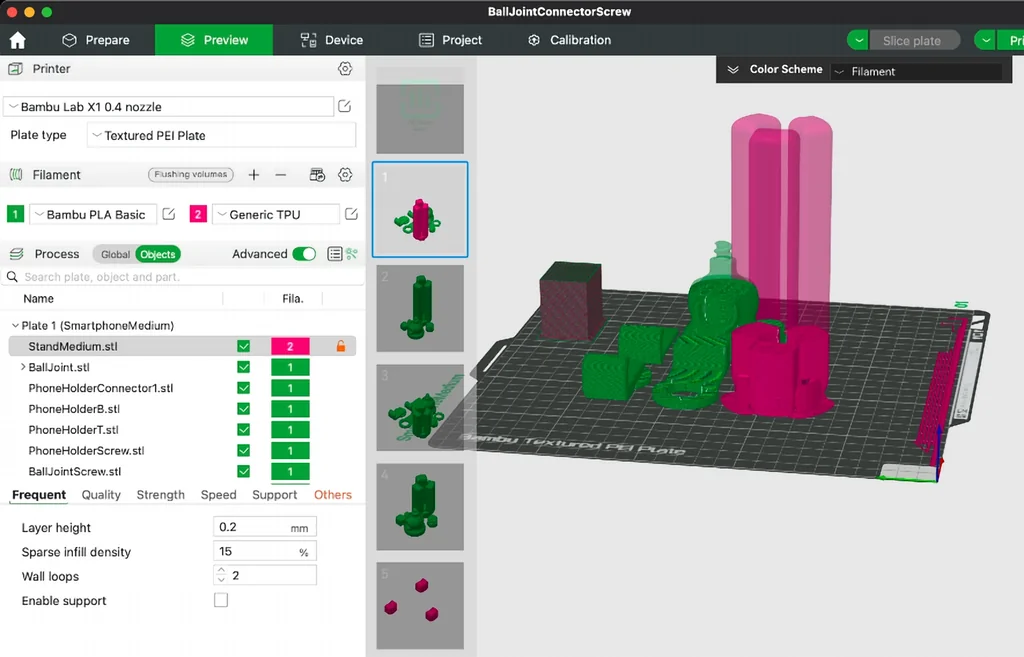
When printing functional stuff like phone stands, orientation matters. Printing on the side usually gives better structural integrity for hinges and clips. Check your layer adhesion — if it's weak, the part won't hold weight over time. Don't rush the first layer. If it doesn't stick, the whole print is garbage. Solid fit.
Refining Print Profiles
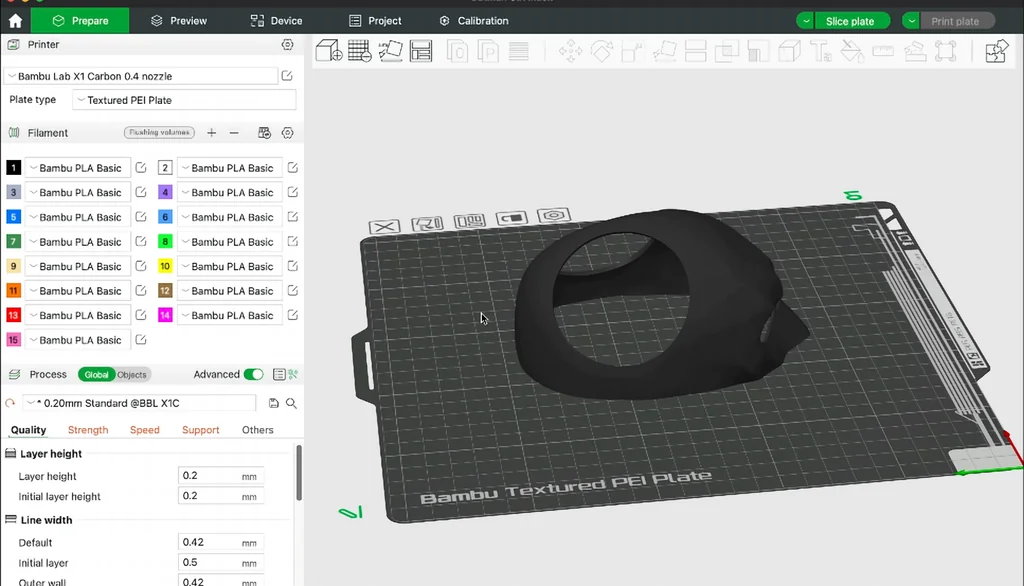
Don't just hit print with defaults. Dive into the profiles in Bambu Studio and tweak wall counts, infill patterns, and top layer thickness. A few adjustments can completely change the surface quality of complex models. If you need strength, bump your wall count to three or four. Small change, big difference in durability.
Applying Fuzzy Skin for Texture
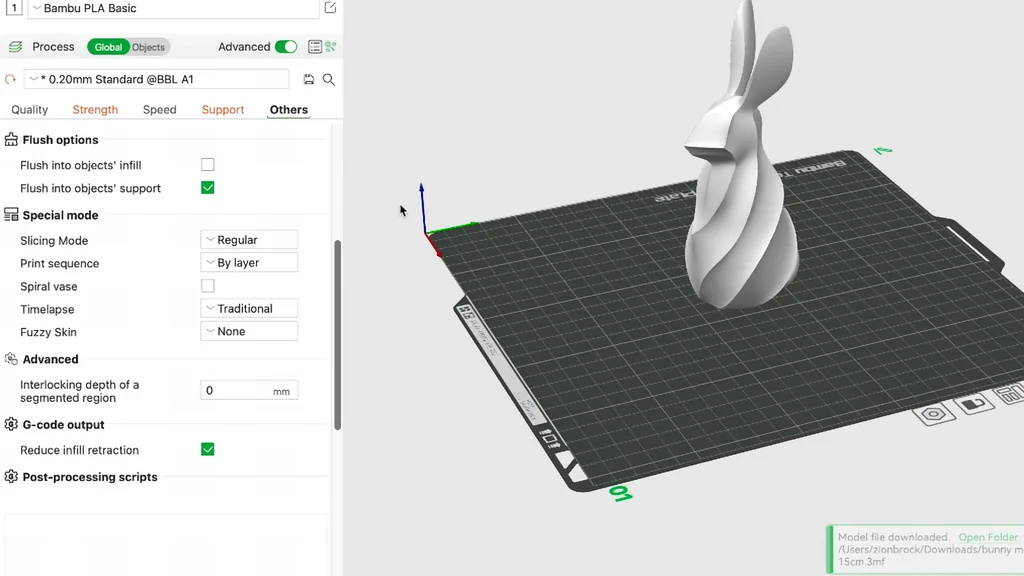
Fuzzy skin hides layer lines on organic models — bunnies, statues, that kind of thing. You'll find it in the quality tab of Bambu Studio. It adds a random texture to the outer walls that makes prints look less like raw plastic. Heads up: it does add to the print time. Worth it for aesthetic pieces.
Navigating Makerworld Profiles
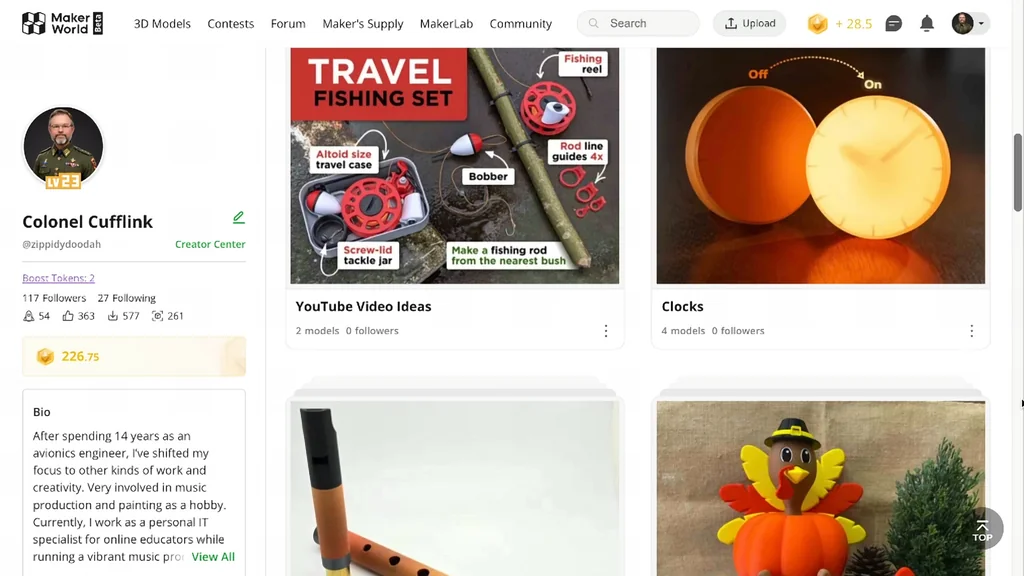
Makerworld is packed with profiles people have already tested. Look for ones with high downloads and good feedback. You'll see how other makers have optimized settings for specific materials and models. It beats starting from zero every time. Just double-check the settings against your own machine before you commit.
Maximizing Makerlab Rewards
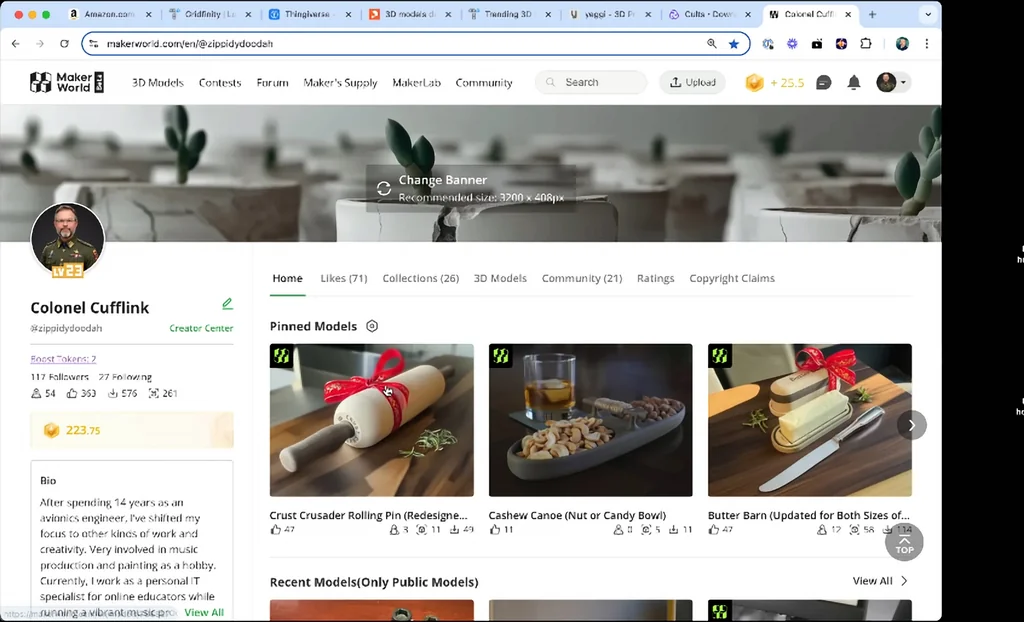
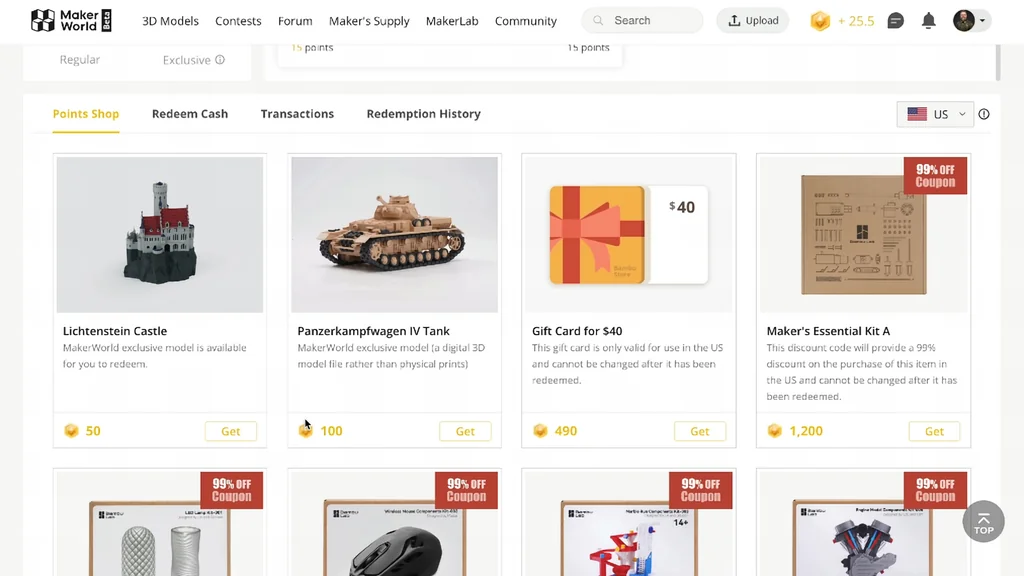
If you're uploading designs or sharing profiles, you'll rack up points in the Makerlab system. Redeem them for filament or accessories. It's a nice bonus for contributing. Keep an eye on challenges and contests too — they push your modeling skills and earn extra points. Every bit helps when you're stocking up.
Modeling Tips with Fusion 360
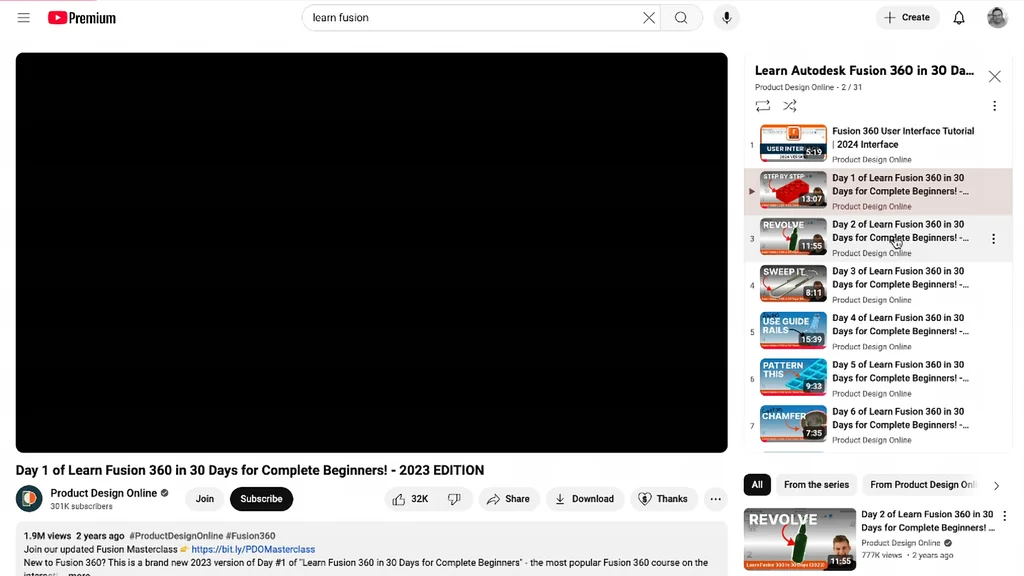
Learning CAD is essential if you want to make your own stuff instead of just downloading models. Start simple in Fusion 360 — sketches and extrusions. Even basic skills let you modify existing designs to fit what you actually need. Don't get overwhelmed by the interface. Focus on sketch, extrude, and fillet. That's enough to get you started.
Seeking Community Help
When you hit a wall, don't bang your head against it alone. The 3D printing community is huge and surprisingly helpful. Search for your specific issue on forums or social groups — chances are someone's already solved it. Be specific when you ask: mention your printer, filament, and settings. That's the fastest way to get back to printing.
Drying Your Filament
Moisture is the enemy of clean prints. If you're getting stringing or weak layer adhesion, your filament's probably wet. Use a dedicated dryer before you load the spool. You'll see a night-and-day difference. Keep filament in a dry box when it's not in use. Dry material, clean prints — it's that simple.
Creating Functional Decor
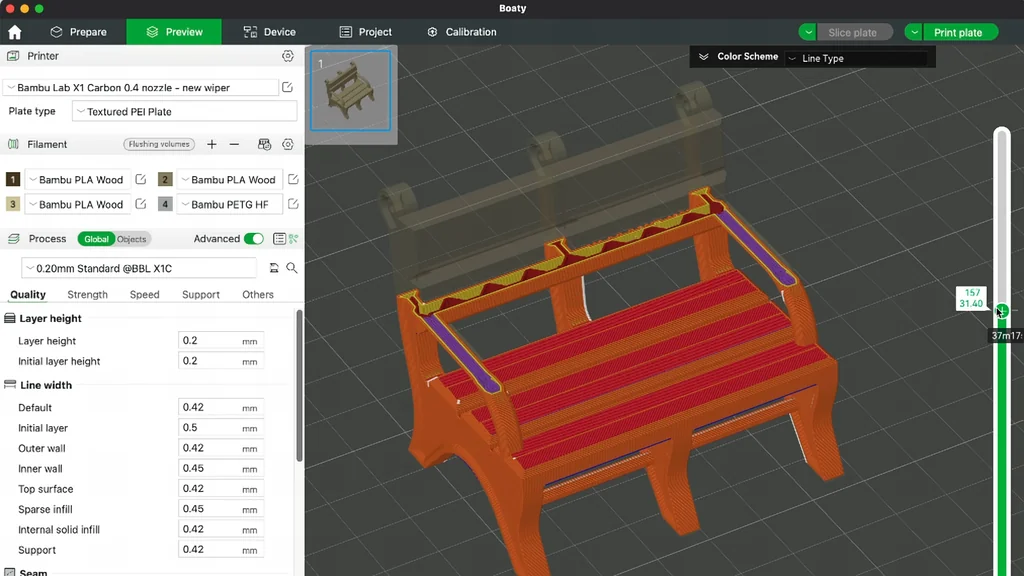
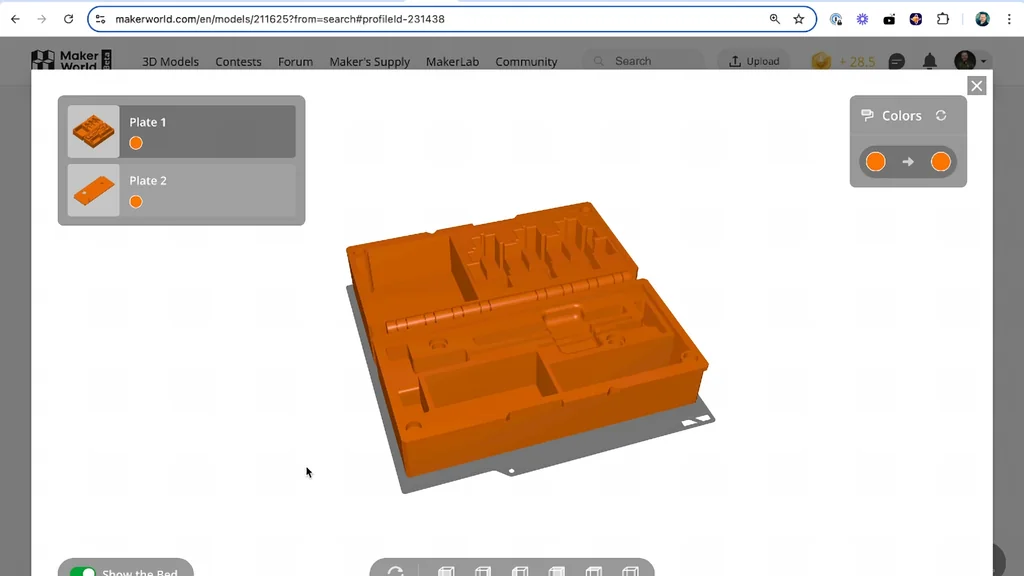
Printing decor is a fun way to test what your machine can do. Tool cases, lamps, whatever you need. Watch the tolerances on print-in-place mechanisms — if parts are fused, you need to adjust flow rate or cooling. It's a great way to learn the nuances of your printer while making your space look better. Keep it functional.
Exploring Other 3D Sites
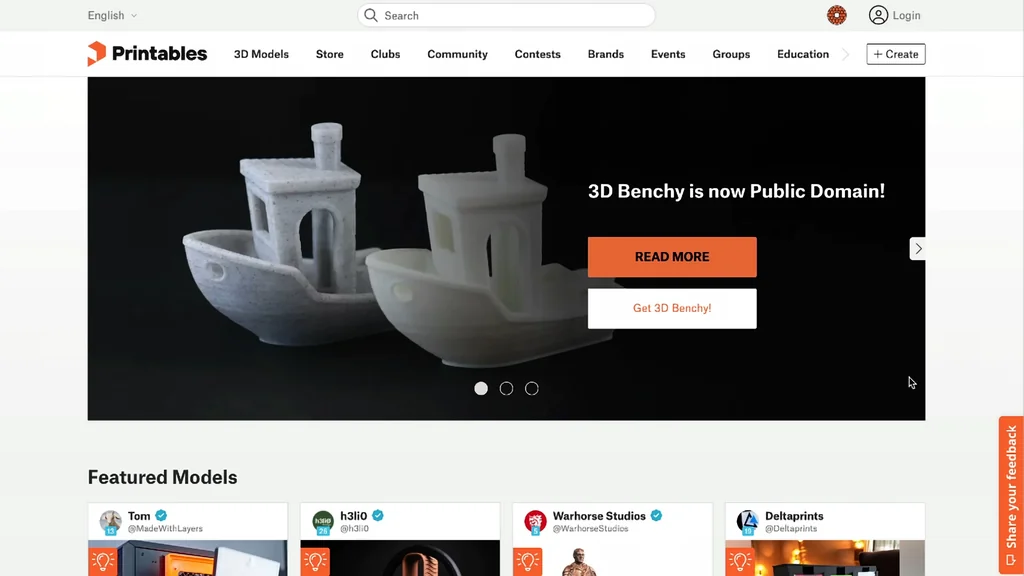
Makerworld is great, but don't limit yourself. Sites like Printables have a massive library you won't find anywhere else. Different designers, different styles. It's worth browsing to see what the wider community is up to. Keep your bookmarks organized so you can find your favorite creators easily.
Using Print By Object
For batch jobs with multiple small parts, use 'Print by Object' in your slicer. It finishes one item completely before moving to the next, cutting down on travel moves and stringing between objects. You need enough clearance for the print head, but it's a massive time-saver for production runs. Pro move.
Final Inspection and Maintenance
Always finish with a good look at the results. Check the surface finish, part strength, and overall fit. If something's off, use it as a lesson for the next print. Keep your build plate clean with isopropyl alcohol so adhesion stays perfect. That's the wrap.
⚠️ CAUTION: SAFETY WARNING!
Always run your 3D printer in a well-ventilated area. Keep your hands clear of moving parts while it's running to avoid injury.
Summary & Tips
Bambu Lab printers make everything easier, but you still need to understand the basics. Focus on filament storage, model orientation, and slicer settings. Don't be afraid to experiment and learn from mistakes. Keep printing and stay curious.
📋 FAQ
❓ How do I know if my filament is wet?
If you're getting stringing, popping sounds during extrusion, or weak layer adhesion, your filament's absorbed moisture. Dry it out and you'll see an instant improvement.
❓ What's the difference between Print by Object and Print by Layer?
Print by Object finishes one model completely before starting the next. It reduces stringing between parts and cuts travel time. Print by Layer builds everything simultaneously. Use Print by Object when parts are small and spaced out.
❓ Do I need to use the AMS for multi-color prints?
Only if you're doing multi-material or multi-color in a single print. For single-color jobs, the AMS isn't required. But it does make filament swaps way more convenient.
Disclaimer: I purchased all tools for this guide with my own money to ensure an unbiased review. This post contains affiliate links, meaning I earn a small commission if you make a purchase at no extra cost to you.