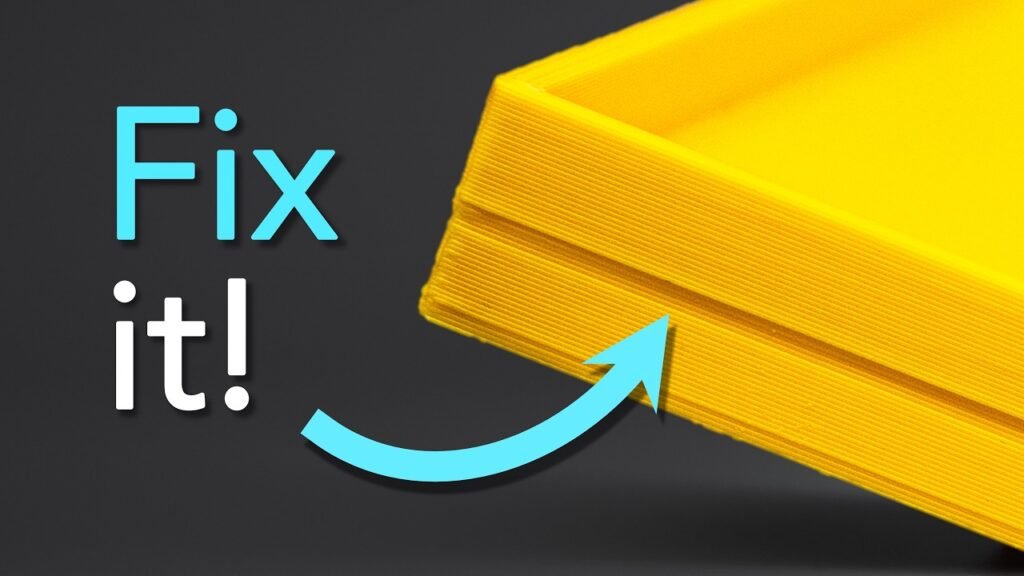
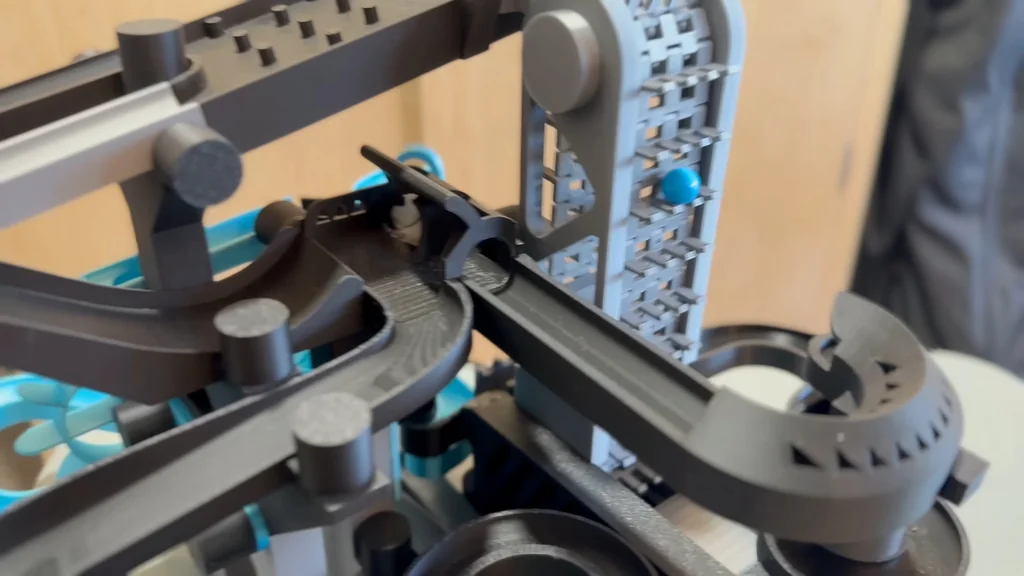
Getting good prints comes down to dialing in your filament. OrcaSlicer has built-in calibration tools for temp, flow, pressure advance, and retraction — run through those and you’ll get solid results from every spool.
⚡ Quick Guide: How to Make It in 10 Steps
- Prepare the printer and select the filament type.
- Run a temperature tower to find the optimal heat setting.
- Verify layer adhesion and surface quality at the selected temperature.
- Execute the flow rate calibration test.
- Measure the test prints to calculate the new flow ratio.
- Refine the flow rate using the second calibration test.
- Perform a retraction test to eliminate stringing.
- Test max volumetric speed to find the printer’s flow limit.
- Calibrate VFA (Vertical Fine Artifacts) using speed increments.
- Validate settings with a final test print.
📋 In This Article
- Technical Specifications & Components
- Tools & Materials Used — what you will need for this project
- Prepare for Filament Calibration
- Run the Temperature Tower
- Select Optimal Printing Temperature
- Perform Initial Flow Rate Calibration
- Measure and Adjust Flow Settings
- Refine Flow Rate with Second Test
- Calibrate Retraction Settings
- Determine Max Volumetric Speed
- Tune VFA and Finalize Settings
- Validate with a Test Cube
- FAQ
📊 Technical Specifications & Components
| Temperature Step | 5°C |
| Flow Rate Formula | Flow Ratio_old * (100 + Modifier value)/100 |
| Pressure Advance Formula | PA Start + (PA Step x Height measurement with best result) |
| Max Volumetric Speed | Start + (Height-measurement producing good results before failure * Step) |
📊 Project Overview & Costs
🔧 Difficulty Level: Easy
⏱️ Time Investment: DIY: 2-3 hours | Pro: 1-2 hours
💰 Professional Service Cost: $0 (Software is free)
💡 Verdict: Saves significant time and material by eliminating failed prints caused by incorrect filament profiles.
🛠️ Tools & Materials Used
• 3D Printer
• Filament (ASA, ABS, or CF variants)
Step-by-Step Calibration Procedure
Prepare for Filament Calibration
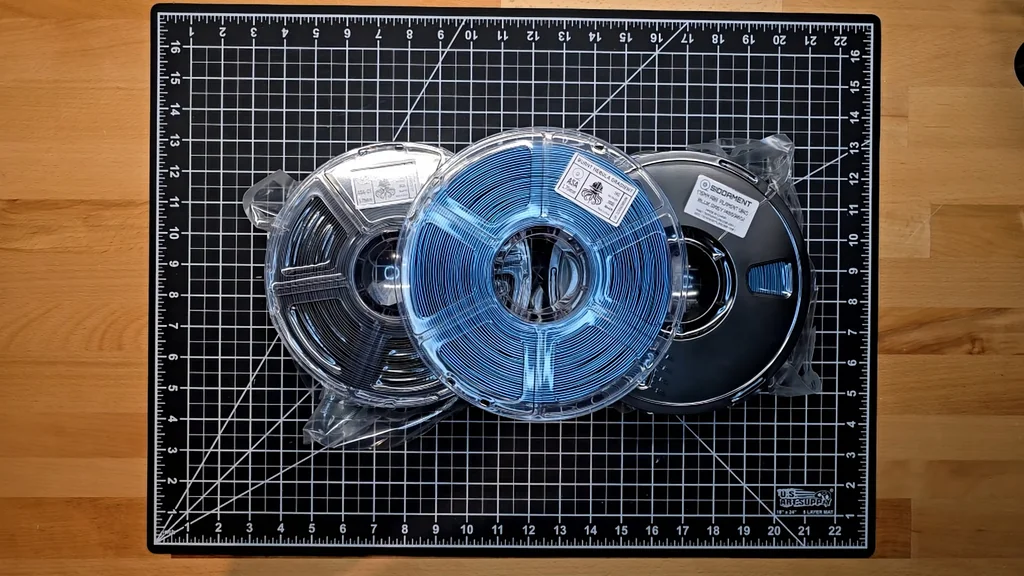
Start by gathering your filament samples. Whether you are using ASA, ABS, or carbon fiber variants, the goal is to move away from generic profiles that don't account for the specific thermal properties of your material. Ensure your printer is warmed up and ready to handle the specific requirements of the filament you've chosen.
Run the Temperature Tower
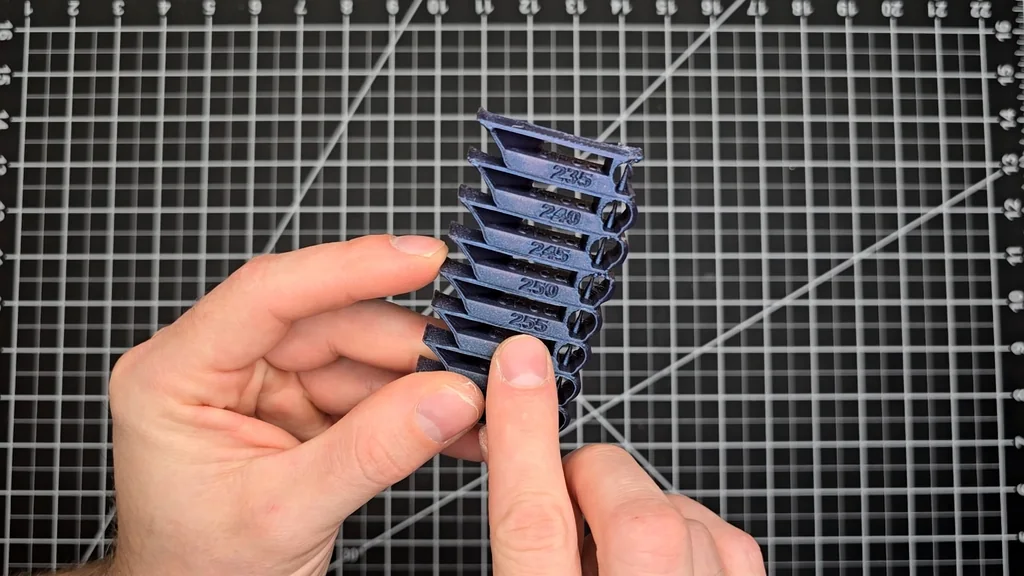
Initiate the temperature tower test in OrcaSlicer. This test prints a model with varying temperatures, usually in 5°C increments. You are looking for the best balance of surface quality, clean overhangs, and consistent extrusion. If the print loses adhesion or shows excessive warping, the temperature is likely too low.
Select Optimal Printing Temperature
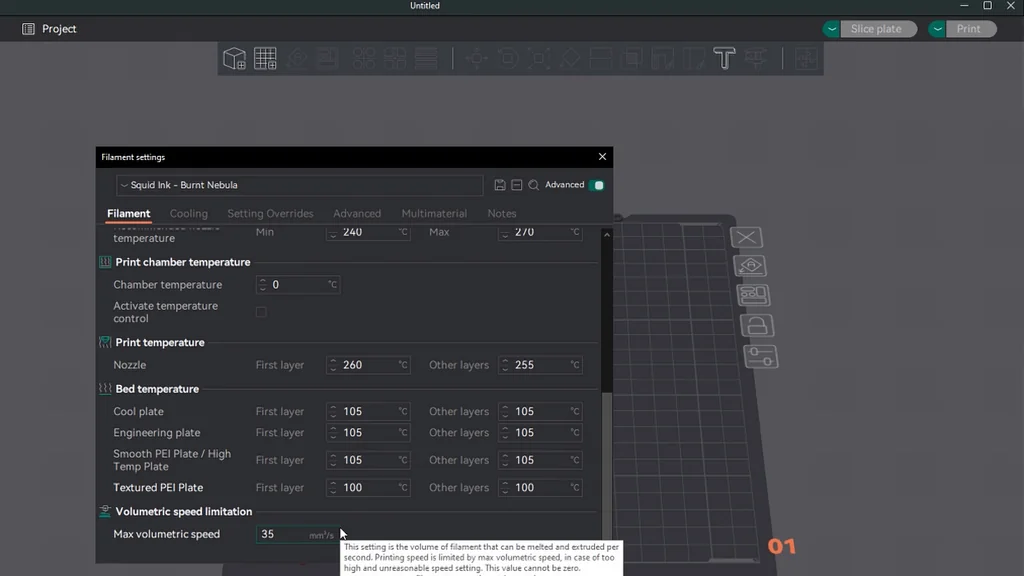
Inspect the printed tower to identify the temperature that provides the cleanest features. In this case, 255°C proved to be the sweet spot. Temperatures lower than this caused layer adhesion issues, while higher temperatures resulted in drooping on overhangs. I'll set the first layer slightly higher to ensure good bed adhesion, then maintain 255°C for the rest of the print.
Perform Initial Flow Rate Calibration
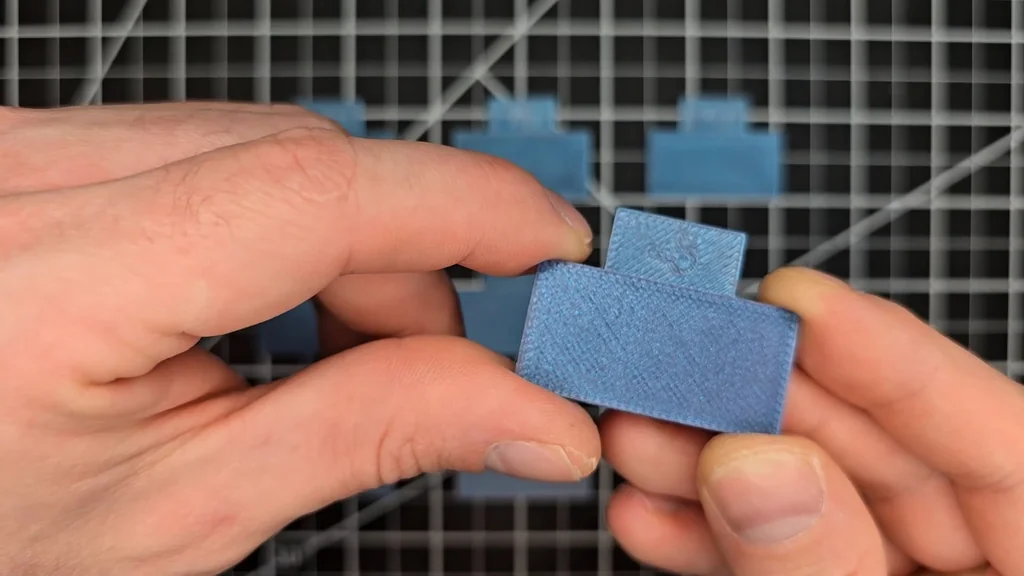
Next, run the flow rate test to determine if the filament needs more or less material throughput. After printing the test pattern, choose the section that shows the smoothest surface without raised edges or gaps between lines. \n\n\n\nTo calculate the new flow ratio, use the formula: (Flow Ratio_old * (100 + Modifier value)/100). For example, if you choose a modifier of 5, you'll update your profile setting accordingly.
Measure and Adjust Flow Settings
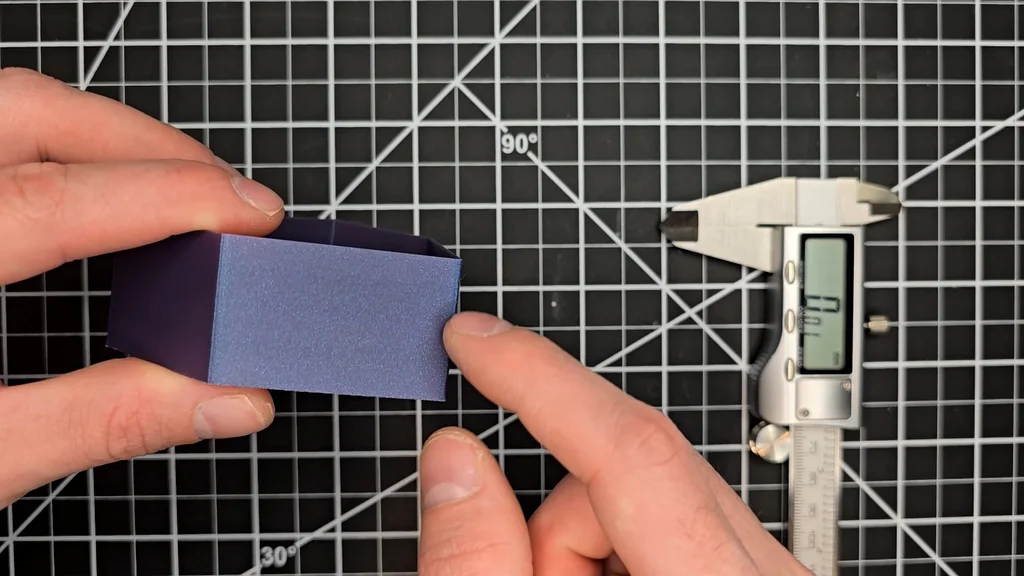
Use your digital calipers to check the corners of your test prints. Rounded corners indicate the flow value is too low, while wavy or bulging corners mean the value is too high. Aim for a consistent measurement across all sides. Once you find the 16mm mark that provides the best results, verify it with the calipers to ensure uniformity.
Refine Flow Rate with Second Test
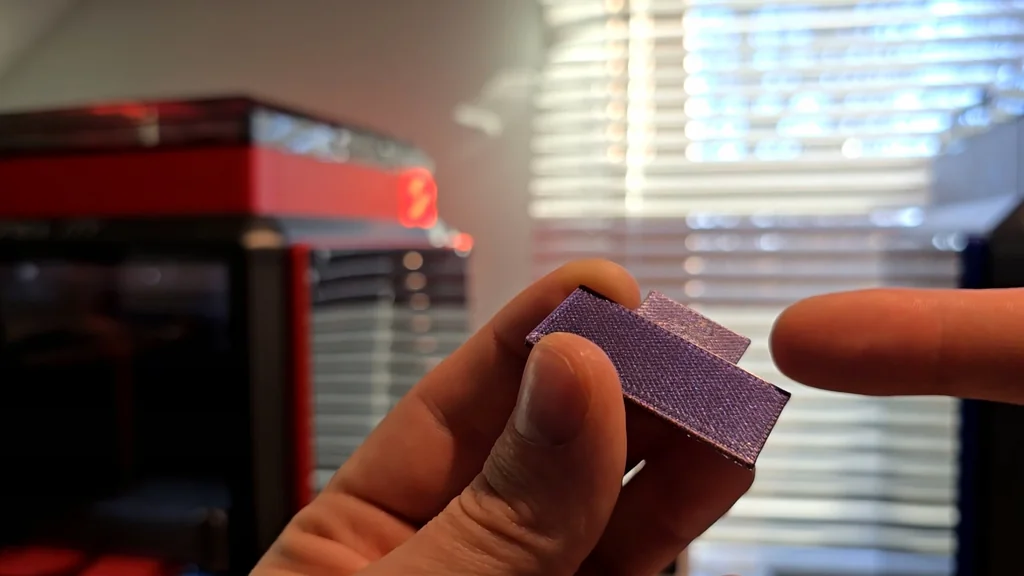
Examine the second pass of the flow rate test. If you see gaps between lines, the flow is too low; if the perimeter shows excess material, it's too high. By selecting the best-performing segment and applying the same flow ratio formula, you can dial in the exact value needed for your specific filament profile.
Calibrate Retraction Settings
Run the retraction test to eliminate stringing. For direct drive systems, start testing from 0mm to 2mm; for Bowden setups, use 1mm to 6mm. Identify the lowest point on the tower where stringing is completely absent. Update your filament settings with this value to ensure clean travel moves.
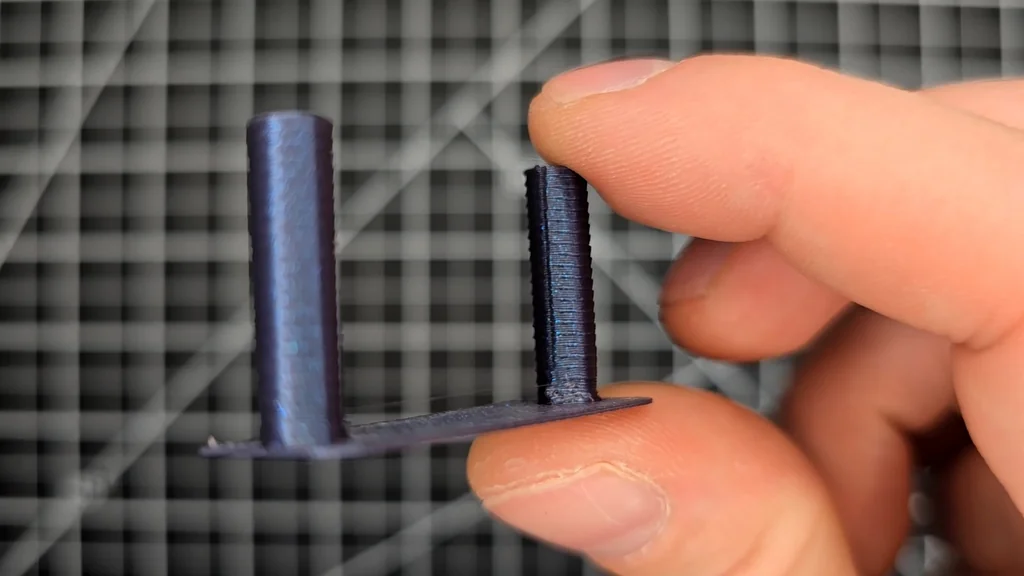
Determine Max Volumetric Speed
The max volumetric speed test helps you find the upper limit of your printer's extrusion capability. As the print progresses, you'll see where the quality begins to drop off. I recommend choosing a value 2-5mm below the failure point to ensure reliable, high-speed printing without underextrusion.
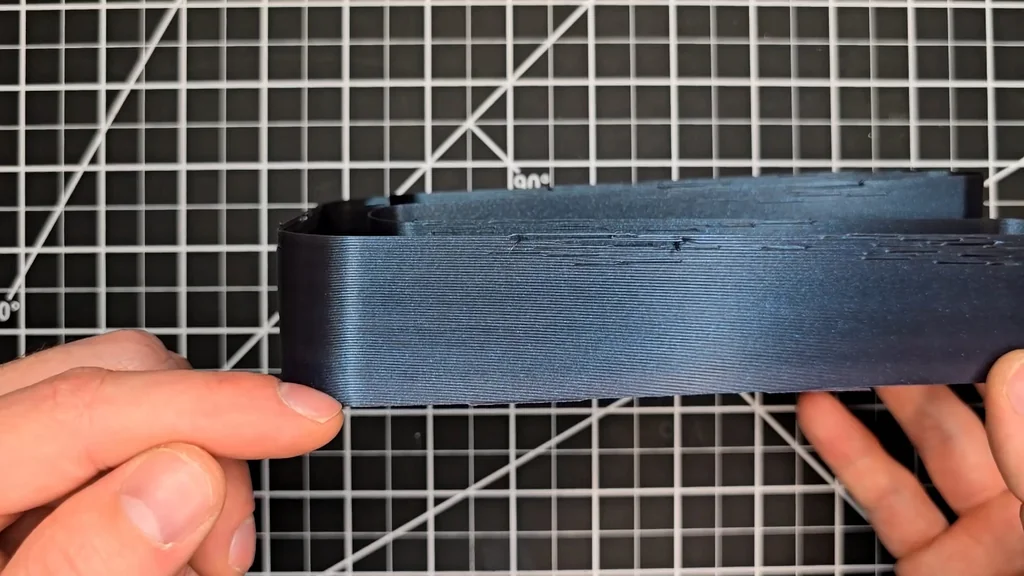
Tune VFA and Finalize Settings
VFA (Vertical Fine Artifacts) calibration involves testing speed increments to see which produces the best surface quality. By increasing speed in 10mm/s steps and observing the notches on the print, you can find the optimal speed for your machine. This process takes about two hours but ensures your prints are clean and free of artifacts.
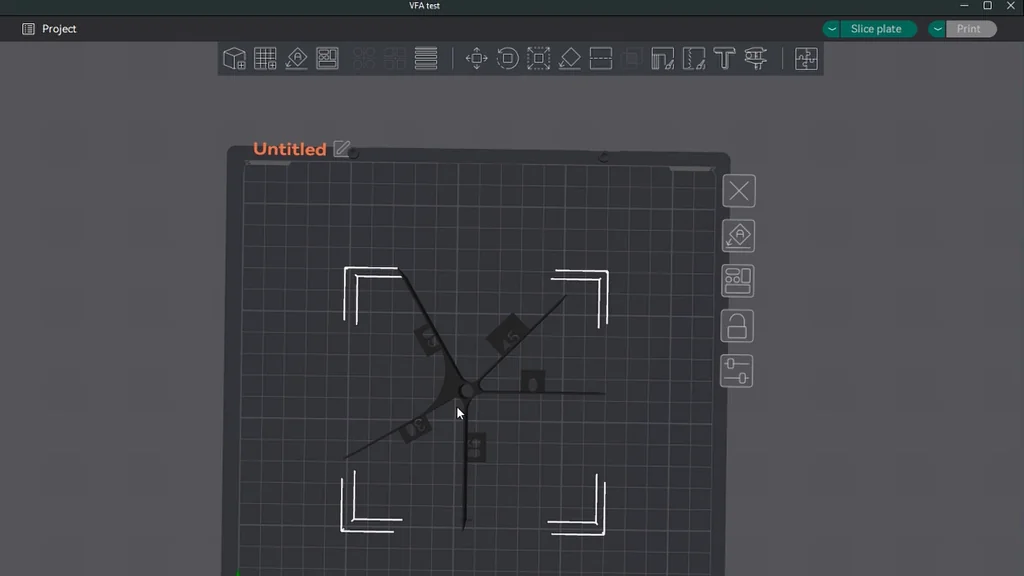
Validate with a Test Cube
Finally, print a standard test cube using your newly calibrated settings. This confirms that all adjustments—temperature, flow, retraction, and speed—work together to produce a high-quality part. If the cube looks clean and dimensions are accurate, you're ready to move on to larger, more complex projects.
⚠️ CAUTION: SAFETY WARNING!
Always be mindful of hot surfaces on the printer nozzle and heated bed during calibration tests. Keep hands clear of moving parts while the printer is in operation.
Summary & Tips
Systematic calibration transforms generic filament profiles into highly accurate settings tailored to your specific machine. By dedicating time to these tests, you prevent material waste and ensure consistent results across all your prints. The process reveals the physical limits of your setup, allowing for faster and more reliable production. Once these values are saved, you can approach future prints with confidence in your equipment.
📋 FAQ
❓ Why shouldn't I just use the default generic filament profiles?
Generic profiles are often conservative and don't account for your printer's specific extrusion or cooling capabilities. Tuning your own profile ensures better surface finish and structural integrity.
❓ How often do I need to recalibrate for the same filament brand?
Usually, you only need to calibrate once per filament type or when you switch to a different brand. If you notice changes in print quality, it might be time for a quick check.
❓ Is it necessary to run every single calibration test?
Yeah, running the full suite ensures your printer is operating at its peak potential. It saves time in the long run by preventing failed prints.
❓ What if my test prints still look bad after calibration?
Check your hardware, specifically belt tension and nozzle condition. Sometimes mechanical issues mimic calibration problems that software settings can't fix.
Disclaimer: I purchased all tools for this guide with my own money to ensure an unbiased review. This post contains affiliate links, meaning I earn a small commission if you make a purchase at no extra cost to you.