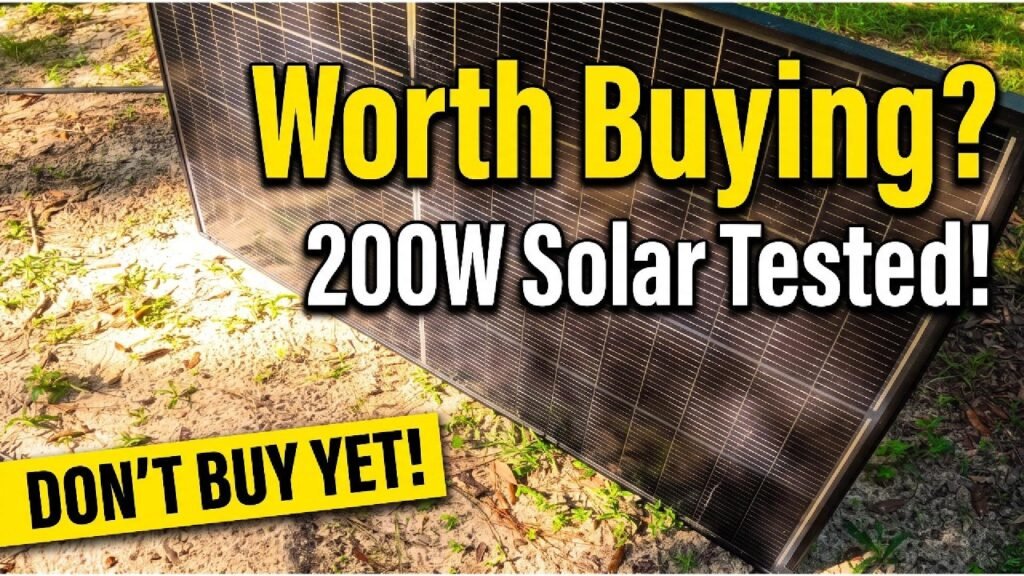
184 watts of peak output — that’s what I pulled from the BougeRV bifacial panel during my early morning stress tests. I spent a week putting three different 200W solar panel technologies side-by-side under identical conditions to see how they actually perform in the real world. My goal was to cut through the marketing specs and figure out which panel design truly delivers the most usable power for my off-grid setups.
⚡ Quick Guide: How to Make It in 15 Steps
- Verified 184W peak output from the BougeRV bifacial panel in cool, clear conditions.
- Confirmed 167W maximum output from the flexible panel under full sun.
- Tested shading resilience by covering five cells, noting a 20W drop for bifacial versus 90W for mono.
- Measured 44% weight reduction in the bifacial panel compared to the 18.5kg mono panel.
- Identified 28% smaller surface area for the bifacial panel compared to standard mono units.
- Observed marginal 4-5W gains when using reflective materials behind the bifacial panel on the ground.
- Confirmed the necessity of 1m clearance for bifacial panels to capture significant backside light.
📋 In This Article
- Technical Specifications & Components
- Tools & Materials Used — what you will need for this project
- Initial Stress Testing Setup
- Reviewing Panel Specifications
- Evaluating Flexible Panel Weight
- Assessing Flexible Panel Longevity
- Understanding N-Type TOPCon Technology
- Testing Partial Shading Performance
- Analyzing Bifacial Power Gains
- Reflecting Light for Efficiency
- Comparing Size and Weight
- Verifying Real-World Power Output
- Optimizing Controller Compatibility
- Inspecting Secondhand Mono Panels
- Testing Secondhand Panel Efficiency
- Finalizing Technology Comparison
- Reviewing Large-Scale Installation Options
- FAQ
📊 Technical Specifications & Components
| Panel Rating | 200W |
| Bifacial Panel Weight | 10.5 kg |
| Flexible Panel Weight | 4.3 kg |
| Monocrystalline Panel Weight | 18.5 kg |
| Bifacial Panel Length | 131 cm |
| Monocrystalline Panel Length | 148 cm |
| Cell Technology | N-Type TOPCon |
| Busbar Count | 16BB |
| Warranty | 10 years (BougeRV) |
📊 Project Overview & Costs
🔧 Difficulty Level: Easy
⏱️ Time Investment: DIY: 1 week of testing | Pro: 2 hours of setup
💰 Professional Service Cost: $150 - $300 per panel
💡 Verdict: Choosing the right panel for your specific mounting location can save you from significant power loss due to shading or inefficient cell technology.
🛠️ Tools & Materials Used
• BougeRV 200W N-Type TopCon 16BB Bifacial Solar Panel
• ALLPOWERS 200W Flexible Solar Panel
• Fossibot F800 Solar Generator
• Reflective bubble insulation
• White ceramic tiles
Comparing 200W Solar Panels: Real-World Performance Results
Initial Stress Testing Setup
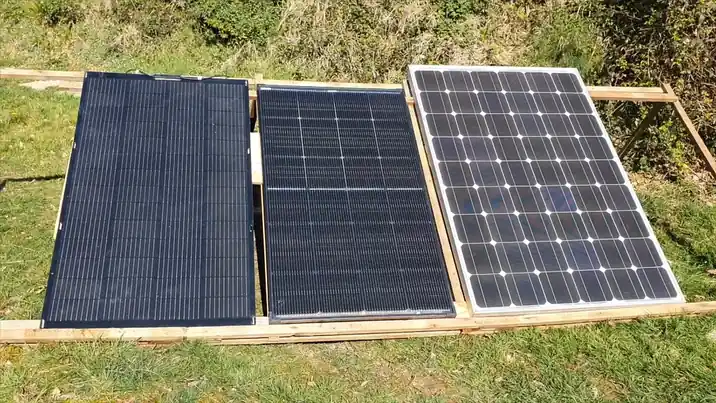
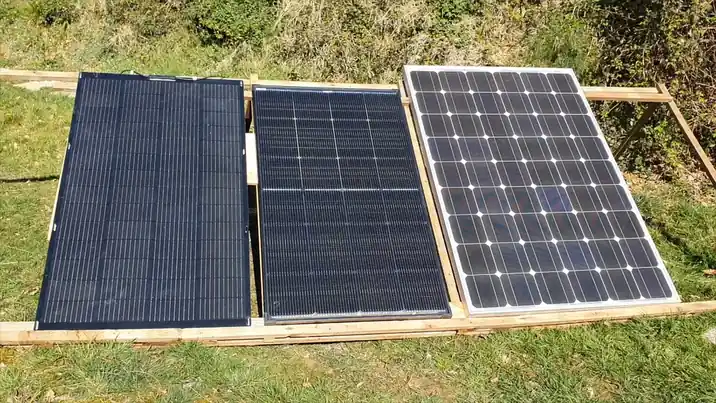
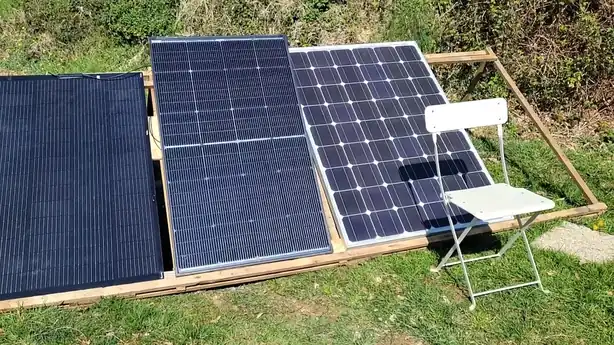
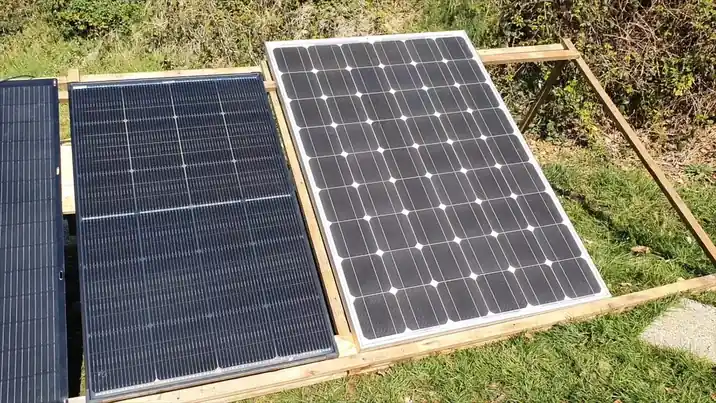
I set up three different 200W solar panels side-by-side to compare their real-world output. I ensured every panel faced the sun at the same angle to keep the light conditions identical. Lab ratings often don't match reality, so I wanted to see how they handled actual outdoor variables. I used a consistent solar generator for every test to ensure the input measurements remained accurate. This comparison helps me understand if the premium technology in newer panels is worth the investment for my specific needs.
Reviewing Panel Specifications
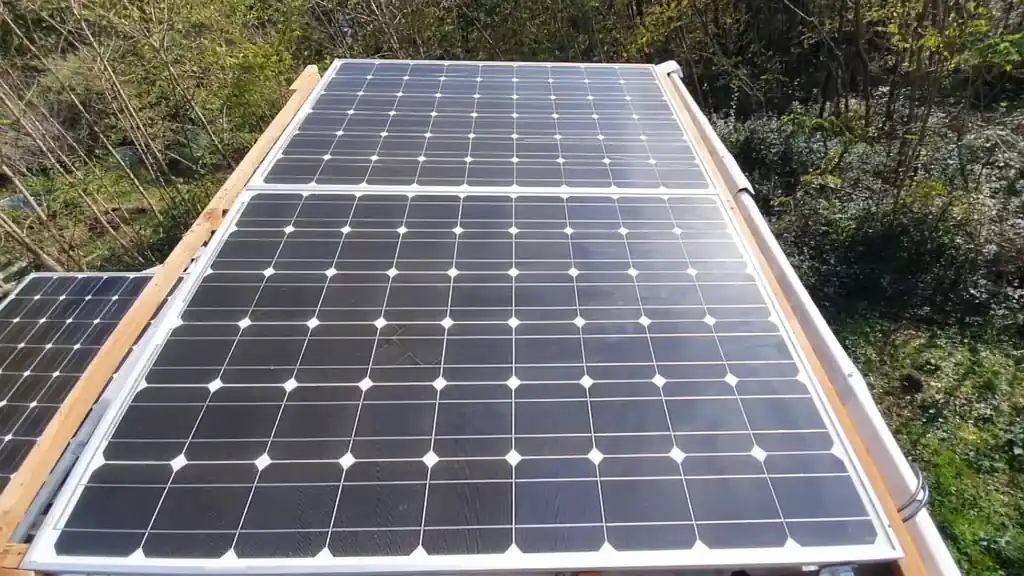
I pulled the spec sheets for my flexible panel, the new BougeRV bifacial unit, and an old secondhand monocrystalline panel from Reso Solar. The flexible panel has been part of my DIY solar projects for a while, so I have a good baseline for its performance. I plugged each panel into my solar generators to see how they handled the load. Comparing these different designs side-by-side reveals exactly how much power I lose or gain based on the panel's construction and age. I noticed the secondhand panel even has a cracked cell, which is a common issue when buying used gear from old solar farms.
Evaluating Flexible Panel Weight
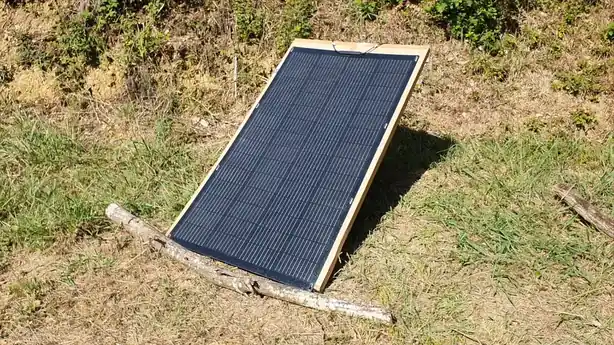
I weighed the flexible panel at 4.3 kg, which is incredibly light compared to rigid alternatives. This weight reduction is the primary reason I choose flexible panels for portable or weight-sensitive projects. However, I know that making a panel this light sacrifices rigidity, which usually leads to a shorter lifespan. Rigid panels are built to withstand years of thermal expansion and contraction, whereas flexible materials can degrade faster under constant stress. I have to balance the convenience of a 4.3 kg panel against the long-term durability I get from a heavier, glass-covered rigid unit.
Assessing Flexible Panel Longevity
I considered the trade-offs between the compact, lightweight nature of the flexible panel and its long-term durability. While it’s the best bet for portability, the current technology simply doesn't match the lifespan of a rigid panel. I’ve noticed that flexible panels tend to degrade faster due to the materials used in their construction. If I’m planning a permanent installation, I’d prioritize a rigid panel every time. For temporary setups, the weight savings are worth the potential for a shorter service life. I’ve seen this panel hit 167W in full sun, which is a solid result for its size.
Understanding N-Type TOPCon Technology
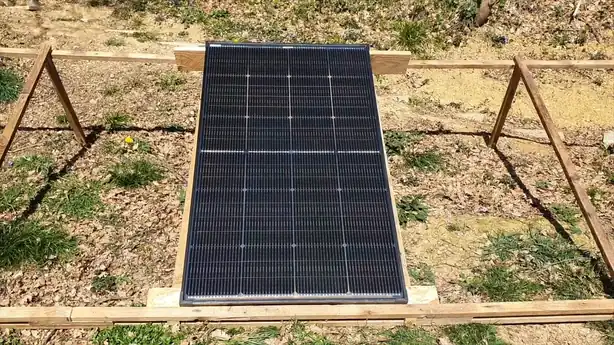
I dug into the technical details of the BougeRV panel, specifically the N-Type TOPCon 16BB design. TOPCon stands for Tunnel Oxide Passivated Contact, which is an advanced cell architecture that reduces electron recombination. Essentially, this keeps more electrons moving through the circuit instead of being lost as heat, which creates more usable power. The N-Type silicon base is less prone to light-induced degradation compared to traditional P-Type cells. This means I get better performance in low-light conditions and a slower decline in efficiency over the life of the panel.
Testing Partial Shading Performance
I performed a shading test by covering about five cells on the lower half of the BougeRV panel. Because this panel uses half-cut cell technology, it’s physically divided into two sections that act independently. This is a huge advantage when partial shade hits the panel, as only the shaded section loses efficiency. I saw a drop of about 20W on the bifacial panel, whereas my old monocrystalline panel dropped from 170W to 80W under the same shade. This shows how much more resilient the half-cut design is when I can't avoid shadows in my setup.
Analyzing Bifacial Power Gains
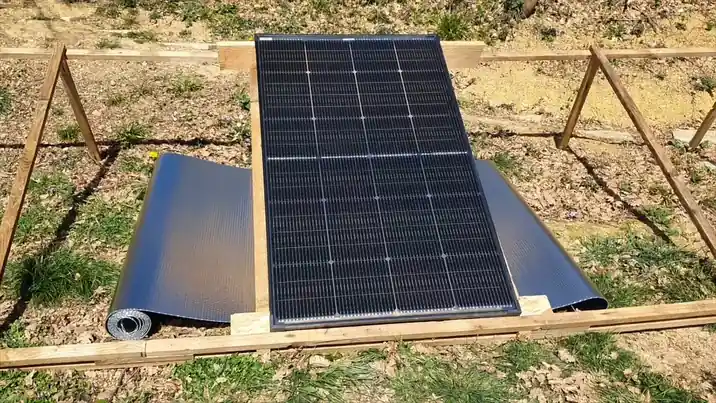
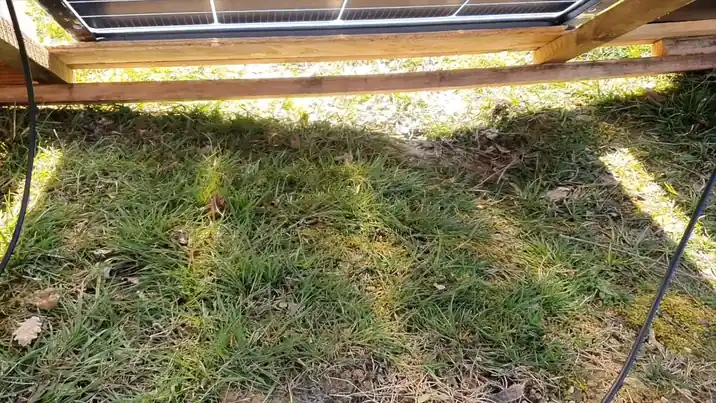
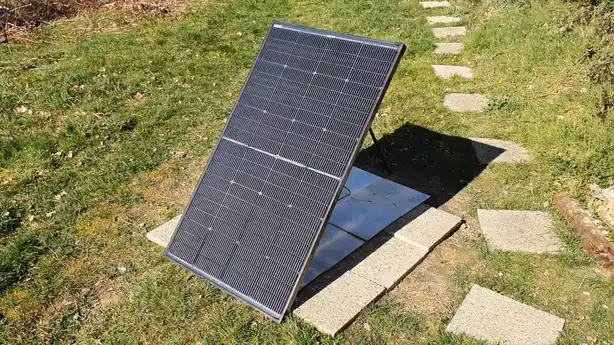
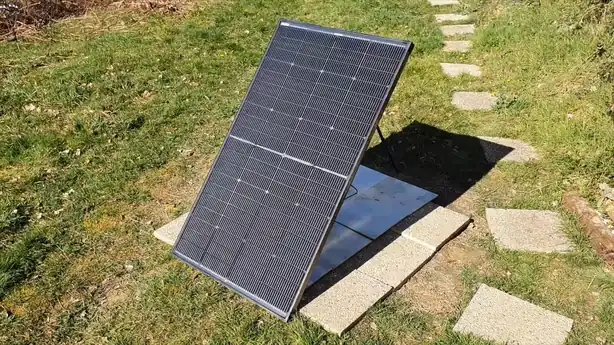
I tested the bifacial capabilities by placing white tiles behind the panel on the ground. Bifacial panels are designed to capture light on the backside, but they ideally need to be at least one meter above the ground to reflect enough light. I realized that when the panel is too close to the ground, it blocks its own light, creating a shadow that limits the backside gain. I wanted to see if I could force more power by flipping the panel, but the results were marginal. I’m planning to build a raised mount for future tests to see if I can get a better return on that backside light.
Reflecting Light for Efficiency
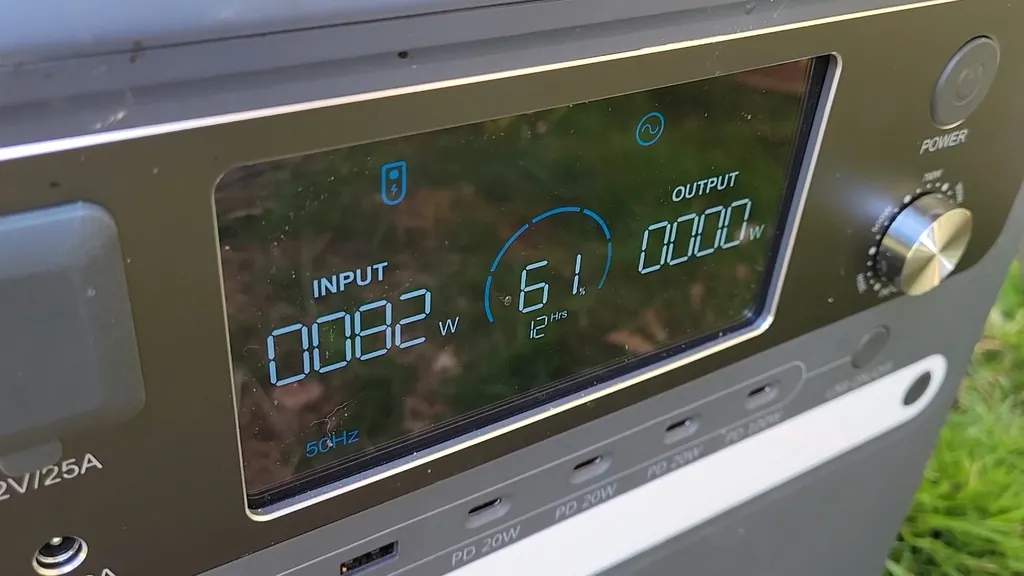
I used a highly reflective bubble-wrap insulation behind the panel to see if I could boost the output. My results were marginal, with only about 4-5W of extra power, moving the output from 174W to 180W. It’s clear that simply laying the panel on the ground with a reflector isn't enough to maximize the bifacial effect. I need to raise the panel higher and maybe even curve the reflector to focus more light onto the back. It’s a good reminder that bifacial panels require a specific mounting strategy to actually outperform standard mono panels.
Comparing Size and Weight
I compared the physical dimensions of the bifacial panel to my standard monocrystalline unit. The bifacial panel is 28% smaller in surface area and 44% lighter, weighing in at roughly 10.5 kg. This makes a massive difference when I’m hauling gear or mounting panels on a roof. I’m getting the same 200W rating in a much smaller, easier-to-handle package. It’s a significant improvement over the older, bulkier panels I’ve used in the past, which makes the installation process much less of a chore.
Verifying Real-World Power Output
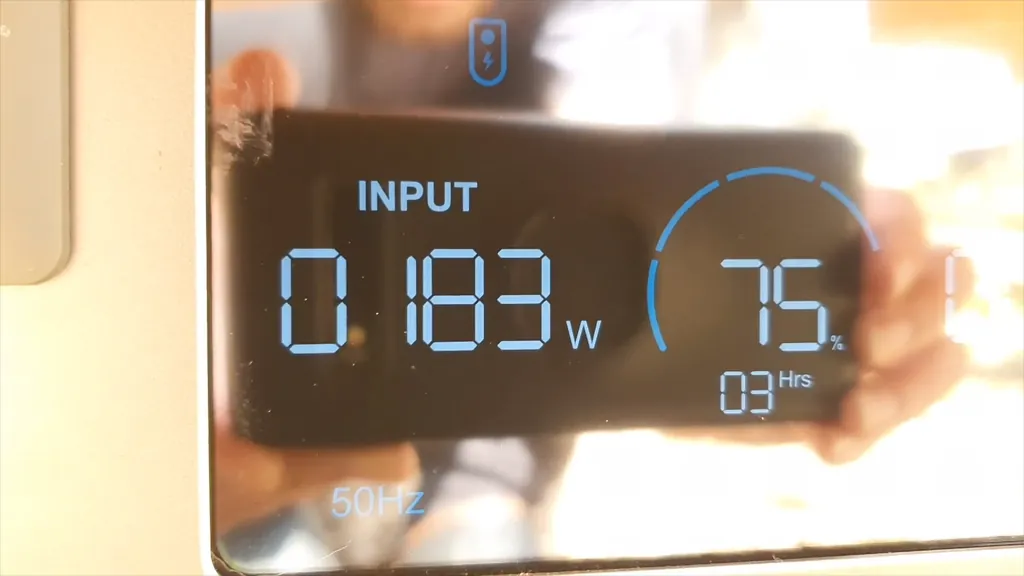
I observed an average output of 166W to 171W from the BougeRV panel throughout the day. In prime, cool morning conditions, I hit a peak of 184W. I tested this across three different solar generators and found that the larger units handled the input much better. My smaller generator seemed to limit the input to 100W at times, which was strange, but it bounced back to 160W later. It’s important to match your solar generator’s MPPT controller to the panel’s voltage for the best efficiency. I’m sticking with the manufacturer’s recommended controllers to avoid these weird power-limiting issues.
Optimizing Controller Compatibility
I’ve learned that using the MPPT charge controllers designed by the panel manufacturer usually yields the most consistent results. These controllers are optimized for the panel's specific voltage curve, which helps in extracting every possible watt. I’m currently using a 28V system, and I’d recommend going for the higher voltage model if you have the choice. Higher voltage inputs are generally more efficient for MPPT controllers to step down to battery voltage. It’s a small detail, but it makes a difference in how much power actually reaches my batteries.
Inspecting Secondhand Mono Panels
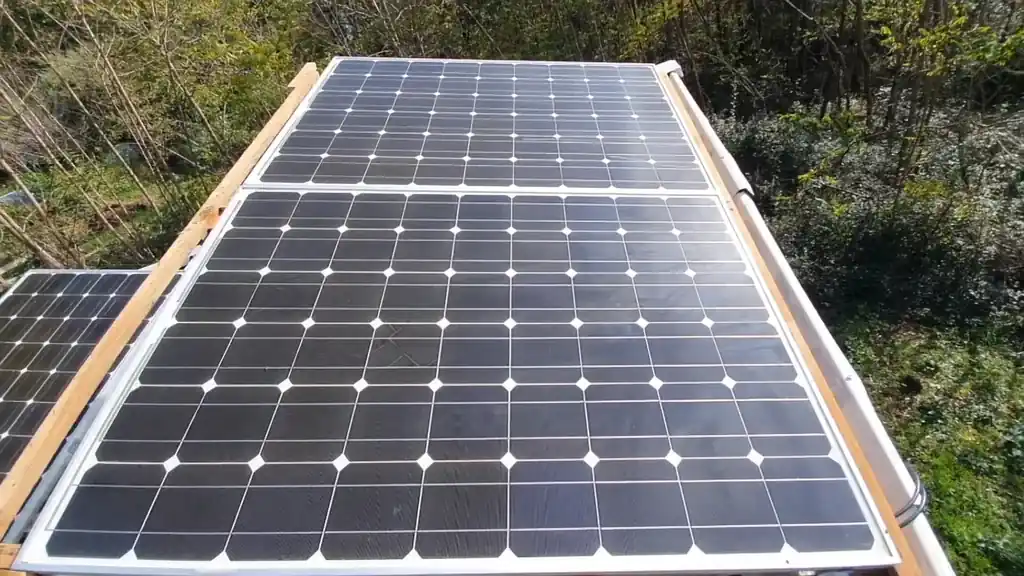
I picked up some secondhand monocrystalline panels to see if they were worth the savings. You can find these for a great price as solar farms upgrade their arrays, but there’s a catch. My unit has visible cracks on the solar cells, which will definitely hurt its longevity. I have no warranty on these, so I’m taking a gamble on their remaining lifespan. They still produce decent power for now, but I wouldn't rely on them for a critical, long-term installation where I need absolute reliability.
Testing Secondhand Panel Efficiency
I managed to pull 170W to 173W from the cracked secondhand panel, which is surprisingly good. Even with the physical damage, it keeps up with the newer panels in terms of raw peak output. However, the weight is a major downside at 18.5 kg, which is 44% heavier than the bifacial panel. I’m also dealing with a much larger footprint, as it’s about a meter wide compared to the 77 cm width of the BougeRV unit. It’s a trade-off between upfront cost and the physical effort required to mount and maintain the system.
Finalizing Technology Comparison
I’ve concluded that each panel type has a very specific use case. The flexible panel is the lightest, but it won't last as long as a rigid unit. The BougeRV bifacial panel offers the highest technology and efficiency, though it comes with a higher upfront cost. The secondhand mono panels are the budget king, but they are heavy and lack warranty support. I’m leaning toward the bifacial panels for my future projects because they offer the best balance of size, weight, and performance. I’ll keep experimenting with the mounting angles to see if I can truly unlock that backside power.
Reviewing Large-Scale Installation Options
I considered the 400W residential panels, but they are just too massive for my RV and small-scale off-grid systems. Their voltages are much higher, which requires different charge controllers and more complex wiring. For my current needs, the 200W systems are much more manageable and easier to install. I’m happy with the performance I’m getting from these smaller units. I’ll continue to refine my setup and share more results as I test different battery and inverter combinations in the coming months.
⚠️ CAUTION: SAFETY WARNING!
Always handle solar panels with care, as the glass can shatter and the electrical output can be dangerous under full sun. Ensure all connections are secure and use appropriate wire gauges to prevent overheating.
Summary & Tips
I’ve confirmed that the BougeRV bifacial panel delivers a consistent 166W to 171W average, with peaks hitting 184W in ideal conditions. The weight savings of 44% compared to standard mono panels make a significant difference for my mobile setups. While secondhand panels are cheaper, the lack of warranty and the 18.5 kg weight make them less attractive for permanent installations. I’m confident that the N-Type TOPCon technology is the right path forward for my future off-grid power needs.
📋 FAQ
❓ Can I mix different types of solar panels in one system?
Usually, you should avoid mixing panels with different voltage and current ratings in the same series string. Doing so can cause the lower-performing panel to limit the entire string's output. It’s better to use separate charge controllers for different panel types.
❓ Is it worth buying secondhand solar panels?
Depends on your budget and your tolerance for risk. You can save money, but you lose the warranty and might deal with hidden cell damage.
❓ How much clearance do bifacial panels need?
Ideally, you should mount them at least one meter above the surface to allow enough light to reach the backside. If you mount them directly to a roof, you won't get the full benefit of the bifacial design. You should also use a reflective surface underneath to maximize the gain.
❓ Do I need a special charge controller for bifacial panels?
No, you can use any standard MPPT controller that matches the voltage and current range of the panel. Just make sure the controller is sized correctly for the total wattage of your array. Using the manufacturer's recommended controller often helps with efficiency.
Disclaimer: I purchased all tools for this guide with my own money to ensure an unbiased review. This post contains affiliate links, meaning I earn a small commission if you make a purchase at no extra cost to you.