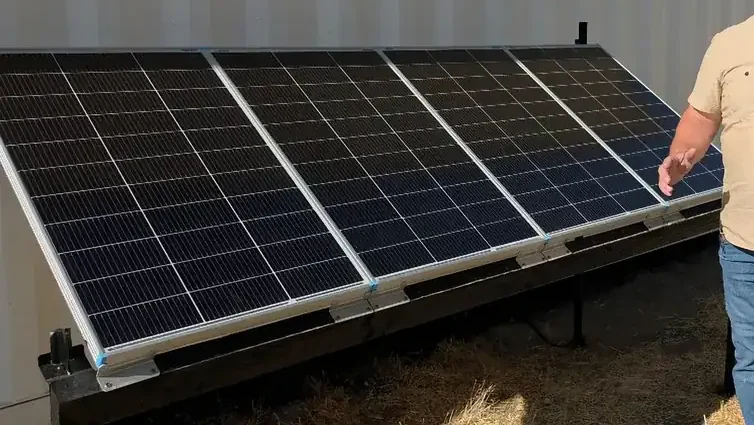
Four 100W panels. Commercial rack prices? Insane. So I welded up my own ground mount instead — hardware store stuff only, about a third of the cost. Tilted it 30 degrees toward the sun, works great for my off-grid setup. Best part: everything sits low, so when something needs fixing I just walk over and deal with it. No ladder, no drama.
⚡ Quick Guide: How to Make It in 7 Steps
📋 In This Article
- Technical Specifications & Components
- Tools & Materials Used — what you will need for this project
- Preparing the Support Rails
- Selecting Mounting Hardware
- Laying Out and Driving T-posts
- Squaring the Support Frame
- Installing Rails onto T-posts
- Calculating the 30-Degree Tilt
- Finalizing Bracket Fit and Painting
- Mounting the Solar Panels
- Driving the T-posts
- Verifying Vertical Alignment
- Evaluating the Ground-Level Design
- Preparing for Electrical Connection
- FAQ
📊 Technical Specifications & Components
| Panel Capacity | 4 x 100W |
| Mounting Angle | 30 Degrees |
| Frame Material | 2x4 Lumber |
| Support Structure | 4 x T-posts |
| Bracket Type | Z-brackets |
| Total Rack Height | Ground level |
📊 Project Overview & Costs
🔧 Difficulty Level: Medium
⏱️ Time Investment: DIY: 8 hours | Pro: 3 hours
💰 Professional Service Cost: $150
💡 Verdict: Building this frame myself saved me over $300 compared to buying a pre-fabricated commercial solar rack.
🛠️ Tools & Materials Used
• Table Saw
• Small Sledgehammer
• Square
• T-posts
• 2x4x8 Lumber
• T-post Brackets
• Renogy Z-brackets
• Wood Screws
• Exterior Paint
Building a DIY Solar Panel Ground Mount: Step-by-Step
Preparing the Support Rails
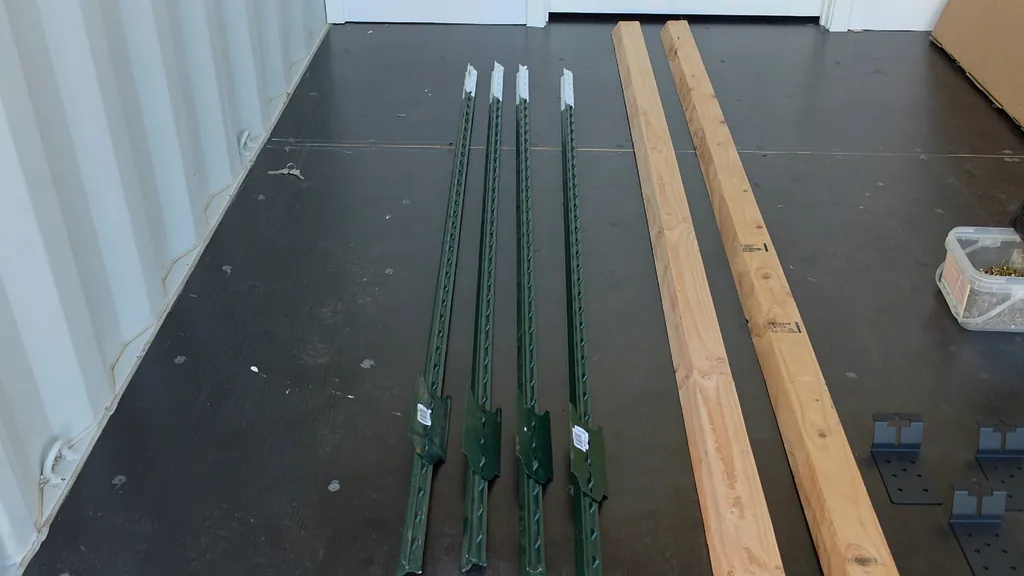
Two 2x4x8s. That's it, those are my rails. Ran both through the table saw with a 30-degree bevel along the top edge — that bevel is the tilt, and honestly it's the one cut you don't want to botch. Screw it up and the panels lie too flat, and you kiss a chunk of your daily power goodbye. Learned that lesson the hard way on a previous build.
Selecting Mounting Hardware
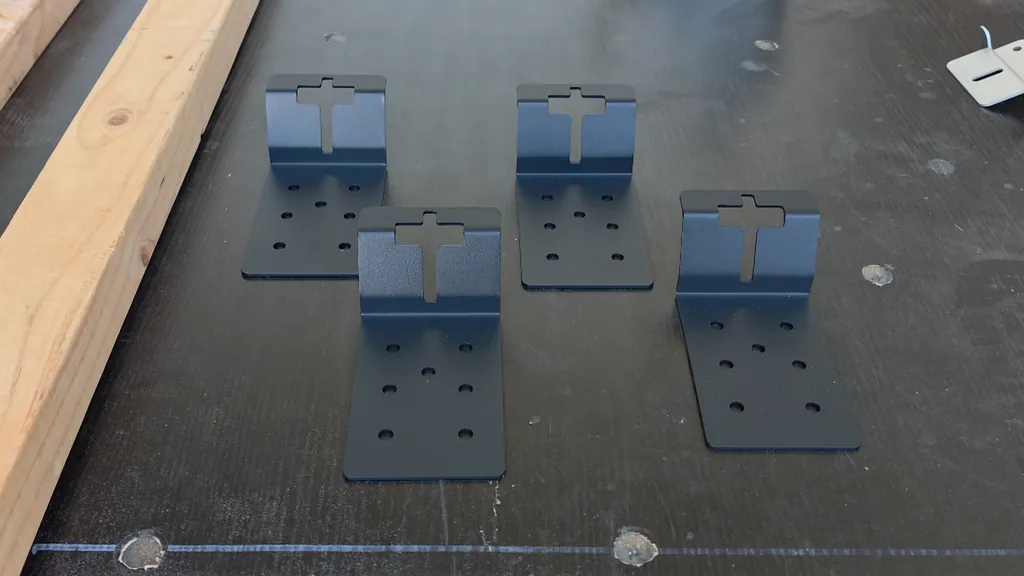
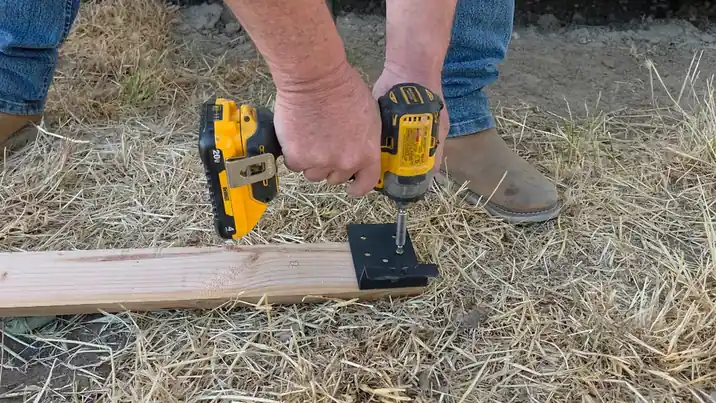
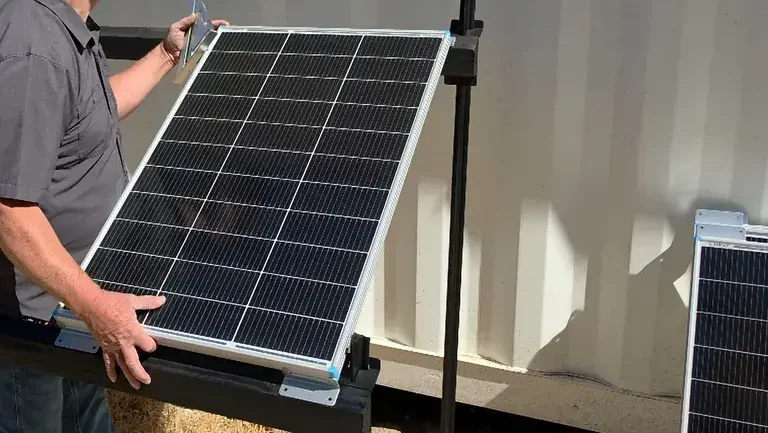
Four T-posts for the legs — cheap, drive easy, hold tight. Grabbed some T-post brackets too, the kind that clamp the steel to my wood rails. For the panels themselves I went with Renogy Z-brackets. Little guys, but they do real work: they lift the panel frame off the wood so air can move behind it. Skip them and you cook your panels from the back. Not ideal.
Laying Out and Driving T-posts
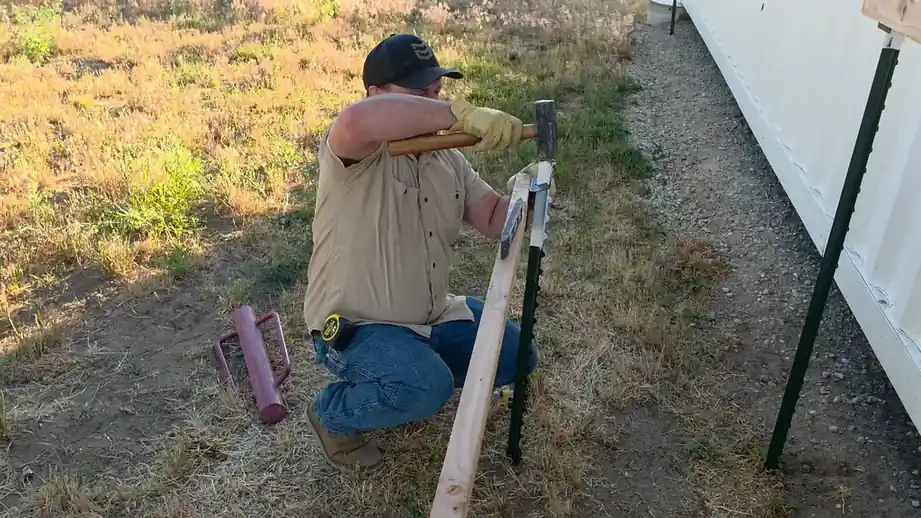
Test-fit the brackets first — that tells you which way each post has to face. Then mark the footprint and start swinging. I checked plumb every few hits because once a post leans, you're fighting it the rest of the day. Both directions, every post. Sounds fussy, but a crooked rack is a nightmare to bolt panels onto.
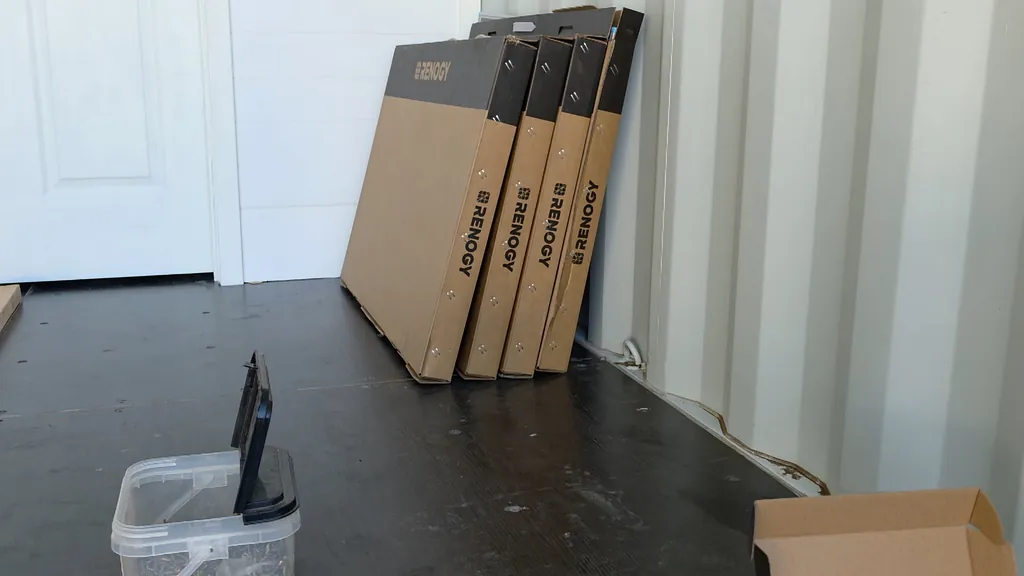
Squaring the Support Frame
Square and level first, bolts second. Made that mistake once — never again. A rack that's out of square twists the panels' aluminum frames, and you don't want that stress on a $200 panel. Once it looked right, I drove heavy-duty screws through the brackets into the 2x4s. That joint is the whole ballgame — all the weight funnels through there. Cheap screws split the wood when the wind starts shaking things.
Installing Rails onto T-posts
Slid the brackets onto the T-posts and dropped the first 2x4 rail in to check spacing. Close, but not quite. Few taps with the sledgehammer where a post sat a hair high, and we were level. A spirit level here isn't optional — misbalanced load, and you'll hear the panels rattling in the wind later. Flat plane, no stress. Simple as that.
Calculating the 30-Degree Tilt
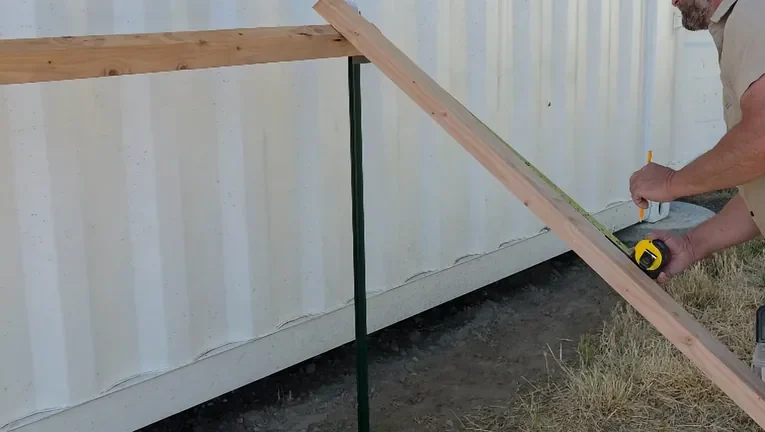
Where do the front posts go? That one took some head-scratching. Laid a 2x4 at 30 degrees, measured forward from the rear posts, and marked the spot. Then double-checked with the actual panel length. Get this wrong and the bottom edge of the panel hangs unsupported — not a good look for a $400 array. Support top AND bottom, that's the rule.
Finalizing Bracket Fit and Painting
Last check on the brackets before paint — nothing wiggles, nothing shifts. That 30-degree bevel was staring right back at me, doing its job. Then a quick coat of exterior paint over the whole wooden frame. Yeah, it's boring work. But skip it and you'll be rebuilding this rack in three years. Rot is patient. Outlast it with paint.
Mounting the Solar Panels
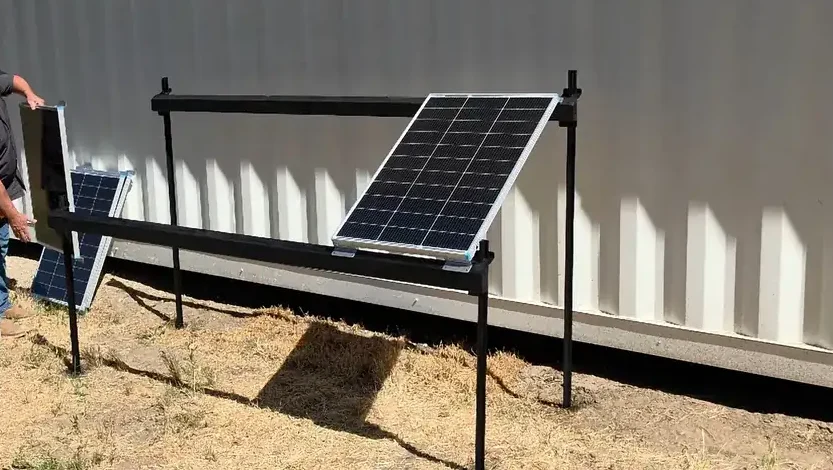
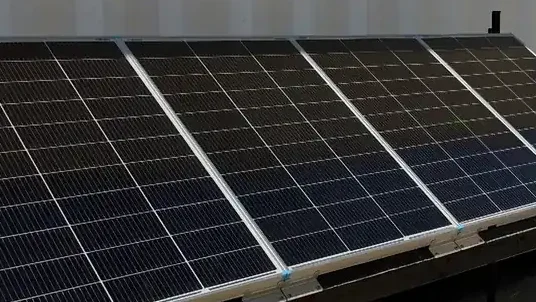
First panel sets the tone. That one gets squared to the rails — dead perpendicular, no exceptions. Everything else follows it. Screw up panel one and the whole row is off, which means the MC4 connectors won't reach where they should. I kept the gaps even as I worked my way across. Four panels, maybe twenty minutes once the frame was solid.
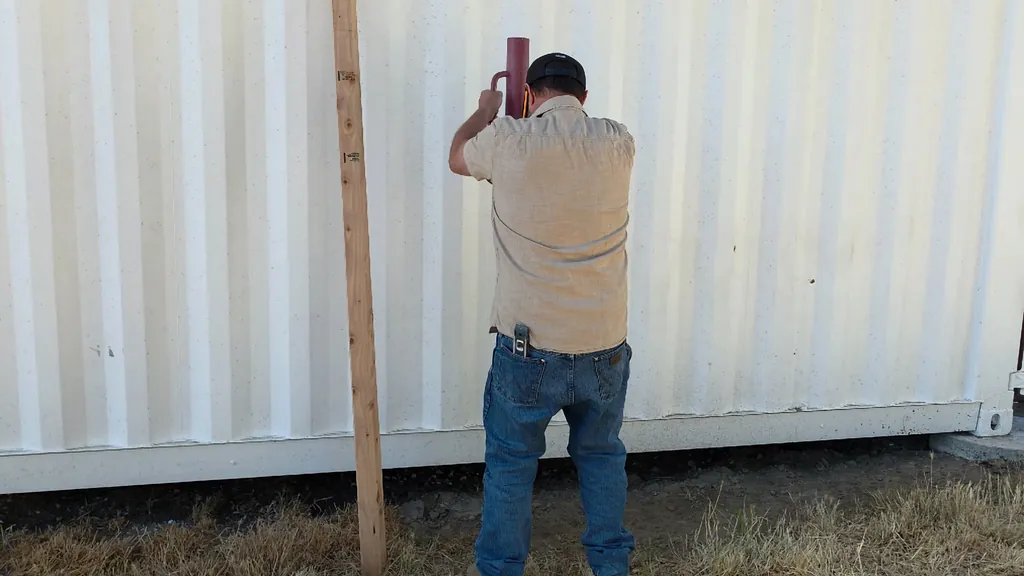
Driving the T-posts
Manual post driver, one post at a time. Sink them deep. How deep? Until you feel them stop moving — loose soil is different everywhere, so trust your gut on this one. This is the moment the rack stops being a pile of wood and starts being an actual solar mount. And yeah, put your back into it. Your abs will thank you tomorrow.
Verifying Vertical Alignment
One more pass with the level. Every post, both directions. Yeah, it's tedious — but a 2-degree lean turns into a loosened bracket in six months. Fix it now or fix it later, those are the options. After this check, the panels go down and the system goes live. No more chances to adjust. Level now means peace of mind later.
Evaluating the Ground-Level Design
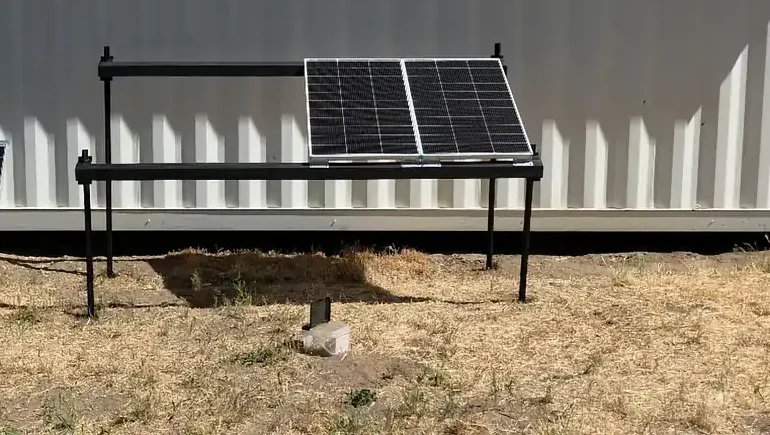
Here's the thing nobody tells you about ground-mount racks: maintenance is a joy. Wipe the glass? Walk over. Wiggle a wire? Bend down. No ladders, no climbing, no swearing. For an off-grid barn setup like mine, that's worth more than any fancy powder-coated commercial rack. Could I have built something fancier? Sure. Would it work better? Debatable.
Preparing for Electrical Connection
Mount's done. Now the fun part — wiring these four panels into my Renogy gear so they can start feeding the barn. I'll route the cables out of the weather, tie them to the frame, and match the wiring to whatever voltage my charge controller wants. Almost there. Can't wait to see the watts roll in.
⚠️ CAUTION: SAFETY WARNING!
Always wear eye protection when using power tools and ensure your T-posts are driven away from any underground utility lines. Secure all electrical connections to prevent shorts or fire hazards.
Summary & Tips
Four 100W panels. Two 2x4s. Four T-posts. That's the whole build. Tilted 30 degrees, sitting rock-solid, and stupid easy to reach when something needs attention. For an off-grid barn, I couldn't ask for more. Next stop: wiring it all together and watching the meter spin.
📋 FAQ
❓ Can I use this design for larger solar panels?
Yes, but you will need to adjust your T-post spacing and potentially use thicker lumber to support the extra weight. Larger panels create more wind resistance, so ensure your posts are driven deep enough into the ground. Always check the panel manufacturer's mounting requirements before proceeding.
❓ Is wood durable enough for a permanent mount?
It works well if you use pressure-treated lumber and apply a high-quality exterior paint or sealant. Regular maintenance will keep the wood from rotting over several years.
❓ How do I determine the best angle for my location?
The optimal angle is generally equal to your latitude, but a 30-degree tilt is a standard, effective choice for most mid-latitude locations. You can look up your local solar angle charts online to find the exact degree that maximizes your year-round output. Adjusting the tilt during the year can also improve efficiency if you have the time.
❓ What if the ground is too hard to drive T-posts?
You can use a post hole digger to loosen the soil or a heavy-duty post driver to force the steel into the ground. If you hit rock, you might need to relocate the rack or use a different anchoring method like concrete footings.
Disclaimer: I purchased all tools for this guide with my own money to ensure an unbiased review. This post contains affiliate links, meaning I earn a small commission if you make a purchase at no extra cost to you.