The ECGSOLAX 4.2kW hybrid inverter is a versatile unit designed to manage solar, grid, and battery inputs for off-grid or hybrid setups. This guide covers the specific configuration of battery settings and solar priority modes for a 24V LiFePO4 system, ensuring your inverter correctly manages load distribution between solar harvesting and utility grid backup.
⚡ Quick Guide: How to Configure Your Hybrid Inverter
📋 In This Article
- Technical Specifications & Components
- Tools & Materials Used — what you will need for this project
- Initial System Assessment
- Navigating Inverter Battery Settings
- Understanding SBU Priority Mode
- Configuring Voltage and Current Thresholds
- Fine-Tuning Charge Cycles
- Verifying Displayed Metrics
- Inspecting Breaker Connections
- Monitoring Load Output
- Verifying System Integration
- Reviewing Solar Array Configuration
- Identifying Panel Maintenance Needs
- Cleaning the Solar Array
- Protecting Against Environmental Factors
- Final System Check
- Operational Verification
- FAQ
📊 Technical Specifications & Components
| Inverter Capacity | 4.2kW |
| Solar Charger | 120A |
| Max PV Input | 60-500Voc |
| Battery Voltage | 24V |
| Battery Type | LiFePO4 |
| Output Waveform | Pure Sine Wave |
| Priority Modes | SBU (Solar-Battery-Utility) |
| Solar Array | 5 x 450W panels |
📊 Project Overview & Costs
🔧 Difficulty Level: Medium
⏱️ Time Investment: DIY: 45 minutes | Pro: 20 minutes
💰 Professional Service Cost: $150-$300
💡 Verdict: Proper configuration prevents premature battery degradation and optimizes solar self-consumption.
🛠️ Tools & Materials Used
• Soapy water solution
• Soft cleaning cloth
Step-by-Step Assembly, Repair, Testing & Inspection
Initial System Assessment
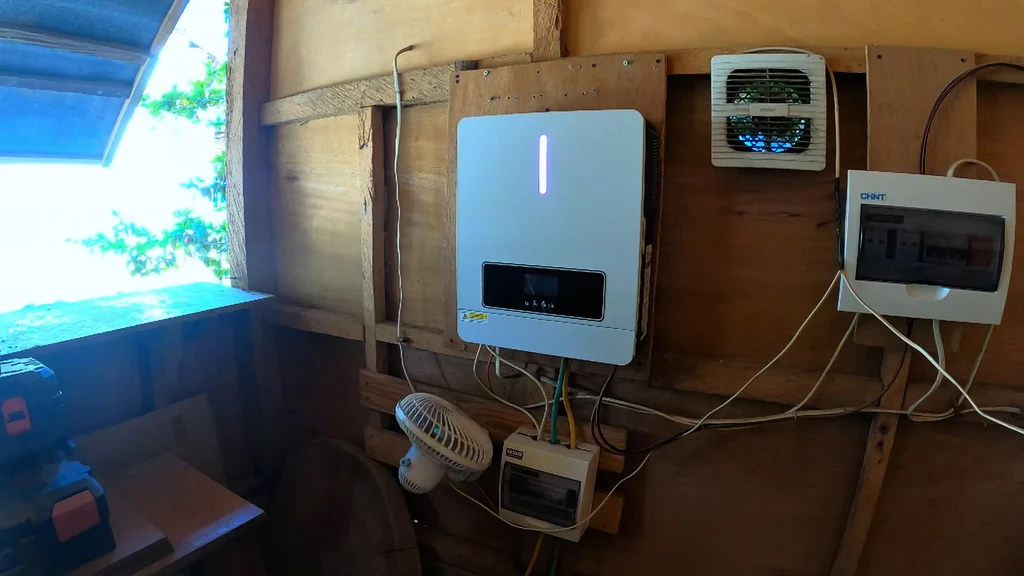
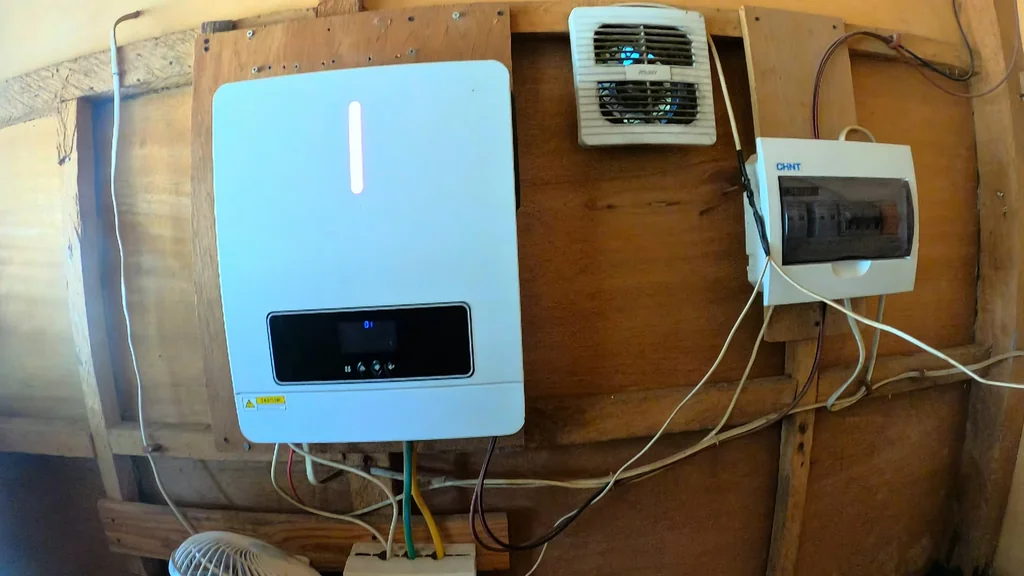
Start by reviewing the inverter's operational history. This specific ECGSOLAX 4.2kW unit has been running for a year. It's a solid performer. The current setup harvests approximately 1,200 watts from the solar array while maintaining a base load of 150 watts. Always keep a digital copy of the manual handy for reference. It's necessary.
Navigating Inverter Battery Settings
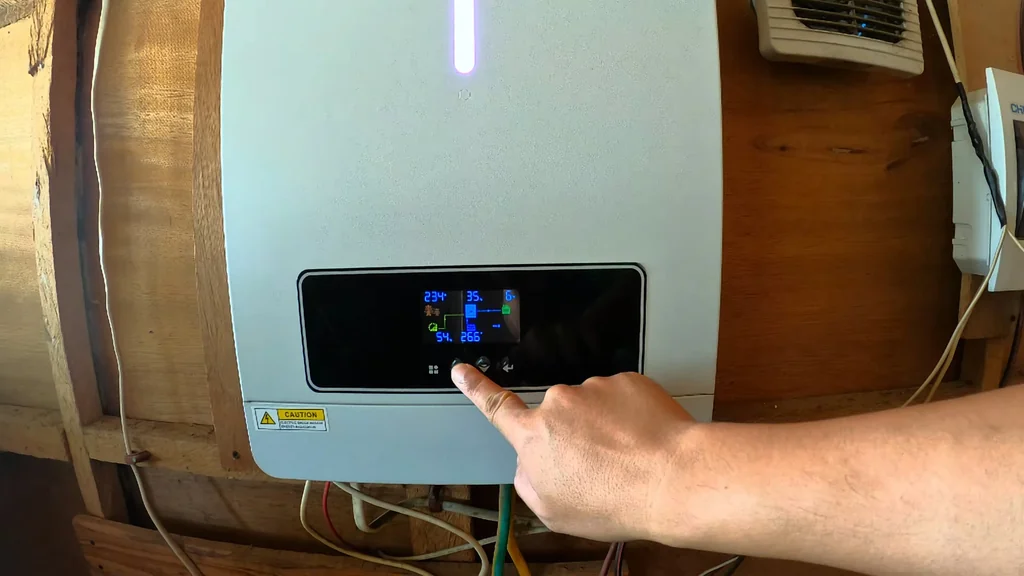
Access the configuration menu via the front panel buttons. You'll need to locate the battery settings section. The system is configured for a 24V Blue Carbon LiFePO4 battery bank. Navigate to setting 001 to adjust the priority mode. It's straightforward. Ensure you select the correct mode to avoid grid dependency.
Understanding SBU Priority Mode
SBU stands for Solar-Battery-Utility. This is the preferred mode for maximizing solar usage. The inverter prioritizes solar energy to power the load first. If solar output is insufficient, it draws from the battery. Only when the battery reaches a low-voltage threshold does it pull from the grid. It's efficient.
Configuring Voltage and Current Thresholds
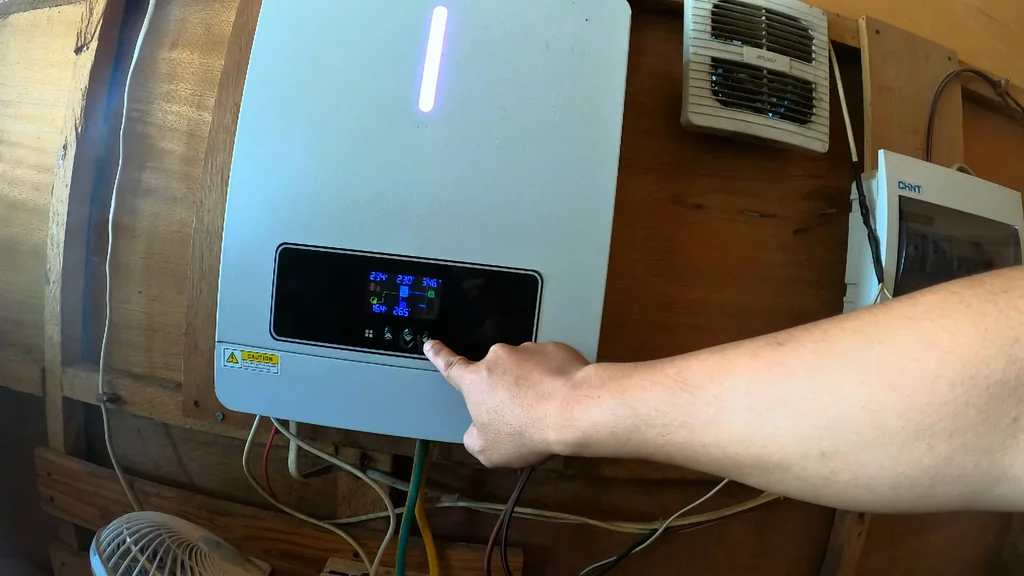
Set your low-voltage disconnect to 23 volts. This prevents deep discharge of the LiFePO4 cells. The utility charging current is limited to 10 amps to protect the battery health. If the battery voltage drops to 22 volts, the inverter triggers a low-battery state and switches to grid charging. It's a safety measure. Once the battery recovers to 26 volts, it resumes normal operation. This cycle is critical.
Fine-Tuning Charge Cycles
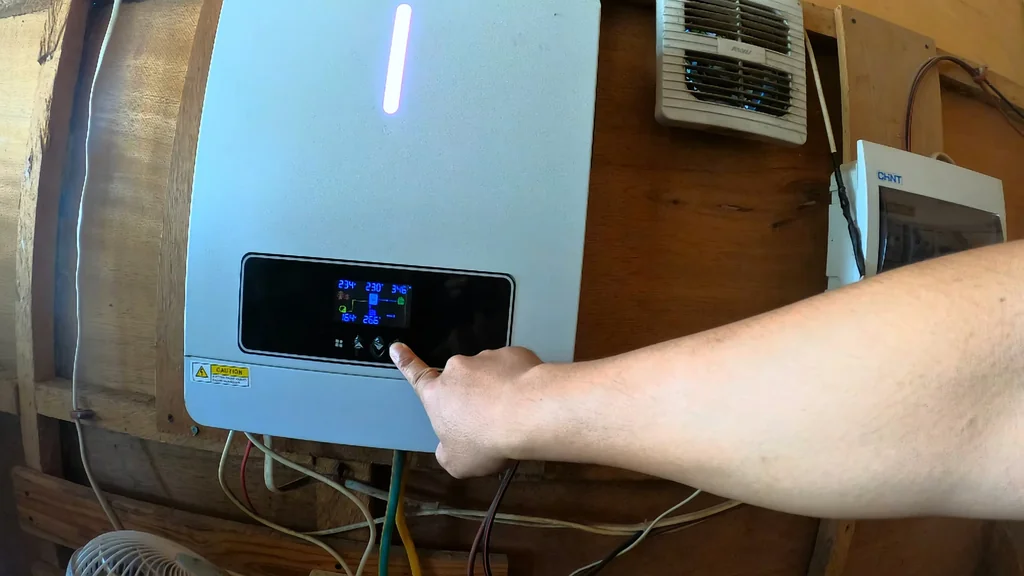
Monitor the charging voltage closely during the transition. The system switches back to battery power once the voltage hits 26 volts. This hysteresis prevents constant switching between grid and battery. It's stable. Use the down button to navigate through the parameters. Confirm your changes by pressing the select button.
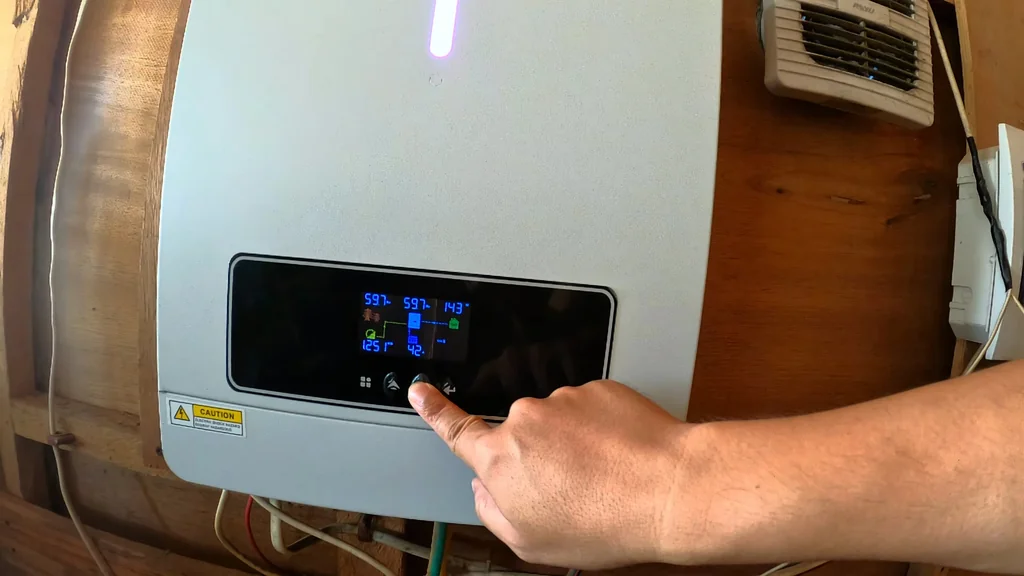
Verifying Displayed Metrics
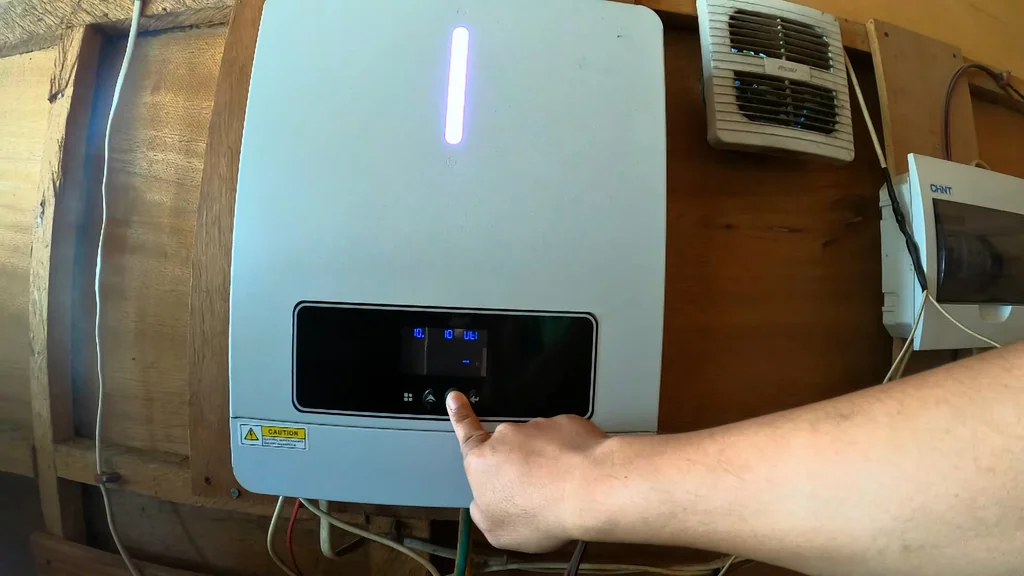
Check the screen for the current charge rate. The display currently shows 10.0 U/I, indicating the charging current. If you lose your place in the menu, just hold the button to reset the view. It's simple. Always verify the numbers match your battery specifications.
Inspecting Breaker Connections
Examine the electrical panel for proper breaker installation. You should have dedicated breakers for the solar input and the grid connection. This ensures safety during maintenance. The connections must be tight. A loose connection causes heat.
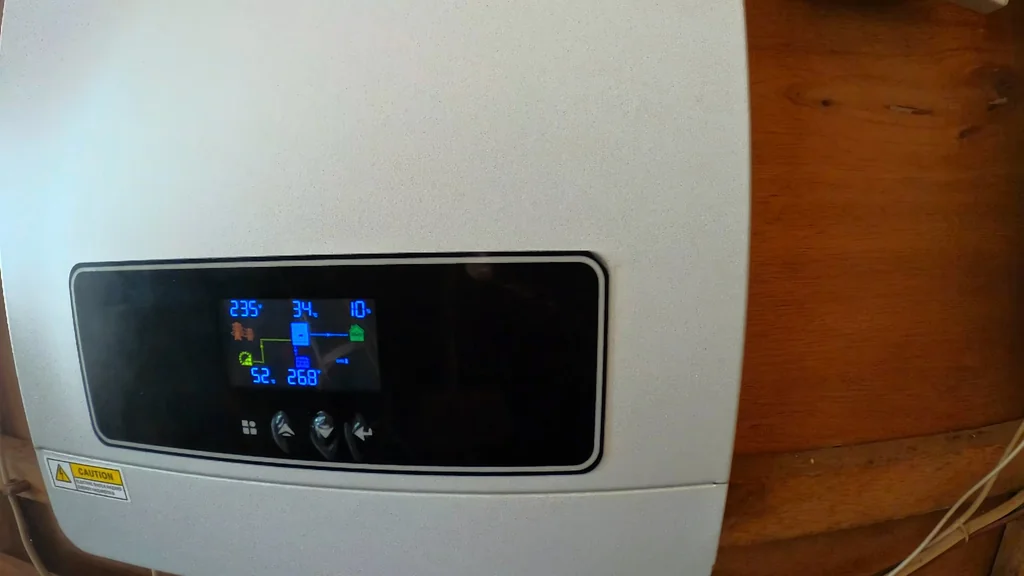
Monitoring Load Output
Observe the inverter under load. The system is currently handling a 1,500-watt load. The display provides real-time feedback on power consumption. It's accurate. Ensure your wiring gauge matches the current draw.
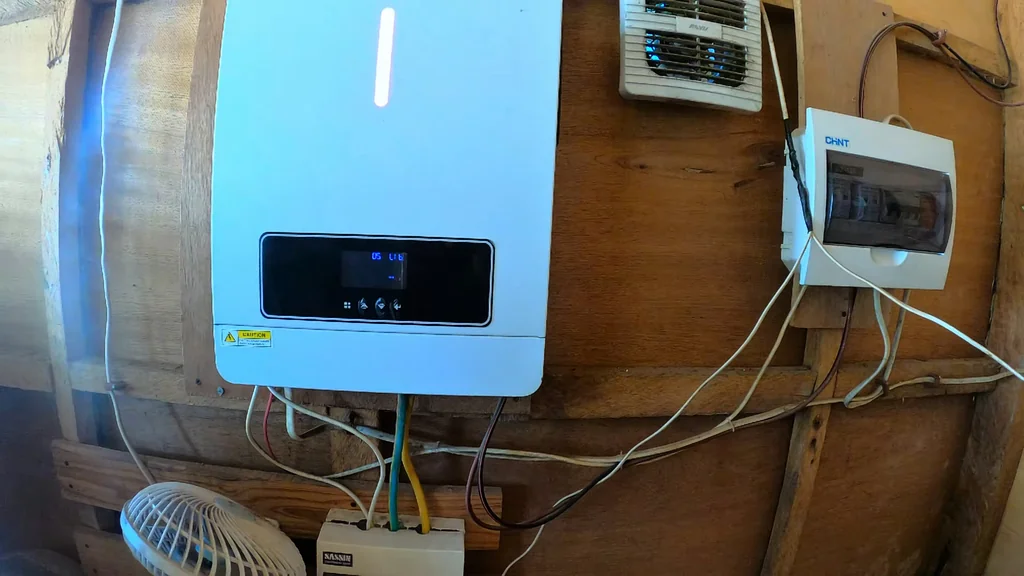
Verifying System Integration
Confirm the integration of the TIC ECG Solux hybrid inverter. The setup is stable. The battery bank is correctly communicating with the inverter. It's working well.
Reviewing Solar Array Configuration
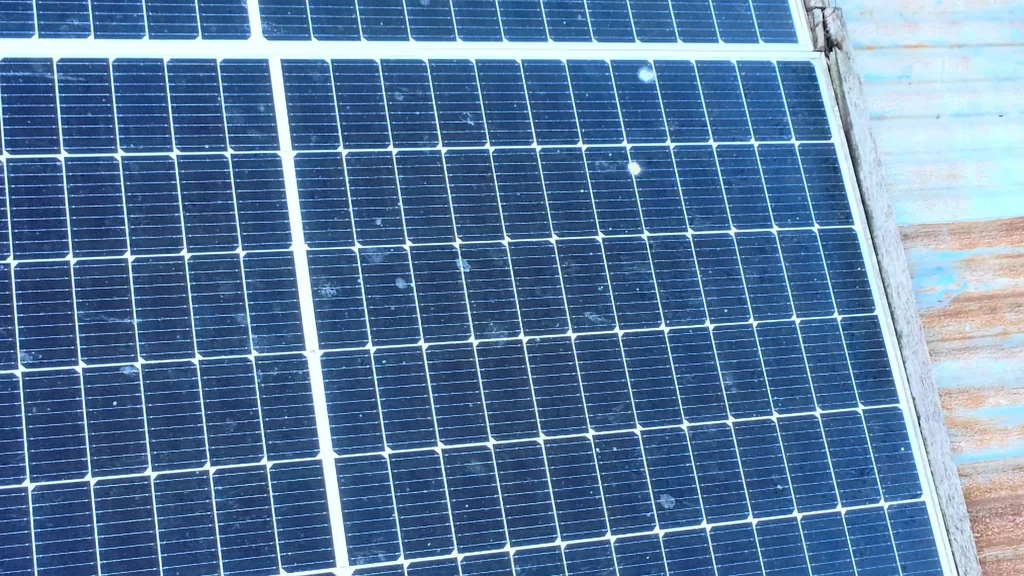
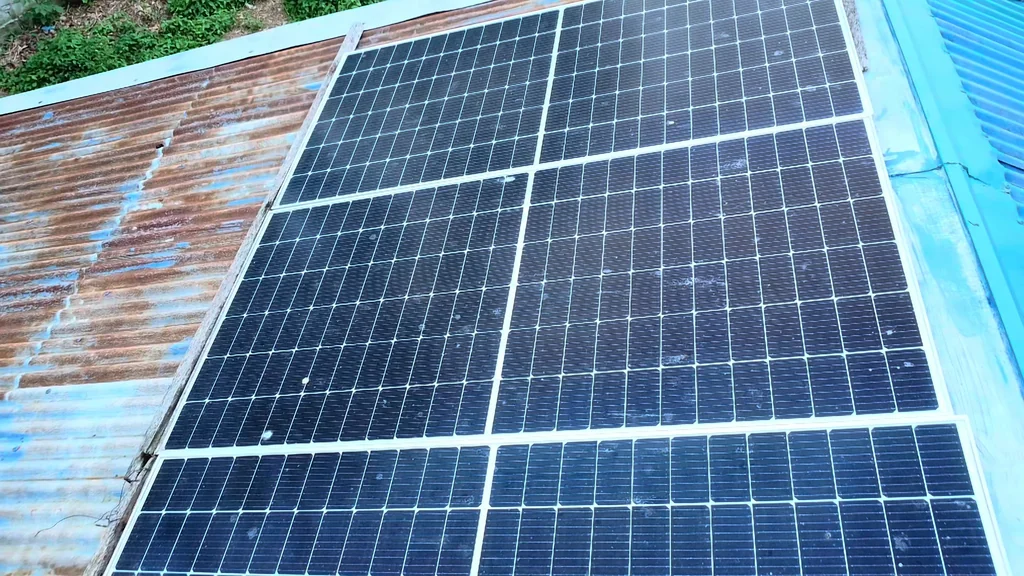
The solar array consists of five 450-watt panels. This provides a total capacity of 2,250 watts. It's a robust system. Regular maintenance is required to maintain efficiency.
Identifying Panel Maintenance Needs
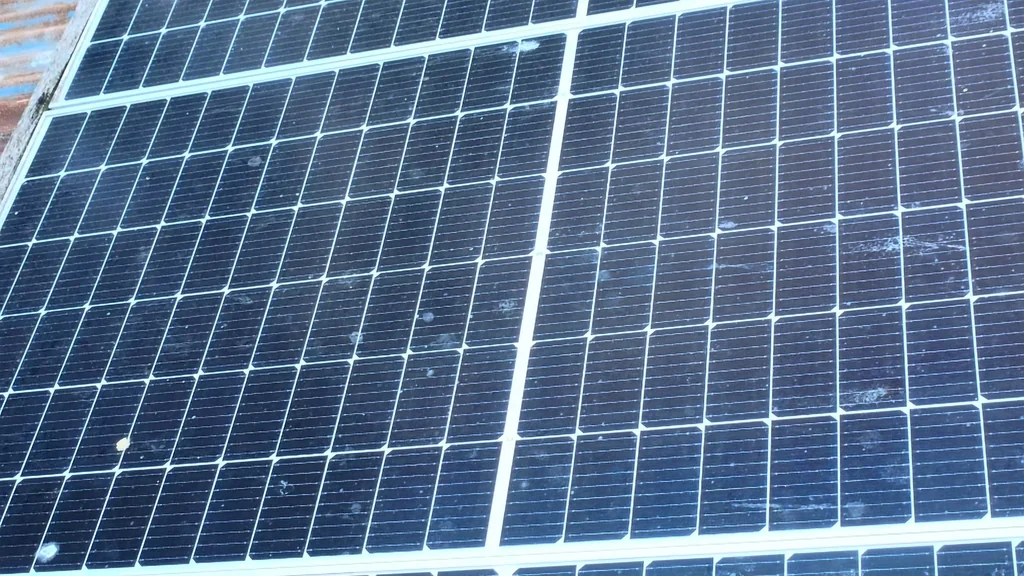
Inspect the solar panels for dirt or debris. Visible buildup, such as bird droppings, significantly reduces harvest efficiency. It's dirty. You need to clean them regularly to maintain peak output.
Cleaning the Solar Array
Use soapy water and a soft cloth to clean the panels. This removes stubborn dirt without scratching the glass. It's effective. Do this at least once a year for optimal performance.
Protecting Against Environmental Factors
Ensure all cable entries are sealed against rain. Moisture ingress can lead to corrosion. It's a risk. Keep the area around the inverter dry and well-ventilated.
Final System Check
Perform a final check of all connections and settings. The system is now fully configured and optimized. It's ready. Monitor the performance over the next few days.
Operational Verification
Confirm that the inverter is correctly switching between solar, battery, and grid. The transition should be seamless. It's reliable. Your hybrid system is now fully operational.
⚠️ CAUTION: SAFETY WARNING!
Always disconnect the solar array and battery bank before performing any maintenance or wiring changes. High-voltage DC can be lethal; treat all terminals with extreme caution.
Summary & Tips
Configuring your hybrid inverter correctly is the key to a long-lasting solar system. Regular cleaning of your panels ensures you get every watt you paid for. Don't ignore the low-voltage settings, as they protect your expensive battery investment. Keep your connections tight and your system will run for years.
📋 FAQ
❓ Why does my inverter switch to the grid so often?
Usually, your low-voltage disconnect threshold is set too high. Try lowering it slightly to allow the battery to discharge deeper. It's a common adjustment.
❓ Can I use lead-acid batteries with this inverter?
Yeah, you can. Just make sure to change the battery type setting in the menu to match the lead-acid chemistry. It's vital for charging profiles.
❓ How often should I clean my solar panels?
Depends on your environment. If you live in a dusty area, clean them every few months. It's worth the effort.
❓ Is it safe to run the inverter at full capacity?
Honestly, it's better to keep the load around 80% of the rated capacity. This prevents overheating and extends the lifespan of the internal components.
Disclaimer: I purchased all tools for this guide with my own money to ensure an unbiased review. This post contains affiliate links, meaning I earn a small commission if you make a purchase at no extra cost to you.