Picked up the WattCycle 12V 280Ah LiFePO4 battery to see what’s inside and how it actually performs under load. I’m tearing it down to check the BMS specs, running it through a full charge cycle, and then putting it to work with an induction heater and a coffee machine. If you’re building out an off-grid system and need to know if this battery can handle real high-draw appliances, this is the test for you.
⚡ Quick Guide: How to Make It in 5-10 Steps
- Check the BMS specs and cell configuration first.
- Hook up the 14.6V 20A charger to the battery terminals.
- Pair the battery with the WattCycle app on your phone.
- Watch the charge progress and cell balancing in real time.
- Wire the battery into an MPPT solar charge controller setup.
- Run load tests with a 2000W pure sine wave inverter.
- Measure discharge current with a clamp meter.
- Check the low-voltage cutoff through the app.
📋 In This Article
- Technical Specifications & Components
- Tools & Materials Used — what you will need for this project
- Reviewing BMS Specifications
- Analyzing Battery Model Data
- Connecting the 14.6V Charger
- Pairing the WattCycle App
- Monitoring Charge Progress
- Securing the Battery Unit
- Installing the MPPT Controller
- Wiring the Power System
- Verifying Full Charge Status
- Testing with Induction Heating
- Powering the Coffee Machine
- Measuring Power Output
- Measuring Discharge Current
- Remote Monitoring via App
- Analyzing Low Battery Thresholds
- FAQ
📊 Technical Specifications & Components
| Nominal Voltage | 12.8V |
| Capacity | 280Ah |
| Chemistry | LiFePO4 |
| Charging Voltage | 14.6V |
| Max Charge Current | 20A |
| Connectivity | Bluetooth BMS |
| Inverter Output | 2000W Pure Sine Wave |
| Monitoring | Real-time App Integration |
📊 Project Overview & Costs
🔧 Difficulty Level: Medium
⏱️ Time Investment: DIY: 2 hours | Pro: 45 minutes
💰 Professional Service Cost: $150 - $250 labor
💡 Verdict: Testing the battery and BMS before you build out a full solar array prevents expensive failures later on.
Step-by-Step Assembly, Repair, Testing & Inspection
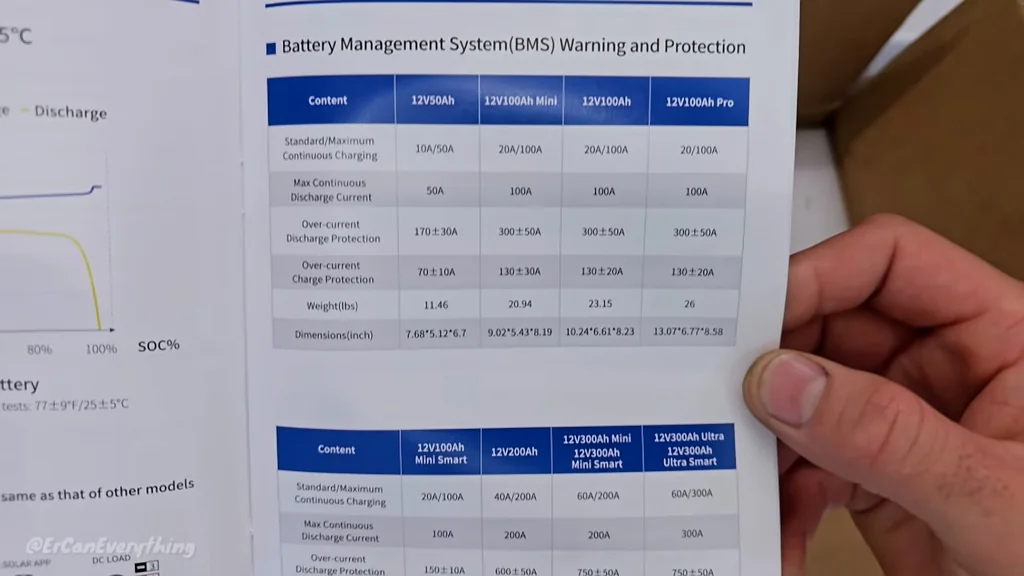
Reviewing BMS Specifications
First thing I did was go through the BMS data table. This thing lays out all the protection thresholds — over-voltage, under-voltage, current limits, the works. If you don't know these numbers, you're flying blind. The BMS is what keeps the whole pack from cooking itself, so understanding what it does is step one.
Analyzing Battery Model Data
Went through the extended spec sheet next. It's got the cell chemistry, cycle life, all the stuff that matters for long-term planning. If you're building a system you want to run for years, this is where you figure out if the battery's going to hold up. The numbers look solid.
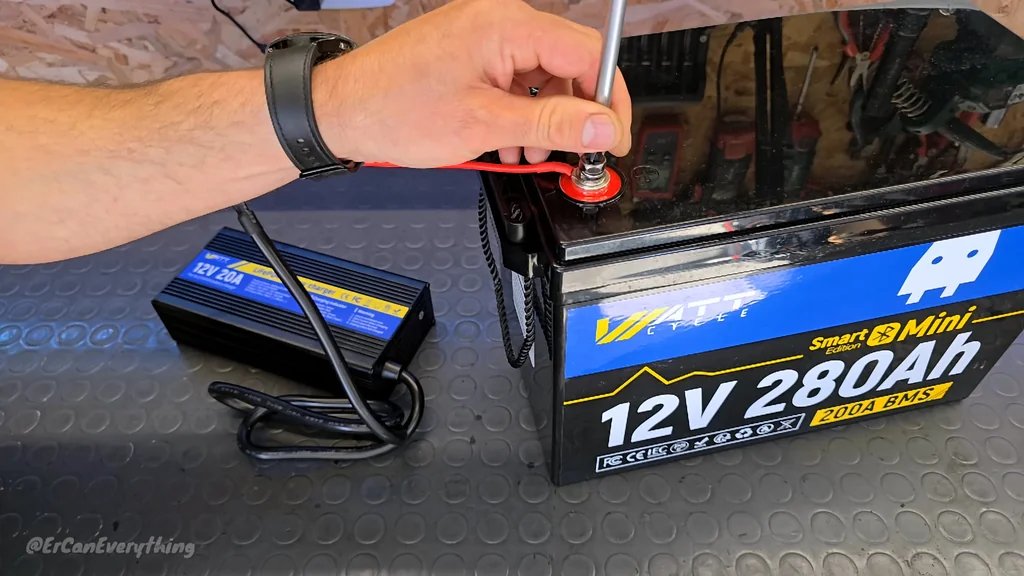
Connecting the 14.6V Charger
Hooked up the 14.6V 20A charger to the battery terminals. Polarity is non-negotiable — get it backwards and you're in trouble. Made sure the connections were tight so there's no arcing or voltage drop. The charger kicked into bulk charging right away.
Pairing the WattCycle App
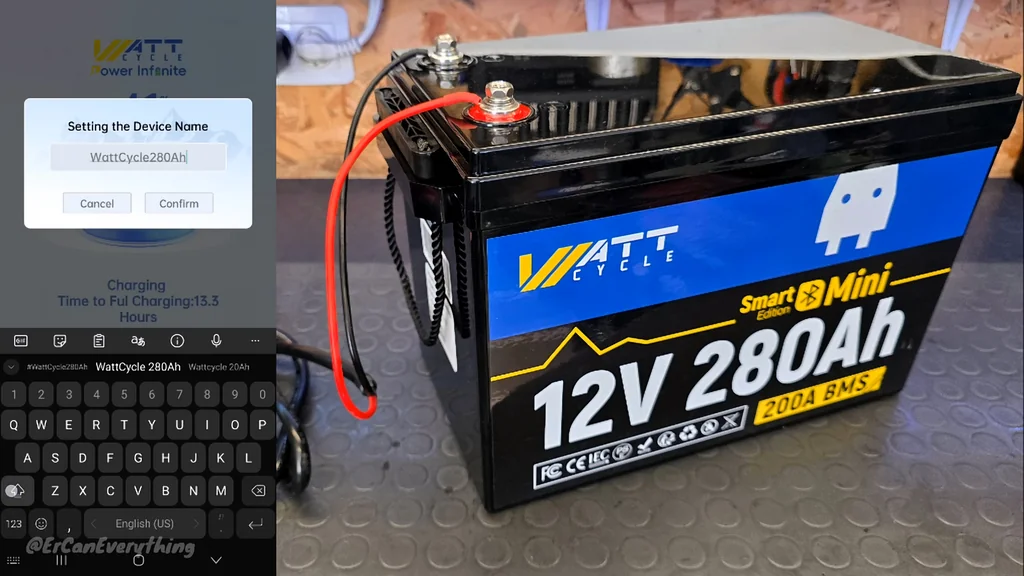
The WattCycle app connects over Bluetooth and lets you monitor everything from your phone. I gave the battery a name so I can keep track of it when I've got multiple units running. It paired up fast — no hunting around for the signal. The interface is pretty intuitive.
Monitoring Charge Progress
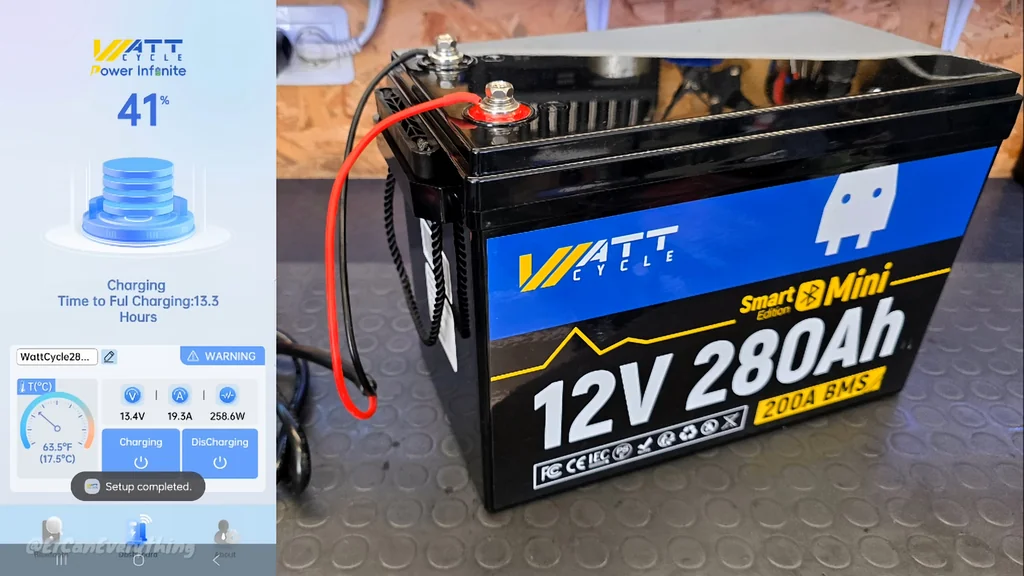
With the app running, I watched the charging current and individual cell voltages. The software gives you a clear picture of what's happening inside the pack. Seeing the cells balance in real time tells you the BMS is doing its job. No red flags popped up.
Securing the Battery Unit
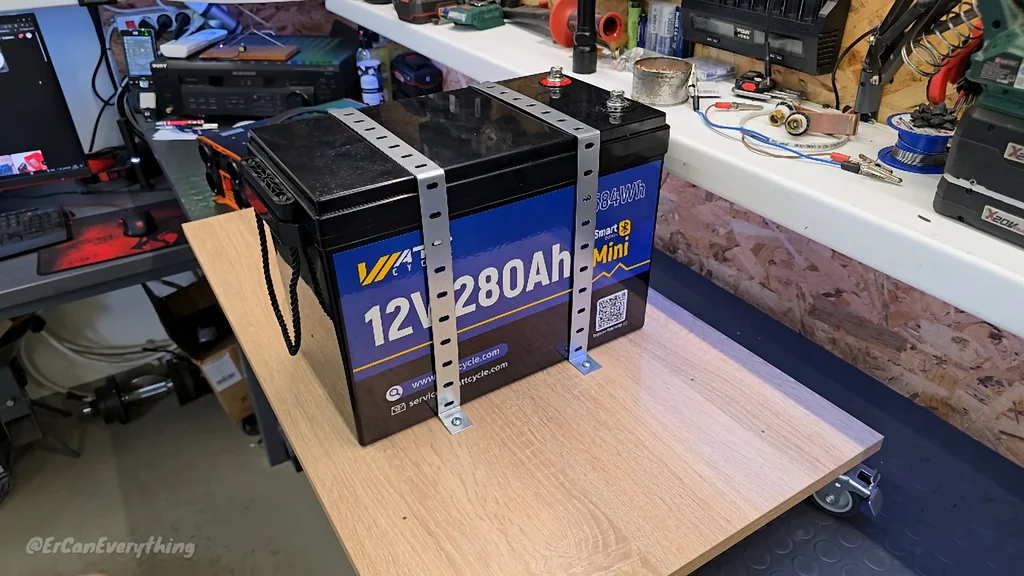
If this battery's going in a mobile or workshop setup, it needs to stay put. I strapped it down with metal bands so it won't vibrate loose. A shifting battery can damage the internal busbars, and that's a repair you don't want to deal with.
Installing the MPPT Controller
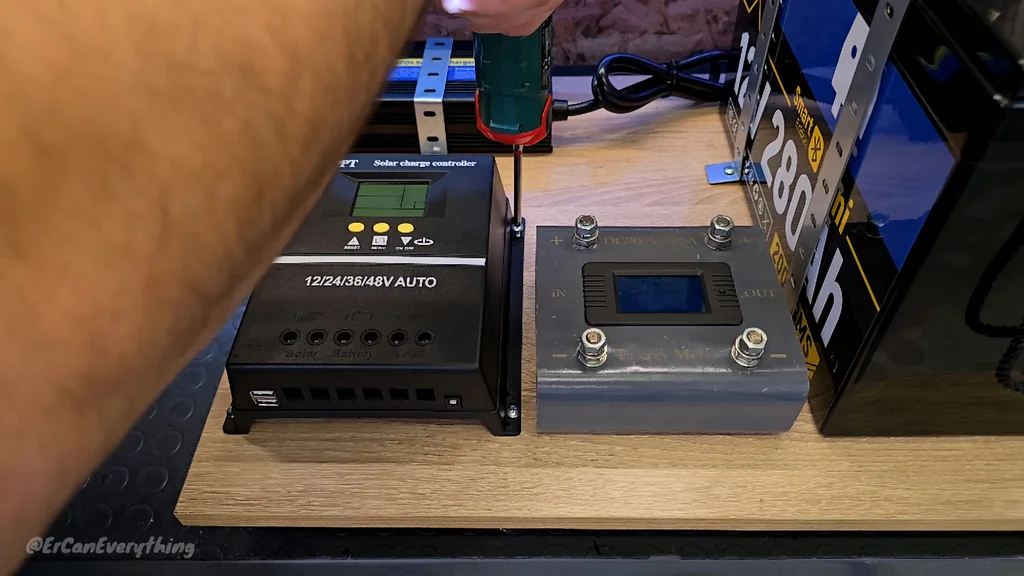
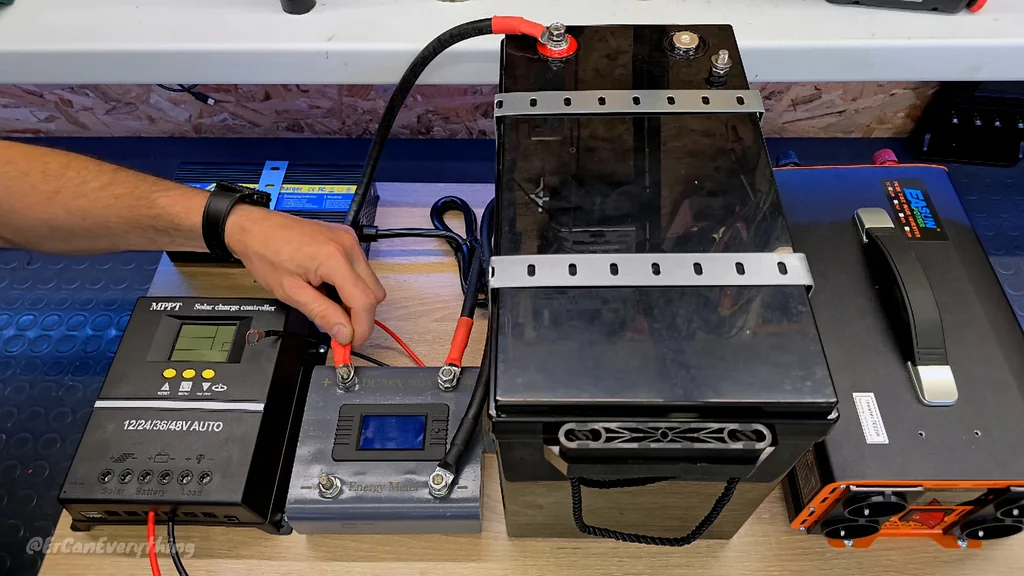
Next up was wiring in the MPPT solar charge controller and the energy meter. The meter gives you accurate power readings so you know exactly what's going in and coming out. Proper wiring here is key — the controller needs to accurately track the battery's state of charge to work right.
Wiring the Power System
The final wiring connected everything: MPPT controller, energy meter, battery, and the 2000W inverter. Used heavy-gauge wire to keep resistance down — you don't want voltage drop when you're pulling serious current. Checked every connection point before powering up.
Verifying Full Charge Status
The MPPT display showed 100% capacity — the battery charged up exactly as expected. This confirms the charging parameters are set correctly for LiFePO4 chemistry. Ready to put it under load.
Testing with Induction Heating
Dropped an object onto the induction heater to test how the battery handles surge current. The inverter didn't flinch — stable output the whole time. This battery takes high-draw loads without breaking a sweat.
Powering the Coffee Machine
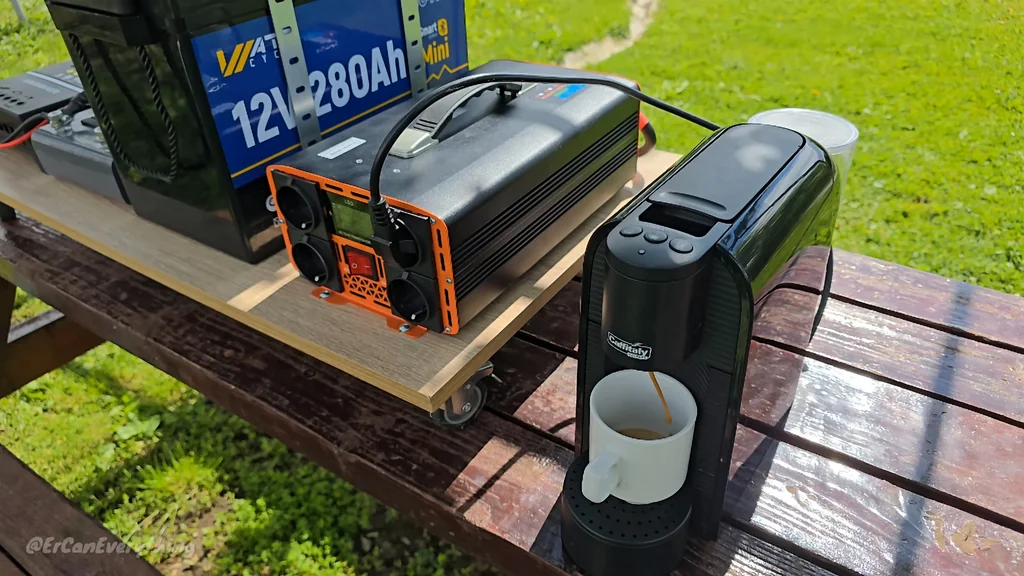
For a sustained discharge test, I ran a coffee machine off the battery through the inverter. The voltage stayed steady the entire time. This is the kind of real-world load that shows whether a battery can actually deliver. It did.
Measuring Power Output
The ATORCH energy meter showed the real-time power draw from the coffee machine. Numbers were steady, no spikes or dips. This confirms the efficiency of the whole power delivery chain — battery to inverter to appliance.
Measuring Discharge Current
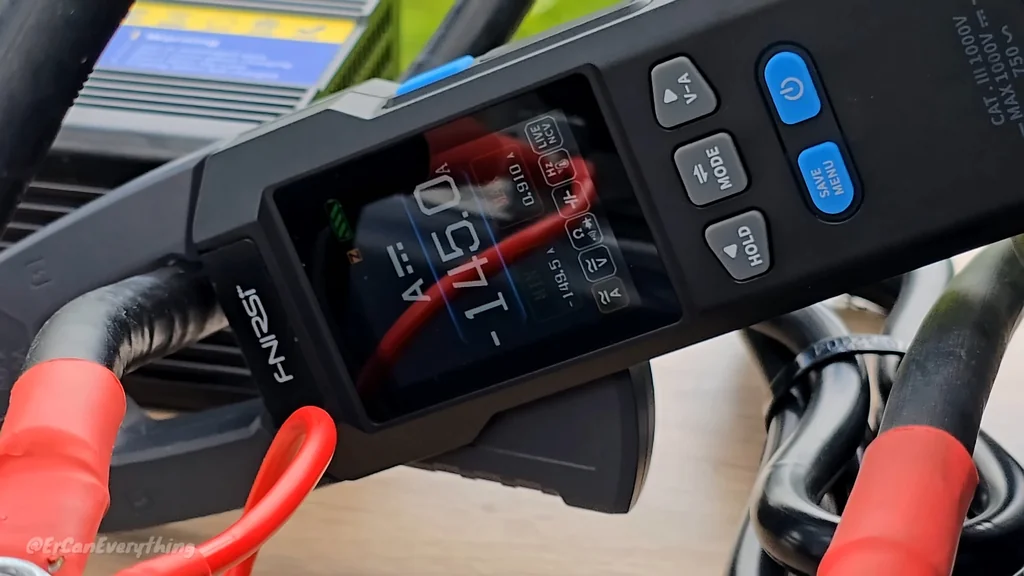
Clamped the FNIRST meter around the battery cable to measure the actual discharge current. The reading matched the expected load perfectly. Everything's pulling power exactly the way it should be.
Remote Monitoring via App
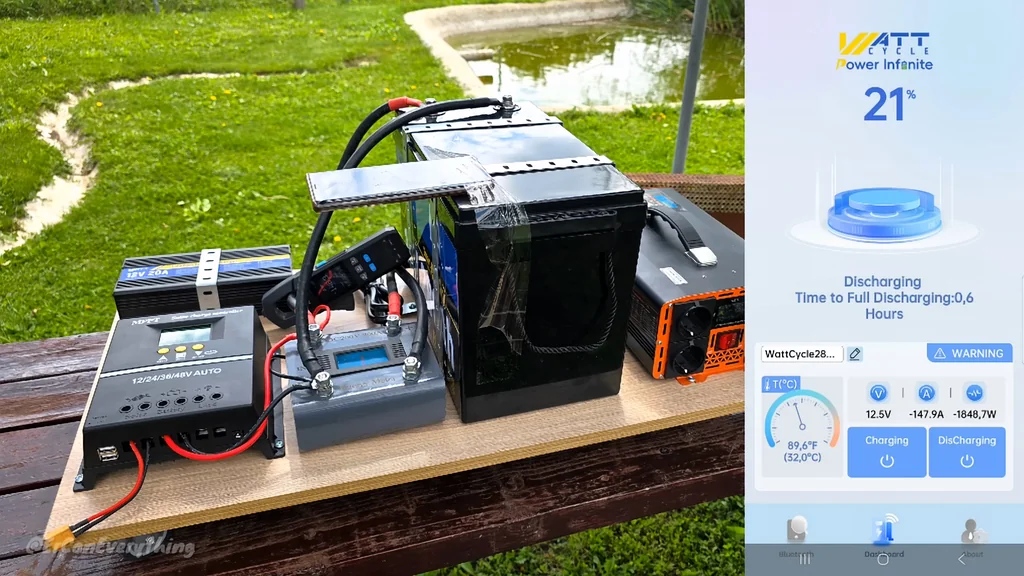
Even while running the coffee machine outside, I could monitor the battery through the app on my phone. The capacity percentage and voltage updated in real time. Bluetooth stayed stable under load — no disconnects.
Analyzing Low Battery Thresholds
As the battery got low, I checked the app again. The individual cell voltages were all displayed clearly. This confirms the BMS is accurately reporting what's happening inside. Everything checks out.
⚠️ CAUTION: SAFETY WARNING!
Use properly rated wiring for high-current applications. Undersized cables create heat and fire risk. Make sure the BMS is configured correctly before connecting any load.
Summary & Tips
The WattCycle 280Ah LiFePO4 battery handled everything I threw at it without a hiccup. The Bluetooth BMS gives you real visibility into cell health and system status — something you don't get with basic lead-acid setups. For off-grid energy storage, this thing is a solid choice. The high-draw appliances ran smooth, and the monitoring kept me informed the whole time.
📋 FAQ
❓ Is the WattCycle app compatible with all phones?
Works on both iOS and Android. Just download the official app and pair over Bluetooth. Takes about 30 seconds.
❓ Can I use this battery for a 2000W inverter?
Yeah, it handles that load without issues. Just make sure your cables are thick enough for the current draw. No shortcuts there.
❓ How long does it take to charge from empty?
Depends on your charger. With a 20A charger, you're looking at several hours. Faster chargers will cut that down, but don't exceed the BMS max charge current.
❓ Does the BMS automatically shut off the battery?
Yes. The BMS protects against over-discharge, over-voltage, and short circuits. It's a built-in safety net that works independently of any external equipment.
Disclaimer: I purchased all tools for this guide with my own money to ensure an unbiased review. This post contains affiliate links, meaning I earn a small commission if you make a purchase at no extra cost to you.