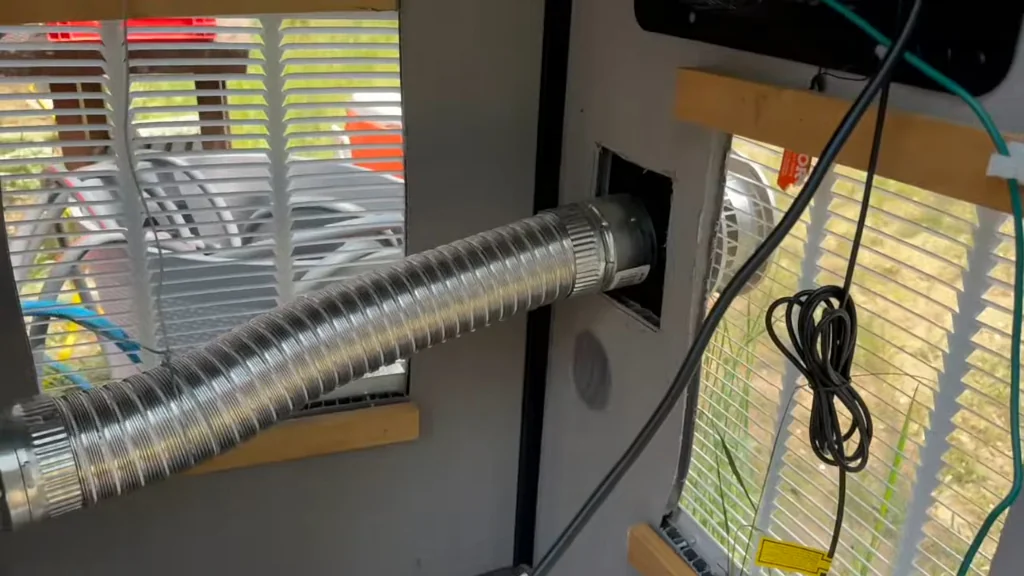
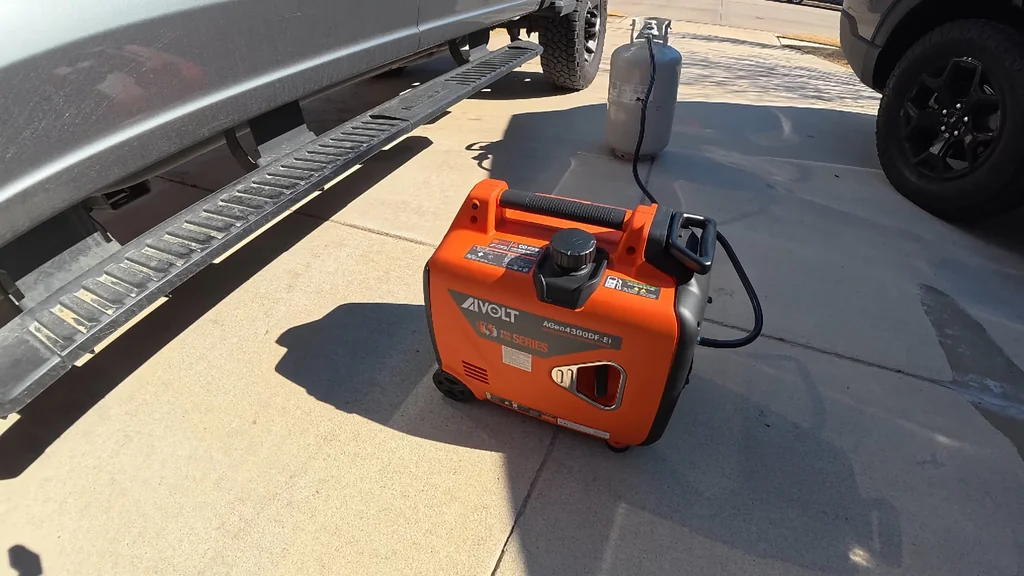
New small engines contain microscopic metal shavings from factory machining on internal parts. Running a Champion 6500W inverter generator for a five-hour break-in period forces these abrasive particles into the oil before they damage cylinder walls or crank journals.
⚡ Quick Guide: How to Make It in 12 Steps
- Run the engine for five hours to complete the break-in cycle.
- Twist the retention knobs to remove the side access panel.
- Warm the oil before starting the drain.
- Verify load capacity against RV air conditioner requirements.
- Release the drain tube from the mounting bracket.
- Drain the contaminated break-in oil into a pan.
- Examine the used oil for metallic particles.
- Reattach the drain hose and insert the funnel.
- Place the funnel into the crankcase fill port.
- Refill the system with one quart of 10W-30 motor oil.
- Fasten the access panel back onto the generator chassis.
- Move the generator using the wheels and integrated handles.
📋 In This Article
- Technical Specifications & Components
- Tools & Materials Used — what you will need for this project
- Break-In Procedure on the Champion Inverter
- Removing the Side Access Door Panel
- Inverter Noise Levels vs Conventional Generators
- Comparing Inverter Wattage and Overall Cost
- Unclipping the Engine Oil Drain Tube
- Draining Engine Oil and Catching Debris
- Inspecting Drained Oil for Metal Glitter
- Securing Drain Tube and Fitting Funnel
- Refilling Crankcase with Fresh 10W-30 Oil
- Reinstalling Panel and Testing Weight
- Fuel Capacity and Portability Management
- Final System Checks for Field Deployment
- FAQ
📊 Technical Specifications & Components
| Generator Model | Champion 6500-Watt Inverter Generator |
| Peak Surge Wattage | 6500 W |
| Continuous Running Wattage | ~4000+ W continuous load |
| Starting Mechanism | Manual Recoil Pull Start |
| Initial Break-In Interval | 5 Hours under light/moderate load |
| Oil Grade Specification | 10W-30 Conventional Motor Oil |
| Crankcase Capacity | Approximately 1 Quart (0.95 L) |
| Oil Filtration | Screenless / Sump drain system |
| Enclosure Style | Fully enclosed sound-dampened cabinet |
| Target Retail Price | ~$1,000 USD (Home Depot) |
📊 Project Overview & Costs
🔧 Difficulty Level: Easy
⏱️ Time Investment: DIY: 20 minutes (after 5-hour engine break-in) | Pro: 10 minutes
💰 Professional Service Cost: $50 - $75
💡 Verdict: Self-maintenance avoids shop fees and preserves a $1,000 inverter engine.
🛠️ Tools & Materials Used
• 10W-30 Standard Motor Oil
• Engine Oil Drain Catch Basin
• Angled Engine Oil Funnel
Champion 6500W - Step-by-Step Guide
Break-In Procedure on the Champion Inverter
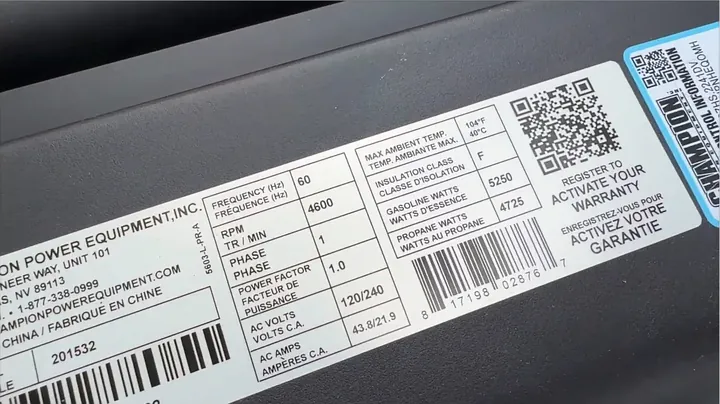
I didn't start pushing heavy loads immediately. I placed the Champion 6500W inverter on level ground and let it run for the required five-hour break-in. This model uses a recoil start to keep weight and complexity manageable. During testing, I connected it to a 28-foot RV to verify it handled typical electrical demands, including the air conditioner. The engine cycled through the load without surging. It operated consistently. Running the unit for those first five hours ensures internal components seat correctly and the factory oil circulates properly.
Removing the Side Access Door Panel
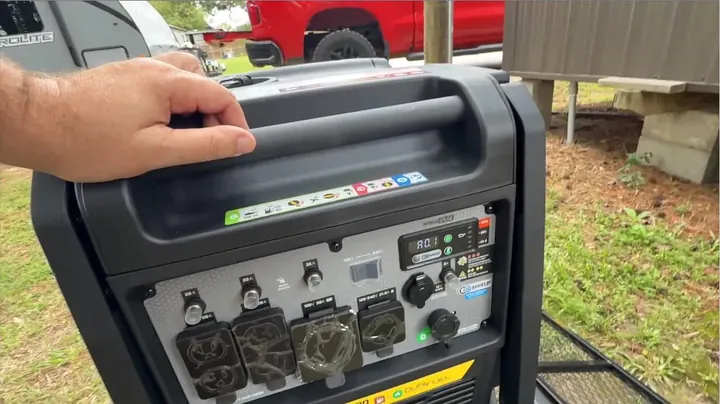
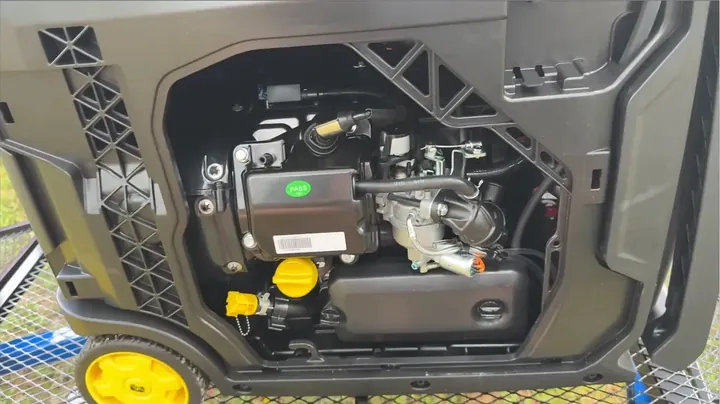
I shut down the engine after five hours while the oil remained warm. Accessing the interior is simple on this unit; I didn't need to dig out any tools. I just turned the exterior knobs and pulled the panel off. The dipstick and the oil drain line are located right behind this door. I placed the generator on a work surface to give myself enough room to maneuver without spilling.
Inverter Noise Levels vs Conventional Generators
Standard open-frame units are loud. If you run a traditional generator at a campground, you'll hear about it from everyone nearby. This Champion inverter includes a sound-dampened cabinet that cuts down the mechanical noise significantly. The engine tone is deeper and quieter, even under load. It makes a noticeable difference compared to standard gear. I prefer the closed-frame design for any public-facing power application.
Comparing Inverter Wattage and Overall Cost
I evaluated my options before committing to this hardware. Comparable 4500W inverters often cost fifty percent more while providing less continuous wattage. This unit hits a 6500W peak and sustains higher output, all for a lower price. It's a better value. Getting more continuous power for less money is a practical choice for my equipment needs.
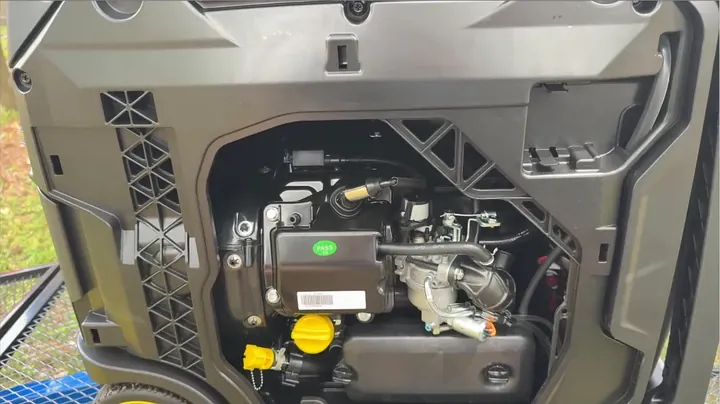
Unclipping the Engine Oil Drain Tube
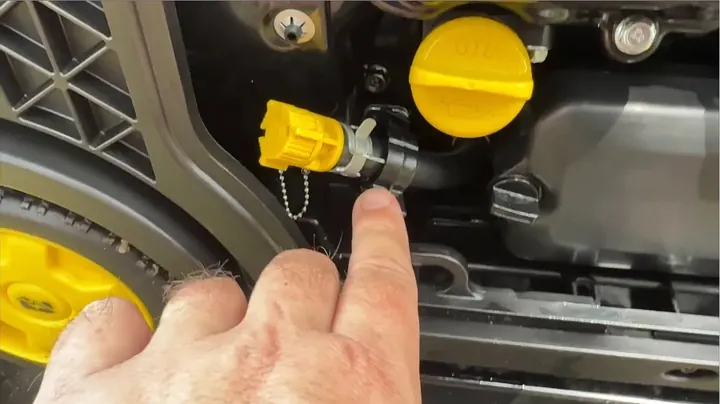
Manual recoil starts are reliable and keep the generator weight down. I tested the machine under simultaneous loads, such as a microwave and an air conditioner, to see how it performed. It handled the starting surges without issue. I reached inside and gently pulled the drain hose from its plastic bracket. I had to be careful not to damage the mount. Once loose, the line was ready for the oil change.
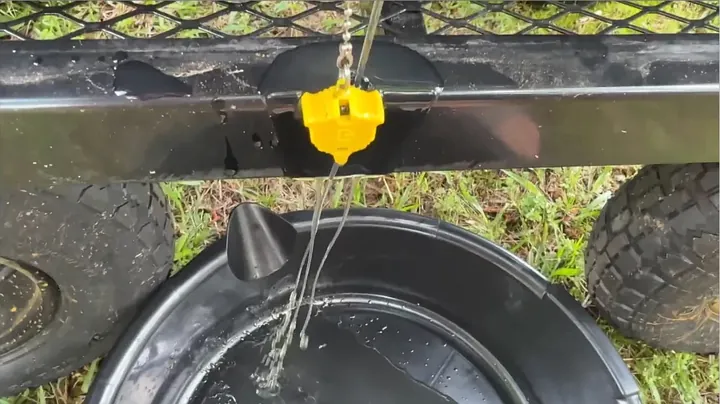
Draining Engine Oil and Catching Debris
I opened the drain plug and directed the hose into my catch pan. Because the oil was warm, it drained rapidly. I kept the pan aligned to prevent any spills on the enclosure. Since these engines don't have traditional replaceable oil filters, this step is vital. I needed to remove any metal particles created during the initial run-in period before they could cause internal scoring.
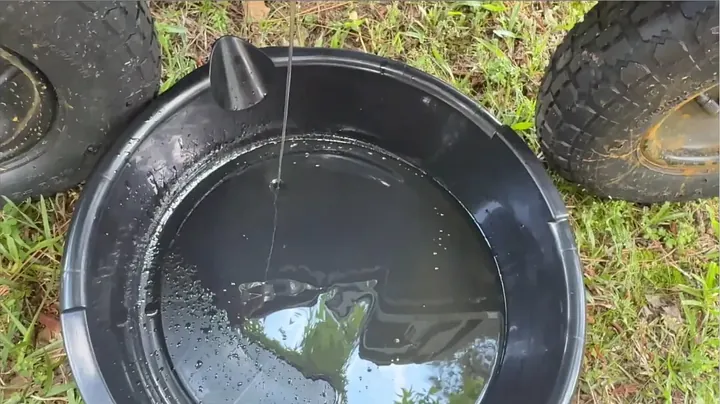
Inspecting Drained Oil for Metal Glitter
I checked the drained fluid in the sunlight. I saw a fine metallic shimmer in the oil. This is normal for a new engine. I removed that metallic sediment to protect the crankshaft and cylinder walls. I refilled the system with conventional 10W-30 oil.
Securing Drain Tube and Fitting Funnel
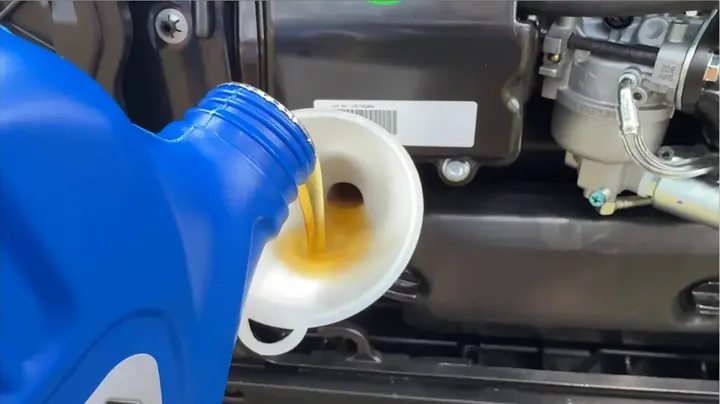
I cleaned the end of the hose and reinstalled the cap. I pressed the hose back into the frame clip until it clicked. The manufacturer provides a custom angled funnel specifically for this port. It sits securely in the fill cavity, which makes pouring simple. It's a clean process.
Refilling Crankcase with Fresh 10W-30 Oil
I added fresh 10W-30 conventional oil. For the break-in phase, I avoided full synthetic to ensure the rings seat against the cylinder walls correctly. It took one full quart to reach the bottom threads of the fill port.
Reinstalling Panel and Testing Weight
I tightened the cap and wiped away any residue before reattaching the side panel. I aligned the tabs and turned the knobs until they locked. The unit is easier to manage than iron-frame generators, but it's still heavy. Loading a full unit into a truck bed requires another person. I handled it with care.
Fuel Capacity and Portability Management
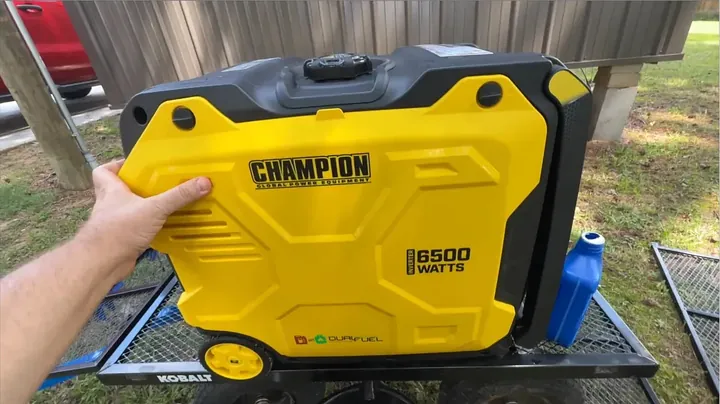
This generator carries a substantial fuel supply for long runtimes. It gets heavy when full. When I need to lift it, I keep the tank half empty to reduce the weight. Once on the ground, the wheels and handles make it simple to move around. The inverter design makes field power much easier to handle.
Final System Checks for Field Deployment
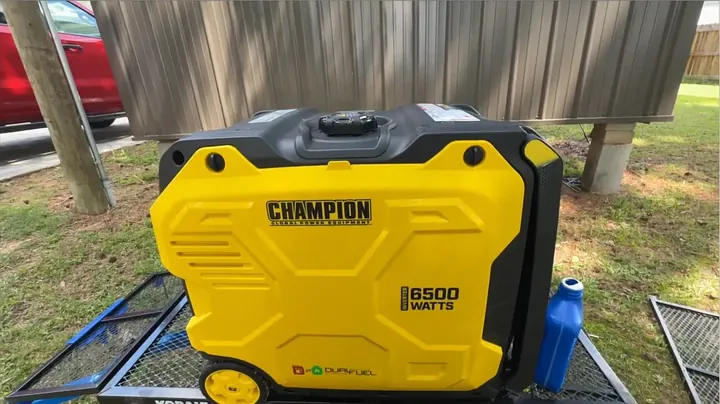
With the oil changed, the generator is ready for work. Running a proper break-in ensures it starts reliably and avoids failure under heavy loads like RV air conditioning. I carry spare oil and basic tools with me. Regular maintenance keeps this tool working for a long time.
⚠️ CAUTION: SAFETY WARNING!
Hot oil causes burns. Let the engine cool briefly after the run, use protective gloves, and never operate fuel-powered equipment in enclosed spaces.
Summary & Tips
Changing the break-in oil after five hours clears metal shavings before they damage the engine. Conventional 10W-30 oil provides the right lubrication for initial ring seating. The design of this Champion inverter makes this task simple. Following this schedule helps ensure the machine performs reliably.
📋 FAQ
❓ Why do I need to change generator oil only after 5 hours?
New engines release metal particles during the break-in phase. Because these generators lack oil filters, you must flush the fluid to remove these contaminants before they cause damage.
❓ Can I use synthetic oil for the initial generator break-in?
Use conventional 10W-30 motor oil for the break-in cycle. Synthetic oil may be too slick, which can interfere with the proper seating of new piston rings. Switch to synthetic later if preferred.
❓ How much oil does the Champion 6500W inverter generator take?
It requires approximately one quart of 10W-30 motor oil. Fill the crankcase until the fluid level reaches the bottom threads of the dipstick port. Avoid overfilling.
❓ Will a 6500-watt inverter generator run a full-size RV air conditioner?
Yes. It can power a 15,000 BTU RV air conditioner and other appliances simultaneously. The surge capacity is sufficient to manage the starting draw of these units.
Disclaimer: I purchased all tools for this guide independently to ensure unbiased results. This post includes affiliate links, which provide a small commission for purchases at no additional cost to you.