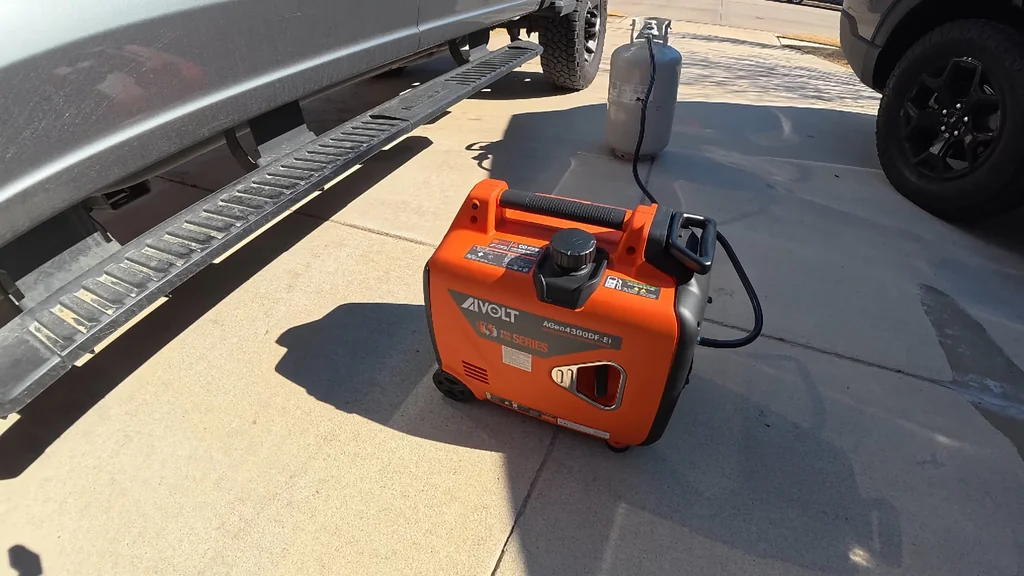
Running a generator in the backyard isn’t just about finding a flat spot and calling it done. You’ve got heat to deal with, exhaust to vent, and weather that’ll beat the hell out of your equipment if you let it. I built a dedicated enclosure for my EcoFlow 3000 using a resin storage shed, added proper ventilation and grounding, and the results are solid. Here’s how it all went together.
⚡ Quick Guide: How to Make It in 10 Steps
- Grab a weather-resistant resin shed for the base.
- Mount steel return air grilles for intake airflow.
- Route the exhaust out through a flexible metal connector.
- Add an exterior vent cover to keep rain out.
- Toss a foam pad under the generator to kill vibrations.
- Drive in a grounding rod for electrical safety.
- Seal cable and pipe holes with plugs.
- Watch the EcoFlow app for real-time alerts.
- Test airflow and exhaust clearance under load.
- Place the shed where it’ll actually work best.
📋 In This Article
- Technical Specifications & Components
- Tools & Materials Used — what you will need for this project
- Selecting the EcoFlow 3000 Generator
- Planning the Exterior Enclosure
- Wiring and Electrical Grounding
- Installing Internal Ventilation Fans
- Connecting the Exhaust Ducting
- Monitoring Real-Time Generator Alerts
- Securing the Exhaust Connector
- Optimizing Internal Airflow
- Finalizing Exterior Venting
- Testing the Completed Enclosure
- FAQ
📊 Technical Specifications & Components
| Generator Model | EcoFlow Dual Fuel 3000 Smart Generator |
| Enclosure Material | Resin (Weather-Resistant) |
| Exhaust Duct Diameter | 3 inches |
| Ventilation Type | Passive intake with active exhaust clearance |
| Vibration Damping | High-density foam pad |
| Grounding | Standard copper-clad grounding rod |
| Intake Grille Size | 16 inches x 16 inches |
📊 Project Overview & Costs
🔧 Difficulty Level: Medium
⏱️ Time Investment: DIY: 4-6 hours | Pro: 2 hours
💰 Professional Service Cost: $400 - $600
💡 Verdict: Building the enclosure yourself saves real money and lets you tailor the ventilation exactly to your generator.
🛠️ Tools & Materials Used
• EcoFlow 3000 Dual Fuel Smart Generator
• 2-inch Hole Plug
• Husky Soft Foam Kneeling Pad
• 3-inch Steel Round Gas Vent Top
Step-by-Step Assembly, Repair, Testing & Inspection
Selecting the EcoFlow 3000 Generator
The EcoFlow Dual Fuel 3000 is the heart of this setup. It's a smart generator that ties into the whole EcoFlow ecosystem — you can monitor it from your phone, check fuel levels, and get alerts when something's off. Dual-fuel capability is a big plus for emergencies when you're not sure what fuel you'll have available. It's reliable gear, but it needs a proper home to keep it that way.
Planning the Exterior Enclosure
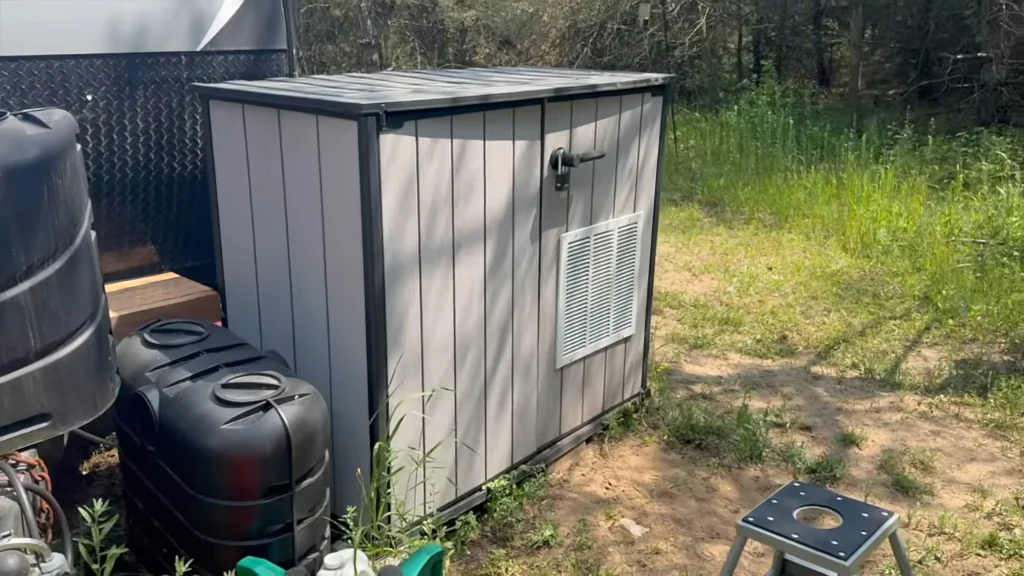
The enclosure needs to handle weather, heat, and exhaust without falling apart. I went with a Keter resin shed — it's tough, weather-resistant, and doesn't look like an eyesore in the yard. The size is compact enough to not dominate the space but roomy enough for the generator and all the venting hardware.
Wiring and Electrical Grounding
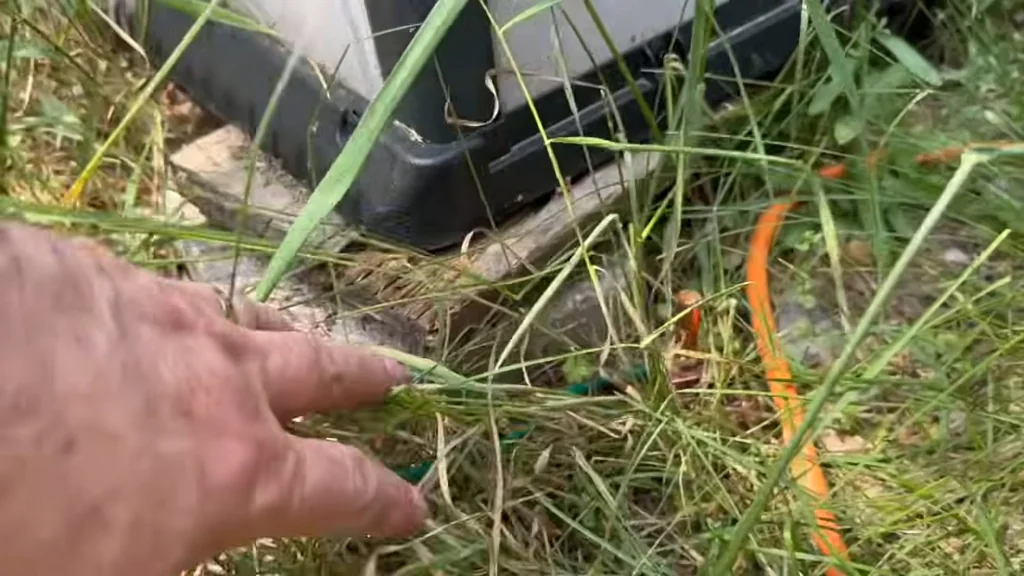
Grounding is one of those things you can't skip. Drove a copper-clad rod into the ground and connected it to the generator chassis with proper gauge wire. The orange wire I used is high-visibility so I can spot it instantly during inspections. This prevents floating voltages that could damage the electronics or, worse, shock someone.
Installing Internal Ventilation Fans
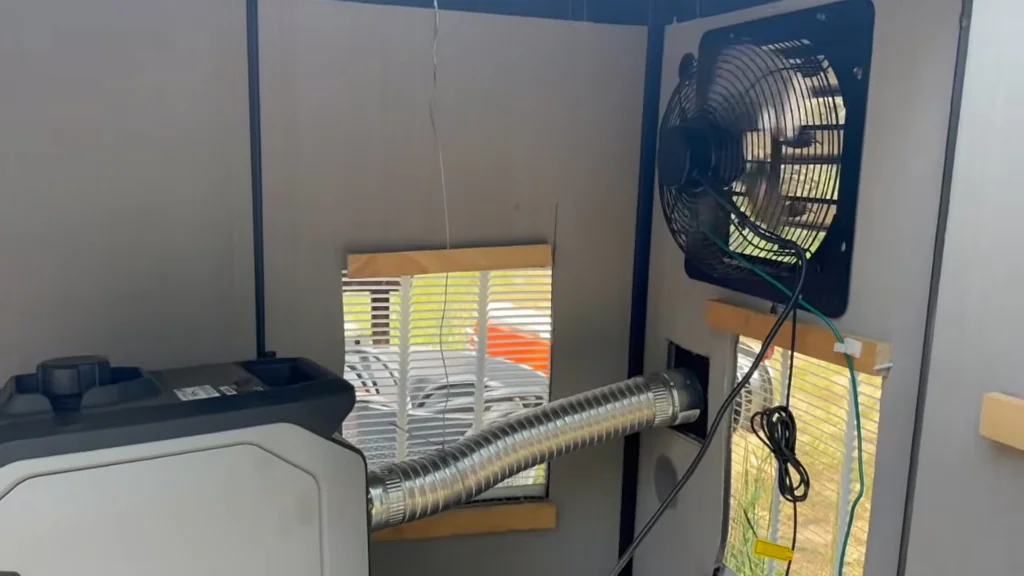
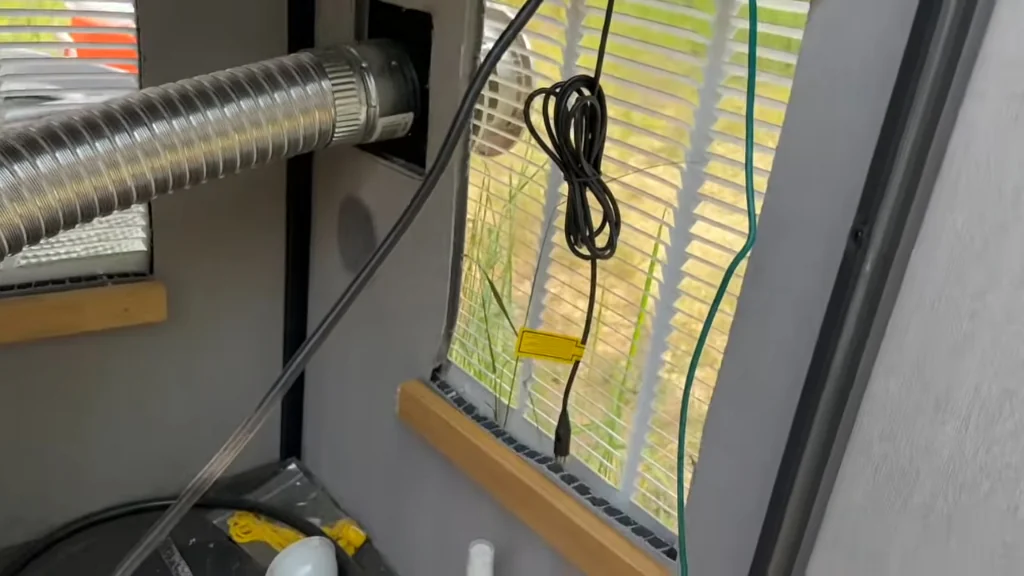
Heat is the silent killer of generators. Without airflow, the engine cooks itself inside that shed. I mounted a fan to actively push hot air out. This keeps the internal temperature in check even when the generator's running hard for hours. Trust me — you don't want to skip this part.
Connecting the Exhaust Ducting
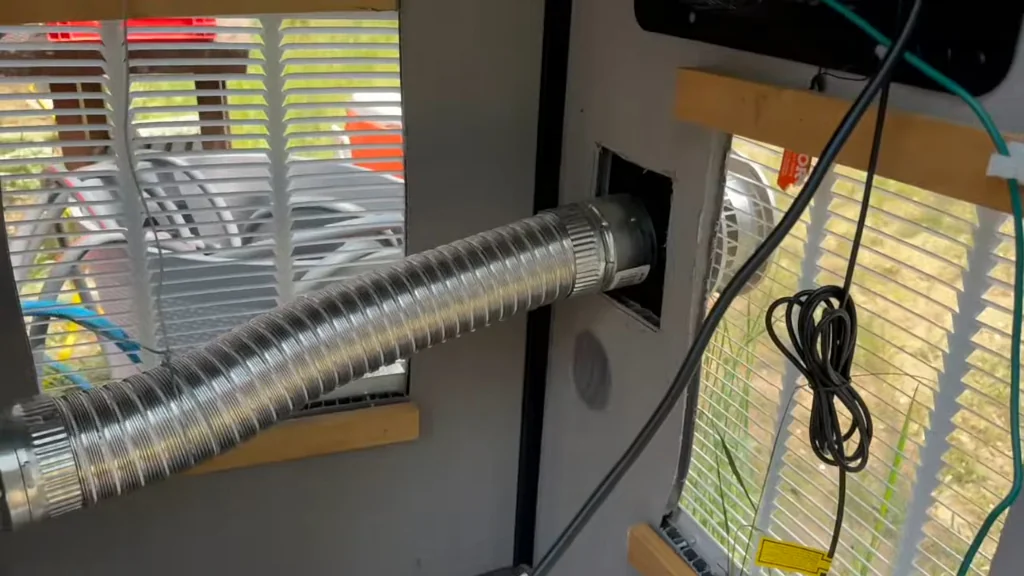
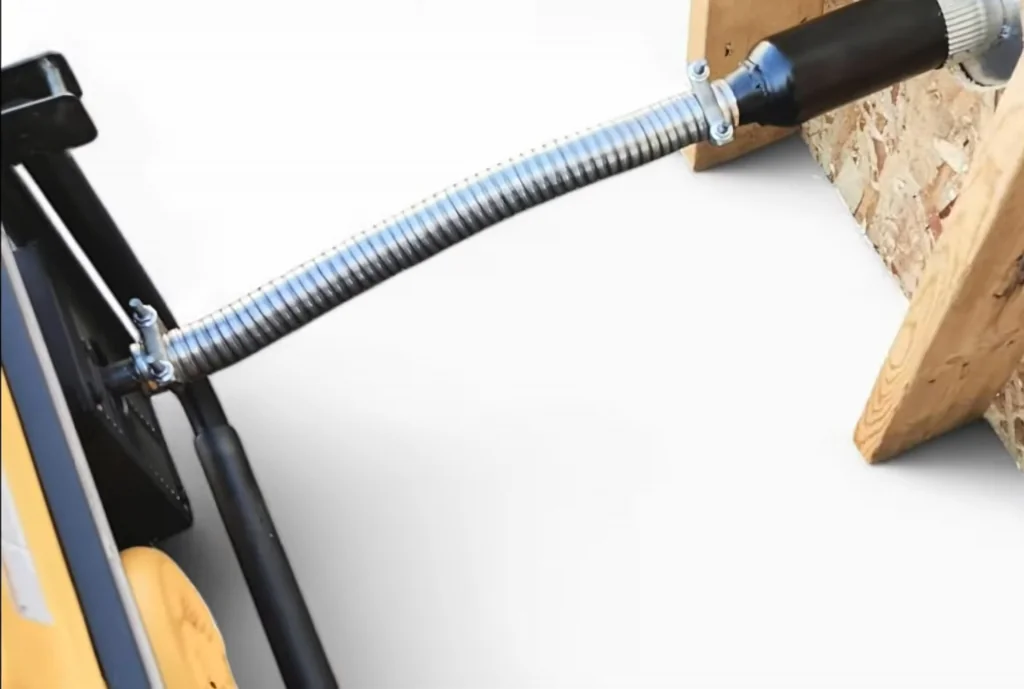
Exhaust gases will kill you if they build up inside. I routed a flexible 3-inch metal connector from the generator's exhaust port out through the shed wall. The metal handles the heat without melting, and the flexibility makes installation way easier than rigid pipe. Made sure the seal was tight so nothing leaks back inside.
Monitoring Real-Time Generator Alerts
The EcoFlow app is honestly the best part of this setup. You get real-time alerts on your phone — overheating warnings, low fuel, maintenance reminders. It's like having a mechanic watching the generator 24/7. If something's wrong, you'll know before it becomes a real problem.

Securing the Exhaust Connector
The exhaust pipe needs to stay put — vibration will work it loose over time. Used high-heat rated clamps to secure it. Checked the clearance twice to make sure nothing flammable was anywhere near the hot metal. This is one of those details that's easy to overlook but critical to get right.
Optimizing Internal Airflow
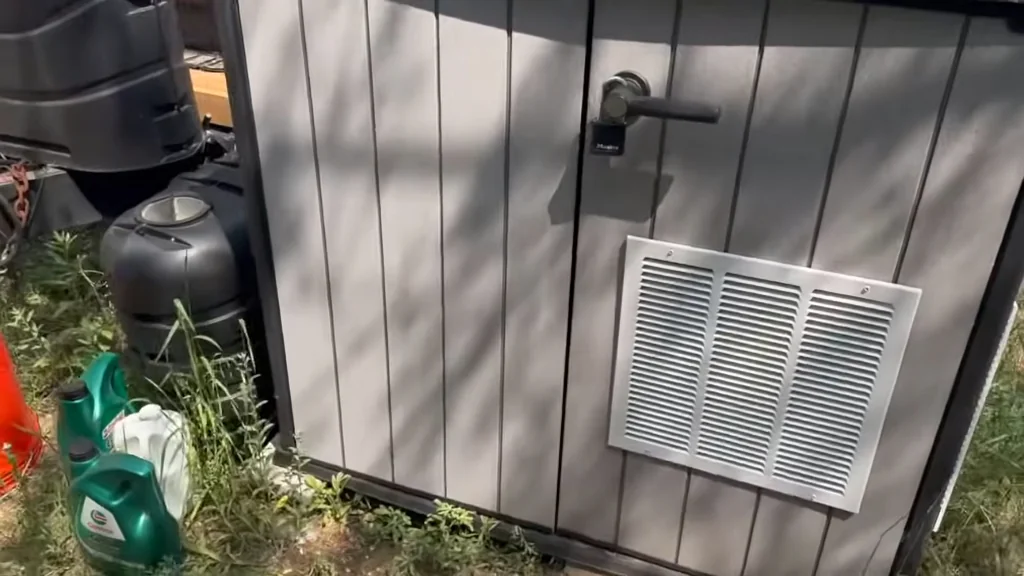
Airflow is everything in a closed shed. I installed a 16x16 steel return air grille for intake. The fan pulls fresh air through the grille, across the engine, and out the exhaust vent. It's a continuous loop that keeps the generator breathing easy. Efficiency matters here.
Finalizing Exterior Venting
The gas vent cover on the outside keeps rain and debris out of the exhaust duct. It's a clean finish and protects the metal from the elements. The whole setup looks professional — like it was always meant to be there.
Testing the Completed Enclosure
Everything's in place — generator on a foam pad to kill vibrations, shed sealed up, exhaust venting outside. Fired it up and let it run under load. The fan does its job, the exhaust clears properly, and the app confirms everything's running smooth. This setup is ready for whatever outage comes next.
⚠️ CAUTION: SAFETY WARNING!
Carbon monoxide is invisible and deadly. Make sure your exhaust system is sealed tight and vents completely outside the enclosure. Never run a generator in an enclosed or poorly ventilated space.
Summary & Tips
This build turns a basic storage shed into a proper generator enclosure. Proper ventilation and grounding are what make it safe and reliable long-term. The EcoFlow app gives you visibility you'd never have with a standard generator. This setup's ready for the next power outage, and it'll keep the generator running cool and quiet for years.
📋 FAQ
❓ Can I use a plastic shed for a generator?
Yeah, but ventilation is the top priority. You need enough airflow to keep the engine heat from melting the resin. It's totally doable with proper intake and exhaust.
❓ Why use a foam kneeling pad?
It's the cheapest vibration dampener you'll find. Stops the generator from rattling the shed walls and reduces noise transfer. Works surprisingly well.
❓ Is the exhaust ducting safe?
As long as it's metal and properly secured, yes. Never use plastic or anything flammable near the exhaust port. That's a fire waiting to happen.
❓ How often should I check the ventilation?
Give it a quick check before storm season or when the seasons change. Make sure the intake grilles aren't blocked by leaves or debris. Takes two minutes.
Disclaimer: I purchased all tools for this guide with my own money to ensure an unbiased review. This post contains affiliate links, meaning I earn a small commission if you make a purchase at no extra cost to you.