Powering a property off-grid demands serious energy storage and reliable high-current power distribution. A 5,000-watt solar array tied into dual 600-pound, 628Ah 48V LiFePO4 battery banks provides massive off-grid potential. This guide covers mounting the inverter, building high-capacity busbar connections, installing T-class fuses, and wiring the entire power shed.
⚡ Quick Guide: 15-Step Overview
- Mount cement board for heat protection.
- Install 600A busbars and a 300A T-class fuse.
- Position 628Ah battery banks.
- Run 2/0 gauge cables between batteries and busbars.
- Connect 2 AWG inverter leads to fuse block.
- Wire 120V AC output to cabin feeder.
- Torque terminal lugs to specifications.
- Transition from generators to solar.
- Route main DC positive and fuse protection.
- Connect PV inputs and underground 120V lines.
- Torque busbar lugs and start system.
- Replace gas generators with solar.
- Analyze solar yield during overcast weather.
- Set up climate-controlled workshop.
- Finalize system inspection.
📋 Article Index
- Technical Specifications & Components
- Tools & Materials Used
- Evaluating System Capacity
- Mounting Substrate and Battery Banks
- Solar PV Lines and Load Testing
- Inverter Breaker Inspection
- Battery BMS Metrics
- Generation Tracking
- 2/0 AWG Cable Installation
- Battery Placement Techniques
- DC Positive Connections
- PV and AC Underground Wiring
- Torquing and Commissioning
- Solar vs Generator Reliability
- Storm-Cloud Solar Yield
- Workshop Configuration
- Final Inspection
- FAQ
📊 Specifications & Components
| Solar Input Capacity | 5,000 Watts (5.1 kW actual) |
| Battery Capacity | 628 Ah total (Two 314 Ah LiFePO4 units) |
| Battery Nominal Voltage | 48V DC (51.2V) |
| Unit Weight | 600 lbs per unit |
| Inverter Rating | 5,000 W Pure Sine Wave |
| Planned Inverter Upgrade | 12,000 W Split-Phase |
| Busbars | 600A 12-stud |
| Fusing | 300A T-Class |
| Battery Cables | 2/0 AWG copper |
| Inverter Leads | 2 AWG copper |
| AC Output Cable | 6 AWG 3-wire |
| PV Wiring | 14 AWG (temporary) |
| Solar Current | 16 Amps at 120V |
| Charge Rate | 41.7 Amps per unit (~83.4A total) |
📊 Project Overview & Costs
🔧 Difficulty Level: Hard
⏱️ Time Investment: DIY: 2-3 Days | Pro: 1 Day
💰 Professional Service Cost: $1,500 - $2,500
💡 Verdict: Self-installing solar power saves on labor costs and allows precise control over battery management.
🛠️ Tools & Materials Used
• 600A 12-Stud Busbars
• 300A T-Class Fuse Block
• 628Ah 48V LiFePO4 Batteries
• Cement Backer Board
• 14 AWG Solar Array Cable
• 6 AWG Burial Feeder Cable
Step-by-Step Installation
Evaluating System Capacity
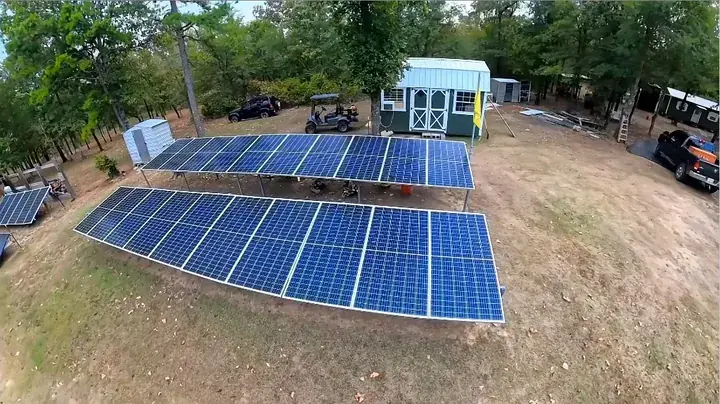
The ground array outputs 5,000 watts. This power level requires heavy-duty cabling and robust circuit protection. I installed a pair of 600-amp 12-stud busbars and a 300-amp T-class fuse to manage the current. I used 2/0 gauge copper for the main battery leads and 2 gauge wire for the inverter. The shed also features dedicated AC outlets and lighting circuits.
Mounting Substrate and Battery Banks
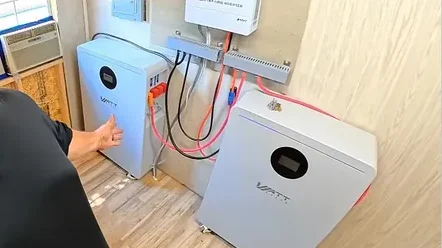
I started by screwing fire-resistant cement board to the wall studs. This provides a safe base for the electrical components. I mounted the inverter and busbars directly to this board. Positioning the 600-pound batteries underneath the equipment keeps cable runs short and efficient. It's a heavy lift, but keeping the batteries close to the busbars reduces voltage drop.
Solar PV Lines and Load Testing
I used 14-gauge wire temporarily to connect the array. The system handled 5,100 watts at 16 amps without issue. This power runs underground to the cabin for heavy loads like AC and appliances. Watching the line voltage during start-up confirmed the inverter handles surges well. It works.
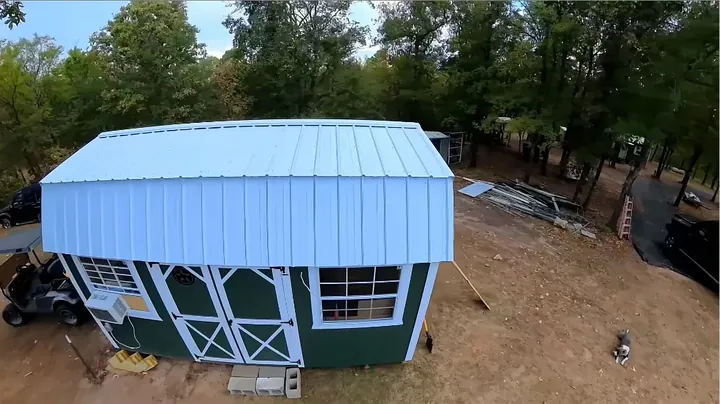
Inverter Breaker Inspection
I reviewed the integrated protection on the upcoming 12,000-watt unit. It features built-in breakers for battery, generator, and PV inputs. This design removes the need for extra external disconnect boxes. Everything resides in a single, clean metal housing. It makes the final hookup much cleaner.
Battery BMS Metrics
The system pulled 5,300 watts at noon. Each battery accepted 41.7 amps, totaling over 83 amps into the bank. The BMS confirmed the state of charge reached 46%. This solar yield ensures the bank tops off daily. No issues so far.
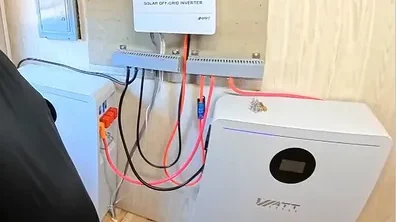
Generation Tracking
Generation hit 16.3 kilowatt-hours by mid-afternoon. This energy easily recharges the bank. High-capacity storage prevents deep discharge cycles, which protects the cells. It's built to last.
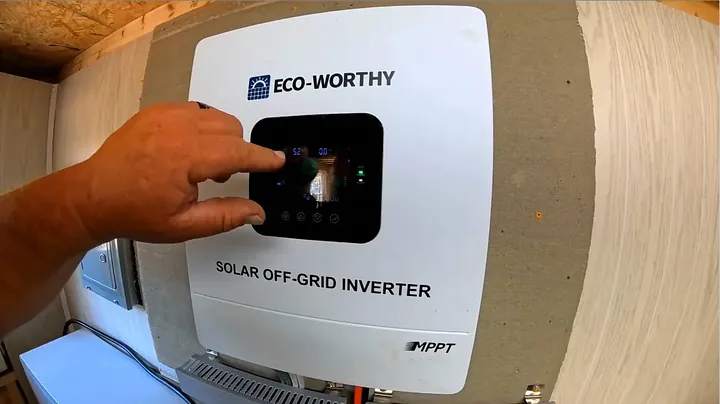
2/0 AWG Cable Installation
The batteries use quick-connect plugs. These cables are about three feet long. If your busbars are further away, you'll need to crimp custom ring-terminal cables. It's a simple swap if you have the right tools.
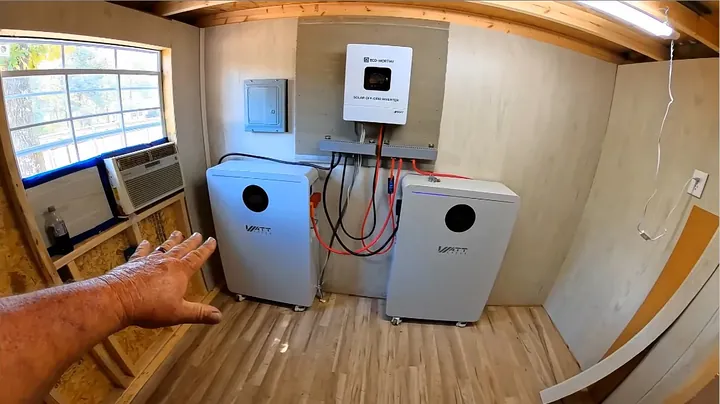
Battery Placement Techniques
These 600-pound units require mechanical lifting. I used the integrated eyelets with a hoist. Two large batteries are easier to manage than twelve smaller units. It reduces BMS complexity and connection points significantly.
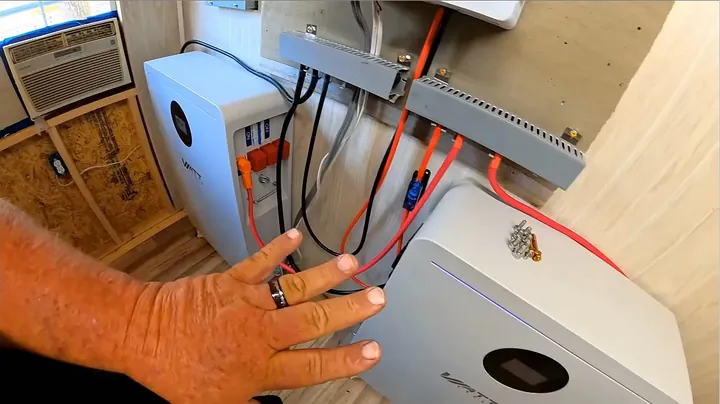
DC Positive Connections
I ran the inverter positive lead through the T-class fuse. From the fuse, I jumpered to the 600-amp busbar. I connected the negative inverter lead directly to the negative busbar. It's a straightforward path.
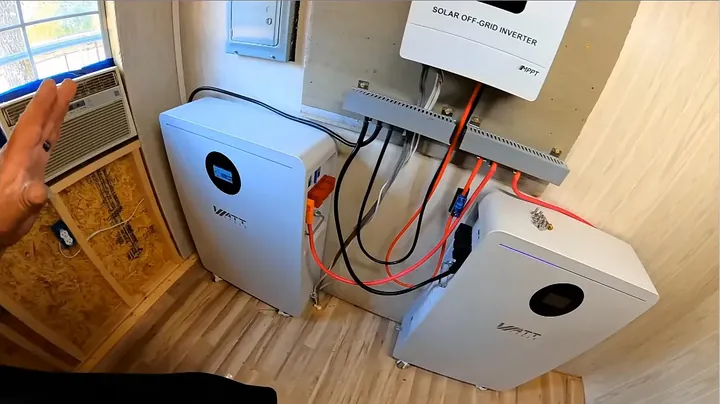
PV and AC Underground Wiring
I terminated the PV lines into the inverter spring terminals. For the AC output, I used 6 AWG cable. Hot, neutral, and ground wires were secured tightly. The cable runs underground to the breaker box.
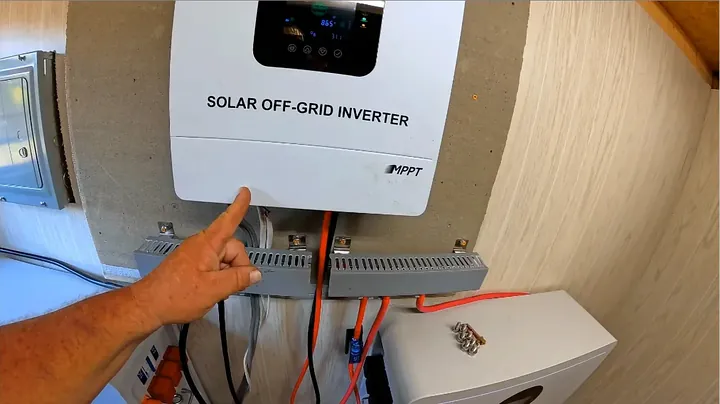
Torquing and Commissioning
I ran the battery cables to the busbars. I seated the nuts with an impact driver and finalized them with a torque wrench. Proper torque prevents hot spots. After checking everything, I activated the breakers and started the inverter.
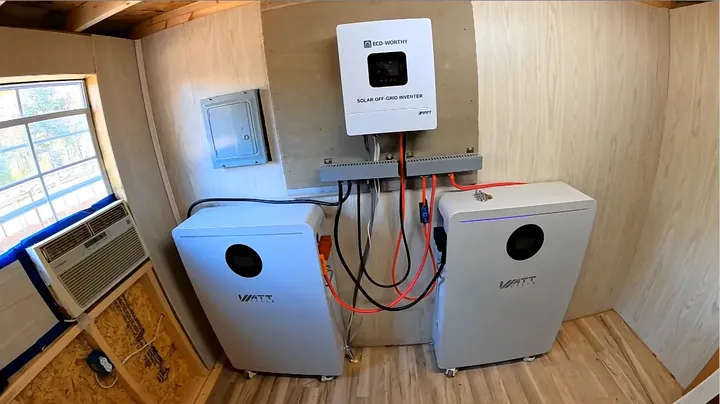
Solar vs Generator Reliability
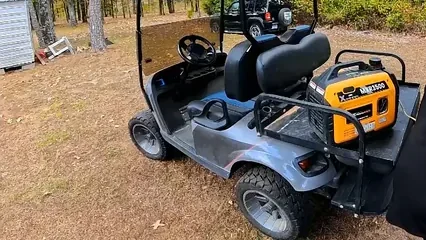
Gas generators are unreliable. Dust ruins them, and they require constant maintenance. Solar eliminates these issues. It's silent and efficient.
Storm-Cloud Solar Yield
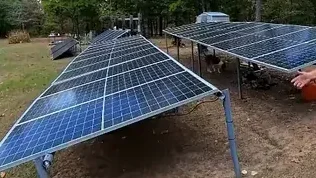
Even in overcast conditions, the array produces over 2,100 watts. This covers my baseloads easily. Solar is reliable enough to make fuel backups unnecessary.
Workshop Configuration
The insulated shed is a perfect testing lab. The environment protects the batteries from temperature extremes. It provides bench space and clean power for testing.
Final Inspection
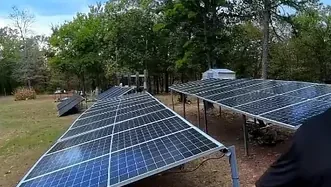
The system is operational. The combination of solar array, busbars, fusing, and battery storage is solid. I plan to upgrade to a 12,000-watt inverter next to expand capacity. It's a great setup.
⚠️ SAFETY WARNING
High-capacity 48V batteries can deliver massive short-circuit currents. Always install a T-class fuse near the battery busbar and use insulated tools.
Summary & Tips
Custom power sheds require heavy cabling and robust fusing. Switching to high-capacity storage replaces noisy generators with silent, reliable power. Proper connections and wire sizing are critical. This installation provides a foundation for energy independence.
📋 FAQ
❓ Why two large 628Ah batteries instead of twelve 100Ah units?
Simplicity. Two batteries involve two BMS units rather than twelve. Fewer cables mean fewer failure points and improved resistance balance.
❓ What fuse size is needed for a 5,000W 48V inverter?
A 300-amp T-class fuse is recommended. These inverters can draw over 100 amps continuously, with higher surge requirements during startup.
❓ Can 14-gauge PV wire handle 5,000 watts?
Only if the array is wired in a high-voltage series configuration. This keeps current low. For permanent installations, 10 AWG or 8 AWG wire is standard.
❓ Why use cement board for mounting?
It acts as a fire shield. If an arc or electrical failure occurs, the non-combustible material protects the wood framing from ignition.
Disclaimer: Tools were purchased independently. This content contains affiliate links; commissions may be earned on purchases.