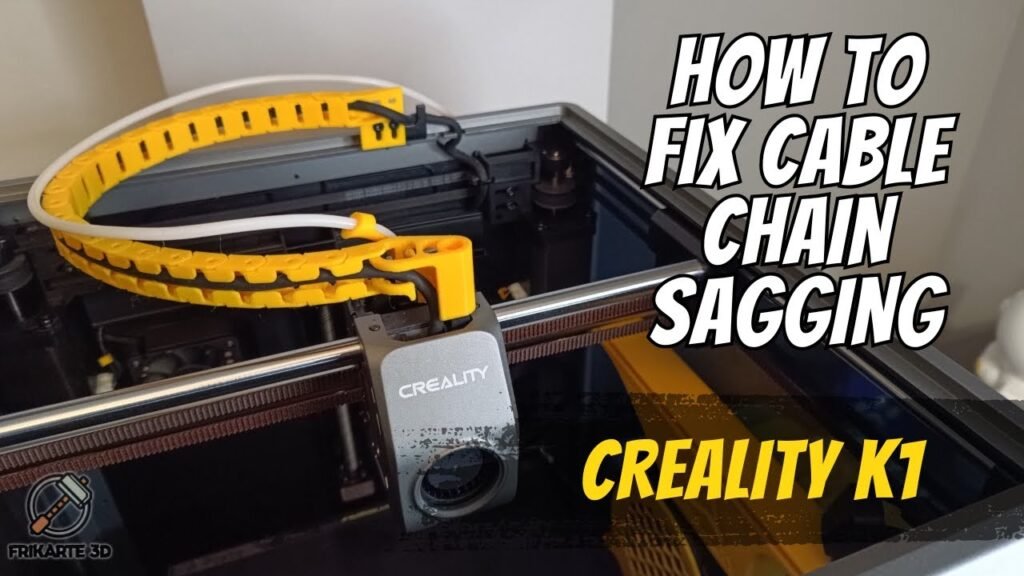
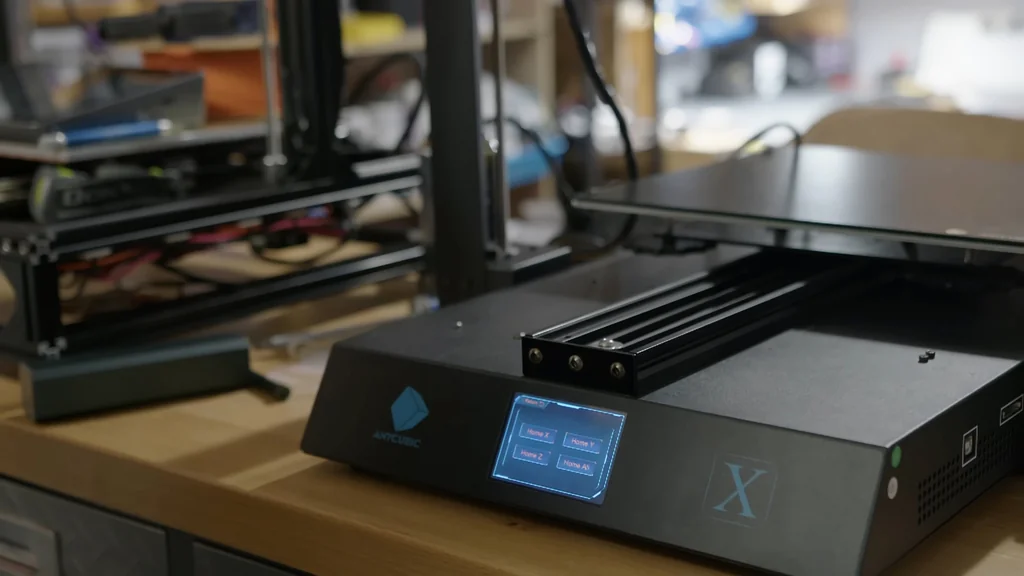
Resurrecting a neglected 3D printer requires more than just basic troubleshooting. After identifying missing components in the initial repair phase, this project focuses on finalizing the hotend cooling, upgrading the electronics, and migrating the Anycubic Kobra 2 Neo to the Klipper firmware ecosystem. By integrating a Raspberry Pi 3B and optimizing the cooling architecture, the printer is transformed from a broken unit into a capable, high-performance machine ready for advanced printing tasks.
⚡ Quick Guide: How to Make It in 12 Steps
- Assess missing hardware and identify critical cooling gaps.
- Install a 3010 fan to prevent heat creep and filament jams.
- Add heatsinks to the stepper drivers for thermal stability.
- Replace the broken 5020 fan with a 5015 blower and custom duct.
- Wire an LM2596 buck converter to step down 24V to 12V.
- Configure a Raspberry Pi 3B as the primary Klipper host.
- Flash Klipper firmware to the GD32F303 microcontroller.
- Implement a community-sourced printer.cfg file for the Kobra 2 Neo.
- Verify axis movement and heater functionality in Mainsail.
- Perform a successful homing sequence to confirm system integration.
- Test print to validate the new cooling and firmware setup.
- Plan future upgrades like a Sherpa mini extruder and hotend.
📋 In This Article
- Technical Specifications & Components
- Tools & Materials Used — what you will need for this project
- Assessing the Broken Kobra 2 Neo
- Installing the 3010 Hotend Cooling Fan
- Upgrading Stepper Driver Cooling
- Replacing the Part Cooling Fan
- Configuring the LM2596 Buck Converter
- Preparing the Raspberry Pi 3B Host
- Installing MainsailOS and Firmware
- Configuring printer.cfg in Mainsail
- Testing Movement and Sensors
- Validating Klipper Performance
- First Layer and System Verification
- Planning Future Upgrades
- FAQ
📊 Technical Specifications & Components
| Printer | Anycubic Kobra 2 Neo |
| Microcontroller | GD32F303 |
| Host Computer | Raspberry Pi 3B |
| Firmware | Klipper with MainsailOS |
| Hotend Cooling Fan | 3010 12V |
| Part Cooling Fan | 5015 12V Blower |
| Voltage Regulation | LM2596 Buck Converter (24V to 12V) |
| Interface | Mainsail Web UI |
📊 Project Overview & Costs
🔧 Difficulty Level: Medium
⏱️ Time Investment: DIY: 4-6 hours | Pro: 2-3 hours
💰 Professional Service Cost: $80 - $120
💡 Verdict: Restoring a salvaged printer is significantly cheaper than buying a new mid-range machine.
🛠️ Tools & Materials Used
• 3010 Cooling Fan
• 5015 Blower Fan
• LM2596 DC-to-DC Buck Converter
• Raspberry Pi 3B
• MicroSD Card
• Stepper Motor Heatsinks
• 3D Printed Fan Duct
Step-by-Step Assembly, Repair, Testing & Inspection
Assessing the Broken Kobra 2 Neo
The initial assessment revealed a printer that was essentially a shell. Several critical components were missing from the factory assembly. Fixing the primary mechanical failure was just the starting point. Now, the goal is to complete the hardware restoration. It's a major project. Getting this machine back to a functional state requires a systematic approach to electronics and cooling.
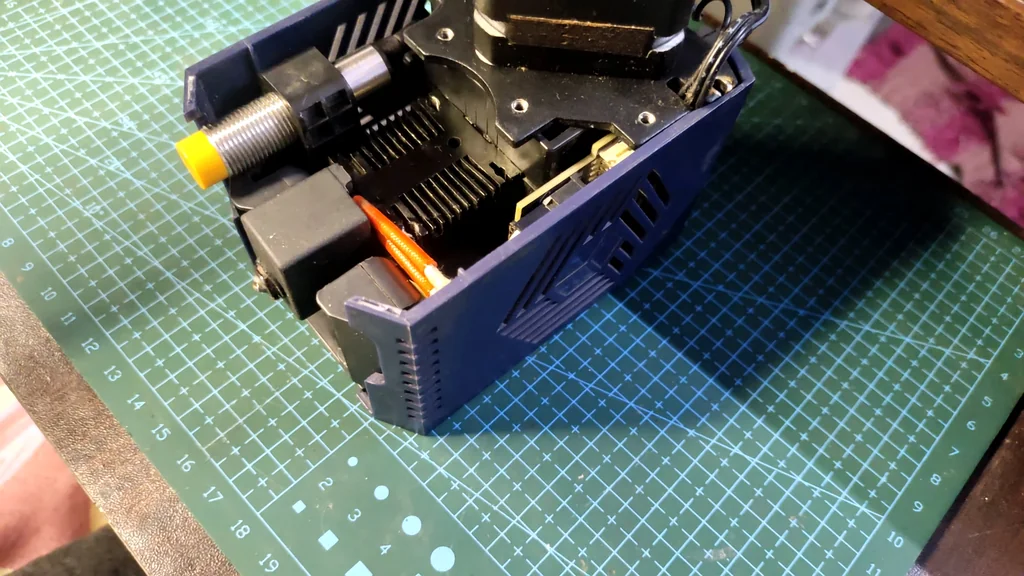
Installing the 3010 Hotend Cooling Fan
The hotend was missing its essential 3010 cooling fan. Without this fan, heat from the nozzle travels up the heatbreak. This causes premature melting of the filament. It leads to persistent clogs and jams. Installing this fan is mandatory for reliable operation. The cooling loop is finally complete.
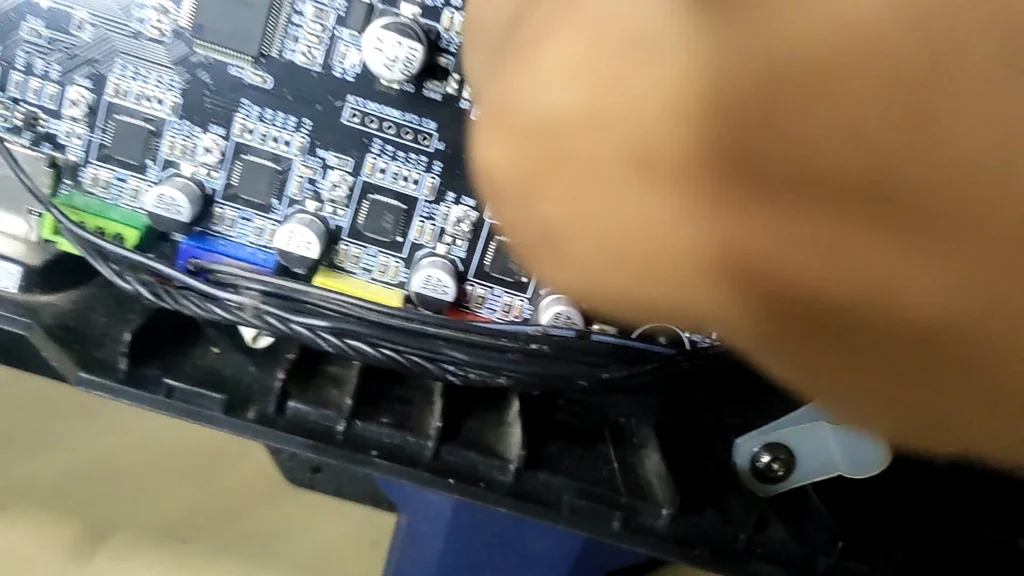
Upgrading Stepper Driver Cooling
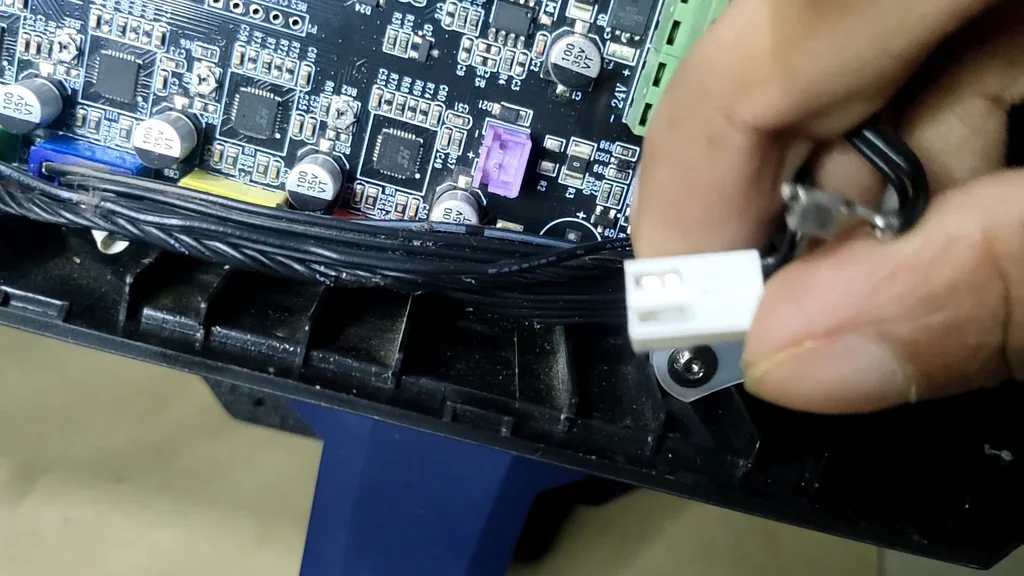
Stepper drivers generate significant heat during high-speed movements. I noticed the original board lacked heatsinks on these drivers. Adding them is a simple thermal insurance policy. It prevents thermal throttling during long prints. The drivers run much cooler now. This is a solid upgrade.
Replacing the Part Cooling Fan
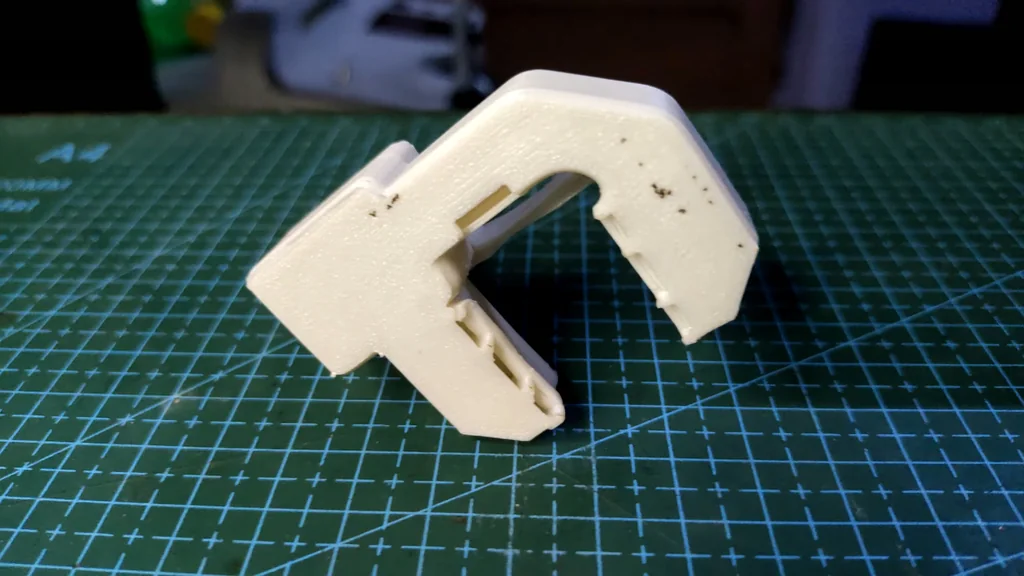
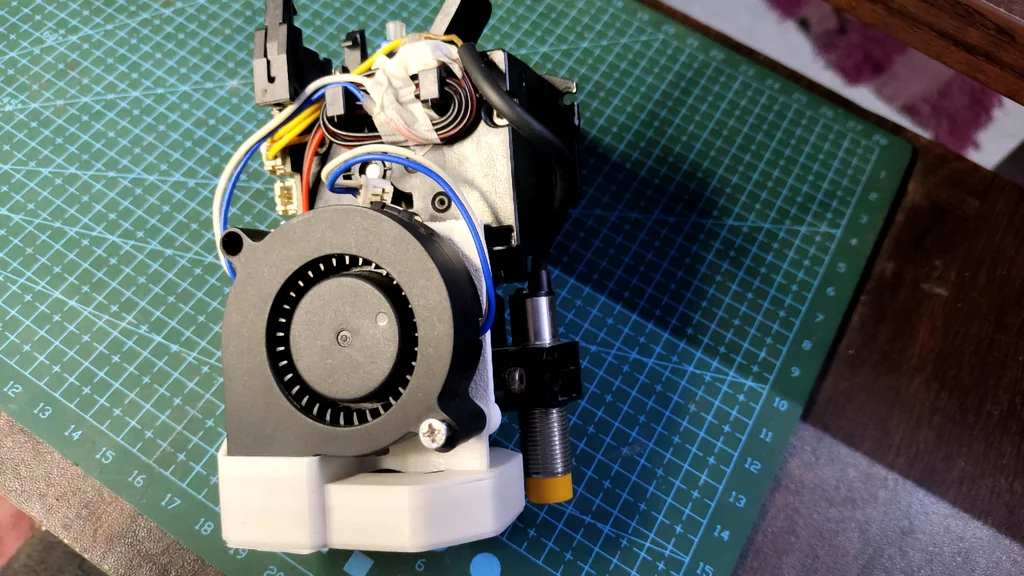
While working on the toolhead, I accidentally snapped the original 5020 fan. It was a frustrating mistake. Instead of sourcing an identical replacement, I opted for a 5015 blower fan. This required printing a custom fan duct to ensure proper airflow direction. The new setup provides better part cooling. It's a significant improvement over the stock configuration.
Configuring the LM2596 Buck Converter
The Kobra 2 Neo runs on a 24V power supply. However, the new 3010 and 5015 fans are rated for 12V operation. Connecting them directly would fry the electronics. I installed an LM2596 buck converter to step the voltage down safely. Setting the output to exactly 12V is critical. The fans now run at their intended speed.
Preparing the Raspberry Pi 3B Host
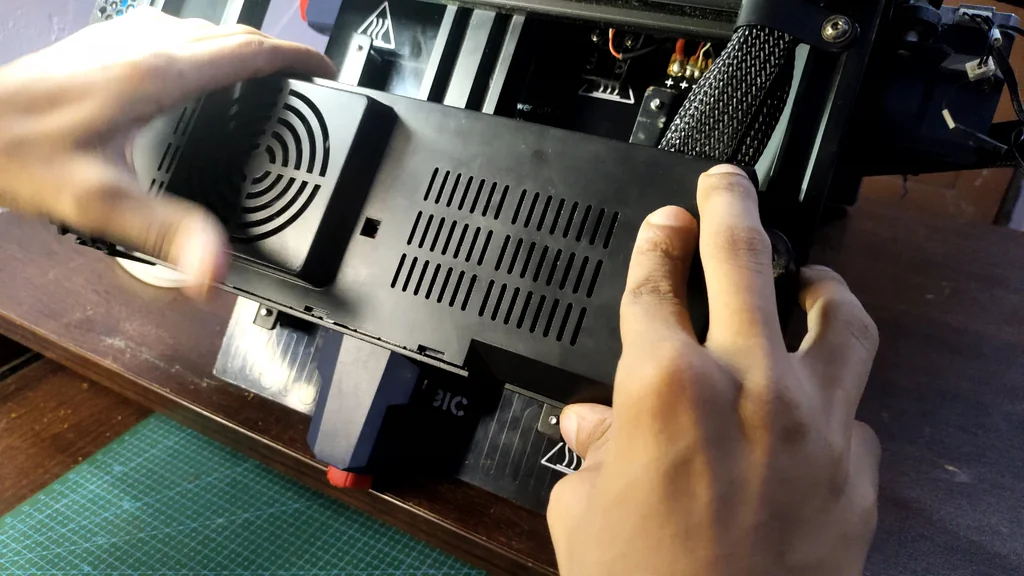
The printer was still running the stock Marlin firmware. I wanted to move to Klipper for better control and performance. A spare Raspberry Pi 3B was repurposed for this task. It was previously used for Pi-hole but sat idle. Now it serves as the Klipper host. Setup is straightforward.
Installing MainsailOS and Firmware
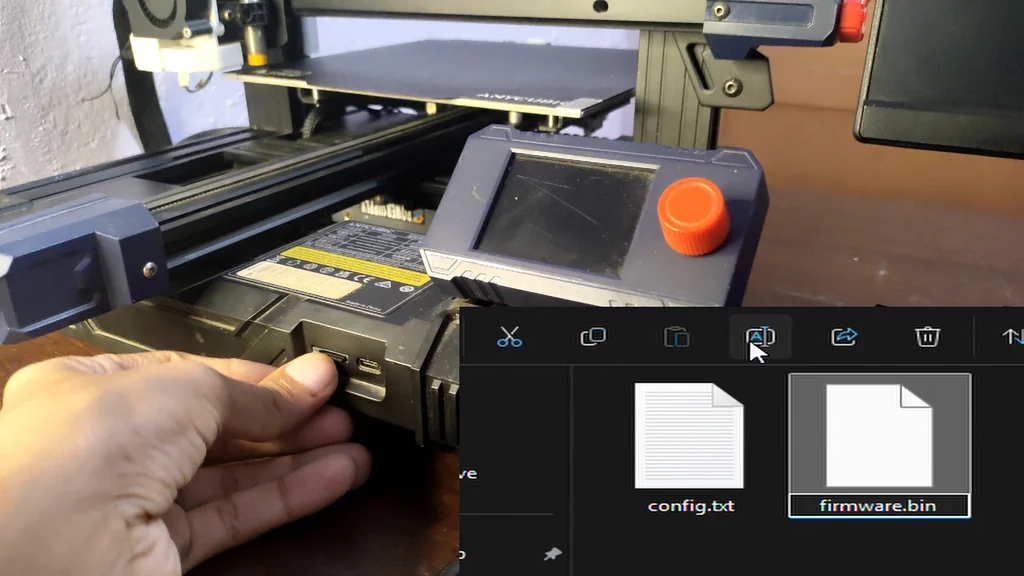
MainsailOS was flashed onto a microSD card for the Pi. This handles the web interface and Klipper software. The printer's motherboard uses a GD32F303 microcontroller. Klipper supports this chip natively. I built the firmware with the correct parameters. The system is ready to communicate.
Configuring printer.cfg in Mainsail
Configuring the printer.cfg file involved some trial and error. Getting the endstops and motor directions right is tricky. Fortunately, the Klipper community provided a reference configuration for the Kobra 2 Neo. Using that as a base saved hours of work. The configuration is now stable.
Testing Movement and Sensors
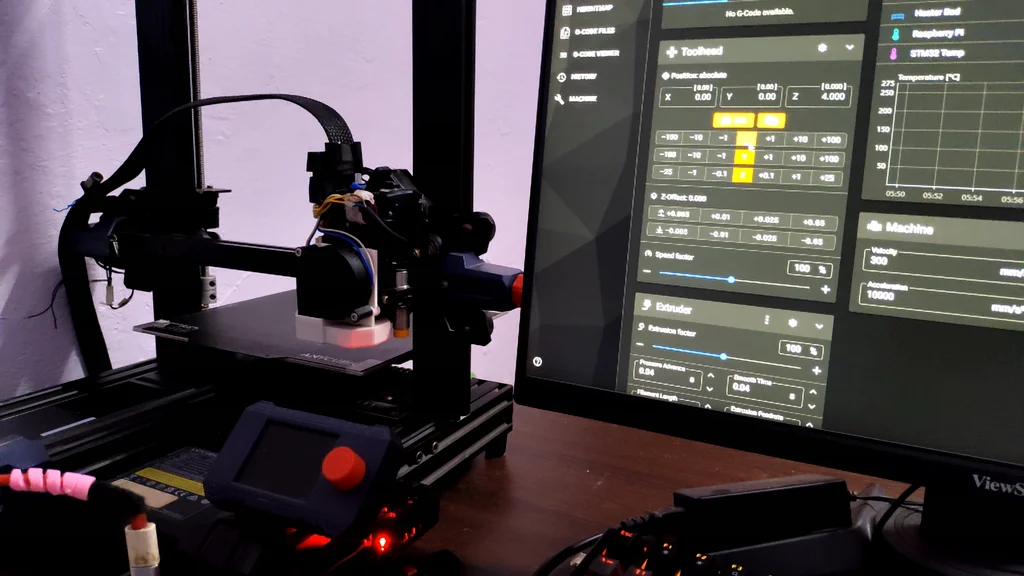
Before printing, I verified every axis individually. The motors moved in the correct directions. Next, I checked the endstops and heater sensors. Everything responded as expected. Finally, I homed the printer. It worked perfectly.
Validating Klipper Performance
Seeing the printer respond in Klipper was a huge relief. I had previously printed a Cali cat with the stock firmware, so I knew the mechanics were sound. Now, with the upgraded cooling and Klipper, the machine is much more capable. It's a big difference.
First Layer and System Verification
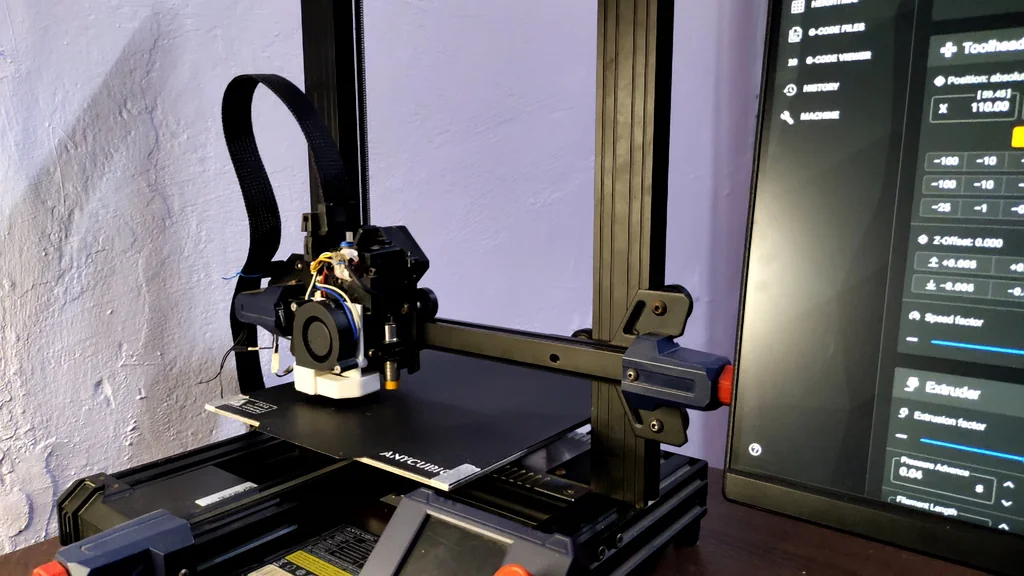
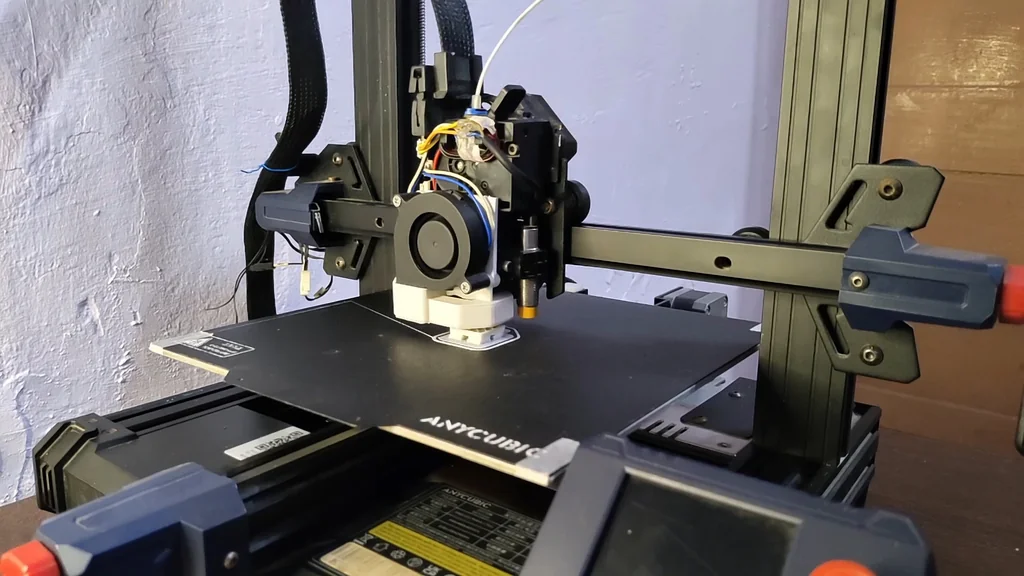
The first layer went down clean and consistent. This confirmed the repairs and upgrades were successful. The printer is officially back in action. It's a satisfying result. The project was supposed to be simple, but it evolved into something much more substantial.
Planning Future Upgrades
The restoration is complete, but the project isn't over. I have a bamboo-style hotend and a Sherpa mini extruder ready for installation. Major electronics upgrades are also on the horizon. The printer is now a platform for further experimentation. Stay tuned for part three.
⚠️ CAUTION: SAFETY WARNING!
Always disconnect the printer from mains power before working on the motherboard or wiring the buck converter. Ensure all 12V fan connections are insulated to prevent shorts against the 24V rails.
Summary & Tips
The Anycubic Kobra 2 Neo is now fully operational and running Klipper firmware. This restoration successfully addressed missing cooling components and outdated electronics. The printer is now a reliable tool for future fabrication projects. It's ready for the next phase of advanced modifications.
📋 FAQ
❓ Is it difficult to install Klipper on a Kobra 2 Neo?
Honestly, it depends on your comfort level with configuration files. If you use a community-provided printer.cfg, the process becomes much more manageable. It's a rewarding upgrade.
❓ Why use a buck converter for the fans?
Usually, the printer's main power supply outputs 24V, but most standard replacement fans are 12V. Using a buck converter prevents the fans from burning out instantly. It's a necessary step.
❓ Can I use a Raspberry Pi 3B for Klipper?
Yes, a Pi 3B is more than capable of handling the Klipper host duties. It provides plenty of processing power for the firmware and the Mainsail web interface. It's a great way to reuse old hardware.
❓ Are heatsinks on stepper drivers really needed?
No, they aren't strictly required for light printing, but they are smart for long-term reliability. They help dissipate heat and prevent thermal shutdowns during complex prints. It's cheap insurance.
Disclaimer: I purchased all tools for this guide with my own money to ensure an unbiased review. This post contains affiliate links, meaning I earn a small commission if you make a purchase at no extra cost to you.