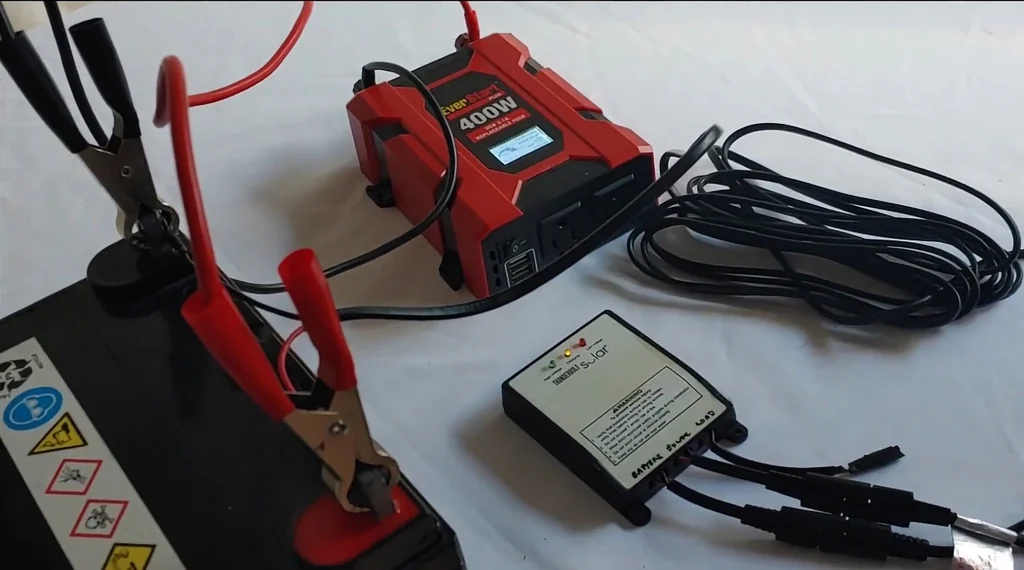
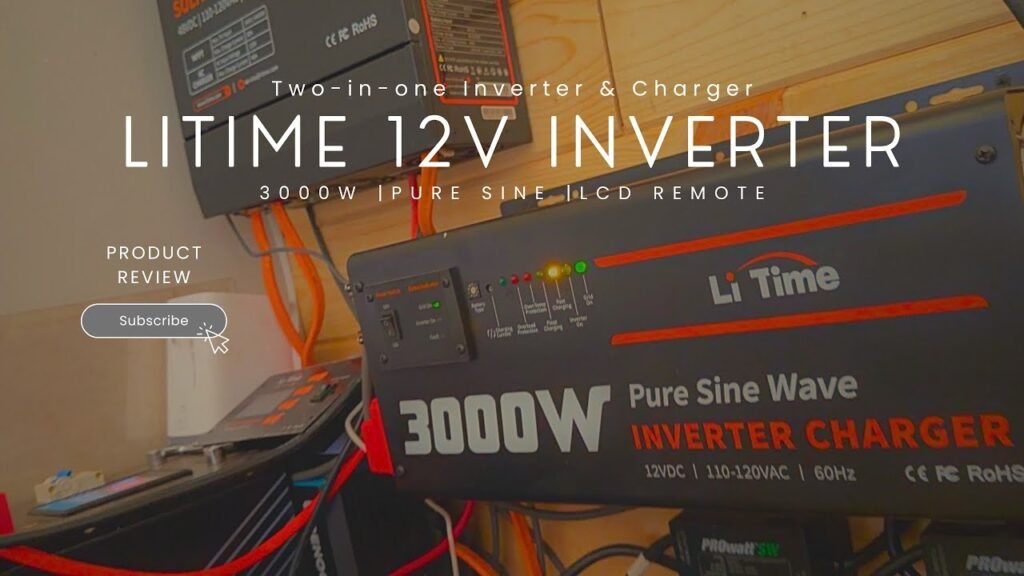
900+ watts of continuous power for hours daily — that is the performance I am getting now after replacing my overheating unit with a Victron Energy 1200VA inverter. I found this unit used for $163, and it completely solved the over-voltage and thermal shutdown issues I dealt with previously. It is a massive upgrade for my 12-volt solar setup.
⚡ Quick Guide: How to Make It in 15 Steps
- Swap out the underperforming Roarbatt unit for the Victron Energy 1200VA inverter.
- Connect 2-gauge cabling to the massive input terminals.
- Configure the load-sensing eco mode to trigger every 20 seconds.
- Set up remote management via tablet and Bluetooth interface.
- Monitor AC input and battery state-of-charge at 91%.
- Verify stable operation in a non-air-conditioned shed at 150 degrees.
- Integrate with a 7515 MPPT solar charge controller.
📋 In This Article
- Technical Specifications & Components
- Tools & Materials Used — what you will need for this project
- Identifying the Inverter Upgrade
- Evaluating Build Quality and Cabling
- Configuring Eco Mode Settings
- Enabling Remote Bluetooth Functionality
- Setting Up Remote Tablet Management
- Troubleshooting Bluetooth Connectivity
- Monitoring Solar Array Charging
- Verifying AC Input and Battery Levels
- Comparing Inverter Footprints
- Analyzing Previous Overheating Failures
- Testing Thermal Limits
- Evaluating Quality Differences
- Assessing Shed Thermal Performance
- Integrating the Solar Charge Controller
- Final Review of the Power Setup
- FAQ
📊 Technical Specifications & Components
| Inverter Capacity | 1200VA |
| Output Type | Pure Sine Wave |
| Input Voltage | 12V DC |
| Output Voltage | 120V AC |
| Eco Mode Trigger | 20-second load sensing |
| Idle Consumption | 16-18 watts |
| Connectivity | Bluetooth |
| Compatible Controller | 7515 MPPT |
📊 Project Overview & Costs
🔧 Difficulty Level: Medium
⏱️ Time Investment: DIY: 1 hour | Pro: 30 minutes
💰 Professional Service Cost: $250 - $400
💡 Verdict: I saved over $60 by sourcing a used unit instead of buying new.
🛠️ Tools & Materials Used
• Victron Energy Phoenix Pure Sine Wave Inverter
• 2-gauge battery cable
• Tablet for remote monitoring
• Victron 7515 MPPT Solar Charge Controller
Step-by-Step Assembly, Repair, Testing & Inspection
Identifying the Inverter Upgrade
I started by looking at my new Victron Energy unit. It replaced a Roarbatt inverter that just couldn't keep up with my power demands. The Roarbatt unit was rated for higher output, but it failed me consistently.
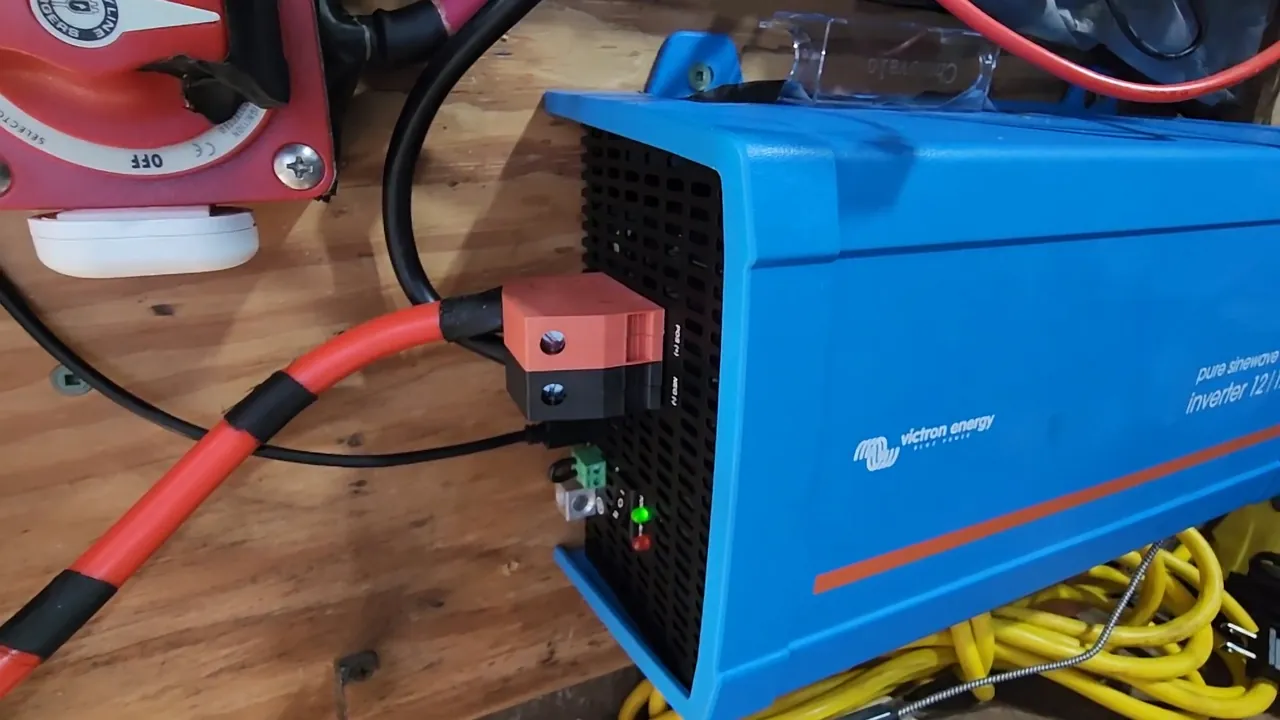
Evaluating Build Quality and Cabling
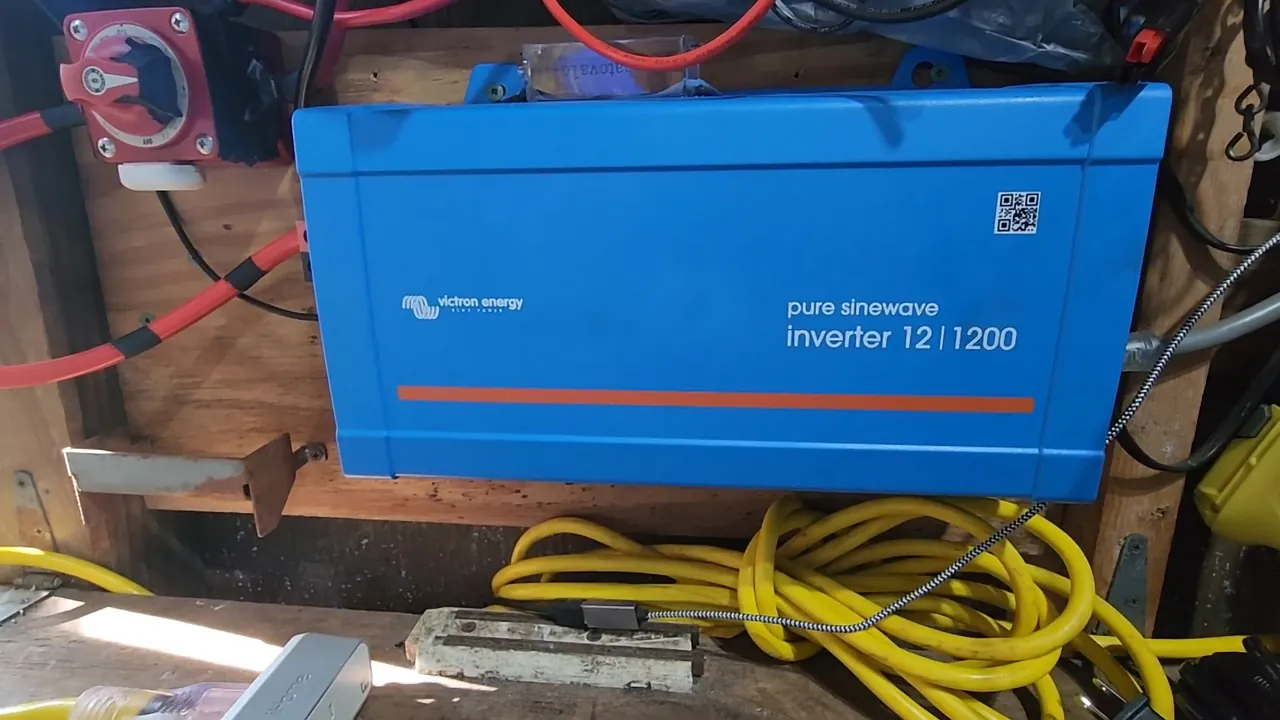
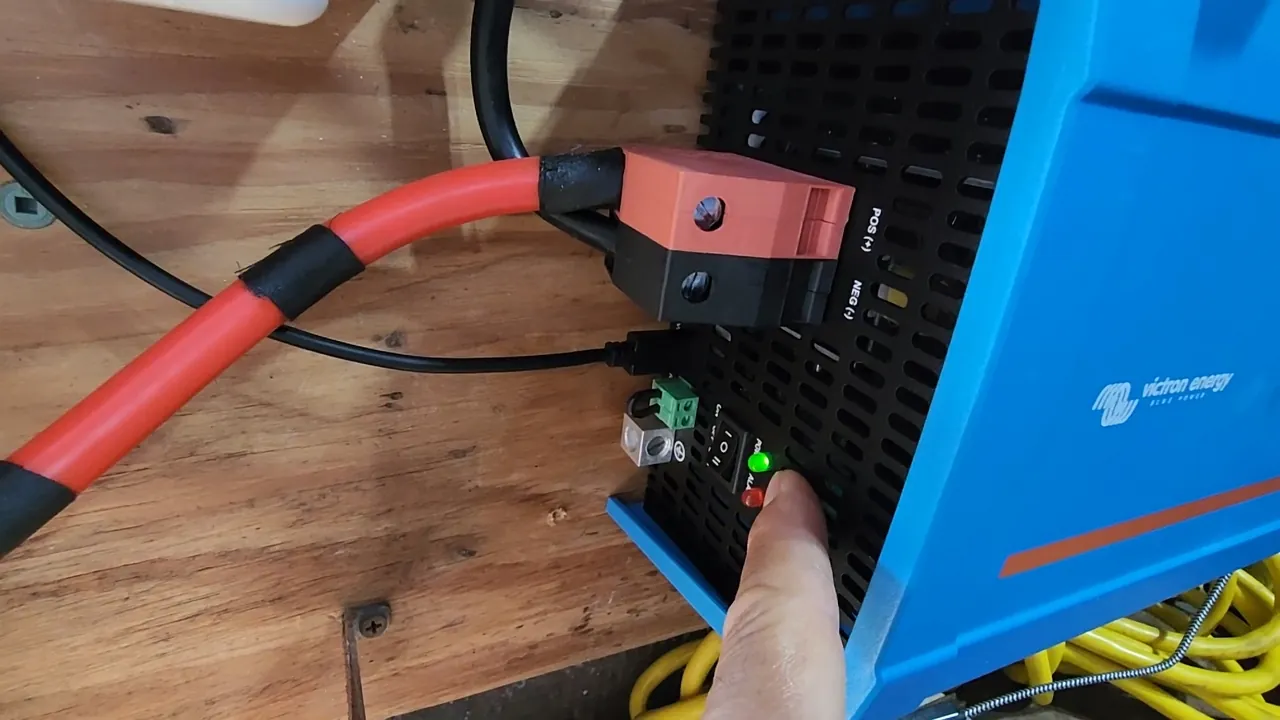
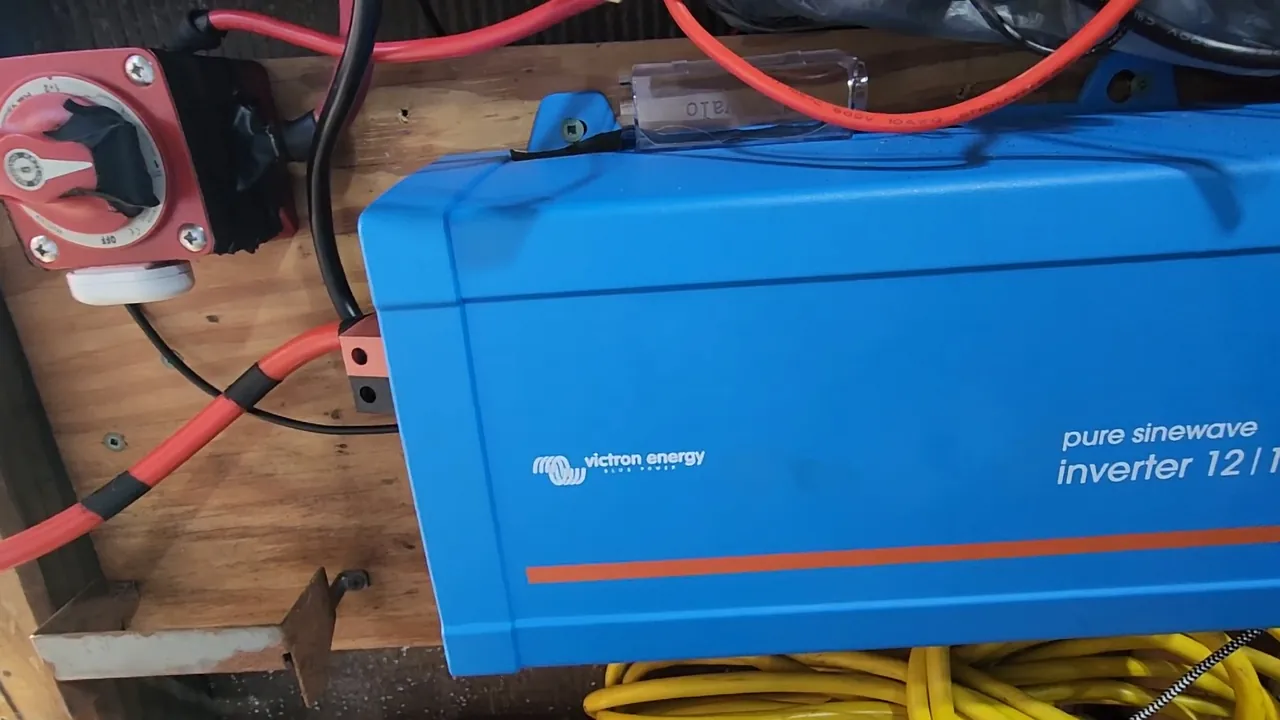
I noticed immediately that this unit is built like a tank. It feels massive compared to my old gear. I am using 2-gauge cable to handle the current, and the size of these terminals makes a secure connection easy.
Configuring Eco Mode Settings
I configured the load-sensing feature to check for a draw every 20 seconds. When it detects a load, it powers up and provides current. I see it pulling about 16 to 18 watts while idling in this mode.
Enabling Remote Bluetooth Functionality
I really appreciate the Bluetooth support on this model. Unlike my previous inverter, which was strictly manual, this one lets me manage power states without walking over to the switch. I can toggle the unit remotely, which is a massive convenience for my setup.
Setting Up Remote Tablet Management
I set up a dedicated tablet to manage the inverter remotely. I use a remote tool to bridge into the tablet, giving me full control over the inverter interface from anywhere.
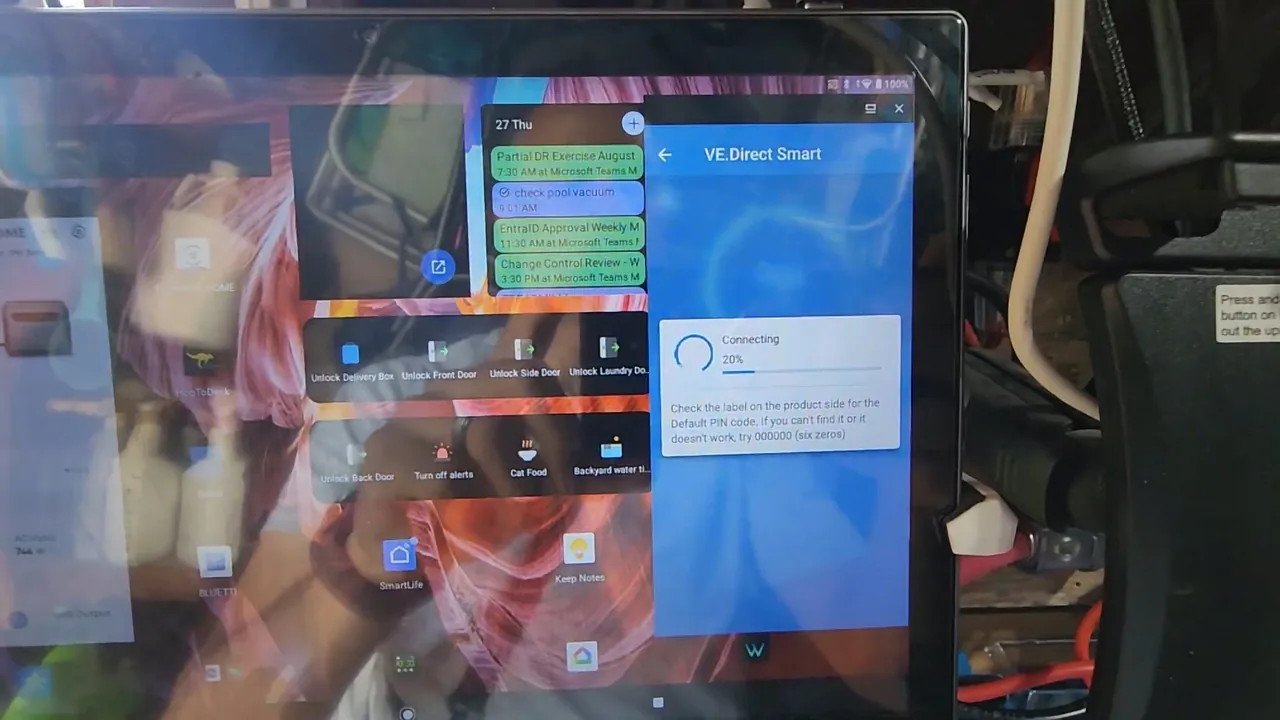
Troubleshooting Bluetooth Connectivity
I occasionally run into a snag where the Bluetooth connection goes wonky. I have to restart the tablet to get it to talk to the inverter again. It has a standard non-GFI 120-volt output.
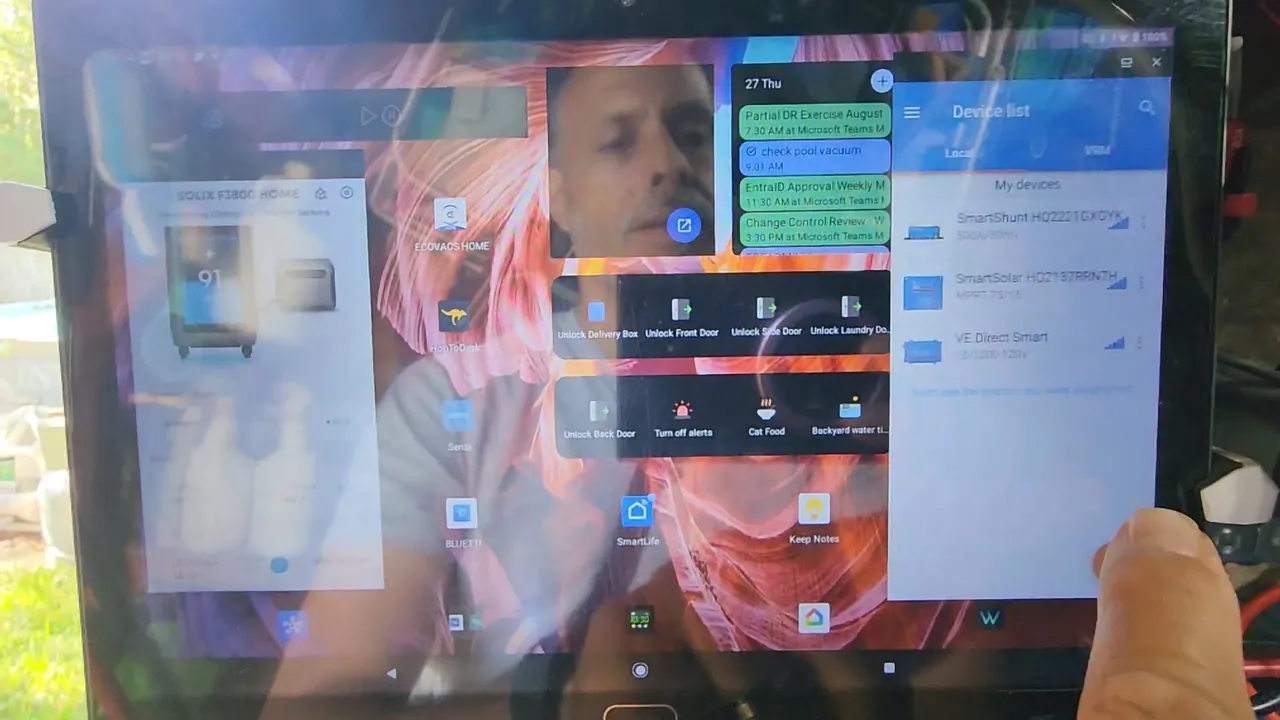
Monitoring Solar Array Charging
I checked the charge status while the solar array ramps up. My neighbor has a huge tree that blocks my panels, so I do not see real power until 10:30 in the morning. The light flickered as I adjusted the eco mode.
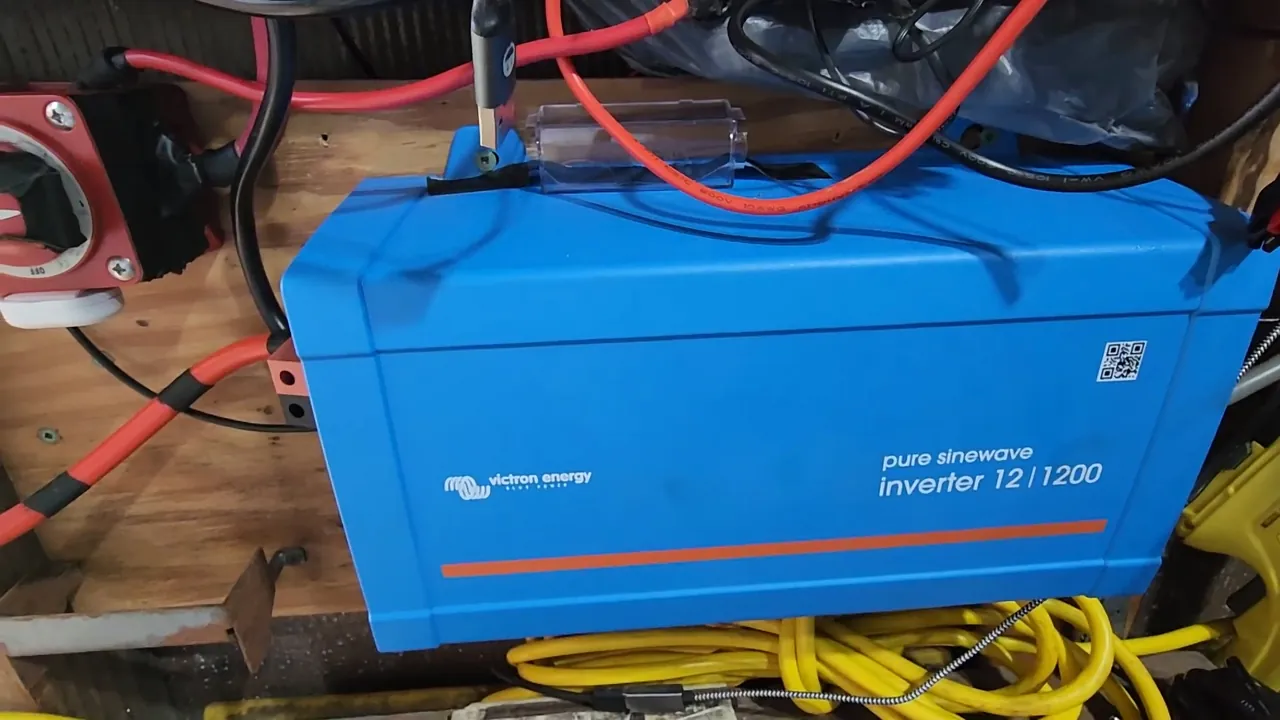
Verifying AC Input and Battery Levels
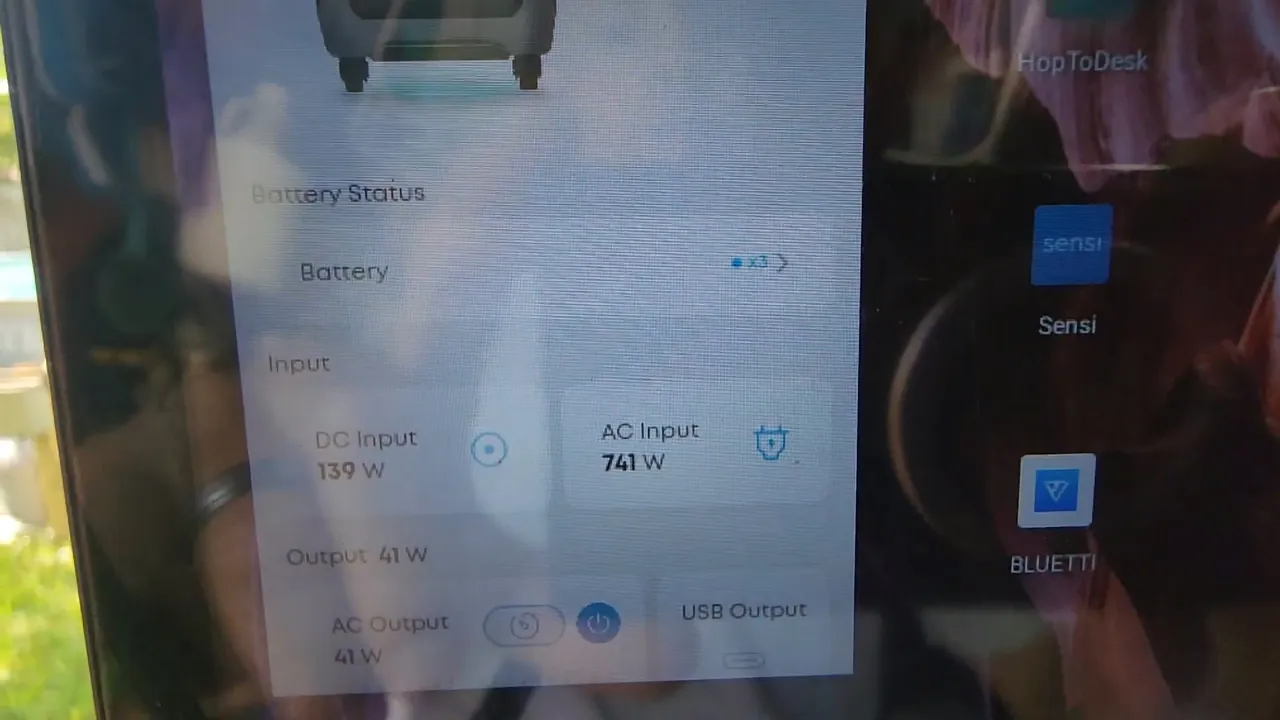
I looked at the display and saw 741 watts going to my Anker Solix. My batteries are sitting at 91% capacity right now. I am very happy with how this system is performing.
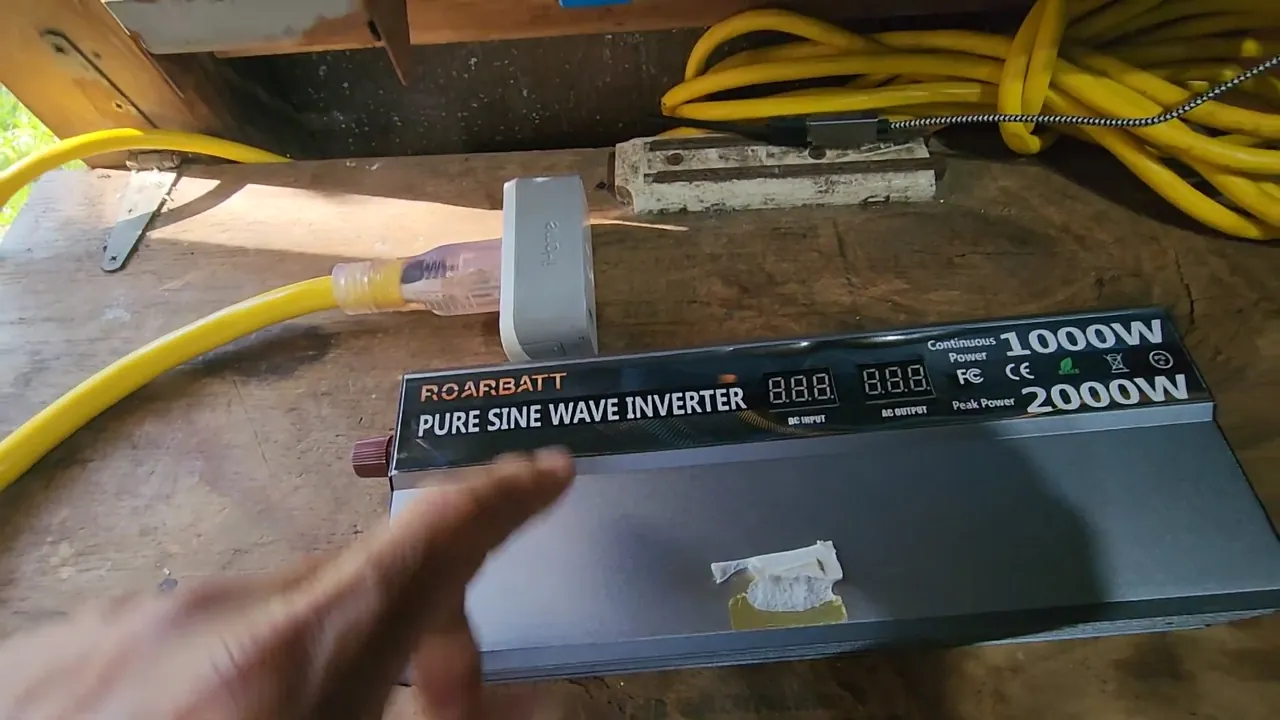
Comparing Inverter Footprints
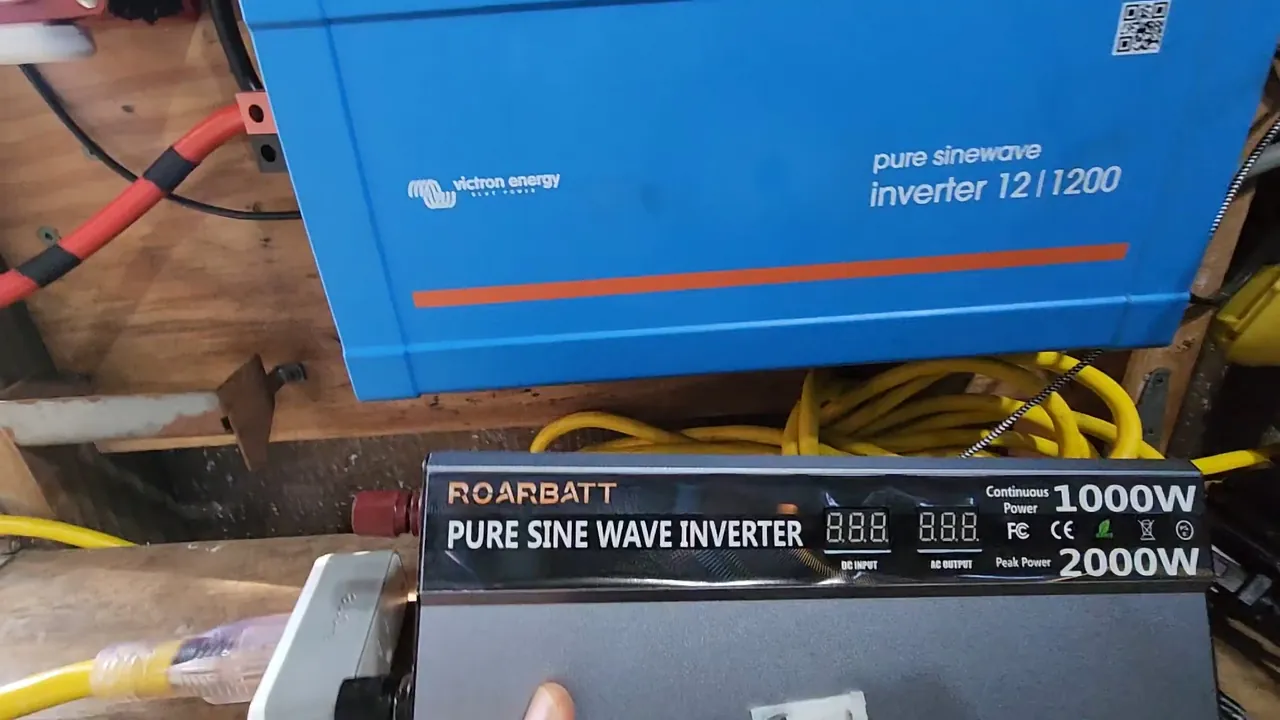
I compared the physical size of this Victron unit to my old inverter. The Victron is about two-thirds the size, yet it handles the load without breaking a sweat.
Analyzing Previous Overheating Failures
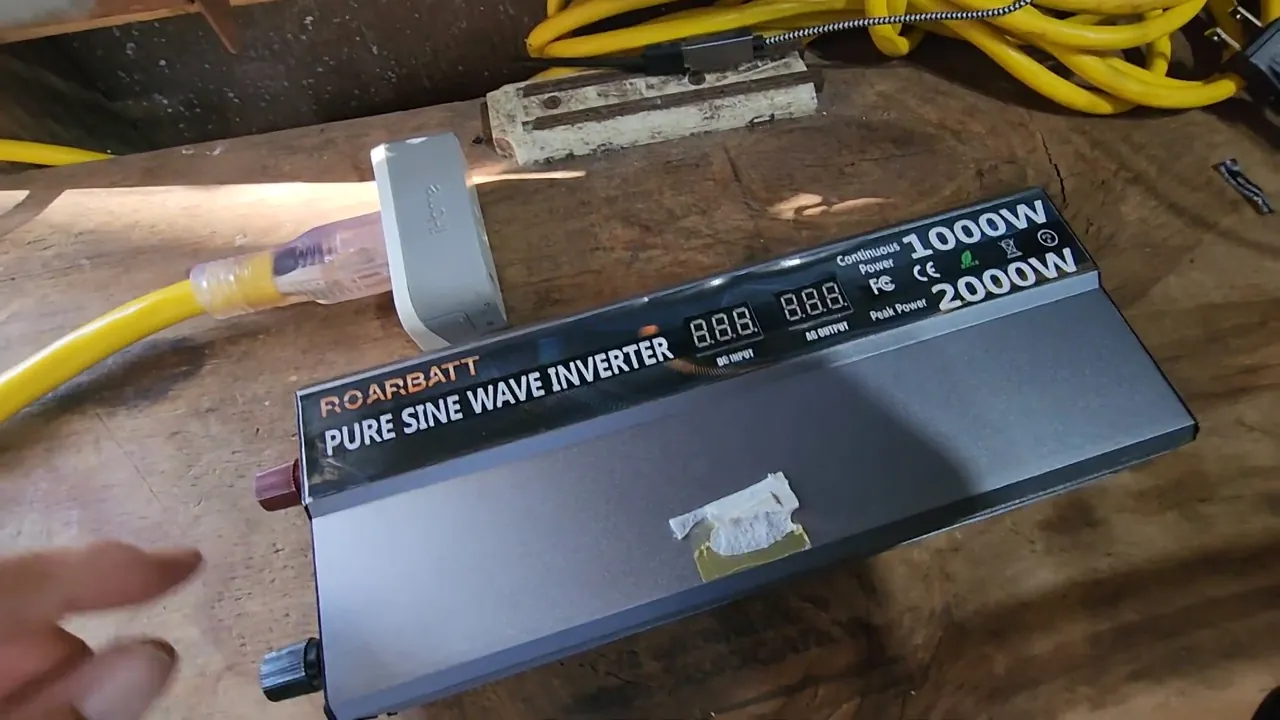
I realized the old inverter was just weak sauce. Even with an external fan blowing on it, I could only pull 400 to 500 watts before it would shut down from heat.
Testing Thermal Limits
I could only run the old unit for about 30 minutes before it quit. It was basically junk. I should have checked the price before buying it, but I learned my lesson.
Evaluating Quality Differences
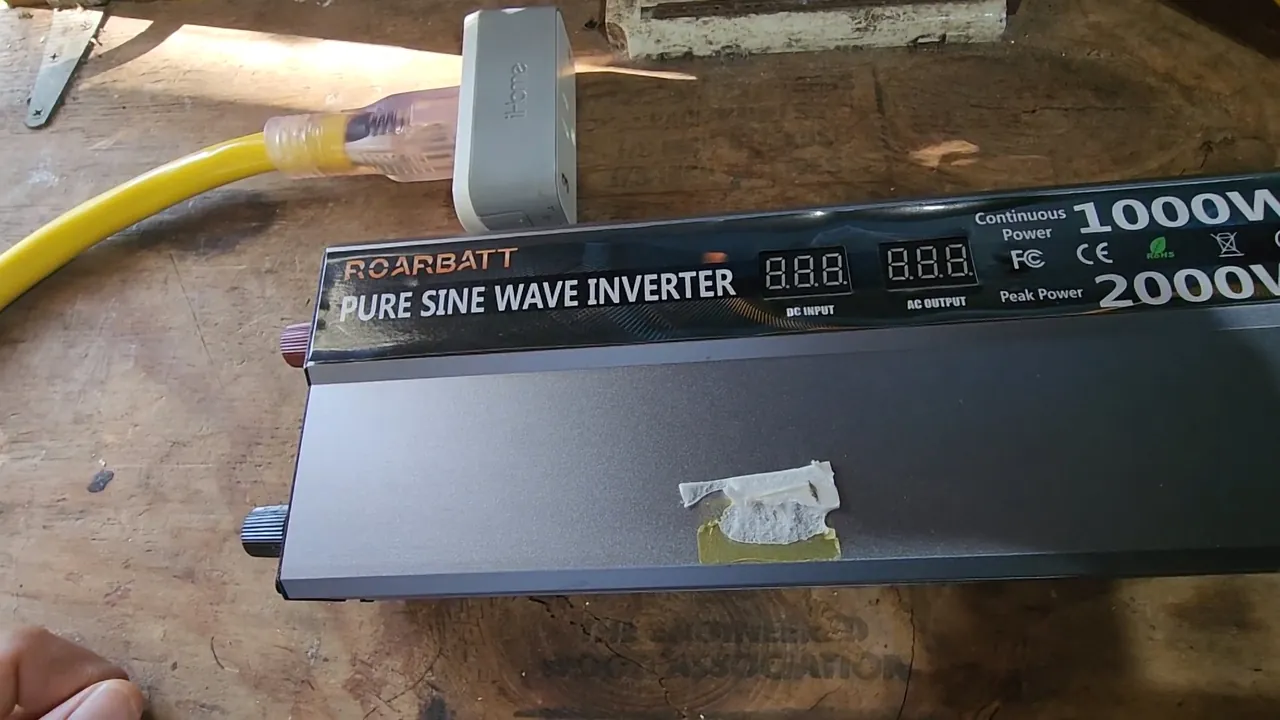
I see a night-and-day difference in quality. The old unit was like a Yugo, while this Victron is a Lamborghini. I will never buy those cheap units again.
Assessing Shed Thermal Performance
I keep this in a shed that hits 150 degrees, but the Victron stays rock solid. The internal components are large and allow for proper airflow.
Integrating the Solar Charge Controller
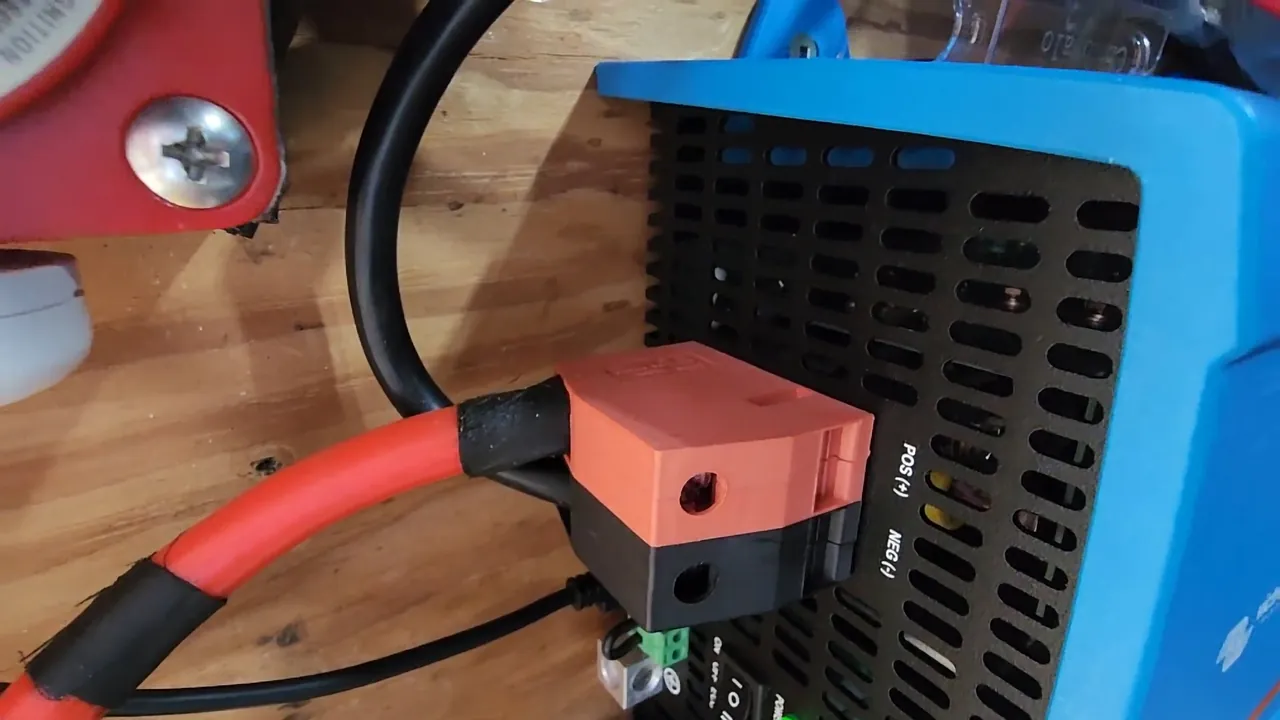
I have my 7515 MPPT solar charge controller mounted behind the inverter. It has been rock solid for my battery array. Victron gear just works.
Final Review of the Power Setup
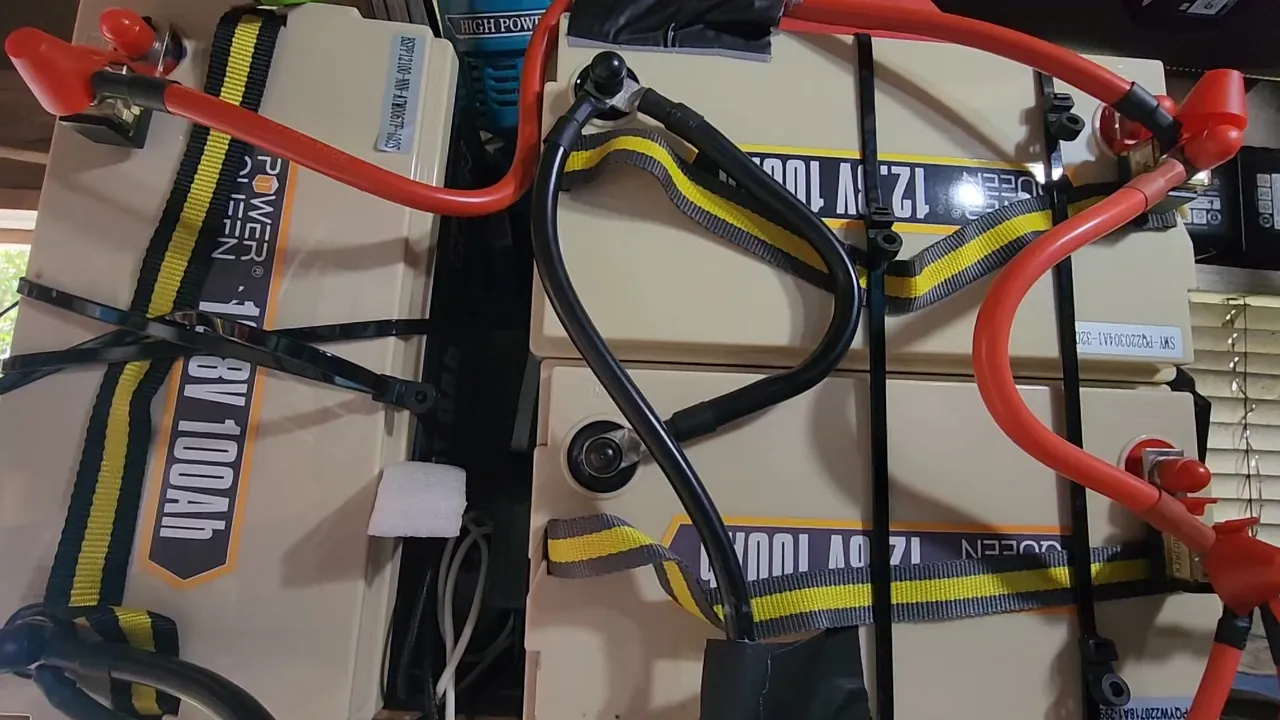
I am confident in this battery array and solar setup. If you need a reliable inverter, the Victron Energy Phoenix is the way to go. It is a massive improvement over my previous setup.
⚠️ CAUTION: SAFETY WARNING!
Always disconnect the DC battery leads before performing any maintenance or wiring changes on the inverter. High-amperage 12V systems can cause severe burns or fire if shorted.
Summary & Tips
I am finally done with overheating issues and random shutdowns. This Victron inverter handles my daily 900-watt loads without any trouble. It is worth every penny for the peace of mind. I should have made this switch a long time ago.
📋 FAQ
❓ Does the Victron inverter require a special tablet for remote management?
Depends on your preference, but I use a standard tablet to run the interface. You just need a device that supports the Victron app to manage the Bluetooth connection. It makes monitoring the system much easier.
❓ How hot does the shed get where you keep the inverter?
Usually, the temperature in my shed climbs to 140 or 150 degrees during the day. The Victron unit stays rock solid despite these extreme conditions.
❓ Can I use this inverter with a standard solar charge controller?
Yes, I have mine paired with a 7515 MPPT charge controller without any issues. They work together to keep my battery array charged and ready. It is a very stable combination for small solar setups.
❓ Is the eco mode on this inverter customizable?
Take a look at the settings, as I have mine configured to check for a load every 20 seconds. It is a great way to save power when I am not actively using the AC output. It automatically kicks in whenever it sees a demand.
Disclaimer: I purchased all tools for this guide with my own money to ensure an unbiased review. This post contains affiliate links, meaning I earn a small commission if you make a purchase at no extra cost to you.