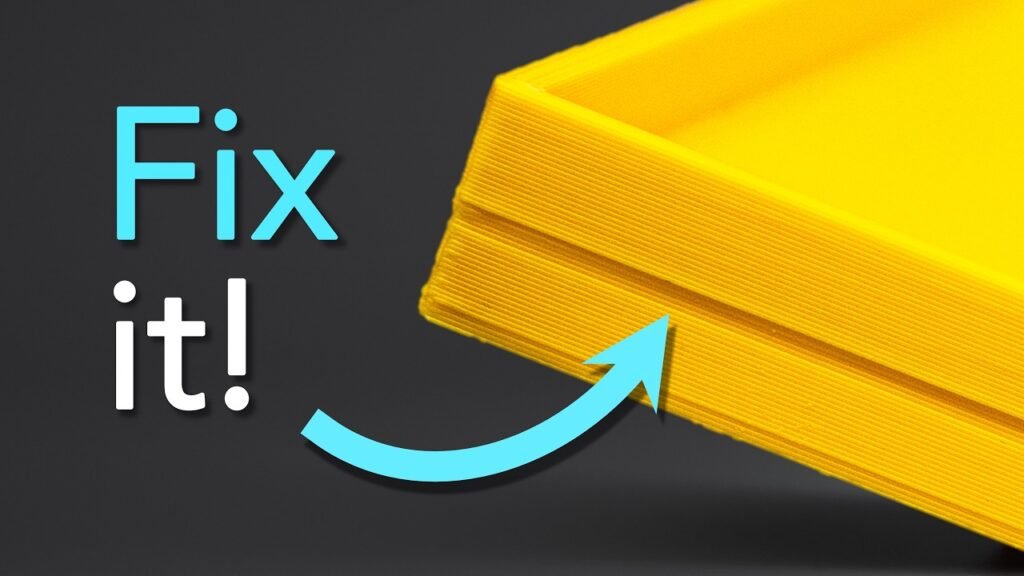
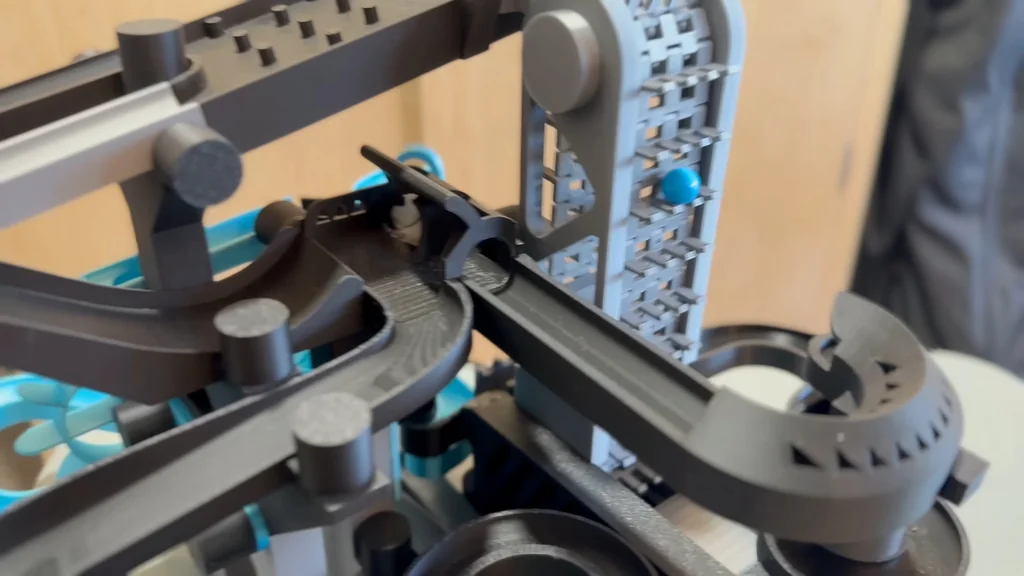
Stereolithography (SLA) is the industry standard for high-precision additive manufacturing. Unlike FDM printers that rely on melting plastic filament through a nozzle, SLA uses a controlled UV laser to solidify liquid photosensitive resin layer by layer. This process enables the creation of complex, high-detail parts for engineering, dental, and jewelry applications, offering a surface finish that is significantly smoother than traditional extrusion methods.
⚡ Quick Guide: How to Make It in 10 Steps
- Slice your CAD model into thin 2D horizontal layers.
- Fill the resin vat with photosensitive polymer.
- Calibrate the build platform and leveling blade.
- Trace the first layer pattern with a UV laser.
- Solidify the resin through chemical reaction.
- Level the liquid surface with the blade.
- Lower the build platform by one layer thickness.
- Repeat the cycle until the model is complete.
- Drain excess resin from the printed part.
- Clean in isopropyl alcohol and cure with UV light.
📋 In This Article
- Technical Specifications & Components
- Tools & Materials Used — what you will need for this project
- The Fundamentals of SLA Printing
- Slicing and Resin Preparation
- Laser Scanning and Solidification
- Surface Leveling and Blade Action
- Layer Bonding and Z-Axis Movement
- The Printing Cycle Repeat
- Post-Processing and Curing
- Exam Theory and Diagramming
- The Six-Step Workflow Summary
- Final Process Recap
- FAQ
📊 Technical Specifications & Components
| Layer thickness | 0.05 to 0.07 mm |
| Material type | Photosensitive polymer resin |
| Light source | UV laser |
| Mechanism | Z-axis motor drive |
| Surface preparation | Leveling blade |
| Post | processing: Isopropyl alcohol rinse |
| Curing method | UV light exposure |
📊 Project Overview & Costs
🔧 Difficulty Level: Medium
⏱️ Time Investment: DIY: 1-2 hours for setup | Pro: 30 minutes for calibration
💰 Professional Service Cost: $500 - $3,000 for hardware
💡 Verdict: SLA printing offers unmatched geometric accuracy for small, intricate parts.
🛠️ Tools & Materials Used
• Isopropyl alcohol
• UV curing chamber
• Slicing software
• Liquid photosensitive resin
• Leveling blade
Step-by-Step Assembly, Repair, Testing & Inspection
The Fundamentals of SLA Printing
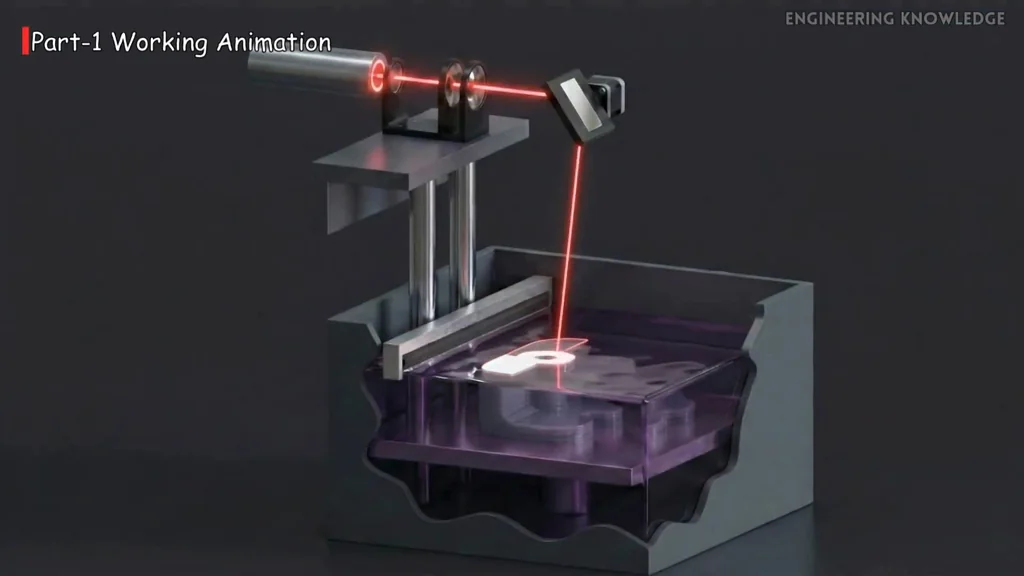
Stereolithography operates by using light to form solid objects from a liquid bath. There are no nozzles or filaments involved in this process. It's clean. The machine uses a transparent tank filled with liquid resin. A UV laser then traces patterns to build the object. It works without physical contact. The entire process is surprisingly precise.
Slicing and Resin Preparation
First, you load your CAD model into slicing software. The software divides the 3D object into thin horizontal layers. These layers act like slices of bread. Each slice tells the laser exactly where to move. The vat is filled with photosensitive polymer resin. This stuff reacts to UV light. It's a chemical change. The laser turns the liquid into solid plastic.

Laser Scanning and Solidification
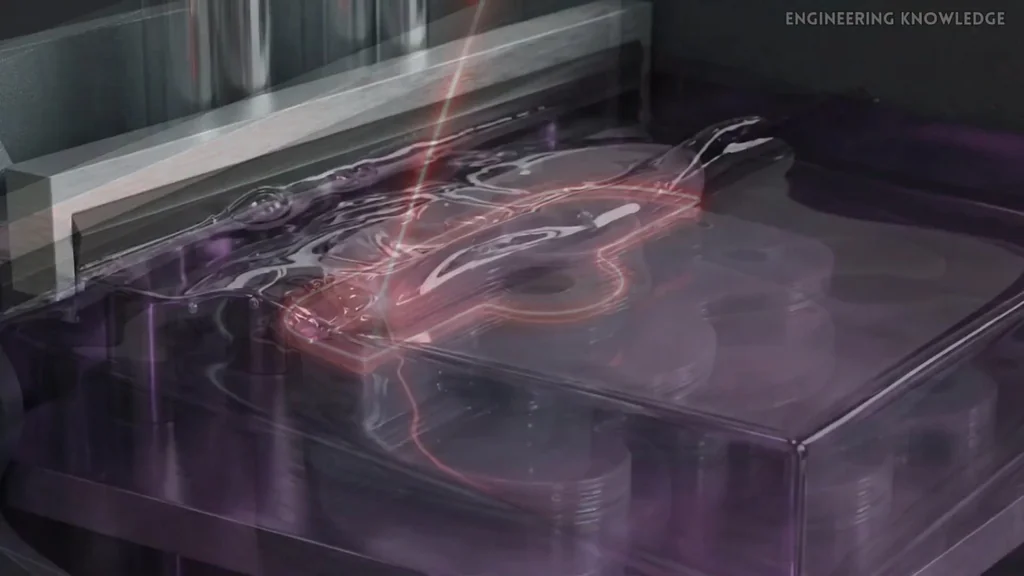
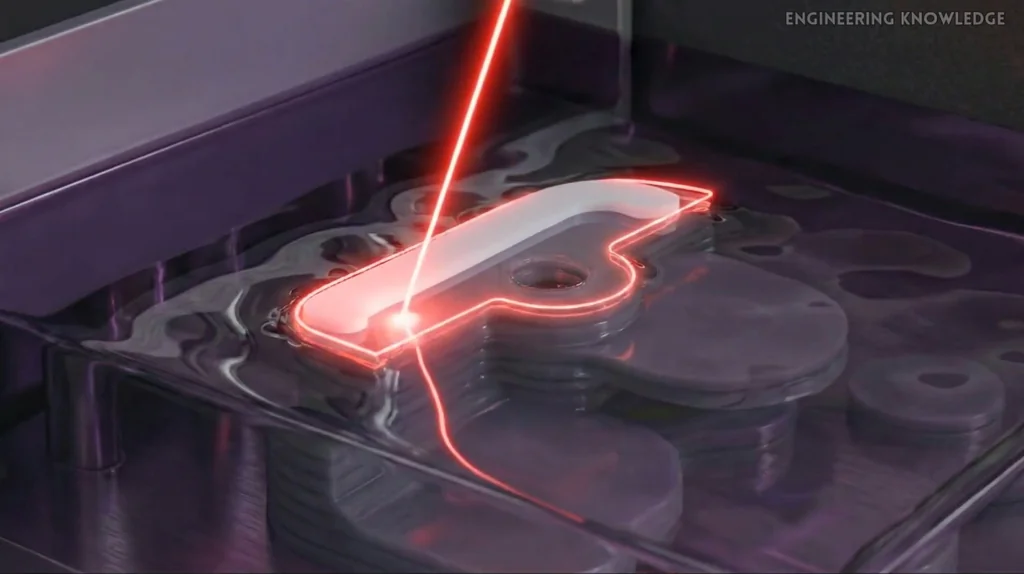
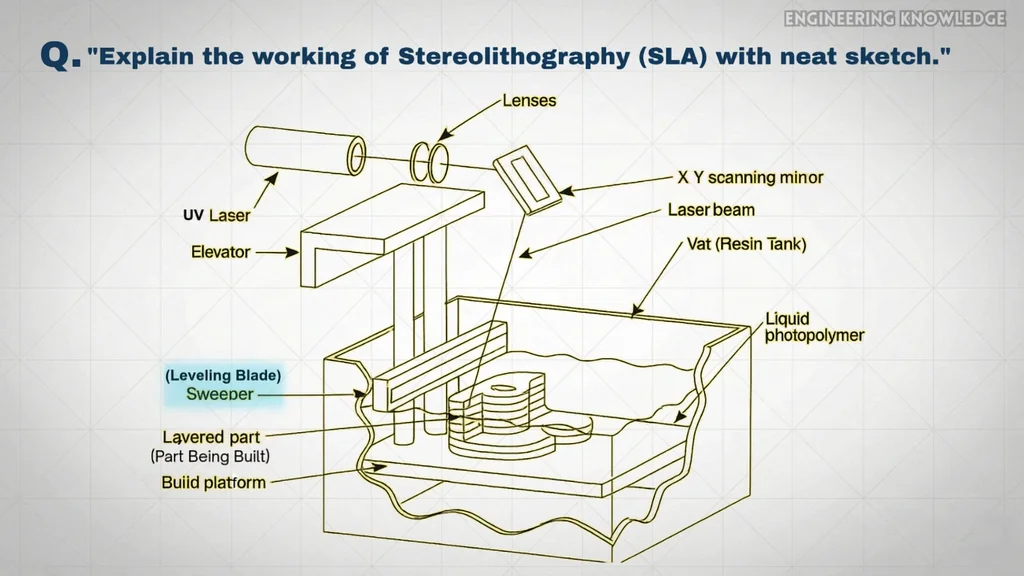
The UV laser source uses a system of mirrors and lenses to focus the beam. It traces the 2D pattern onto the surface of the resin. The laser receives commands from the software. It's precise work. Wherever the beam touches, a chemical reaction occurs. The resin becomes a solid polymer. The rest of the resin stays liquid. It's solid.
Surface Leveling and Blade Action
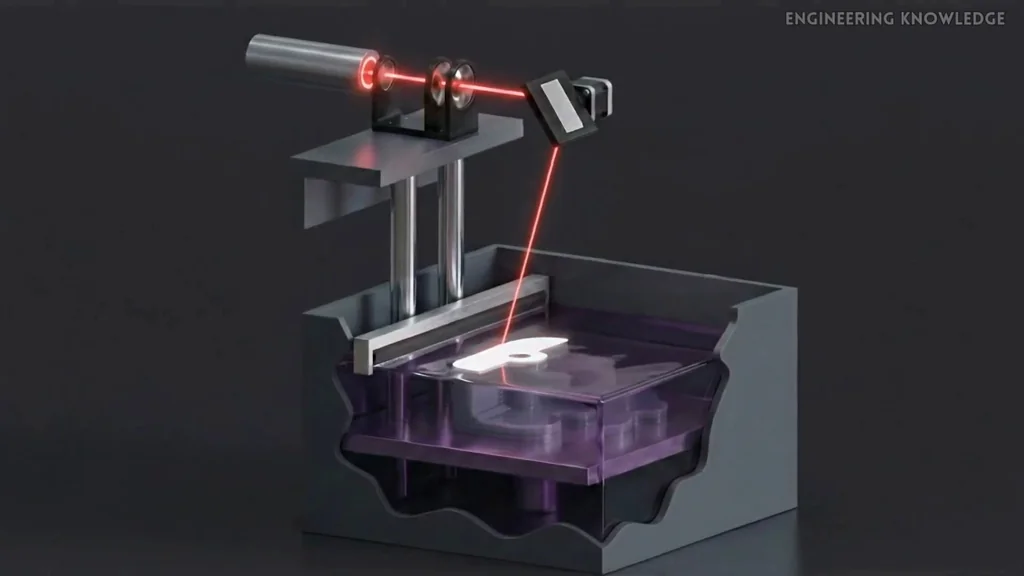
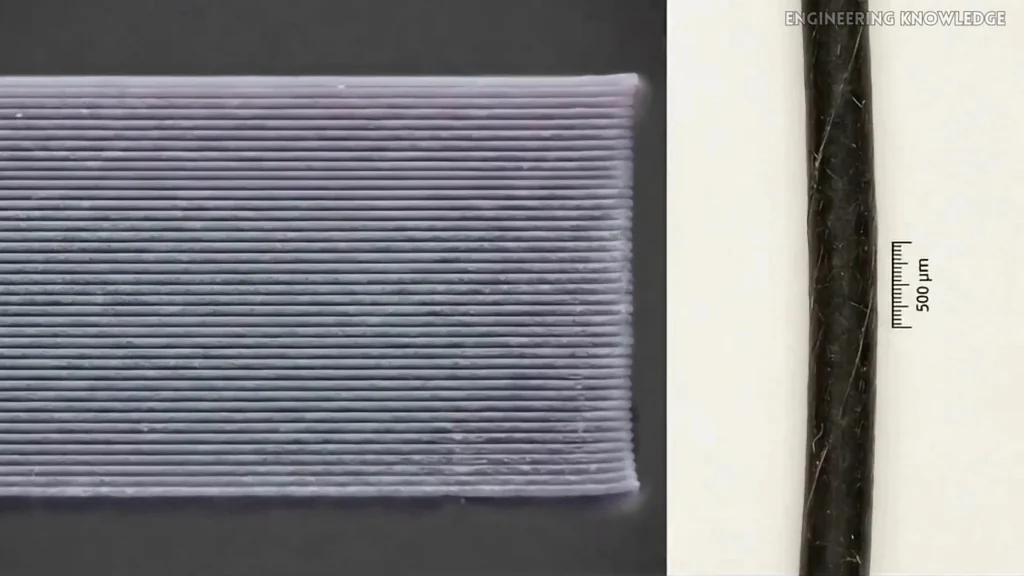
After a layer is formed, the surface might be slightly uneven. A leveling blade moves across the resin surface. It pushes the liquid resin like a wave. This leaves behind a perfectly flat, uniform layer. It's ready for the next step. The Z-axis motor then lowers the build platform. It moves by exactly one layer's thickness. This thickness is usually 0.05 to 0.07 mm. This is thinner than a human hair. The platform movement is critical.
Layer Bonding and Z-Axis Movement
The platform moves down to allow fresh resin to flow over the previous layer. This happens automatically. The liquid flows over the surface to create a new, thin layer. Then the UV laser starts again. It traces the next 2D cross-section. The new resin solidifies and bonds to the layer below. It's a strong bond. The part grows height with every cycle.
The Printing Cycle Repeat
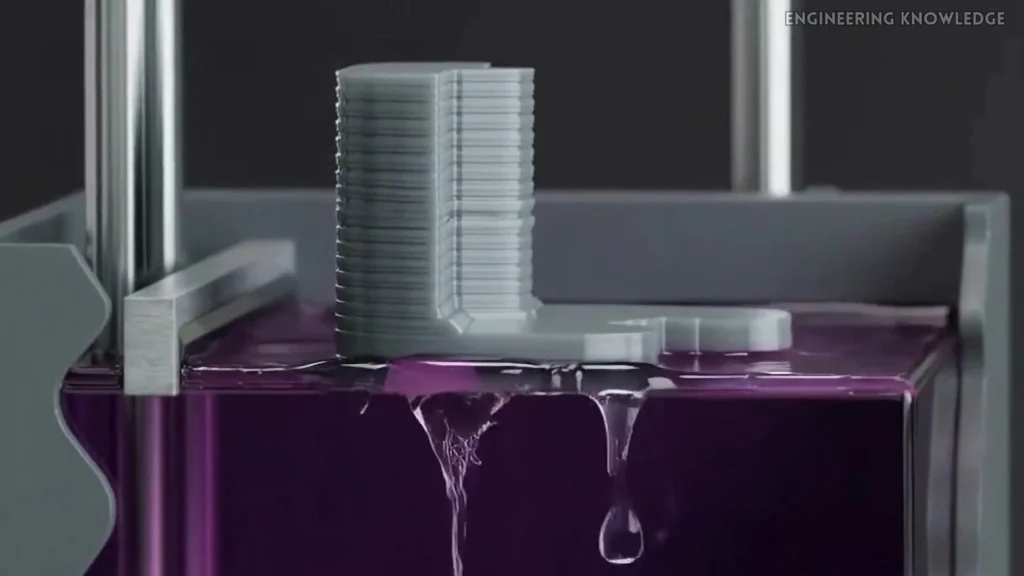
The cycle continues through hundreds or thousands of iterations. Follow, solidify, smooth, lower. Remember those four words. The model grows from the bottom up. Once the last layer is finished, the software stops the build. The Z-axis mechanism elevates the platform. The part emerges from the tank. It's finally done.
Post-Processing and Curing
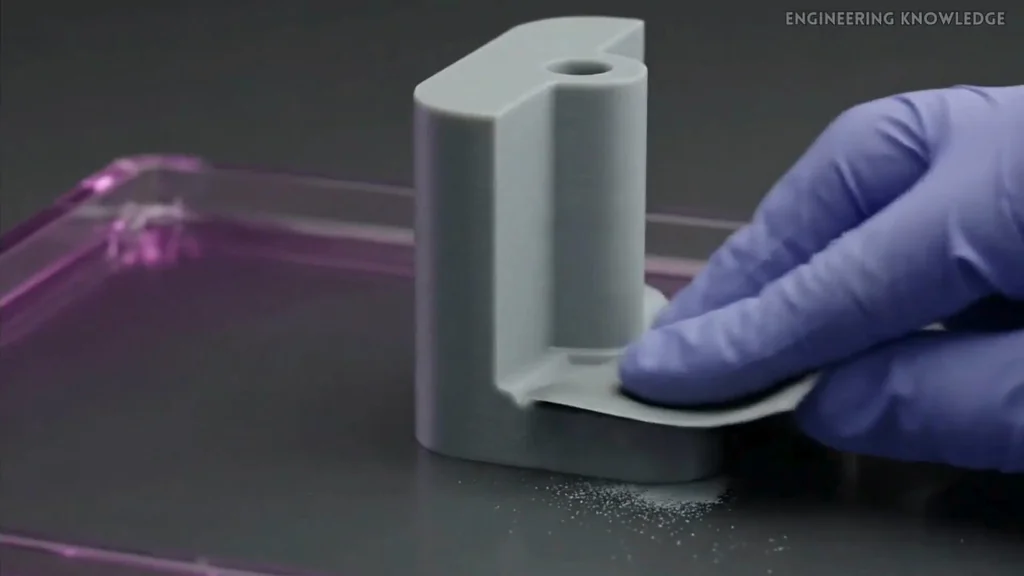
The part stays above the vat to let excess resin drip back into the tank. Some uncured resin might still stick to the surface. You must rinse the part in a cleaning solution. Isopropyl alcohol works well. After cleaning, the part goes into a UV curing chamber. Extra UV light finishes the polymerization. It makes the material stronger. Supports are removed after this.
Exam Theory and Diagramming
For engineering exams, you need to sketch the process clearly. Label the resin vat, liquid photopolymer, and build platform. Include the part being built and the UV laser. Don't forget the mirror or galvo and the leveling blade. It's a standard diagram. The written explanation should follow the six clear steps. Keep it simple.
The Six-Step Workflow Summary
First, CAD model and slicing. Second, resin vat and build platform setup. Third, laser scanning and solidification. Fourth, leveling blade action. Fifth, platform lowering for the next layer. Sixth, post-processing, including rinsing and UV curing. In the real world, SLA is used for accuracy. Dental models and jewelry patterns are common. It's high detail.
Final Process Recap
SLA uses liquid photosensitive resin. The UV laser traces the pattern. The resin solidifies. The blade smooths the surface. The platform lowers. The cycle repeats. It's a consistent process. That's how you get high-precision parts.
⚠️ CAUTION: SAFETY WARNING!
Resin is a chemical irritant; always wear gloves and eye protection when handling liquid photopolymer. Ensure the workspace has adequate ventilation to prevent inhalation of fumes.
Summary & Tips
Stereolithography remains the gold standard for high-detail additive manufacturing. Mastering the four-step cycle of follow, solidify, smooth, and lower is key to successful prints. Proper post-processing with isopropyl alcohol and UV curing is non-negotiable for structural integrity. This technology continues to drive innovation in dental, jewelry, and engineering fields.
📋 FAQ
❓ Why is SLA better than FDM for detail?
SLA uses a laser to cure resin, which allows for much finer resolution than a plastic-extruding nozzle. It's incredibly precise. FDM layers are often visible, while SLA parts look smooth.
❓ What is the purpose of the leveling blade?
The blade ensures the resin surface is perfectly flat before the next layer is cured. It pushes excess liquid away. This prevents uneven thickness in your final part.
❓ Do I really need a UV curing chamber?
Yeah, you do. The print comes out of the printer with some uncured resin on it. A chamber ensures the material is fully polymerized and stable.
❓ How thin are the layers?
Typically, they are between 0.05 and 0.07 mm. That's thinner than a human hair. It's very thin.
Disclaimer: I purchased all tools for this guide with my own money to ensure an unbiased review. This post contains affiliate links, meaning I earn a small commission if you make a purchase at no extra cost to you.