Solar panel fires often trace back to one single point: a poorly assembled MC4 connector. If you’re building a system, you need to get these connections right the first time. Improper crimping leads to high resistance, heat buildup, and eventually, a total system failure. This guide breaks down the correct assembly process to keep your solar array running cool and efficient.
⚡ Quick Guide: How to Make It in 12 Steps
- Verify MC4 connector set compatibility before starting.
- Strip solar cable insulation to expose clean copper.
- Insert the contact into the crimping tool jaw.
- Crimp the metal contact firmly onto the wire.
- Push the crimped contact into the connector housing until it clicks.
- Tighten the rear gland nut to seal the assembly.
📋 In This Article
- Technical Specifications & Components
- Tools & Materials Used — what you will need for this project
- Preparing Your MC4 Connector Kit
- Selecting the Right Solar Cable
- Cutting the Cable to Length
- Stripping the Insulation
- Identifying Connector Polarity
- Preparing the Second End
- Setting Up the Crimping Tool
- Executing the Crimp
- Verifying the Crimp Quality
- Inserting the Contact into the Housing
- Final Assembly and Sealing
- Securing the Gland Nut
- FAQ
📊 Technical Specifications & Components
| Connector Type | MC4 Standard |
| Insulation | Double Insulated Solar Cable |
| Contact Material | Tinned Copper |
| Connection Method | Mechanical Crimp |
📊 Project Overview & Costs
🔧 Difficulty Level: Easy
⏱️ Time Investment: DIY: 15 minutes | Pro: 5 minutes
💰 Professional Service Cost: $25 - $40
💡 Verdict: DIY assembly saves on professional labor costs and prevents expensive equipment damage.
🛠️ Tools & Materials Used
• MC4 Crimping Tool
• Solar Cable (Double Insulated)
• MC4 Connector Set
Step-by-Step Assembly, Repair, Testing & Inspection
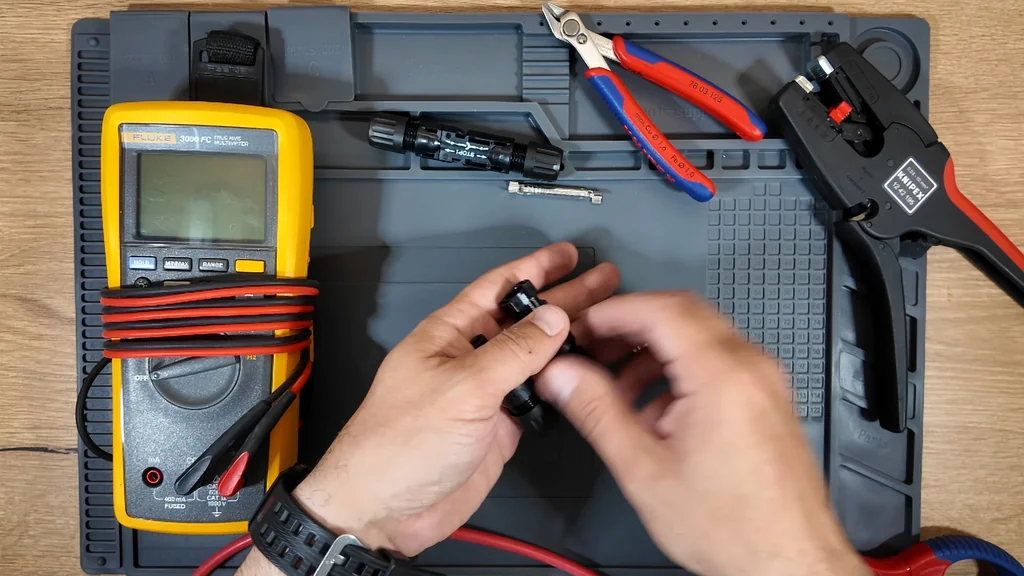
Preparing Your MC4 Connector Kit
Laying out the parts on a clean work mat is the first step to a reliable install. "This is the set. Good." You need to be methodical here, as the quality of these components determines the longevity of your solar array. Every connection point is a potential failure site if you rush the assembly.
Selecting the Right Solar Cable
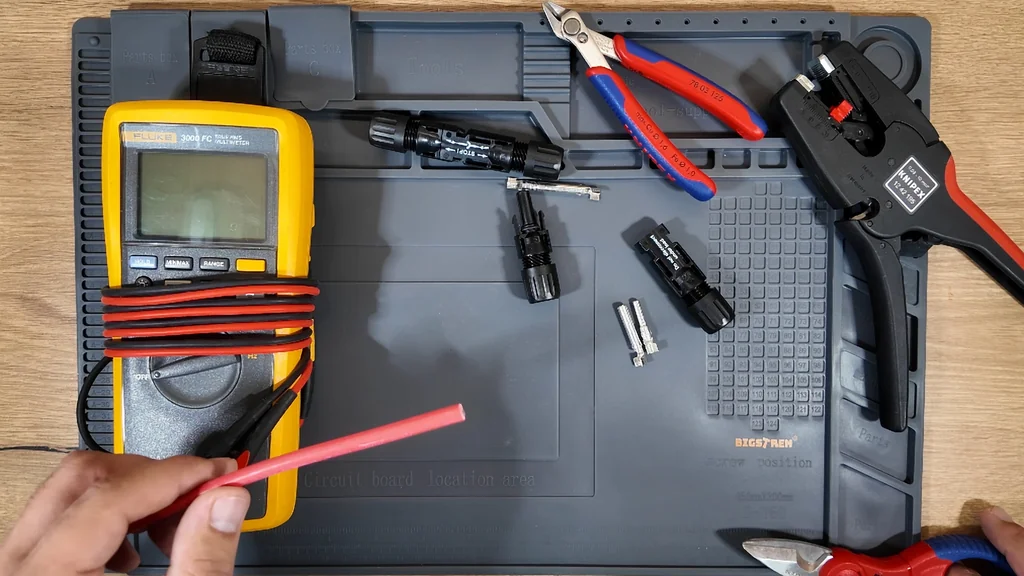
The choice of wire matters just as much as the connector itself. You are looking for a specific type of cable — "is a copper wire. This is double insulated." The double insulation is non-negotiable for outdoor solar applications to prevent UV degradation and moisture ingress.
Cutting the Cable to Length
Precision starts with the initial cut. "So take a look. You need to cut the wires at this level." Keeping the cut clean ensures that the strands don't fray, which would make inserting them into the contact much harder later on.
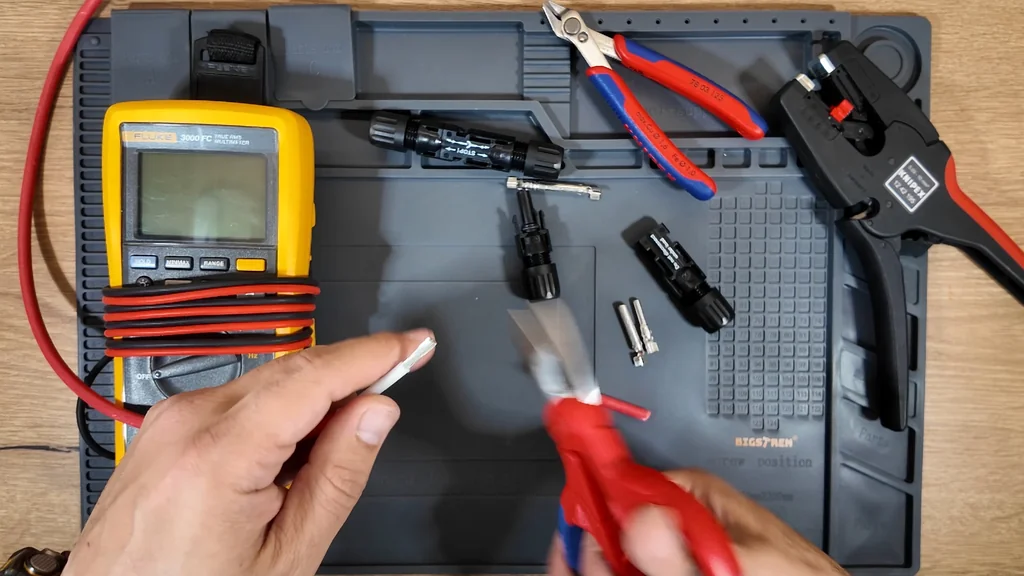
Stripping the Insulation
Removing the insulation requires a steady hand to avoid nicking the copper strands. "You need an MC4 crimping tool." Once the wire is exposed, check for any stray strands that might interfere with the crimp. Proper stripping length is vital for a secure mechanical bond.
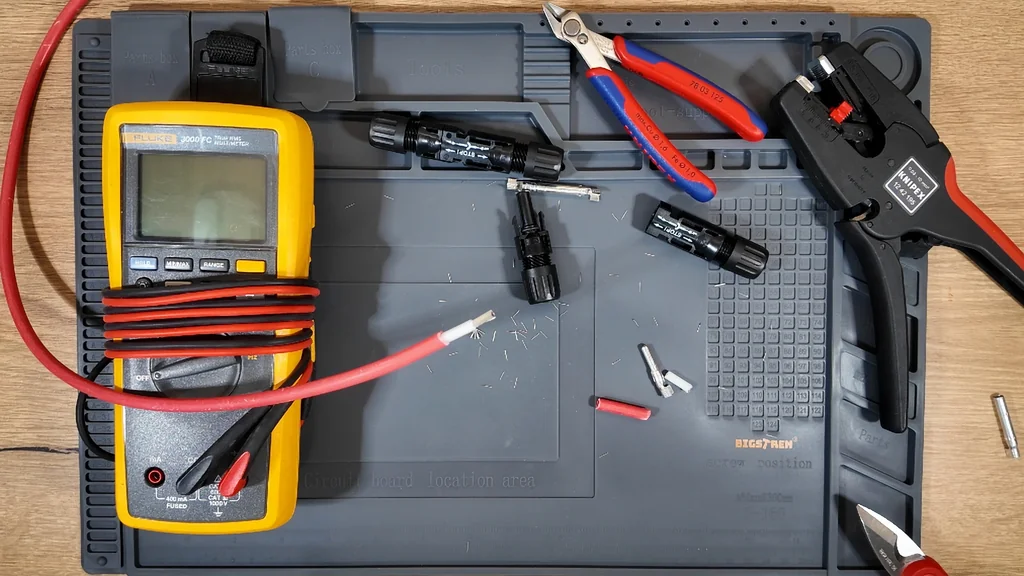
Identifying Connector Polarity
The internal components are specific to their gender. "Look. And what you must to know the small one is for female." Pushing the contact into the housing requires a distinct mechanical feedback: "you push inside and you must to hear a" click.
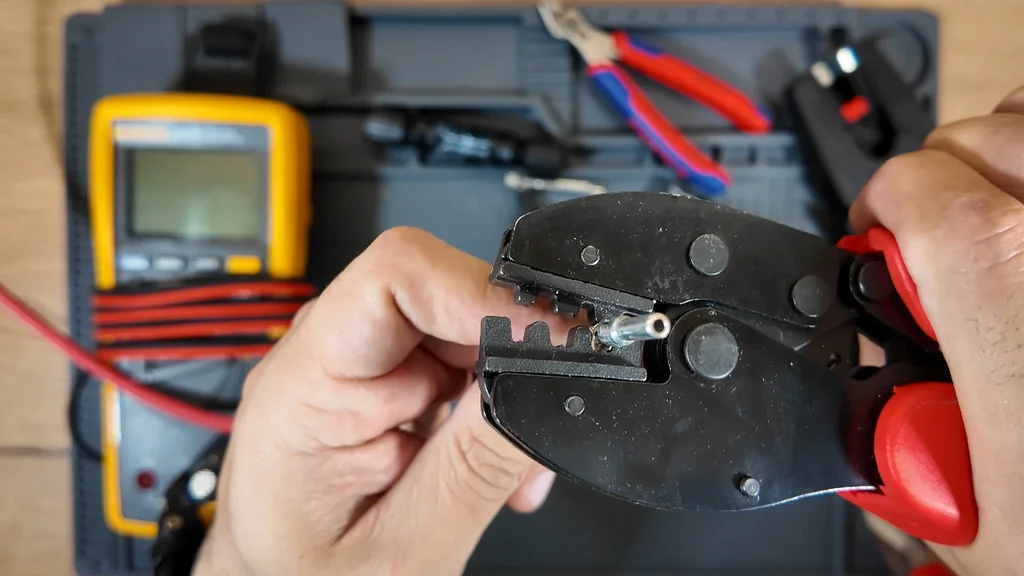
Preparing the Second End
Consistency is key when you are wiring up a full string of panels. "But let's make another uh another end." Repeat the same stripping process to ensure the second connection is just as secure as the first.
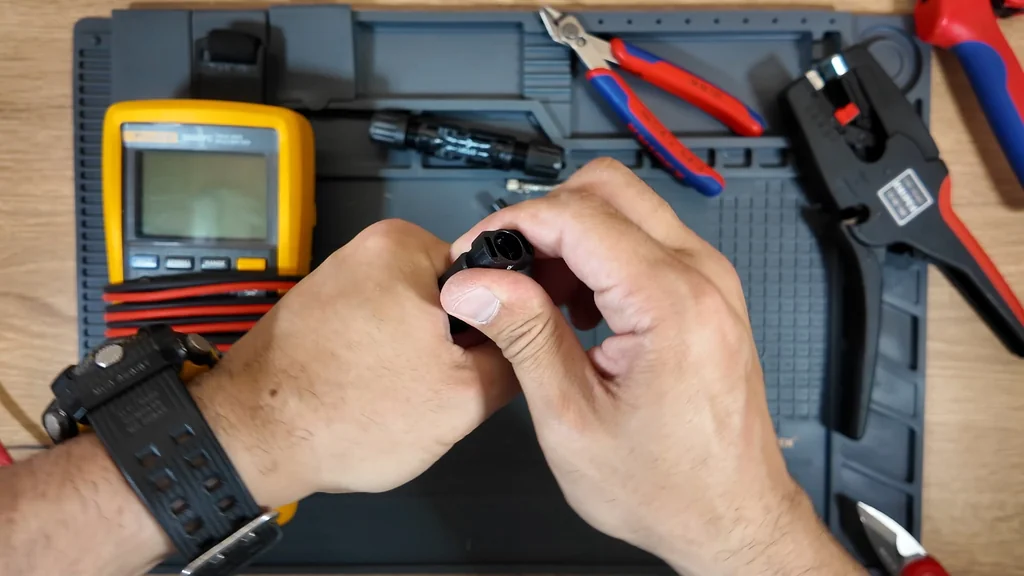
Setting Up the Crimping Tool
Your crimper needs to be set to the correct gauge for the contact. "I will cut from here." Adjusting the tool ensures the pressure is distributed evenly across the metal barrel of the contact.
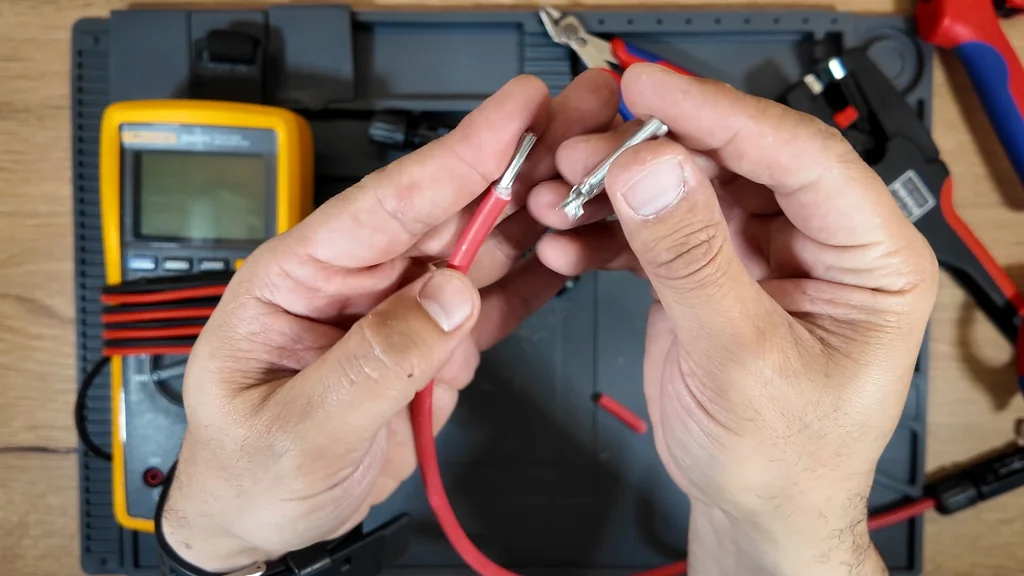
Executing the Crimp
Apply firm, consistent pressure to the tool handles. "I will cut from here." You want to see the metal deform around the wire strands without crushing the contact housing itself.
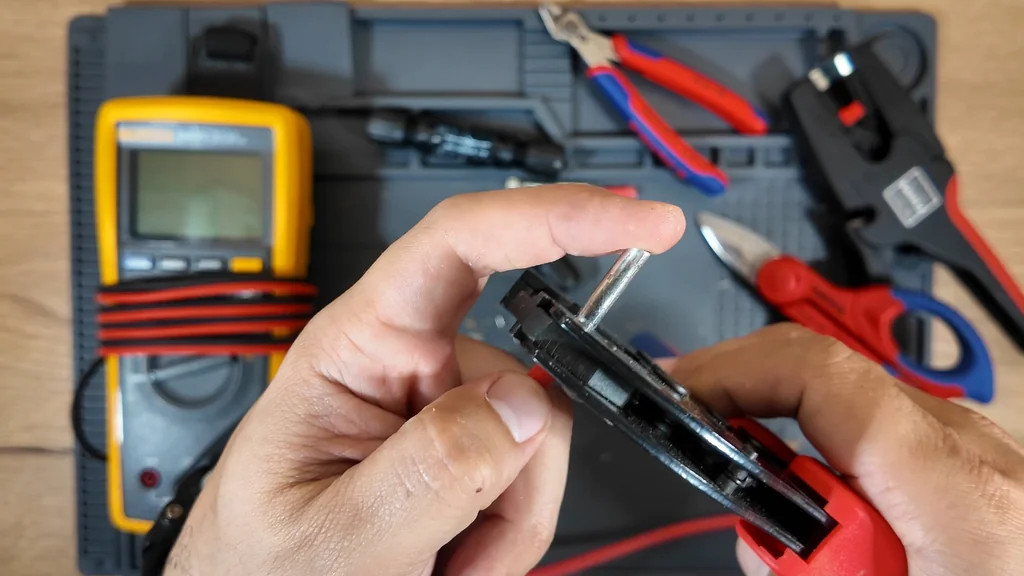
Verifying the Crimp Quality
Inspect the connection before moving to the final assembly. "So, this is the correct way to make an MC4 connector." A good crimp should be tight and show no movement when you tug on the wire.
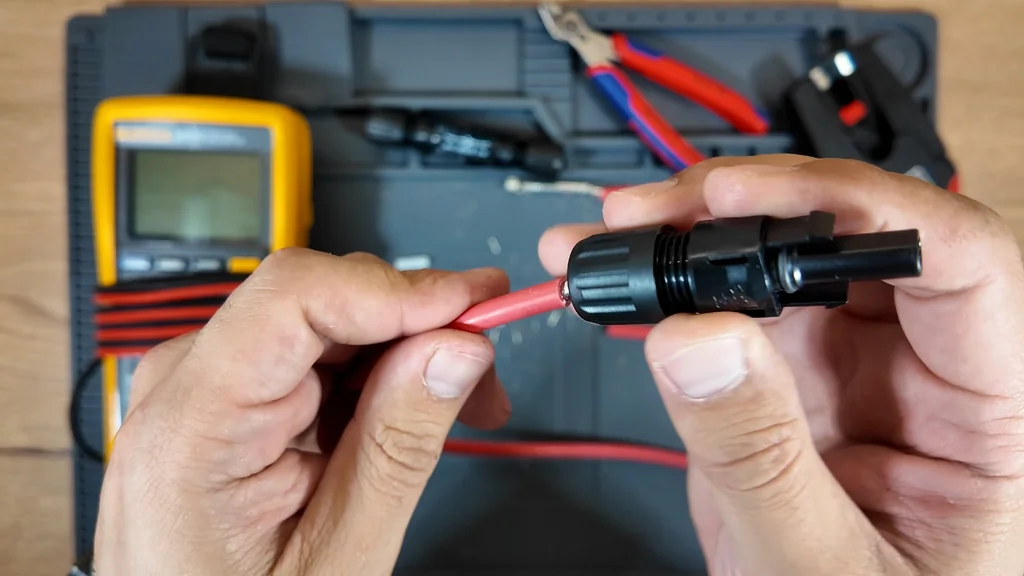
Inserting the Contact into the Housing
Slide the crimped wire into the connector body. "and you take out. And now look the quality of this." The internal locking tab should engage firmly, preventing the wire from pulling back out.
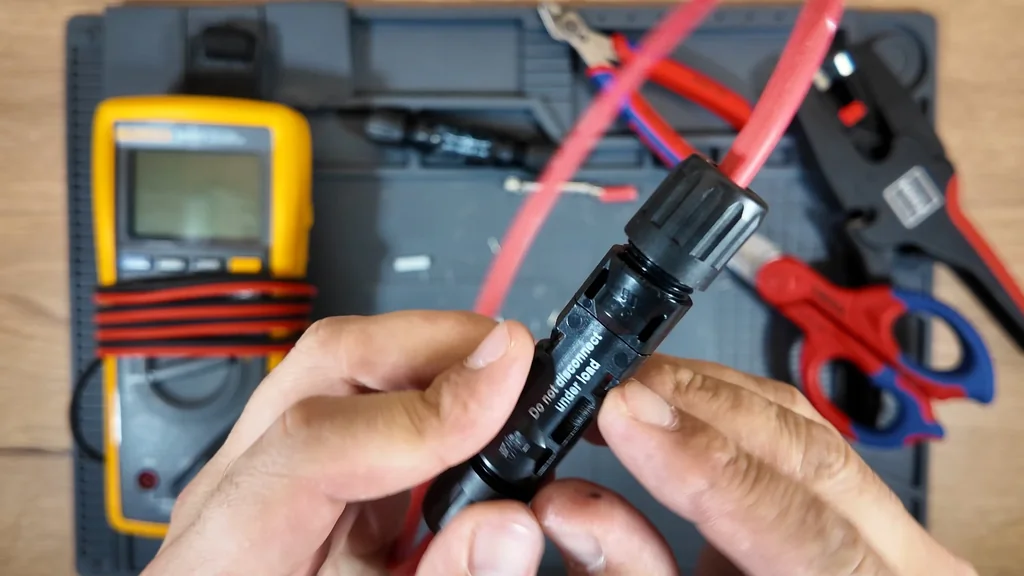
Final Assembly and Sealing
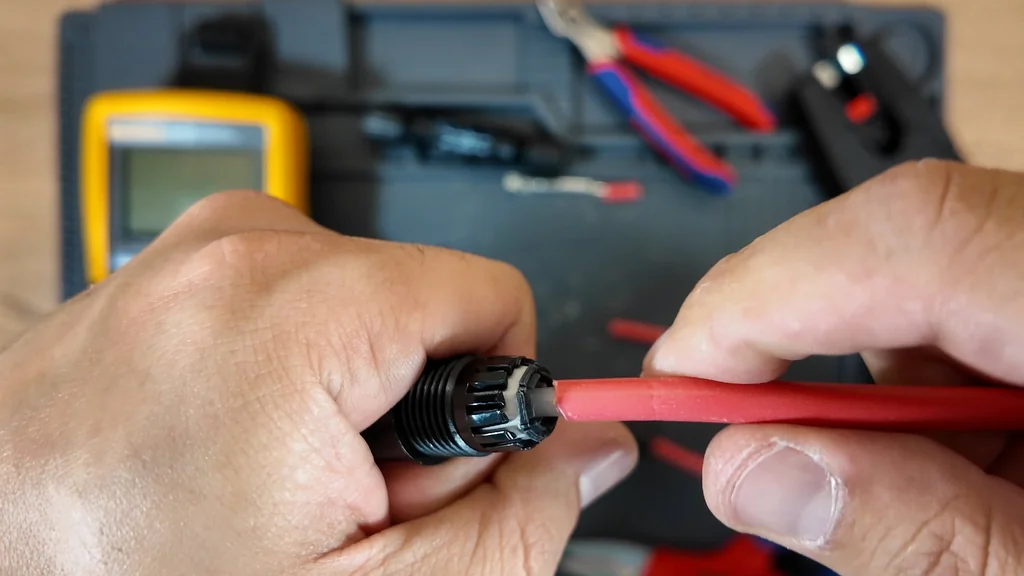
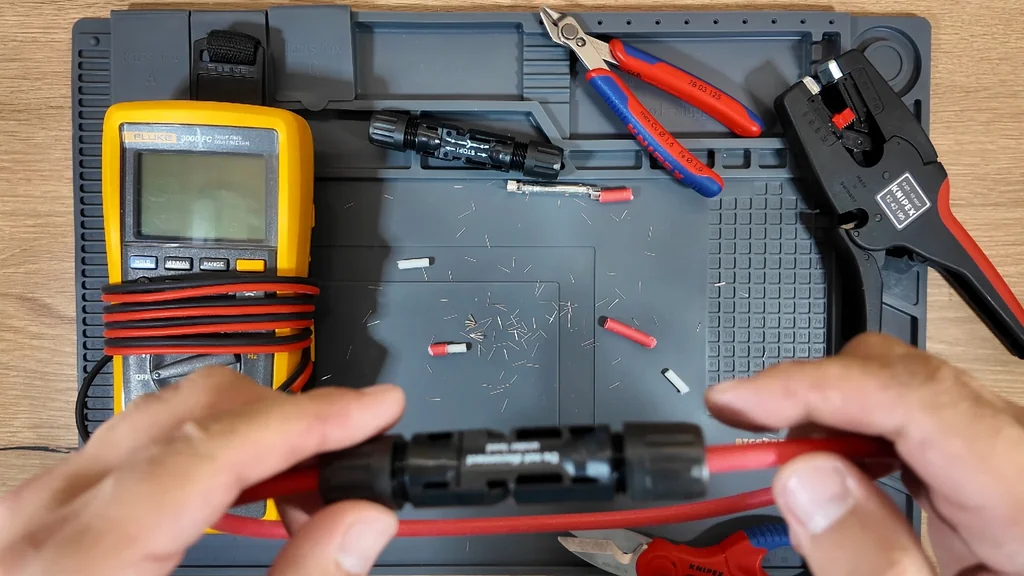
The final step involves tightening the gland nut to compress the internal seal. "You see it's double isolated." Even though "the red isolation is moved because it's a short uh it's a short length," the seal remains effective against the elements.
Securing the Gland Nut
Tighten the nut until you feel resistance. "Ah, you see it's impossible. This is the correct way to make it." If you can't pull the wire out, you've achieved a proper, weather-resistant connection.
⚠️ CAUTION: SAFETY WARNING!
Always disconnect solar panels from the charge controller before working on the wiring to avoid arcing. High DC voltage can be lethal.
Summary & Tips
Properly crimped MC4 connectors are the backbone of a safe solar installation. Take your time during the stripping and crimping phases to ensure a solid mechanical bond. A loose connection will eventually cause heat buildup and system failure. Follow these steps to keep your array safe and efficient.
📋 FAQ
❓ Can I use pliers to crimp MC4 connectors?
Avoid using standard pliers for this task. They don't provide the uniform pressure required for a reliable connection. A dedicated crimping tool is necessary to prevent high-resistance joints.
❓ How do I know if the crimp is secure?
Give the wire a firm tug after assembly. It should not move or pull out of the housing. If it slides, the crimp is insufficient and needs to be redone.
❓ Is it possible to reuse an MC4 connector?
Usually, these connectors are designed for one-time assembly. Once the locking tabs are engaged, they are difficult to remove without damage. Buy new connectors for any new wiring project.
❓ Why does the connector need to be double insulated?
Solar cables are exposed to harsh outdoor conditions. Double insulation protects the copper from UV rays and moisture. This prevents short circuits over the long term.
Disclaimer: I purchased all tools for this guide with my own money to ensure an unbiased review. This post contains affiliate links, meaning I earn a small commission if you make a purchase at no extra cost to you.