The Anker SOLIX F3800 Plus is a heavy-duty power station designed to handle serious backup loads. With 3840Wh of capacity and a 6000W output, this unit isn’t just for camping; it’s built for home integration. Getting it wired into your panel is a straightforward process if you know how to handle the connections. Here is the breakdown of how these systems go together.
⚡ Quick Guide: How to Make It in 15 Steps
📋 In This Article
- Technical Specifications & Components
- Tools & Materials Used — what you will need for this project
- Inspecting the F3800 Plus Chassis
- Verifying Unit Integrity
- Accessing the Home Power Panel
- Checking Internal Panel Wiring
- Inspecting Terminal Blocks
- Securing the Power Terminals
- Finalizing Panel Configuration
- Testing Terminal Voltage
- Connecting the F3800 Plus
- Verifying Input Port Status
- Testing AC Outlet Output
- Stacking Additional Power Units
- Checking Wheels and Ventilation
- Reviewing C300 Units
- Final System Check
- FAQ
📊 Technical Specifications & Components
| Model | Anker SOLIX F3800 Plus |
| Capacity | 3840Wh |
| AC Output | 6000W |
| Battery Chemistry | LiFePO4 |
| Input Ports | AC, Solar, Car |
| Output Ports | AC Outlets, USB, 12V DC |
📊 Project Overview & Costs
🔧 Difficulty Level: Medium
⏱️ Time Investment: DIY: 2-4 hours | Pro: 1-2 hours
💰 Professional Service Cost: $200-$500
💡 Verdict: DIY installation saves you a decent chunk of change on electrician labor costs.
Step-by-Step Assembly, Repair, Testing & Inspection
Inspecting the F3800 Plus Chassis
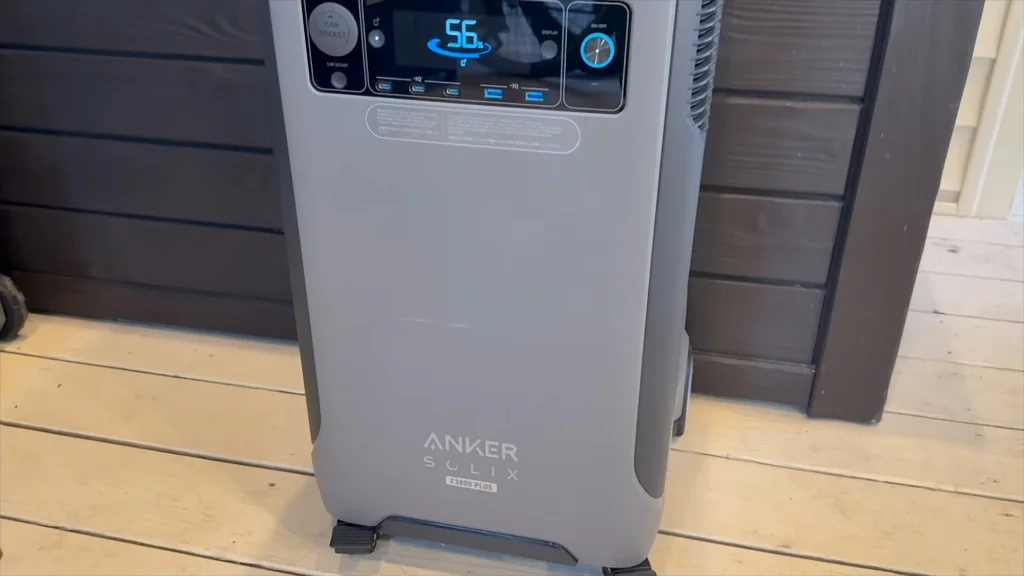
First thing — check the casing. The F3800 Plus is a beast, weighing in at a significant amount. You want to make sure the plastic isn't cracked from shipping. It's solid. Inspect the vents for any debris that might block airflow during high-load operations.
Verifying Unit Integrity
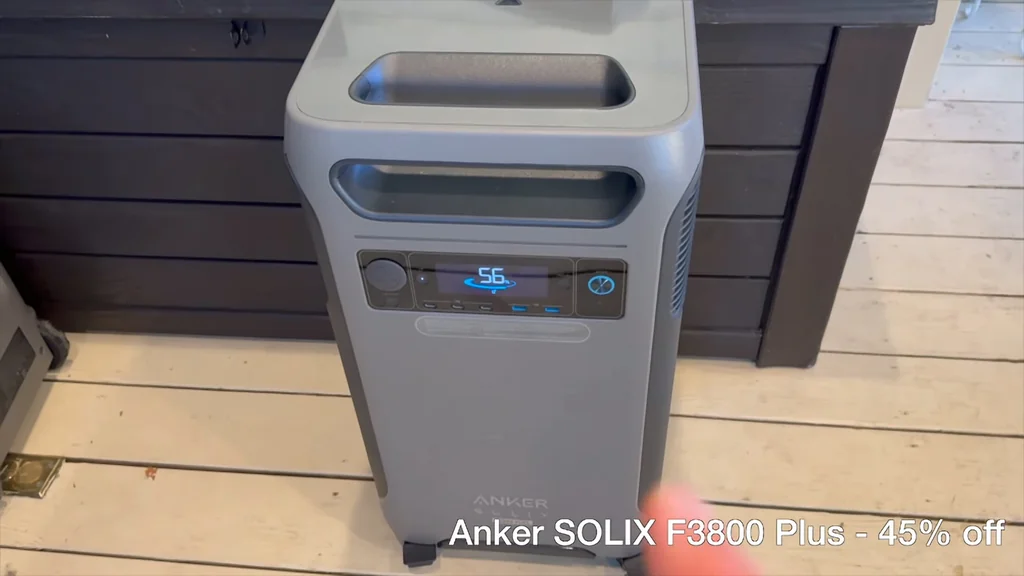
Take a look at the handle and wheel assembly. These units take a beating on job sites. Everything needs to be tight. If the handle feels loose, tighten the fasteners immediately. It's critical for safety.
Accessing the Home Power Panel
Open up the home power panel cover. You're looking for the main feed and the transfer switch connections. Don't touch the bus bars unless you've verified the main breaker is off. It's dangerous. Always use a multimeter to confirm zero voltage.
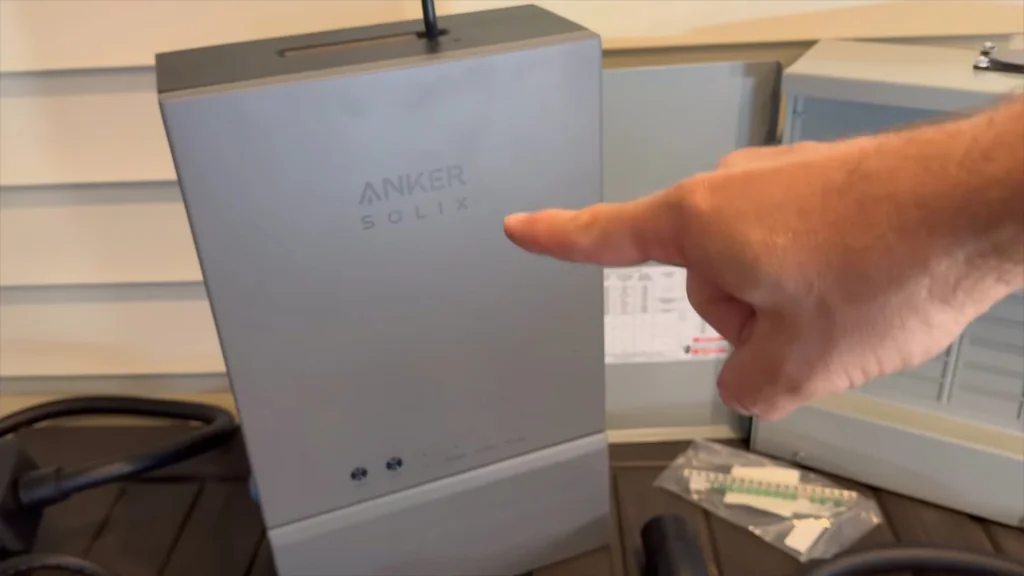
Checking Internal Panel Wiring
Look at the wire gauges inside the panel. They need to match the load requirements of the F3800. If the insulation is brittle or burned, replace it. It's junk if it's frayed. Ensure all terminal screws are torqued to spec so you don't get hot spots later.
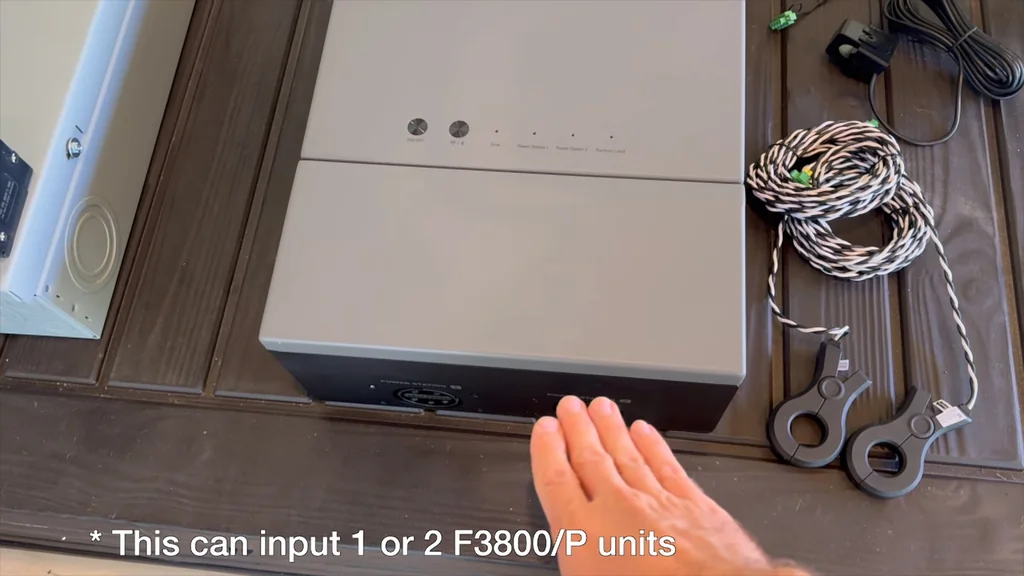
Inspecting Terminal Blocks
The terminal blocks are where the magic happens. Check for oxidation or loose crimps. A bad connection here will melt the plastic housing under load. It's a fire hazard. Clean them with contact cleaner if they look dull.
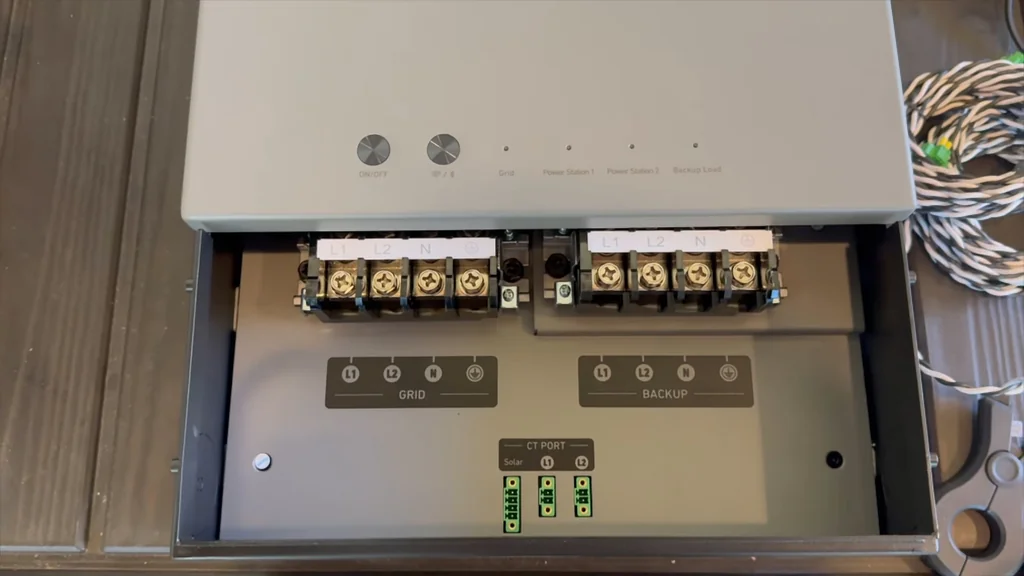
Securing the Power Terminals
Tighten every screw on the terminal strip. Use a proper torque driver. You don't want to strip the threads on these soft aluminum blocks. It's a pain in the ass. Double-check the wire seating.
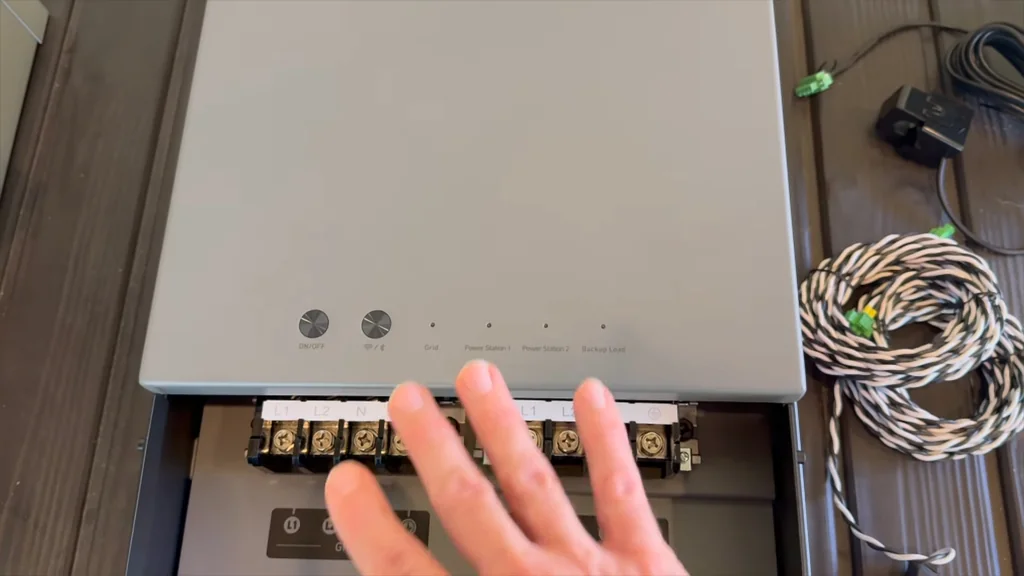
Finalizing Panel Configuration
Close the panel cover once you're satisfied with the connections. Make sure no wires are pinched. It's ready. Label the circuits clearly so you know exactly what's running on the backup power.
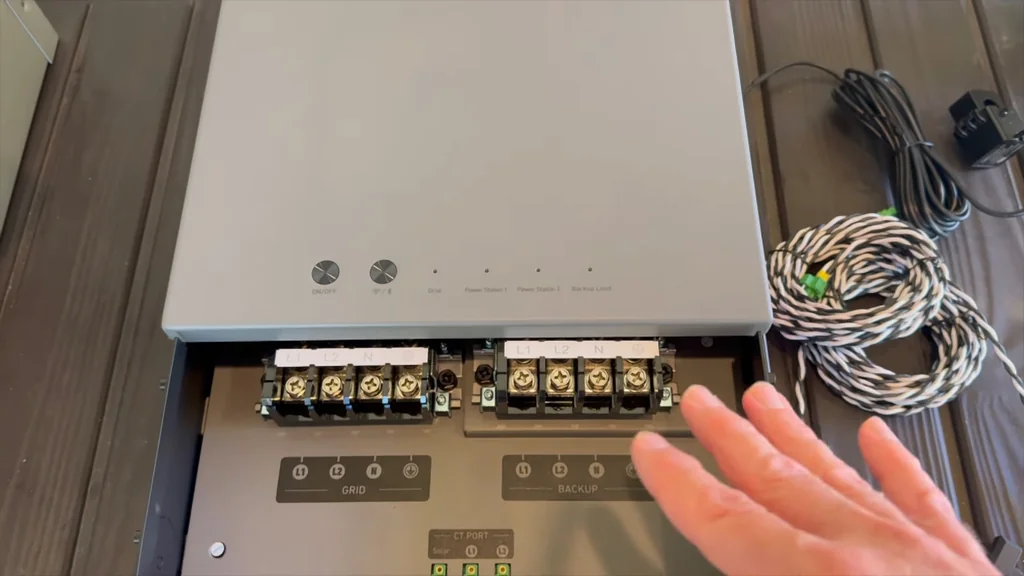
Testing Terminal Voltage
Probe the terminals with your multimeter. You should see a steady reading. If it's jumping around, you've got a loose connection somewhere. It's bad. Fix it before turning on the load.
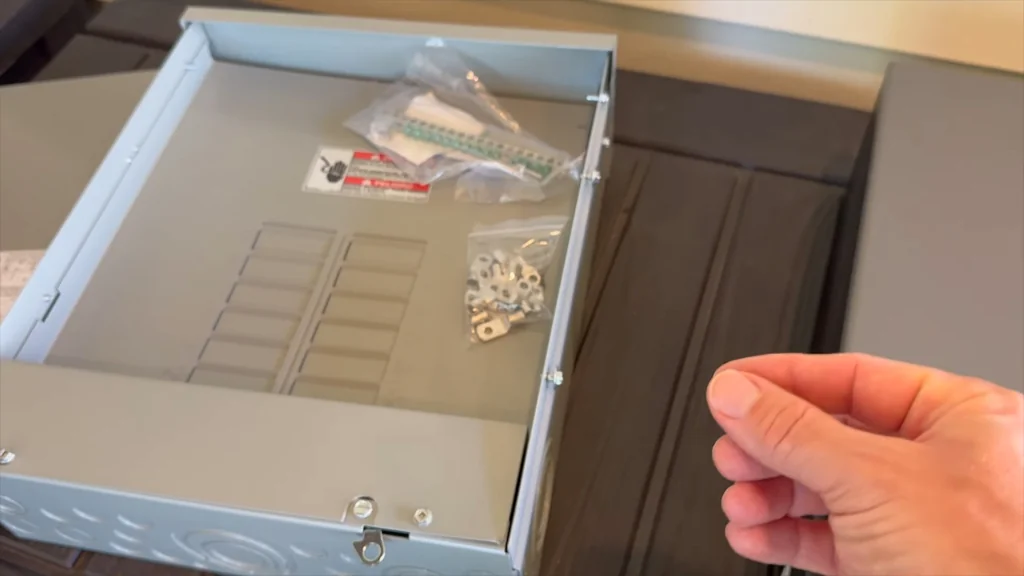
Connecting the F3800 Plus
Plug the F3800 into the transfer switch inlet. The cable should seat firmly with a mechanical click. Don't force it. If it doesn't fit, check for debris in the port.
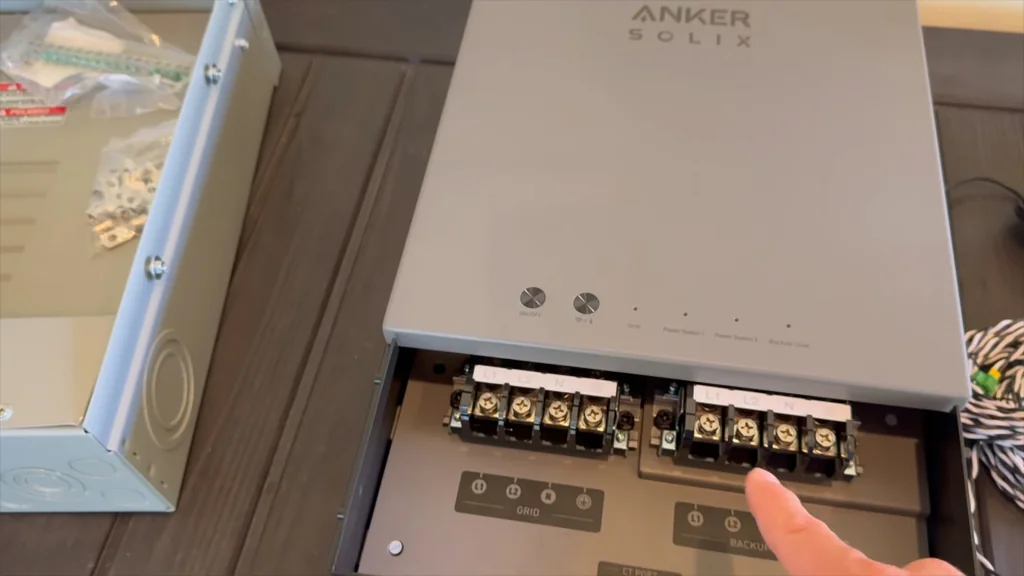
Verifying Input Port Status
Check the input ports on the front of the station. The display should show the incoming power status immediately. It's instant. If the screen stays dark, check your main breaker.
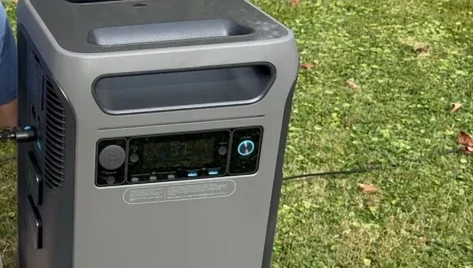
Testing AC Outlet Output
Plug a test load into the AC outlets. A simple lamp works fine. It lights up. If it flickers, you've got an inverter issue or a loose internal connection.
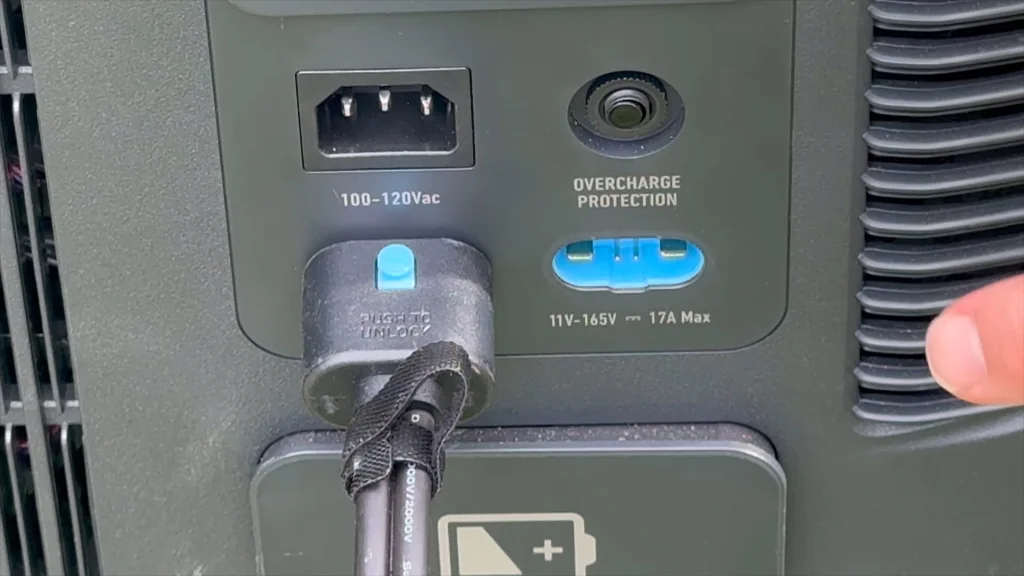
Stacking Additional Power Units
Align the stacking tabs carefully. These units are heavy, so watch your fingers. It's solid. Once they're locked in, the connection is secure for long-term storage or high-capacity use.
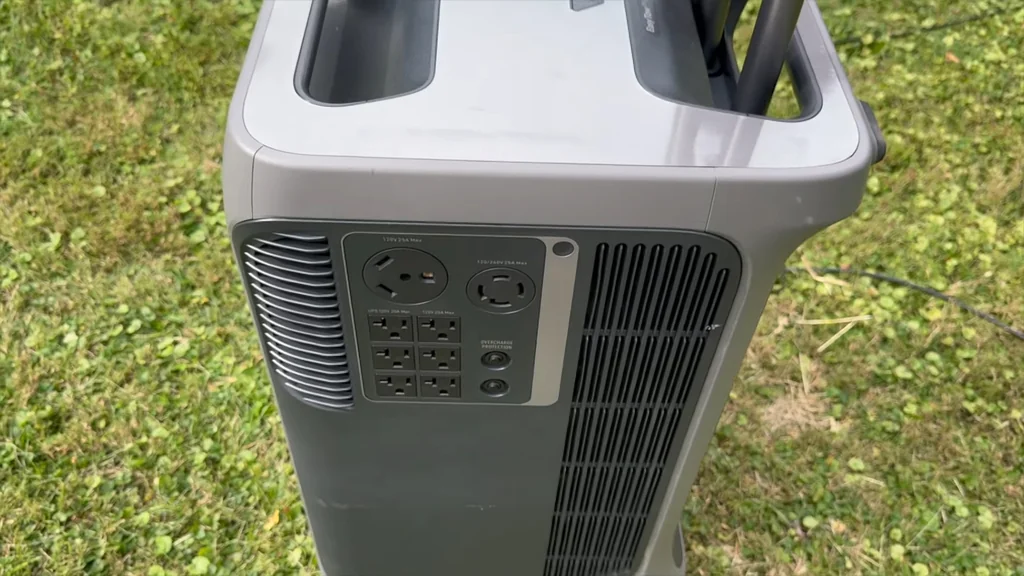
Checking Wheels and Ventilation
Roll the unit around to test the wheels. They should spin freely without grinding. Check the vents again. Airflow is everything for these batteries. It's vital.
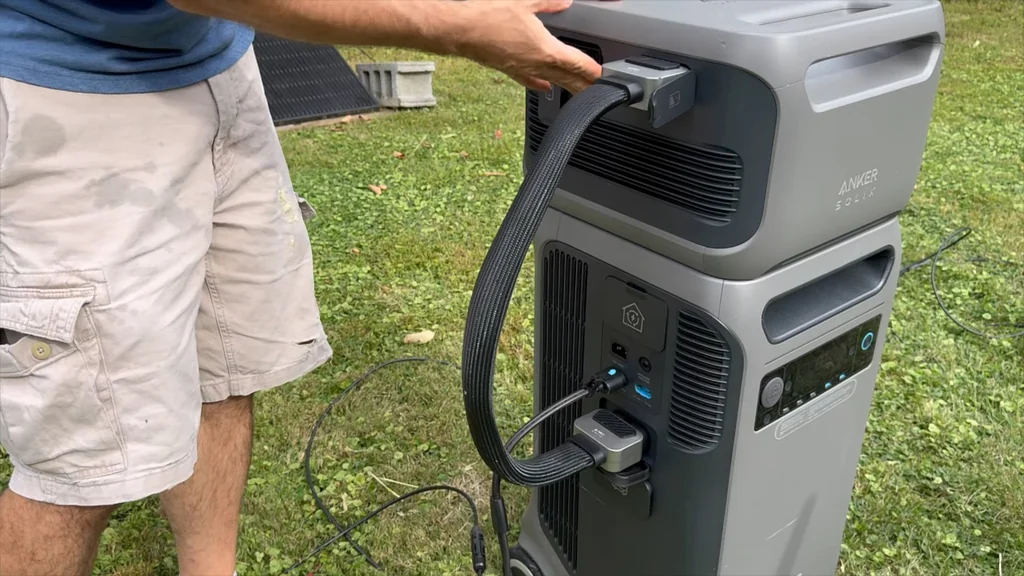
Reviewing C300 Units
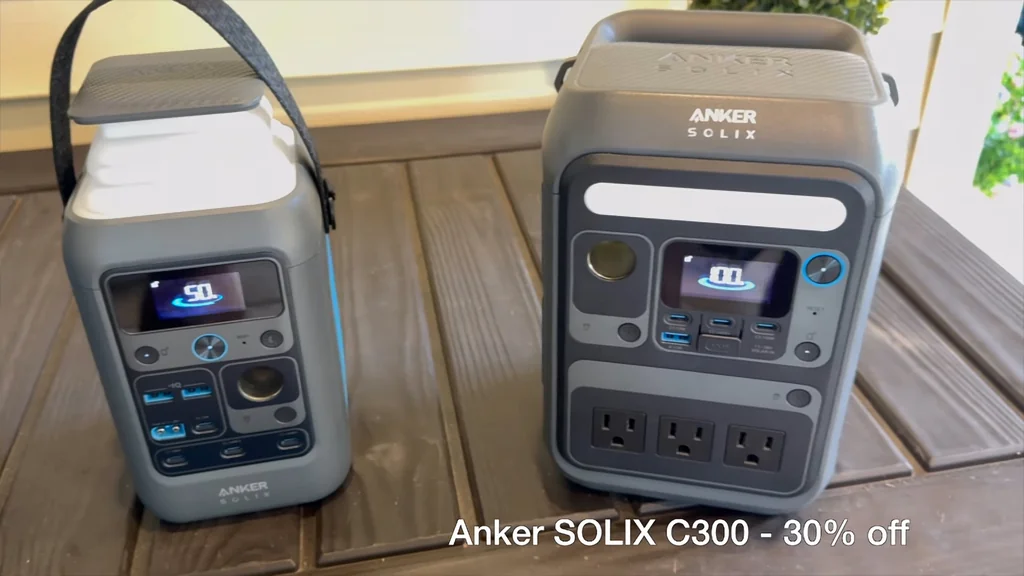
The smaller C300 units are great for portable gear. They're light. Keep them charged and ready for quick power needs. They don't have the capacity of the F3800, but they're handy.
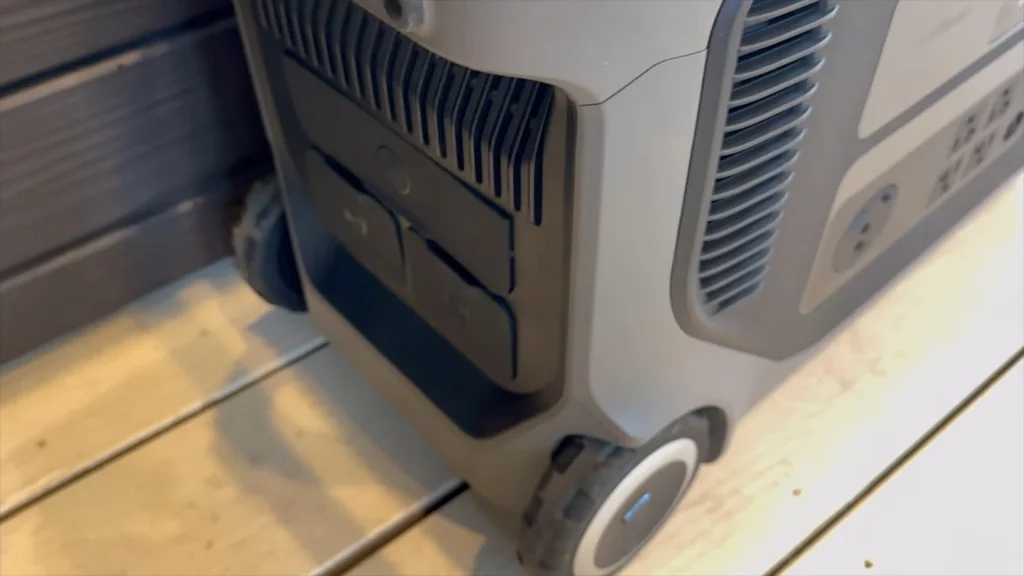
Final System Check
Everything looks good. The system is stable and ready for a power outage. It's done. Time to close up the shop and call it a day.
⚠️ CAUTION: SAFETY WARNING!
Always disconnect the main power feed before working inside your home panel. High voltage can kill you in a heartbeat.
Summary & Tips
The Anker SOLIX F3800 Plus is a capable piece of hardware for home backup. Installation is straightforward if you respect the electrical standards. Keep your connections tight and your vents clear. It works like a charm.
📋 FAQ
❓ Can I install this myself?
Yeah, if you're comfortable working in a breaker panel. Just make sure the main is off. It's not rocket science, but it is dangerous.
❓ How long does the F3800 last?
Depends on your load. It's 3840Wh, so do the math. Usually, it'll run essentials for a good while.
❓ Is the stacking feature secure?
Honestly, it's pretty solid. The tabs lock in well. Just don't bump into it once it's stacked high.
❓ What if the unit won't charge?
Check your cable first. Nine times out of ten, it's a bad cord. If that's not it, check the breaker.
Disclaimer: I purchased all tools for this guide with my own money to ensure an unbiased review. This post contains affiliate links, meaning I earn a small commission if you make a purchase at no extra cost to you.