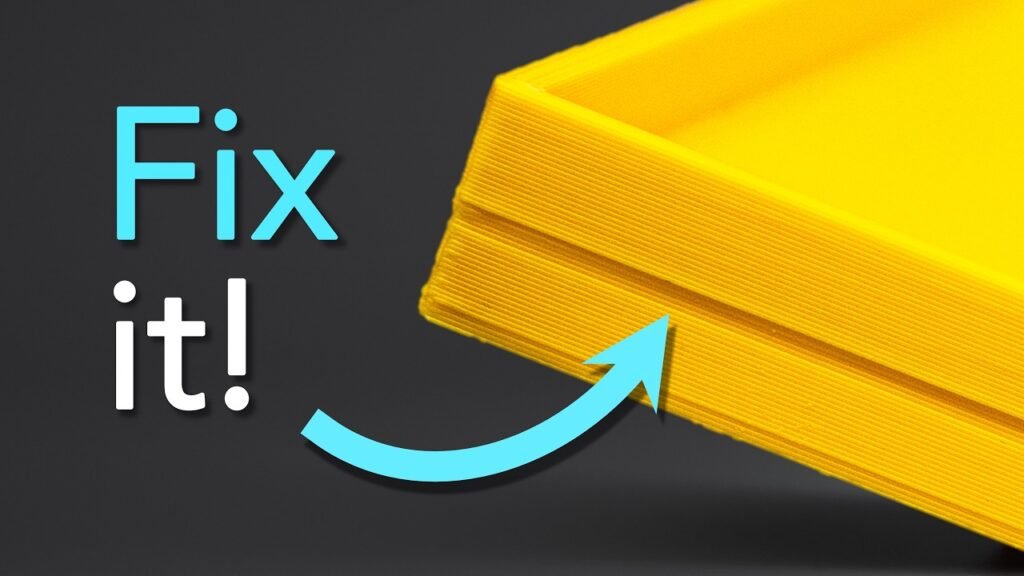
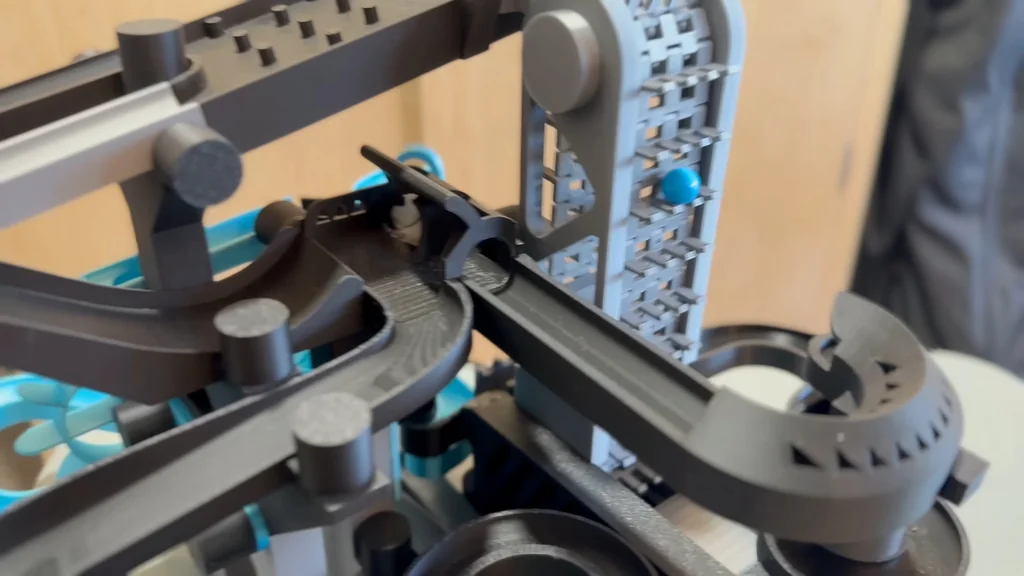
Stop pointing fingers at your hardware. Those ugly blobs and zits? Probably a garbage filament profile, not a broken belt. This run-through covers the Orca Slicer calibration workflow—from temp towers all the way to flow rates. Get these software tweaks dialed in, and your prints will actually survive the build plate.
⚡ Quick Guide: How to Make It in 10 Steps
- Set up your base printer profile in Orca Slicer.
- Run a temperature tower to find the optimal heat range.
- Adjust speed settings for your specific print requirements.
- Calculate and input your pressure advance K-values.
- Perform adaptive pressure advance testing.
- Fine-tune flow ratio to eliminate under or over-extrusion.
- Calibrate retraction distance to stop stringing.
- Compare your before-and-after test prints.
- Review final settings and save your custom filament profile.
- Apply these settings to future prints for consistent quality.
📋 In This Article
- Technical Specifications & Components
- Tools & Materials Used — what you will need for this project
- Calibration Basics
- Temperature Tower Optimization
- Increasing Print Speed
- Pressure Advance Calibration
- Adaptive Pressure Advance
- Flow Ratio Testing
- Retraction Distance Settings
- Before and After Comparison
- Final Profile Review
- Calibration Tips and Maintenance
- FAQ
📊 Technical Specifications & Components
| Software | Orca Slicer |
| Calibration Target | Flow Rate, Pressure Advance, Temp |
| Expected Improvement | Surface finish, dimensional accuracy, stringing reduction |
📊 Project Overview & Costs
🔧 Difficulty Level: Medium
⏱️ Time Investment: DIY: 60-90 minutes | Pro: 30-45 minutes
💰 Professional Service Cost: $80 - $120
💡 Verdict: You'll save hundreds in wasted filament and failed prints by perfecting your profiles once.
🛠️ Tools & Materials Used
• 3D Printer (FDM)
• Orca Slicer Software
• PLA/PETG/ABS Filament
• PC for Slicing
Step-by-Step Assembly, Repair, Testing & Inspection
Calibration Basics
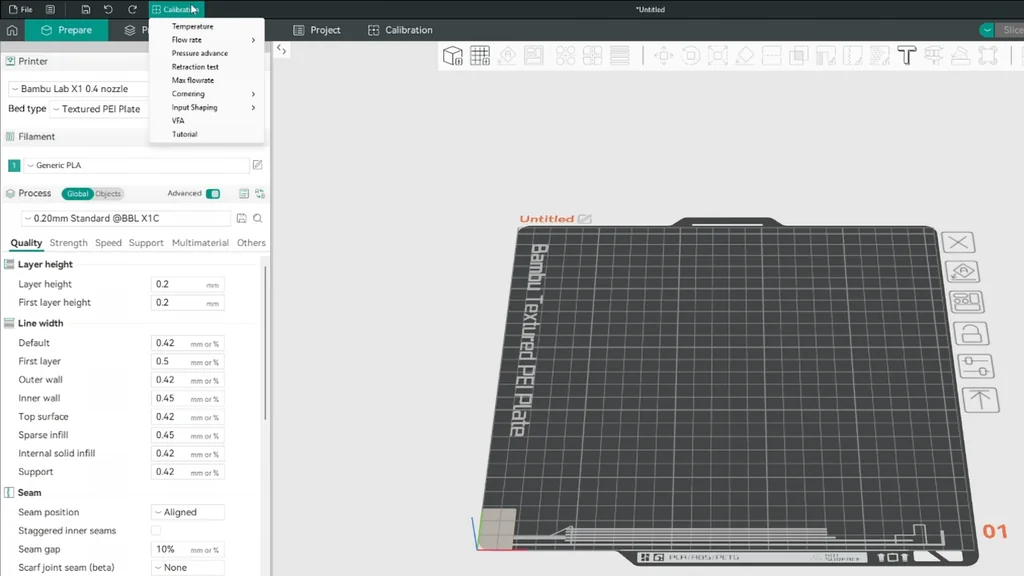
We need a clean slate. Boot up Orca Slicer and make sure your machine profile isn't loaded with random old tweaks. Don't jump into massive, 20-hour prints just yet—this is all about nailing the fundamentals. Grab your spool, load it up, and scrub that nozzle clean. A dirty nozzle literally ruins the math. Bed leveled? Z-offset checked? Good. Head over to the calibration tab. We're relying on hard data here, not guesswork.
Temperature Tower Optimization
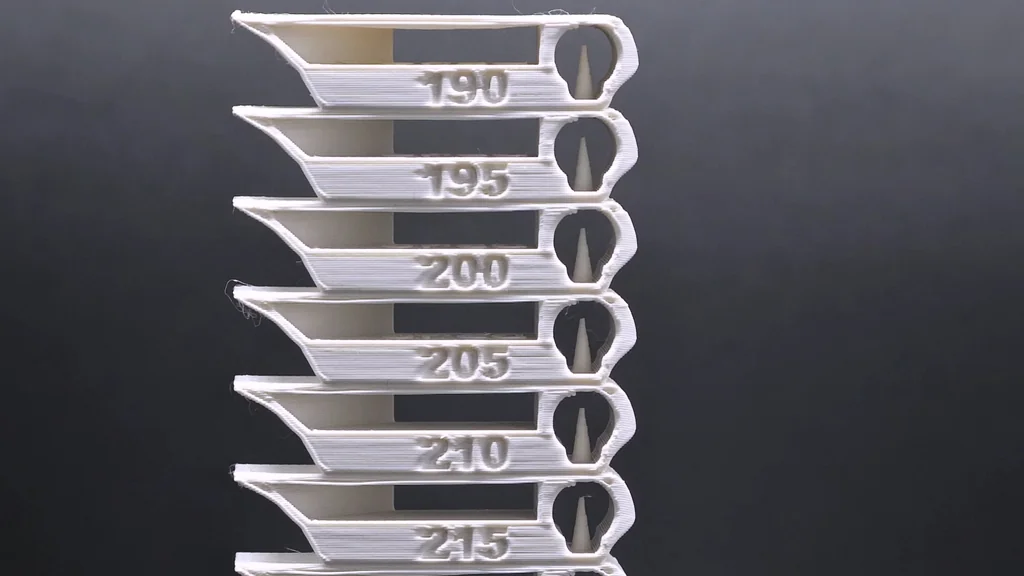
Let's talk temperature towers. Ignore the sticker on the spool—every brand bends the truth a little. The tower prints at varying temps so you can physically see where the plastic behaves best. Watch for clean bridging. Sagging means you're running way too hot; bad adhesion means it's freezing. Keep an eye on it while it runs. Once it pops off the bed, shine a harsh light on the layers. Find the specific tier that doesn't look like melted cheese. That's your baseline.
Increasing Print Speed
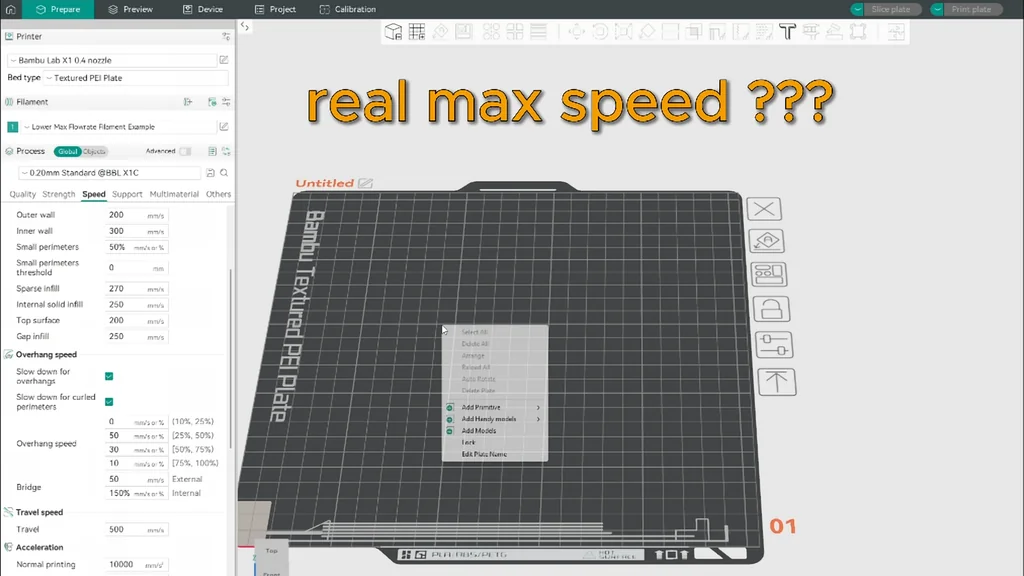
Speed is great, but only if your cooling can keep up. You can't just blindly crank the sliders. Bumping up the volumetric flow rate means your part cooling fan has to work overtime to freeze that plastic in place. Test this on a basic cube. If the corners look like mush, congratulations—you've officially outrun your cooling fan. It’s always a trade-off. Find the absolute limit before quality tanks, then lock that profile in so you don't have to guess later.
Pressure Advance Calibration
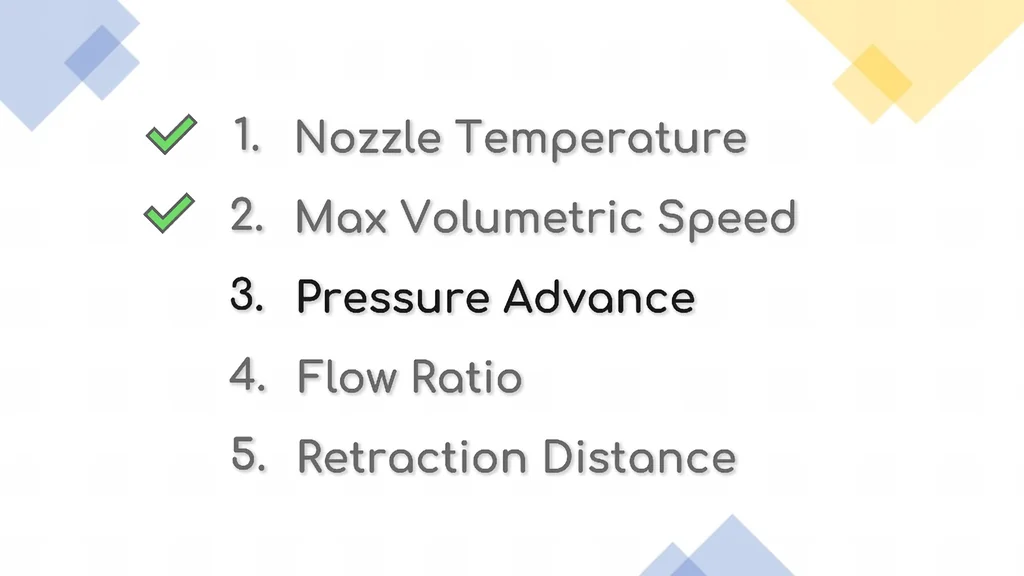
Sharp corners rely on pressure advance. Without it? You get bulging, ugly edges because the nozzle keeps spitting plastic while slowing down for the turn. Fire up the K-value pattern. You’ll get a bunch of lines across the bed. Find the one that stays uniform from start to finish—no thin starts, no fat ends. It’s a tiny tweak, but honestly, it separates the pros from the amateurs. Type that K-value in. Don't forget to save. This setting is strictly tied to your nozzle, extruder, and the exact spool you're running. Swap to a different material? You're running this test again. Welcome to 3D printing.
Adaptive Pressure Advance
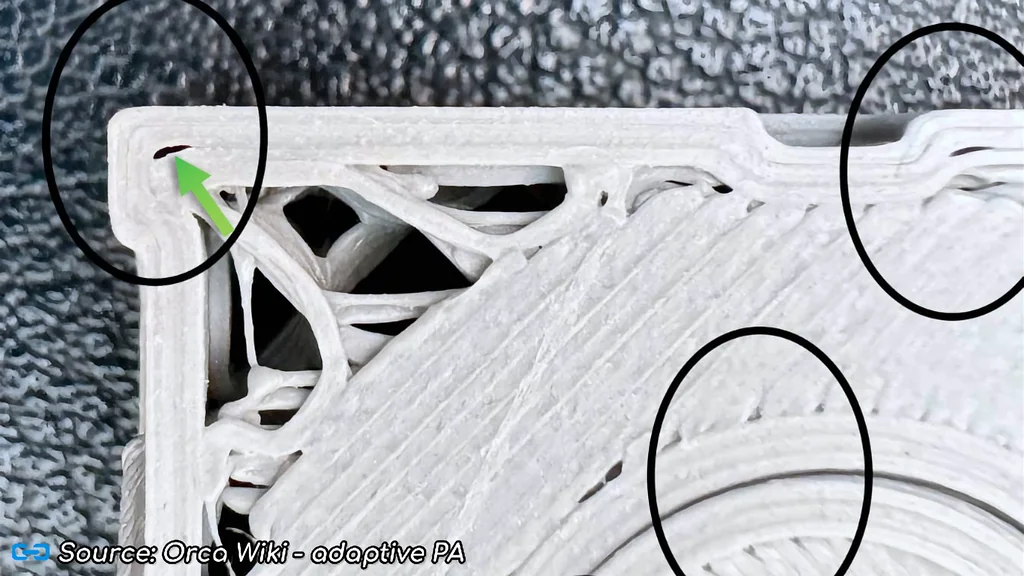
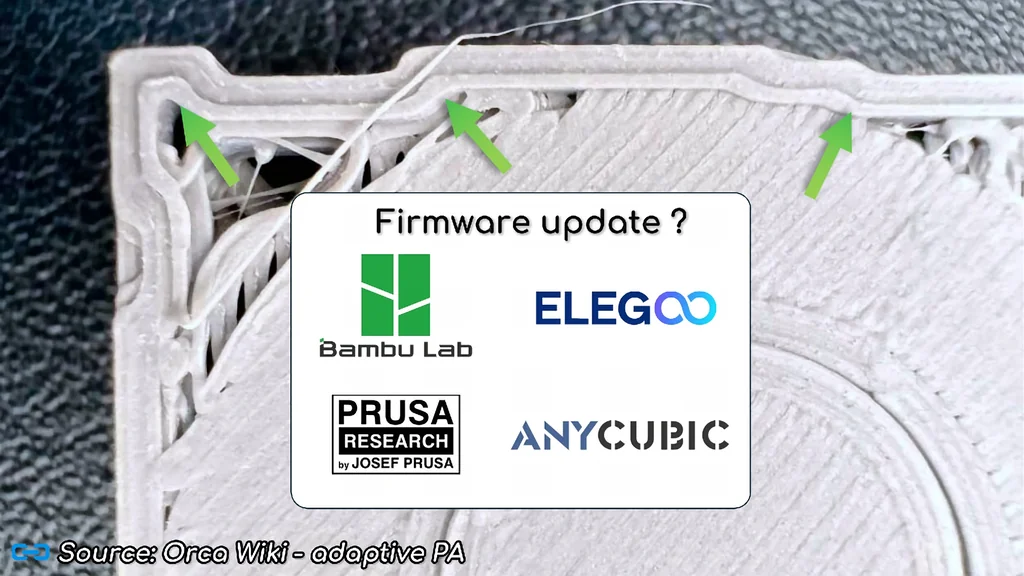
Adaptive PA takes things a bit further. If your print shifts speeds constantly, this setting adjusts the pressure dynamically. Run the adaptive pattern and watch the transitions closely. Any gaps? Blobs? Your settings are off. You might need to dial the test speed back a notch if the printer sounds like it's tearing itself apart. Fine-tune this, and your layer consistency will skyrocket. It’s all about nailing that smooth flow.
Flow Ratio Testing
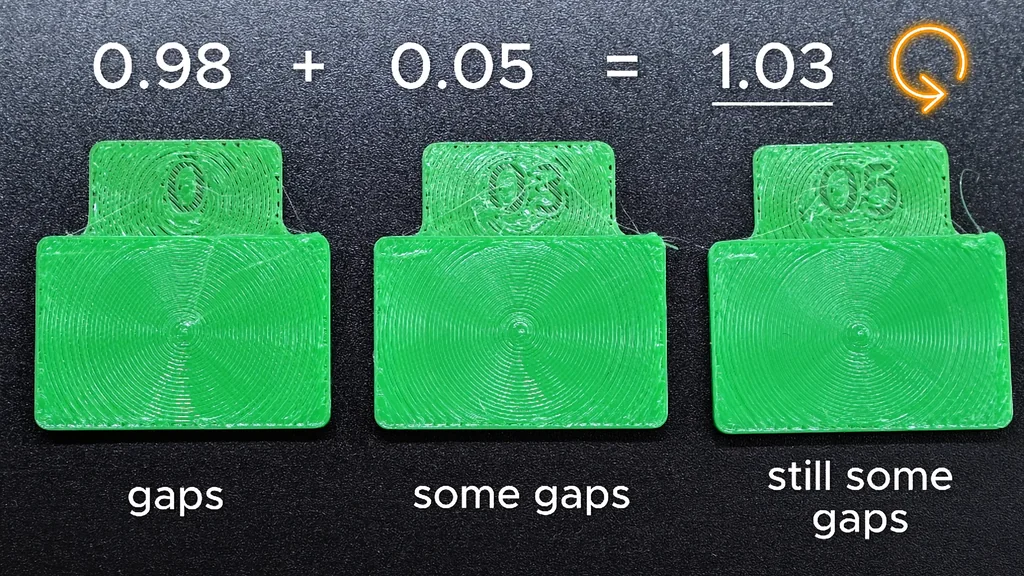
Extrusion multiplier—or flow ratio—is basically the volume knob for your plastic. Too high? Over-extrusion and ugly, scraped top layers. Too low? Frail, brittle garbage. The Orca flow test drops a grid of patches. Run your finger over them. You're hunting for the one that feels like a single solid piece of plastic, no ridges, no gaps. Bust out the calipers if your eyes deceive you. Lock that number in. Never skip this step.
Retraction Distance Settings
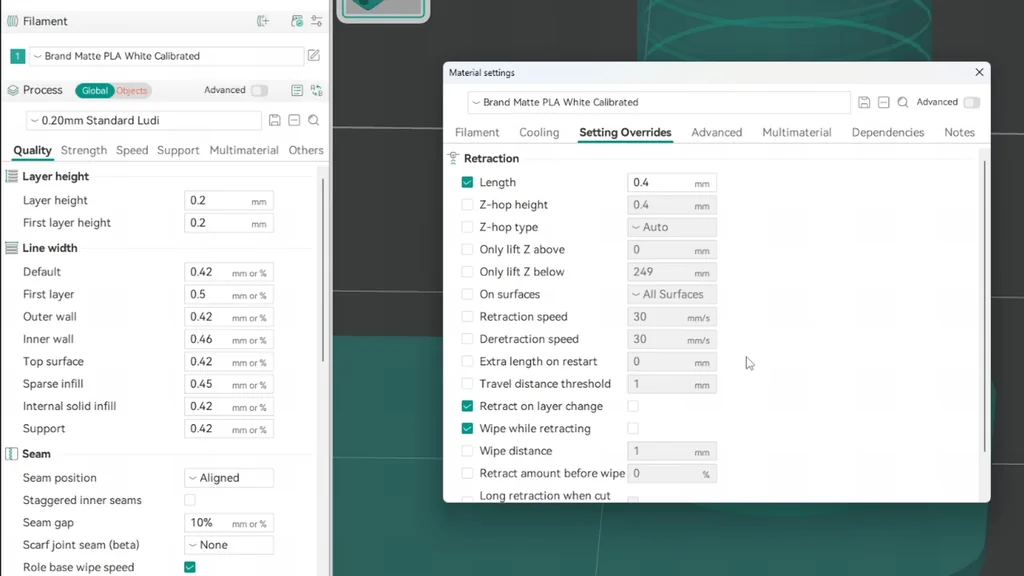
String city—nobody wants to visit. Retraction pulls the filament back so it doesn't leak during travel moves. Test print a retraction tower. Bowden tubes usually need anywhere from 1mm to 6mm, while direct drive setups are happy under 2mm. Hunt for the lowest value that actually stops the oozing. Go too high, and you'll pull molten plastic straight into the heatbreak, causing an instant clog. Balance is key here. Once you find it, leave it alone.
Before and After Comparison
Time for the truth. Slice a model that gave you a massive headache last week. Put it right next to your old print. The difference should be night and day—crisp corners, smooth walls, zero zits. Still seeing artifacts? Jump back and tweak your flow ratio or PA a tiny bit. This is the payoff moment where the printer finally performs like it should. Hang onto those test blocks, by the way. They are your baseline for success.
Final Profile Review
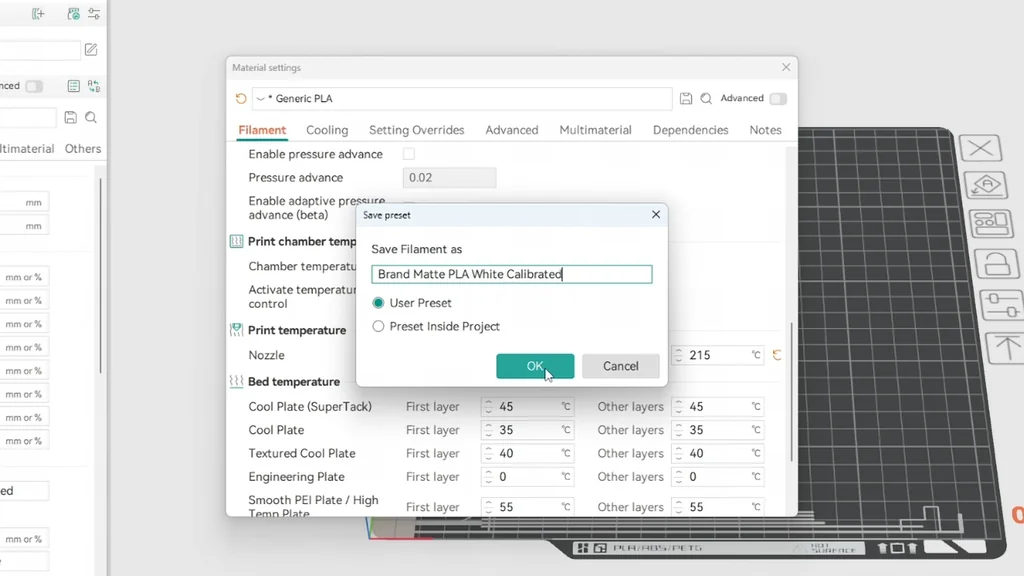
Double-check everything. Take a quick glance at the filament profile in Orca Slicer and confirm those temp, flow, and PA numbers actually saved. Name the profile something obvious—don't just leave it as "Copy of PLA". If you swap to a different brand tomorrow, make a new one. Building this library saves you hours of pulling your hair out later. You're ready to print. Let the machine do the heavy lifting.
Calibration Tips and Maintenance
This isn't a "one and done" deal. Swap a nozzle? Re-calibrate. Switch from black PLA to white PLA? Re-calibrate. Hardware maintenance matters too—a loose belt will completely mask a perfect software profile. Don't stress if quality drops down the line. Just run the tests again. You'll blast through them in half the time once you know the drill. Keep tinkering.
⚠️ CAUTION: SAFETY WARNING!
Always watch out for hot nozzle temperatures during calibration prints to avoid burns. Ensure your printer is on a stable surface and keep fingers away from moving parts during operation.
Summary & Tips
Tuning your filament is the easiest way to stop hating your printer. Yes, it eats up an hour upfront. But it saves you days of scraping failed spaghetti off the glass. Once your profiles are locked in, prints just... work. Stop skipping the tests. You need the data.
📋 FAQ
❓ Do I need to calibrate every time I change filament?
Yeah, it's best practice. Different brands or even colors can behave differently due to additives.
❓ Is Orca Slicer really better than others?
Honestly, it's got the best built-in calibration tools right now. It makes the whole process way more straightforward.
❓ Can I use these settings on a budget printer?
Depends on the printer, but most FDM machines will benefit from this. It's more about the software tuning than the hardware price.
❓ What if my prints still look bad after calibration?
Nah, don't worry. Check your mechanical parts like belts and nozzle wear. Sometimes it's a hardware issue, not a software one.
Disclaimer: I purchased all tools for this guide with my own money to ensure an unbiased review. This post contains affiliate links, meaning I earn a small commission if you make a purchase at no extra cost to you.