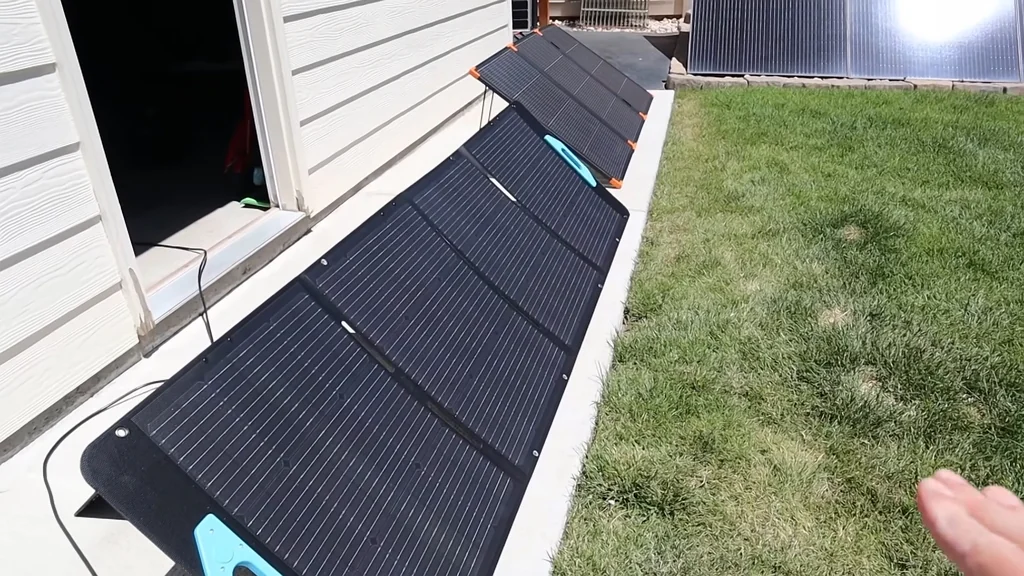
Mounting a solar panel doesn’t require expensive aluminum extrusions or industrial-grade hardware. Today, we are cobbling together a functional, adjustable support frame using standard lumber and basic fasteners to get your off-grid setup running for a fraction of the retail cost.
⚡ Quick Guide: How to Make It Work
📋 In This Article
- Technical Specifications & Components
- Tools & Materials Used — what you will need for this project
- Assessing the mounting points
- Positioning the stand
- Reviewing the build plan
- Preparing the frame components
- Calculating the tilt angle
- Measuring the base
- Marking the wood
- Drilling pocket holes
- Assembling the frame
- Final testing and result
- FAQ
📊 Technical Specifications & Components
| Tilt Angle | 55 degrees |
| Material | Standard dimensional lumber |
| Fastening Method | Pocket hole screws |
| Compatibility | Universal for small to medium solar panels |
📊 Project Overview & Costs
🔧 Difficulty Level: Easy
⏱️ Time Investment: DIY: 2 - 3 hours | Pro: 45 minutes
💰 Professional Service Cost: $80 - $120 hourly
💡 Verdict: Building this yourself saves you at least $150 compared to buying pre-fabricated aluminum mounting kits.
Step-by-Step Assembly, Repair, Testing & Inspection
Assessing the mounting points
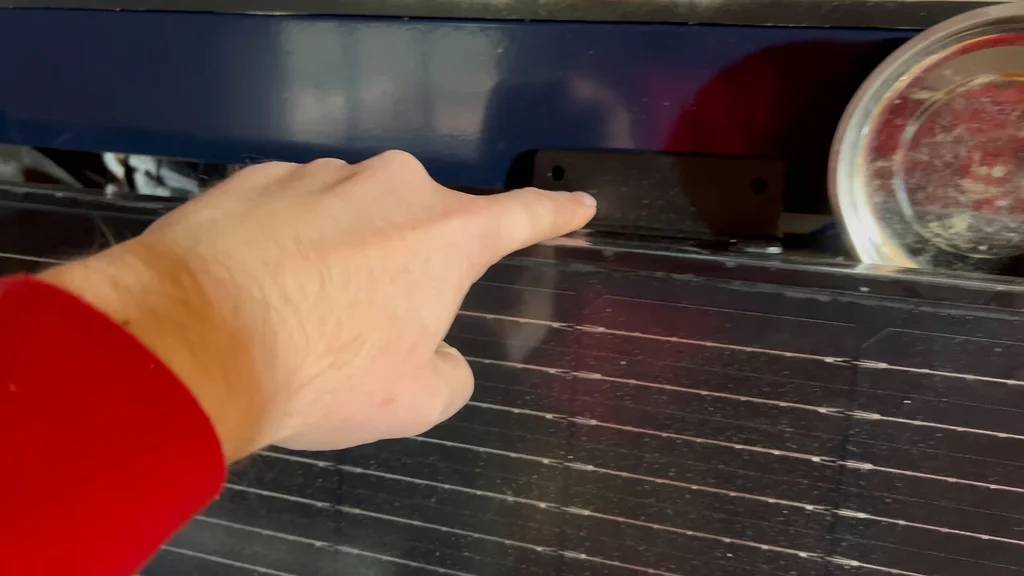
Examine the aluminum frame of the solar panel. Identify the pre-drilled holes or the channel profile where the mounting hardware will attach. Check for structural integrity. No cracks or bends.
Positioning the stand
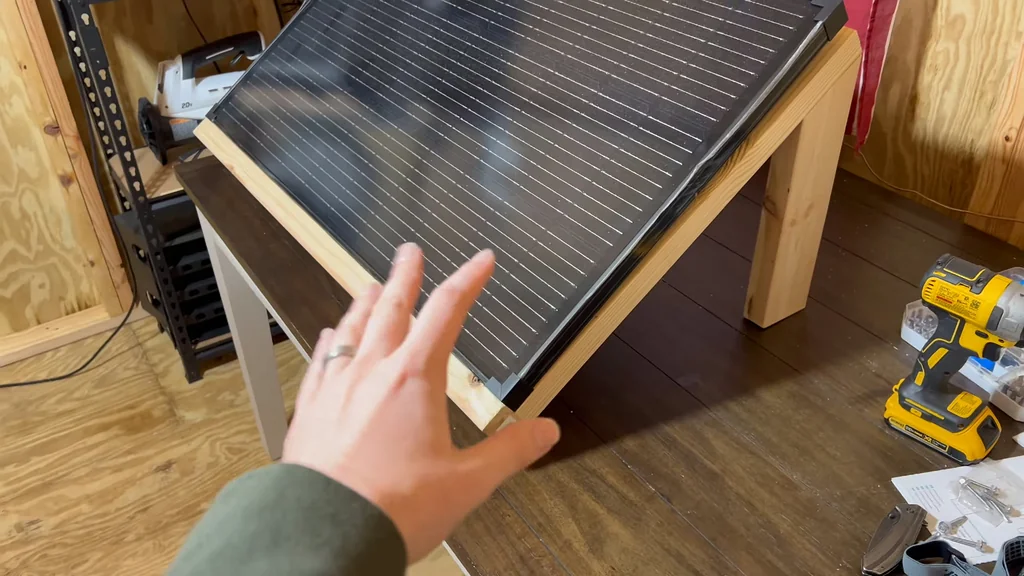
Align the support stand with the panel's center of gravity. Proper weight distribution prevents the panel from tipping in high winds. Locked tight. Ready for the next phase.
Reviewing the build plan
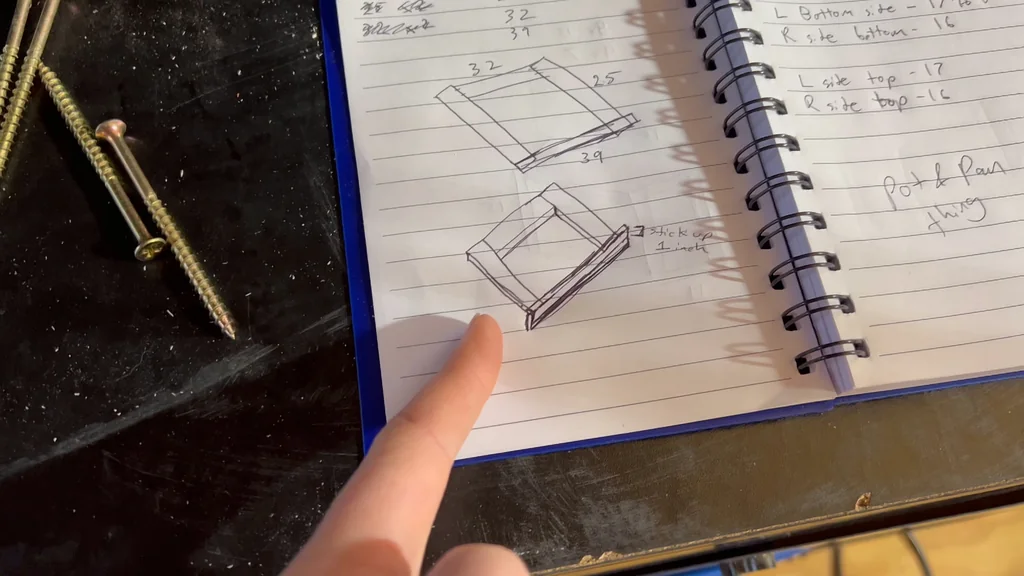
Consult the sketches for the frame geometry. Verify the dimensions before making any permanent cuts into the lumber. Simple as that. No complex math required.
Preparing the frame components
Lay out the wooden frame parts on a flat surface. Ensure all pieces are square and free of warping. Clean cuts. Essential for a stable mount.
Calculating the tilt angle
Input the desired angle into the calculation tool to confirm the 55-degree pitch. This angle optimizes solar intake for the target latitude. Upgrade prompt ignored. Stick to the basics.
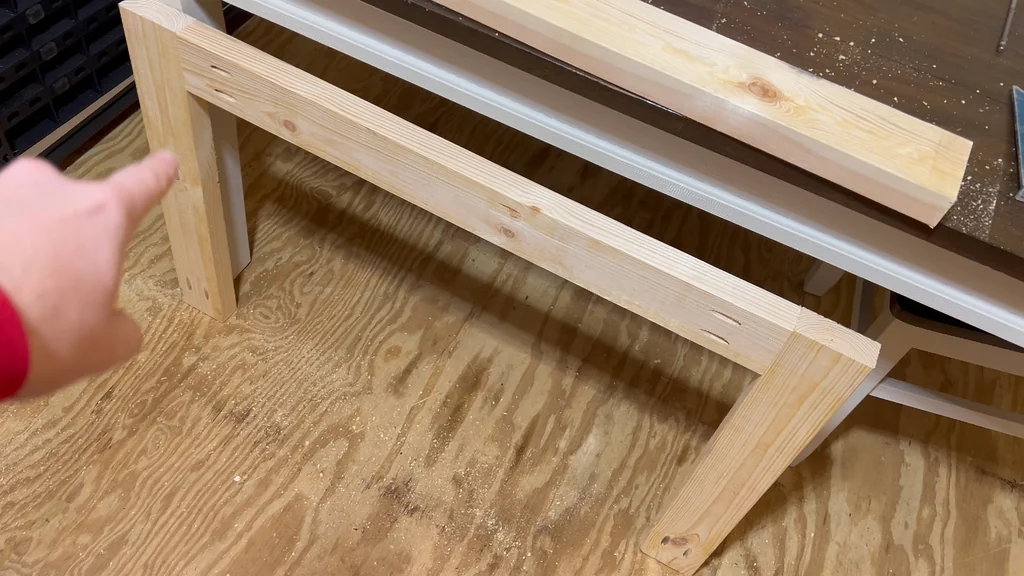
Measuring the base
Use a tape measure to mark the exact length of the base supports. Accuracy here determines the overall stability of the structure. Measure twice. Cut once.
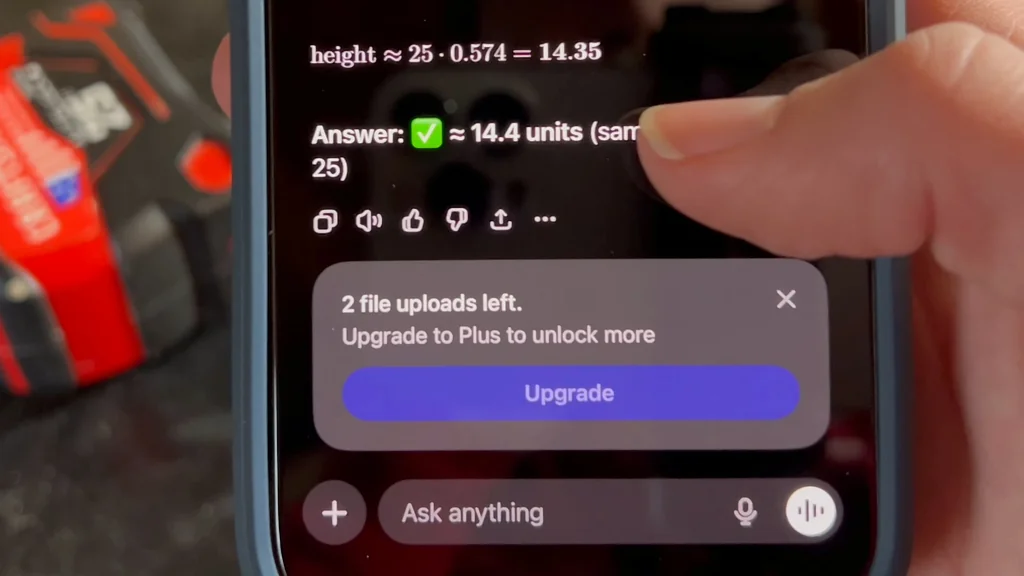
Marking the wood
Transfer the measurements to the lumber using a pencil and a metal ruler. Keep the lines crisp for precise cutting. Precision matters. Don't rush.
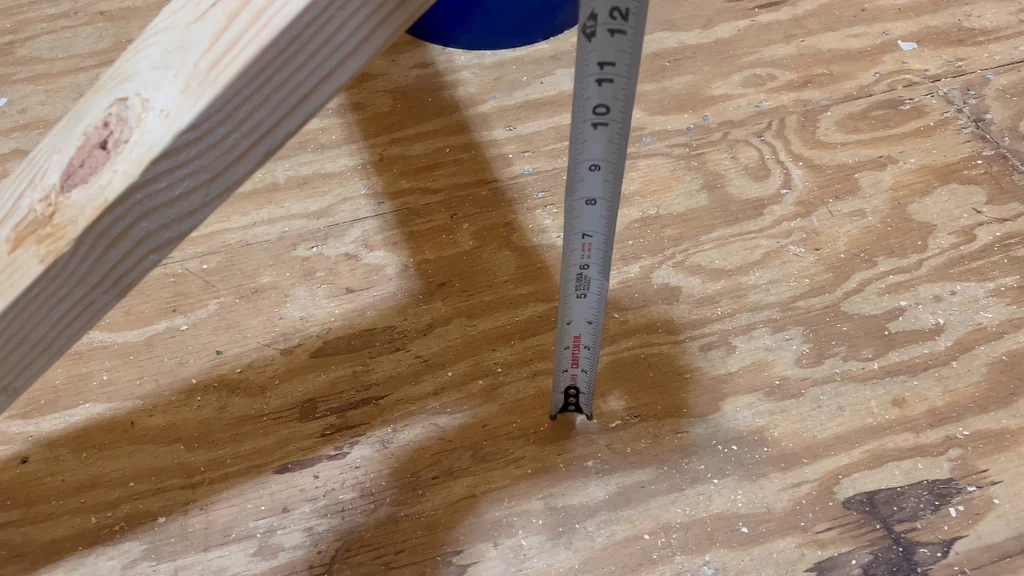
Drilling pocket holes
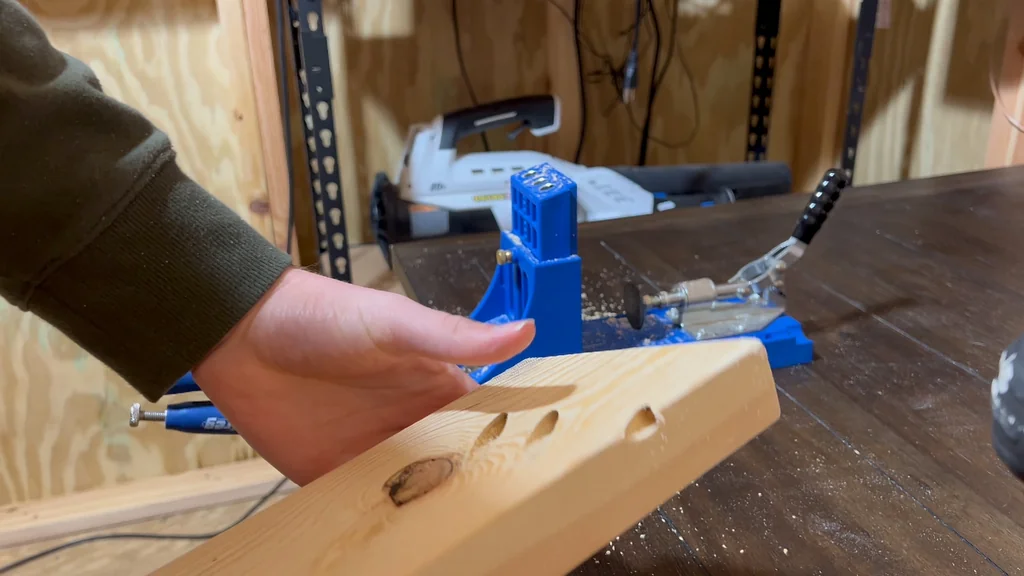
Set up the Kreg Jig to drill pocket holes into the frame members. This creates a hidden, strong joint that keeps the exterior clean. Drill depth set. Ready for screws.
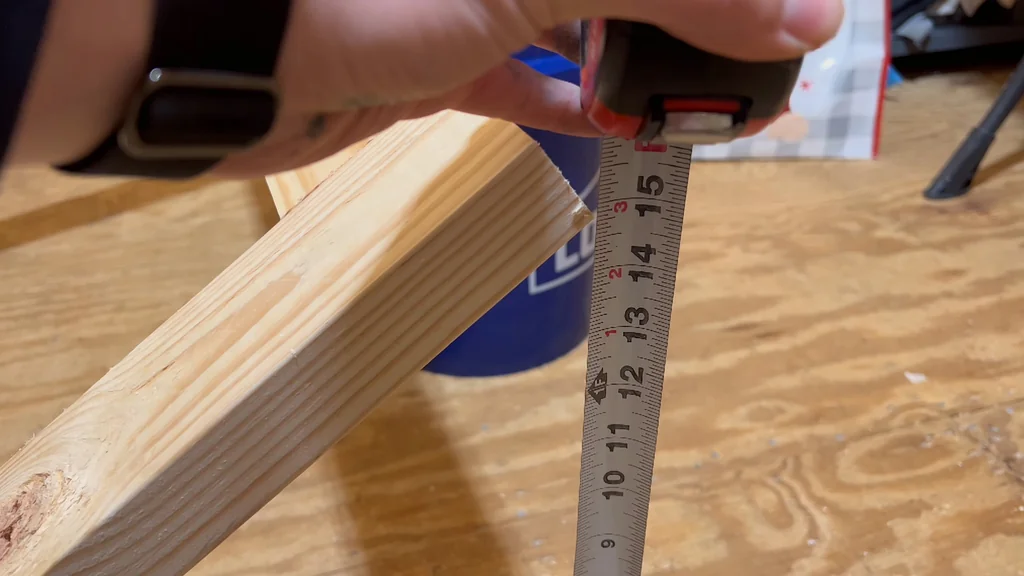
Assembling the frame
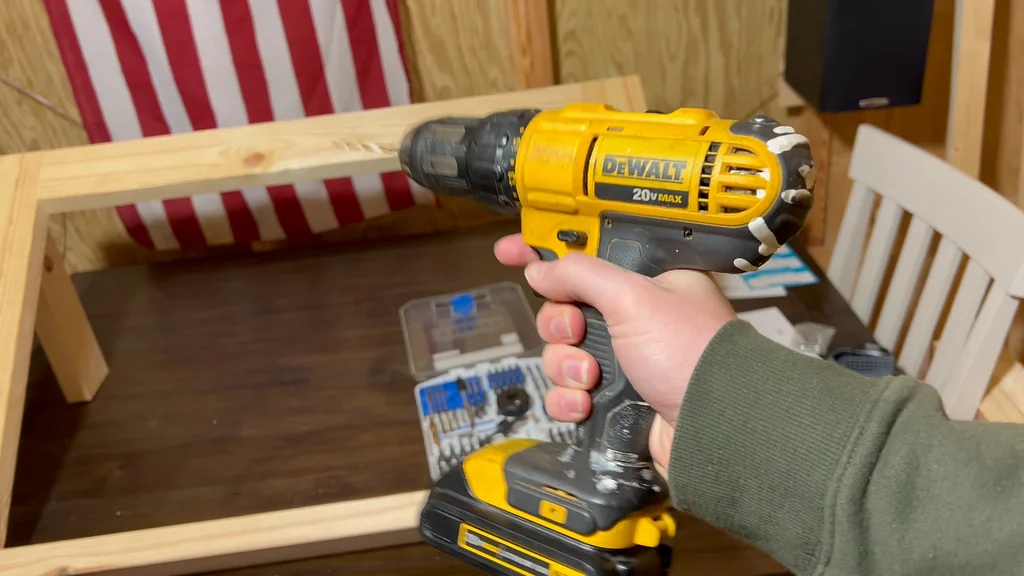
Drive the screws into the pocket holes using the DeWalt drill. Apply consistent pressure to ensure the joints pull together without splitting the wood. Solid connection. No wobble.
Final testing and result
Attach the solar panel to the completed frame. Verify the stability and the tilt angle one last time. Functional mount. Job done.
⚠️ CAUTION: SAFETY WARNING!
Always wear eye protection when cutting wood and drilling. Ensure the solar panel is disconnected from the charge controller during installation to avoid accidental shorts.
Summary & Tips
The DIY mount is sturdy and gets the job done for pennies on the dollar. Just ensure you use treated lumber if this setup is going to stay outdoors long-term. Watch your local wind conditions and secure the base to the ground if necessary.
📋 FAQ
❓ Can I use this for a 200W panel?
Yeah, it should hold fine as long as you use thicker lumber for the base. Just don't overload the frame.
❓ Is wood durable enough for outside?
Honestly, it's fine for a few seasons if you paint or seal it. If you want it to last years, use pressure-treated timber.
Disclaimer: I purchased all tools for this guide with my own money to ensure an unbiased review. This post contains affiliate links, meaning I earn a small commission if you make a purchase at no extra cost to you.