The accelerator linkage on a vintage Deutz D4006 tractor often develops excessive play as original metal or plastic bushings wear down over decades of field operation. Instead of hunting for obsolete OEM parts, you can fabricate high-performance replacements using engineering-grade filament. This project demonstrates the workflow for measuring, designing, and printing custom bushings that restore precise throttle control to your tractor’s mechanical assembly.
⚡ Quick Guide: How to Make It in 5-10 Steps
- Disassemble the worn accelerator lever assembly to access the linkage.
- Measure the original bushing dimensions using a digital caliper.
- Design the replacement bushing in CAD software like FreeCAD.
- Select an engineering-grade filament like iglidur for wear resistance.
- Print the bushings and perform a test fit on the linkage rod.
- Reassemble the linkage and verify smooth operation under load.
📋 In This Article
- Technical Specifications & Components
- Tools & Materials Used — what you will need for this project
- Starting the Layercraft Workshop Repair
- Inspecting the Mechanical Lever Wear
- Measuring Components for CAD
- Designing Bushings in FreeCAD
- Configuring Slicer Settings
- Preparing Files for Printing
- Setting Up the Creality K1 Max
- Initiating the Print Process
- Monitoring 3D Print Progress
- Verifying Printer Specifications
- Installing the New Bushing
- Inspecting the Linkage Part
- Setting Up the Drill Press
- Drilling the Metal Linkage
- Final Assembly and Testing
- FAQ
📊 Technical Specifications & Components
| Tractor Model | Deutz D4006 |
| Component | Accelerator lever linkage |
| Bushing Material | Iglidur (wear-resistant polymer) |
| Printer | Creality K1 Max |
| Software | FreeCAD, Ultimaker Cura |
📊 Project Overview & Costs
🔧 Difficulty Level: Medium
⏱️ Time Investment: DIY: 3-4 hours | Pro: 1-2 hours
💰 Professional Service Cost: $50-$100
💡 Verdict: Fabricating custom bushings is significantly cheaper than sourcing rare, discontinued tractor components.
🛠️ Tools & Materials Used
• Creality K1 Max 3D Printer
• FreeCAD Software
• Ultimaker Cura Slicer
• Iglidur 3D Printing Filament
Step-by-Step Assembly, Repair, Testing & Inspection
Starting the Layercraft Workshop Repair
The project begins with the Layercraft Workshop branding. It's a clean start. We are looking at a classic tractor repair scenario where mechanical wear compromises performance. The goal is to restore the original feel of the Deutz D4006 accelerator. This is straightforward.
Inspecting the Mechanical Lever Wear
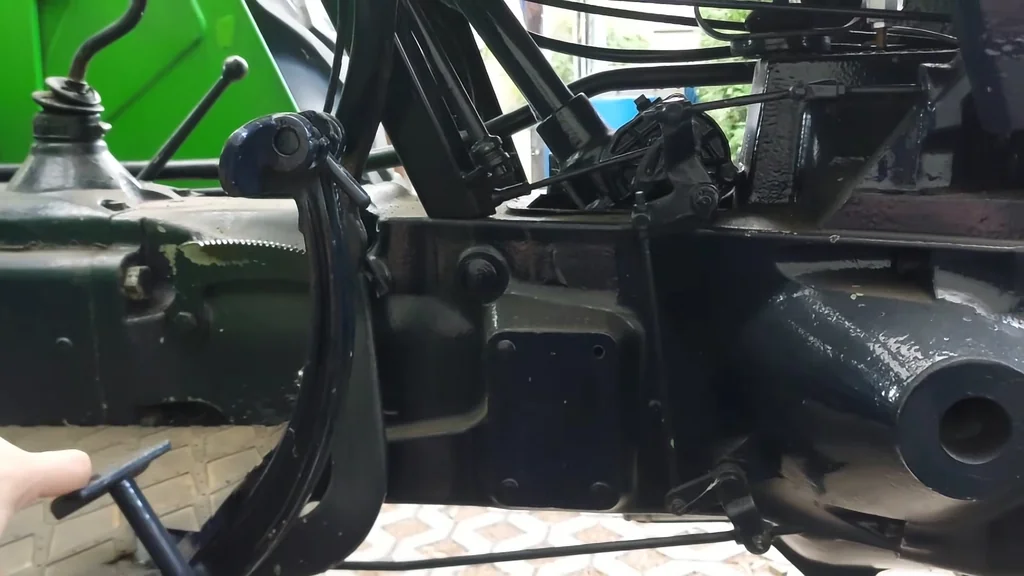
Examine the accelerator lever assembly closely. The play is obvious. Metal-on-metal wear has degraded the pivot points significantly. You need to identify every point of slop in the linkage. It's loose.
Measuring Components for CAD
Use a digital caliper to capture precise dimensions of the worn bushings and the linkage rod. Accuracy is everything. Record the inner diameter, outer diameter, and total length. Don't guess. These numbers dictate the fit.
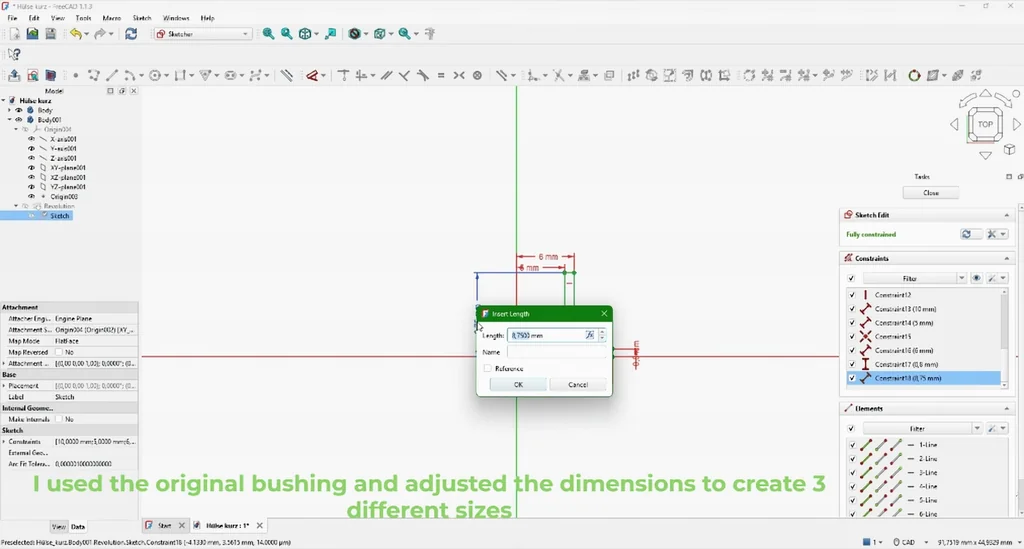
Designing Bushings in FreeCAD
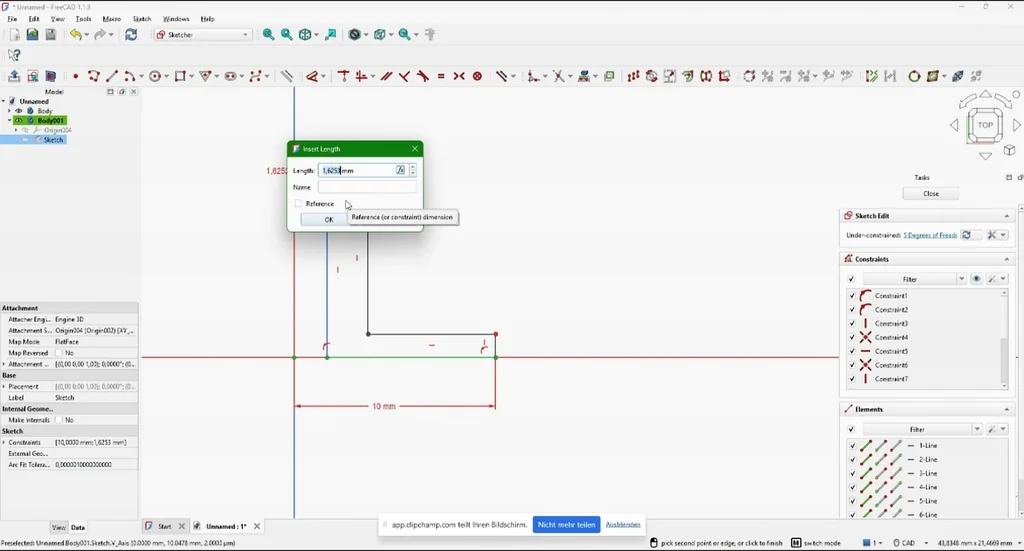
Translate your measurements into a 3D sketch within FreeCAD. Create a cylindrical profile with the necessary tolerances for a press-fit or sliding fit. Check your constraints. The design must account for the specific geometry of the Deutz linkage. This is the core of the repair. Precision matters.
Configuring Slicer Settings
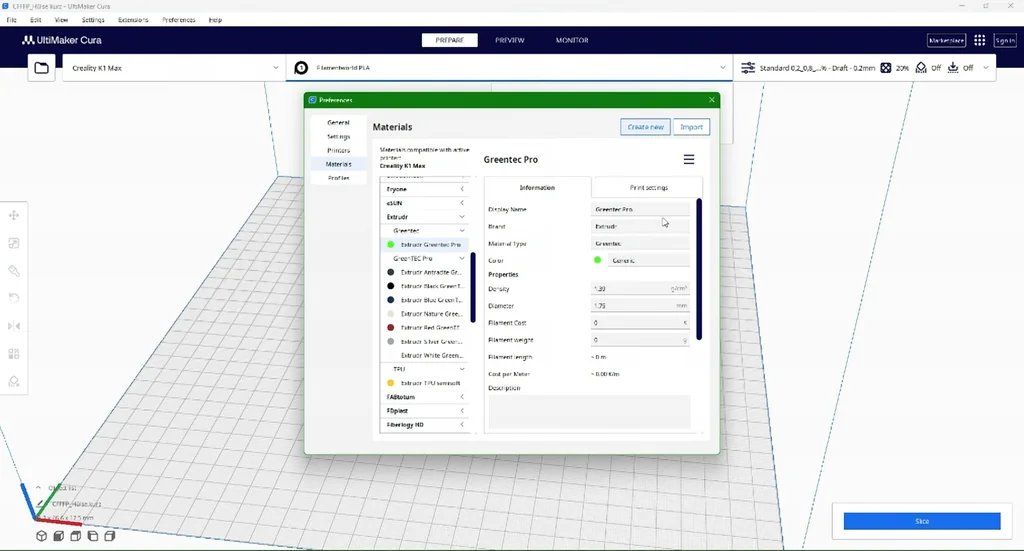
Open Ultimaker Cura to prepare the model for the printer. Select the appropriate material profile for iglidur, which is known for its low friction and high wear resistance. Adjust the wall thickness and infill density. It needs to be durable. Settings are critical.
Preparing Files for Printing
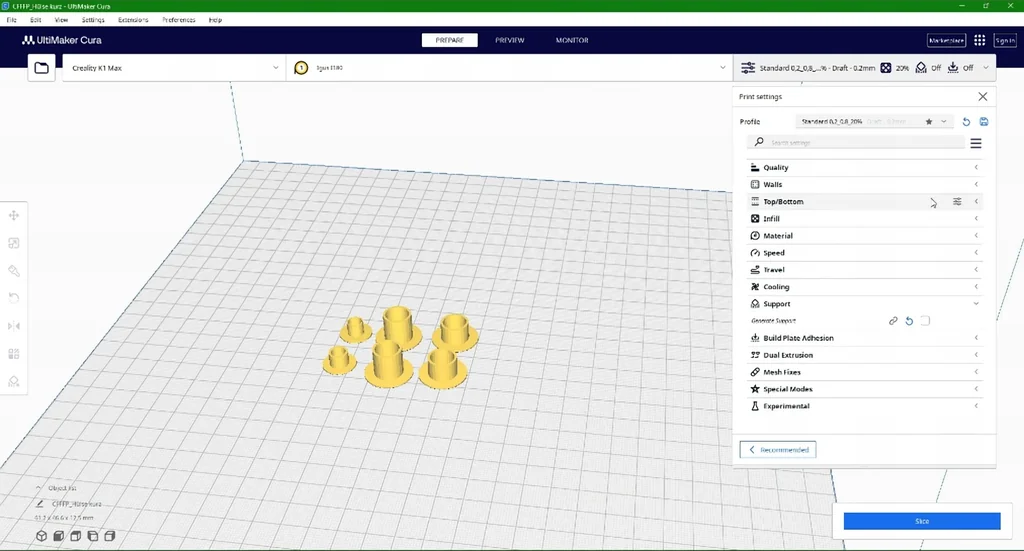
Orient the bushings on the build plate to minimize support material. Check the layer height for optimal strength. You want the grain to run in a way that resists shear forces. It's ready to slice.
Setting Up the Creality K1 Max
Load the iglidur filament into the Creality K1 Max. Ensure the build plate is clean and leveled. This machine handles high-speed printing well. It's a robust printer. Calibration is key.
Initiating the Print Process
Start the print job and monitor the first few layers. Adhesion is vital for small parts like these. Watch for warping. The K1 Max maintains temperature stability well. It's printing now.
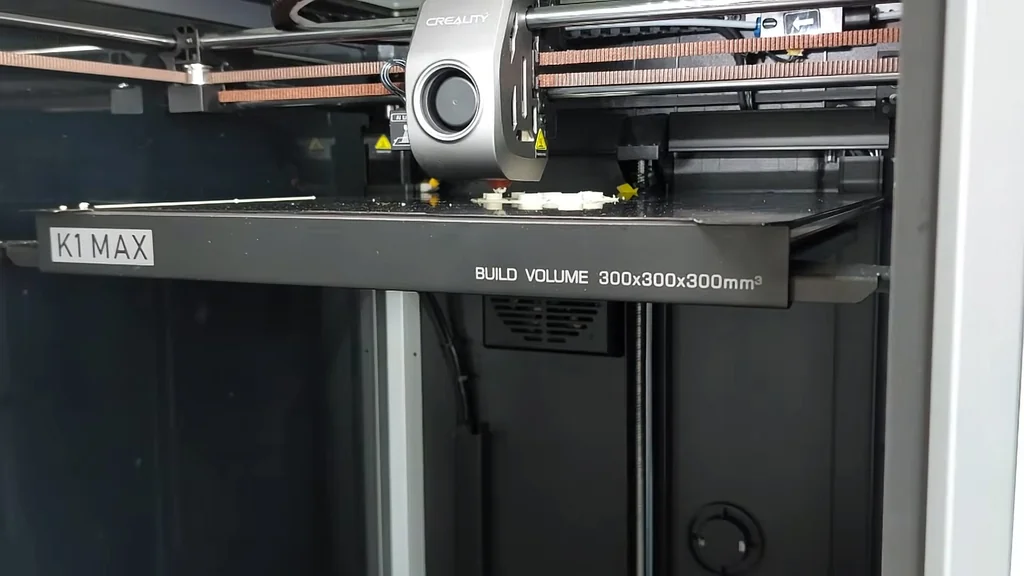
Monitoring 3D Print Progress
Observe the print as it builds the geometry. The iglidur filament requires specific temperature management. Keep the enclosure closed to maintain ambient heat. It's looking good.
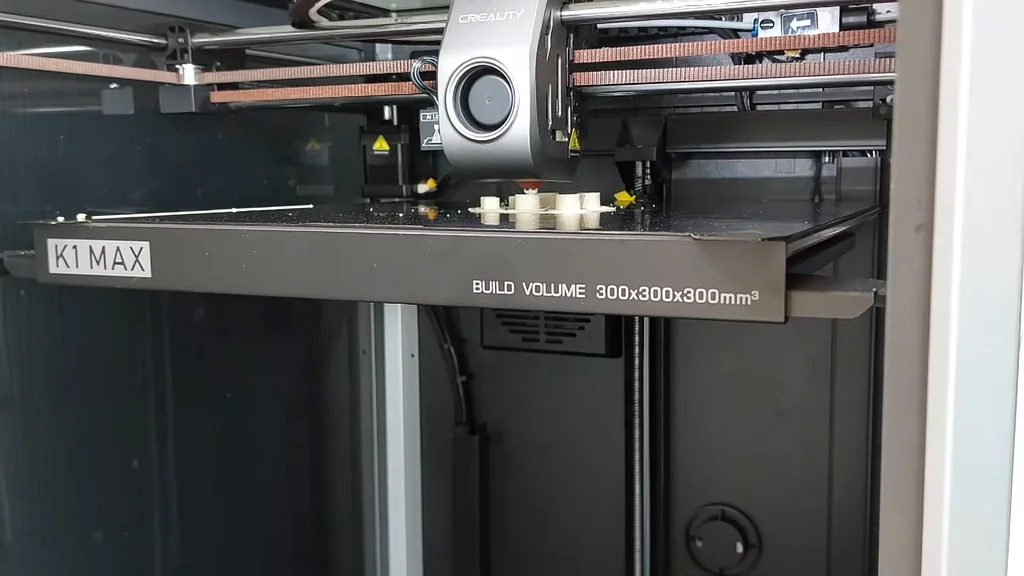
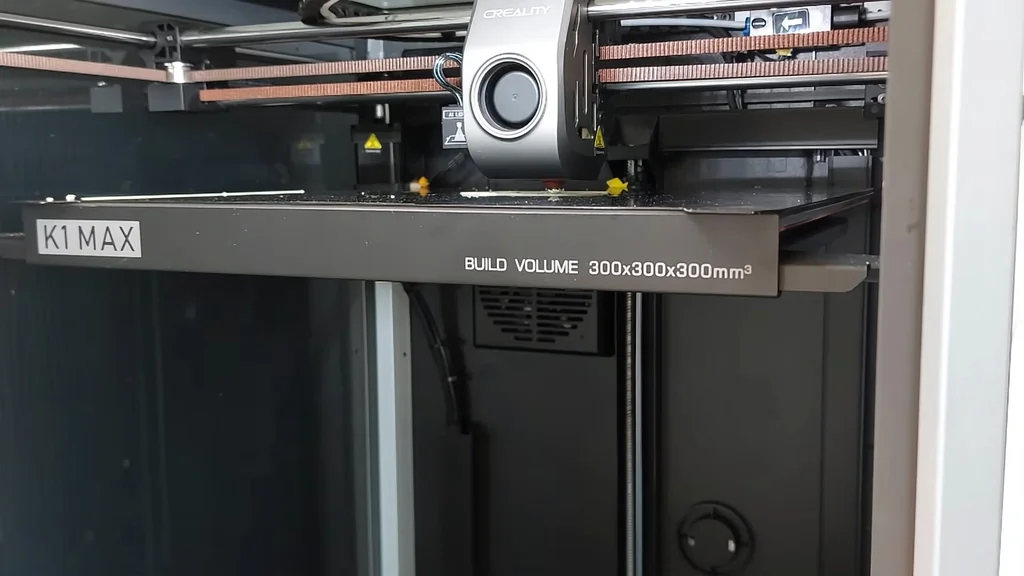
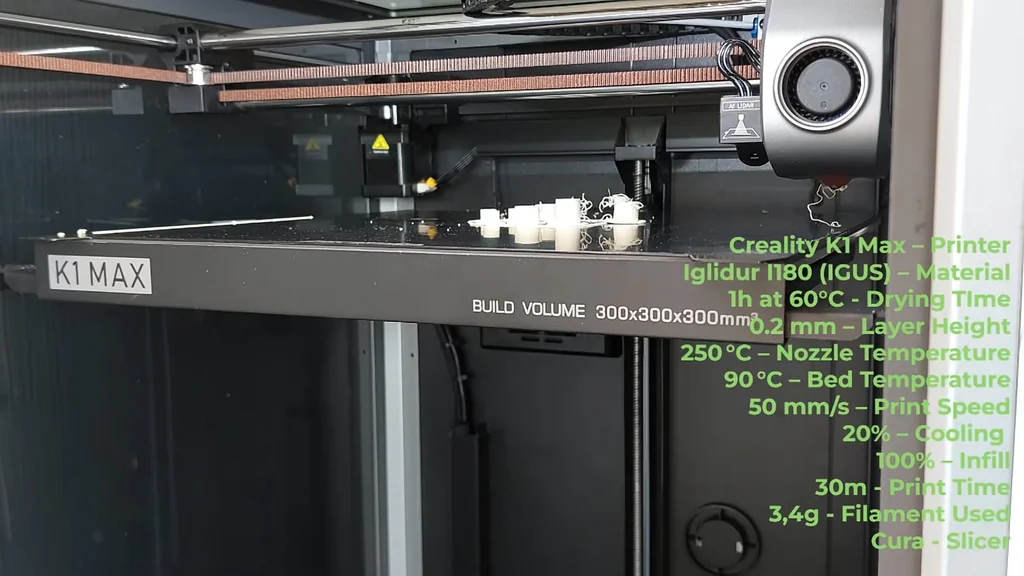
Verifying Printer Specifications
Review the K1 Max capabilities for this job. High flow rates and precise motion systems make this possible. The machine is well-suited for functional parts. It's a solid tool.
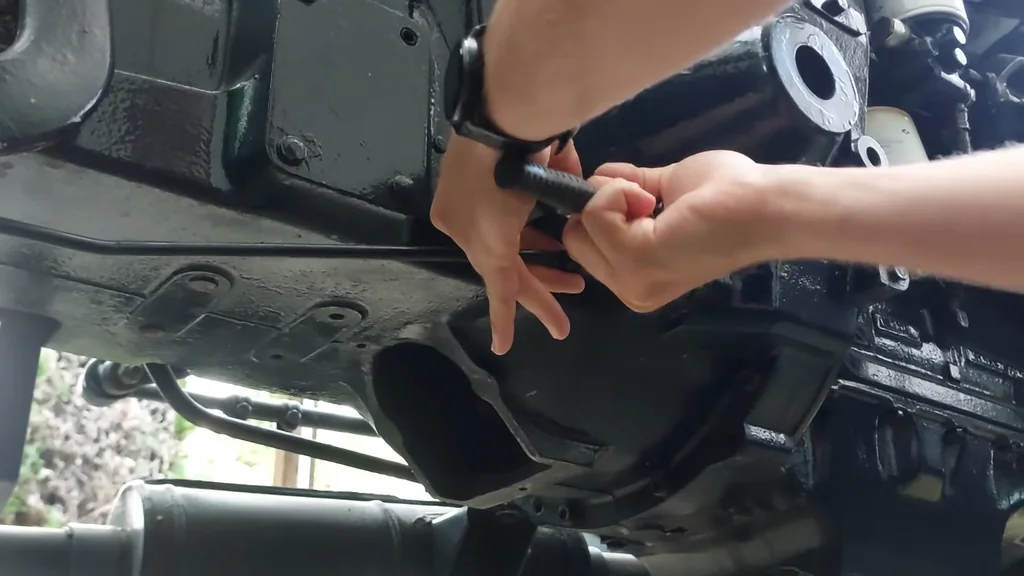
Installing the New Bushing
Remove the printed parts and clean up any brim or support remnants. Press the new bushing into the linkage assembly. It should be a snug fit. Check for binding. It fits perfectly.
Inspecting the Linkage Part
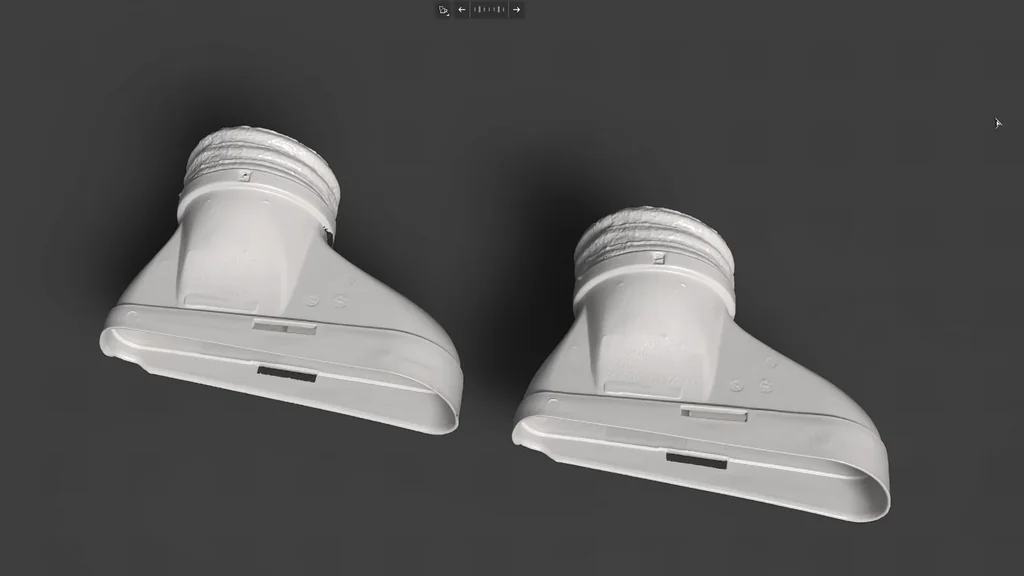
Examine the finished part before final installation. The surface finish looks consistent. It's ready for service. The fitment is tight.
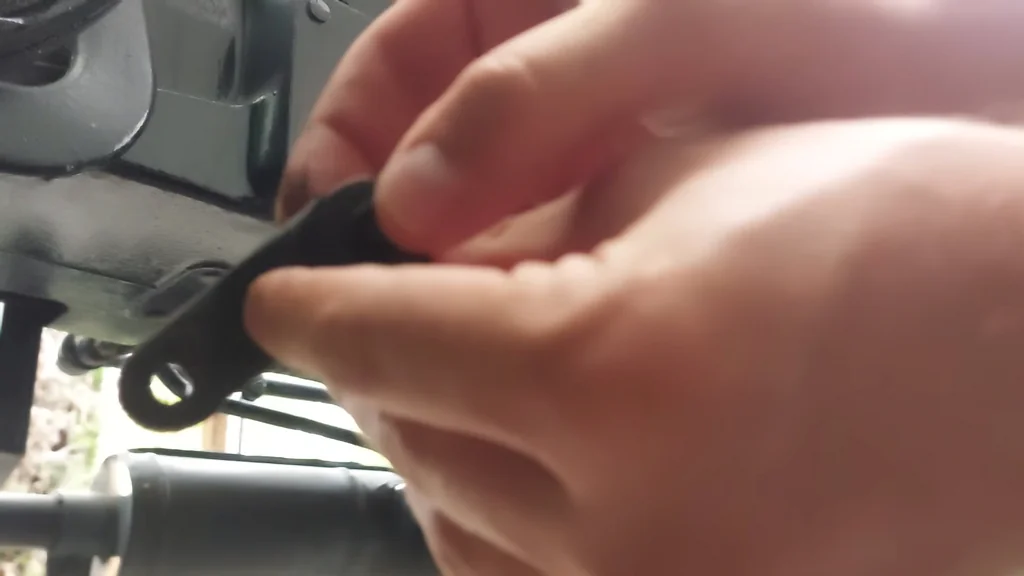
Setting Up the Drill Press
Mount the metal linkage component in a vise on the drill press. Align the bit precisely with the existing hole. Secure the part to prevent movement. Safety is paramount. It's locked down.
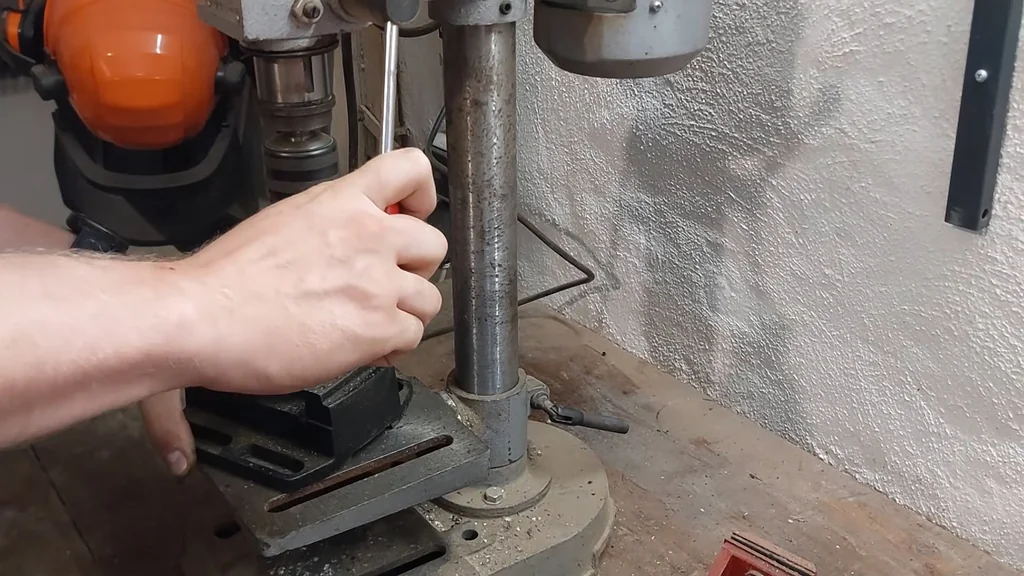
Drilling the Metal Linkage
Drill the hole to accommodate the new bushing dimensions. Use a slow speed and cutting fluid. Clear the chips frequently. It's cutting clean.
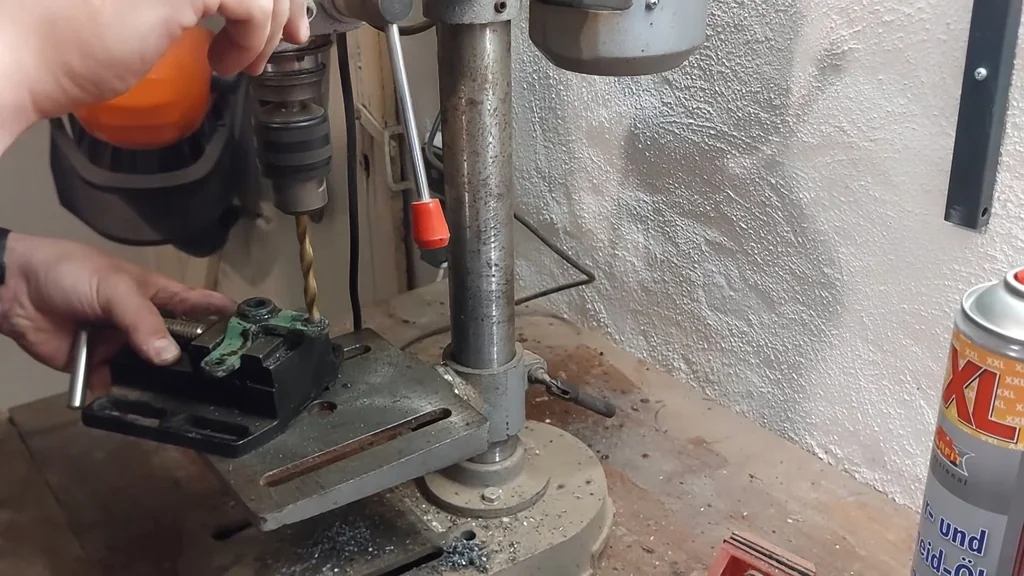
Final Assembly and Testing
Attach the linkage back to the Deutz assembly. Cycle the accelerator lever to verify the play is gone. The movement is smooth. The repair is successful.
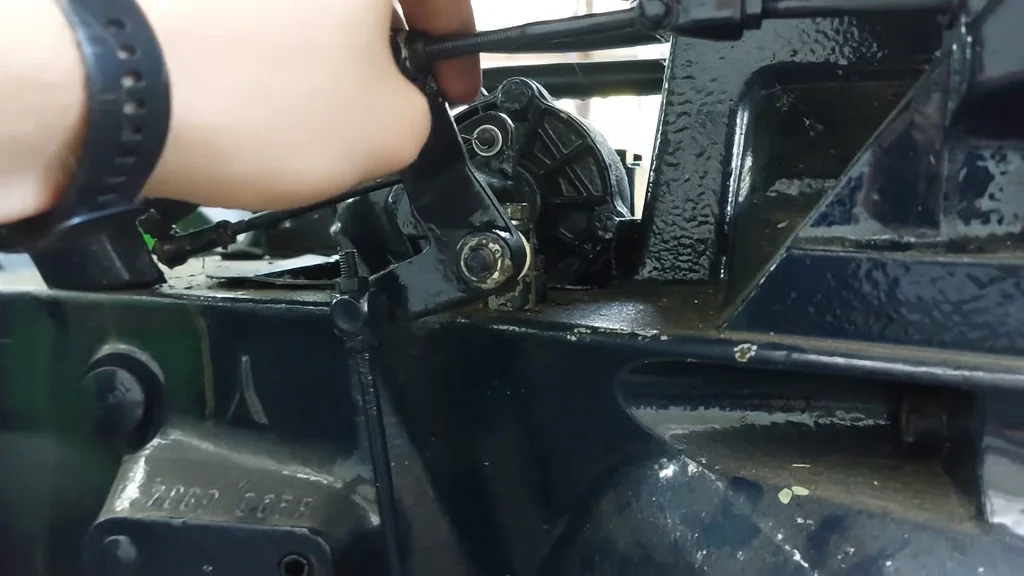
⚠️ CAUTION: SAFETY WARNING!
Always wear eye protection when using a drill press to avoid metal shards. Ensure the workpiece is securely clamped before applying any force.
Summary & Tips
The 3D-printed iglidur bushings successfully eliminated the play in the Deutz D4006 accelerator linkage. This approach proves that modern additive manufacturing can effectively replace obsolete mechanical parts. The tractor now operates with much tighter throttle response. It's a reliable, long-term fix for vintage equipment.
📋 FAQ
❓ Can I use standard PLA for this repair?
No, don't do that. PLA lacks the wear resistance and thermal stability required for tractor linkages. Use iglidur or a similar engineering-grade polymer.
❓ How long do these printed bushings last?
Honestly, they should last quite a while. Iglidur is specifically engineered for sliding applications. It's very durable.
❓ Do I need a high-end printer for this?
Depends on the material. Standard printers work for basic plastics, but engineering filaments often require a heated enclosure. The K1 Max is a solid choice.
❓ Is it hard to design these parts?
Usually, it's just basic geometry. If you can measure the hole and the rod, you can model the bushing. It's simple.
Disclaimer: I purchased all tools for this guide with my own money to ensure an unbiased review. This post contains affiliate links, meaning I earn a small commission if you make a purchase at no extra cost to you.