Fabricating custom distro plates for PC water cooling loops typically requires expensive CNC machining, but you can achieve professional results using 3D printing and laser cutting. By creating a silicone gasket system sandwiched between acrylic sheets, you can bypass traditional milling requirements. This approach allows for complex internal channel geometries and integrated pump mounting, providing a cost-effective alternative for custom loop builders.
⚡ Quick Guide: How to Make It in 5-10 Steps
- Design the internal manifold geometry using 3D modeling software.
- 3D print the channel forms or molds using high-quality filament.
- Laser cut acrylic sheets to act as the primary structural housing.
- Inject platinum-cure silicone into the mold to create the custom gasket.
- Assemble the acrylic layers with the silicone seal and secure with M4 hardware.
📋 In This Article
- Technical Specifications & Components
- Tools & Materials Used — what you will need for this project
- Conceptualizing the Manifold Design
- Understanding Distro Plate Functionality
- Designing the Silicone Gasket System
- Testing the Proof of Concept
- Integrating the Pump Adapter
- Simplifying the Molding Process
- Refining the Gasket Demolding
- Developing the All-Acrylic Design
- Sponsor Integration and Learning
- Addressing TPU Curing Issues
- Scaling Up the Prototype
- Troubleshooting Air Bubbles and Curing
- Injecting Silicone for Better Results
- Refining the Final Assembly Process
- Preparing the Full-Scale Mold
- Executing the Big Pour
- Tapping the G1/4 Ports
- Finalizing the Manifold Assembly
- Running the Leak Test
- Final Reveal of the Custom Manifold
- FAQ
📊 Technical Specifications & Components
| Fastener Type | M4 Machine Screws |
| Seal Material | Platinum-cure Silicone |
| Structural Material | Clear Acrylic Sheet |
| Mold Material | TPU Filament |
| Connection Standard | G1/4 Threaded Ports |
| Pump Compatibility | Custom Impeller Recess |
| Manufacturing Method | Additive Mold Injection |
| Seal Geometry | Integrated Gasket Channel |
📊 Project Overview & Costs
🔧 Difficulty Level: Hard
⏱️ Time Investment: DIY: 15-20 hours | Pro: 8-10 hours
💰 Professional Service Cost: $400 - $800
💡 Verdict: DIY fabrication saves on custom CNC shop fees and provides complete design freedom.
🛠️ Tools & Materials Used
• Bambu Lab H2S Printer
• xTool P2S Laser Cutter
• xTool AP2 Filter
• M4 Taps
• Plastic Syringe
• Platinum Silicone
• TPU Filament
• Acrylic Sheets
• Fluid Dye
• Plug Fitting
Step-by-Step Assembly, Repair, Testing & Inspection
Conceptualizing the Manifold Design
Standard distro plates are machined from solid acrylic blocks using CNC routers to create liquid paths. Since I don't have a CNC, I need a different approach. The goal is to replicate the functionality of a distro plate using additive manufacturing. It's a challenge. I need to design a system that manages fluid flow while maintaining a leak-proof seal without traditional milling.
Understanding Distro Plate Functionality
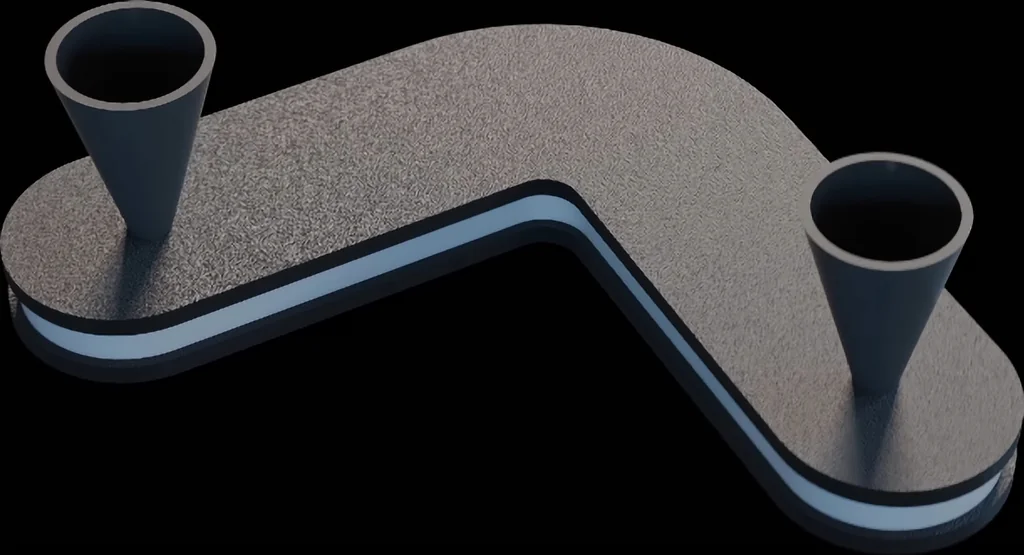
Distro plates simplify complex tube routing in water-cooled PCs by integrating multiple paths into a single flat unit. They typically consist of two acrylic sheets with a routed channel and an O-ring seal. You can even integrate the pump and reservoir directly into the plate. It's efficient. The main hurdle is creating a reliable seal between the layers without standard machining.
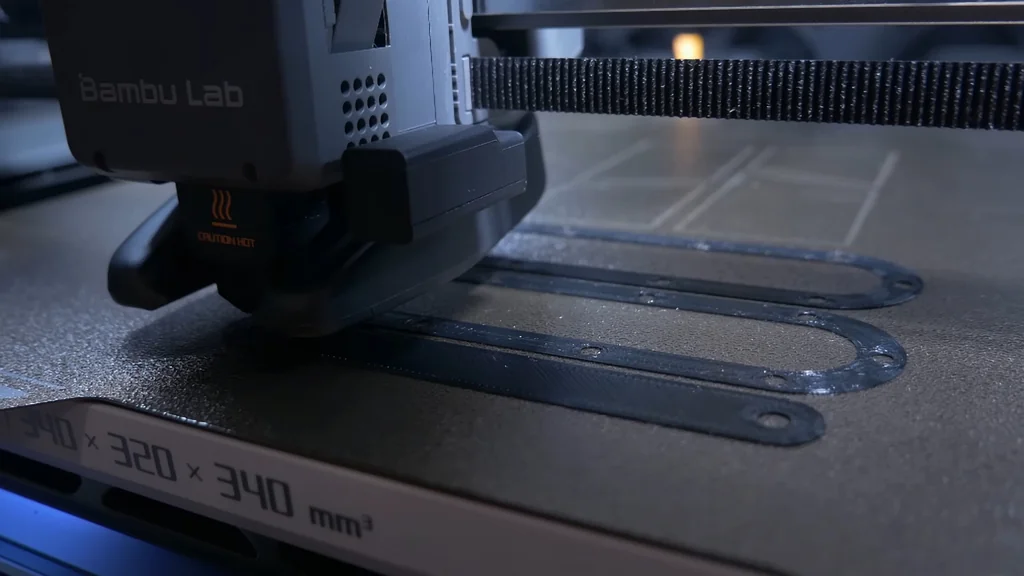
Designing the Silicone Gasket System
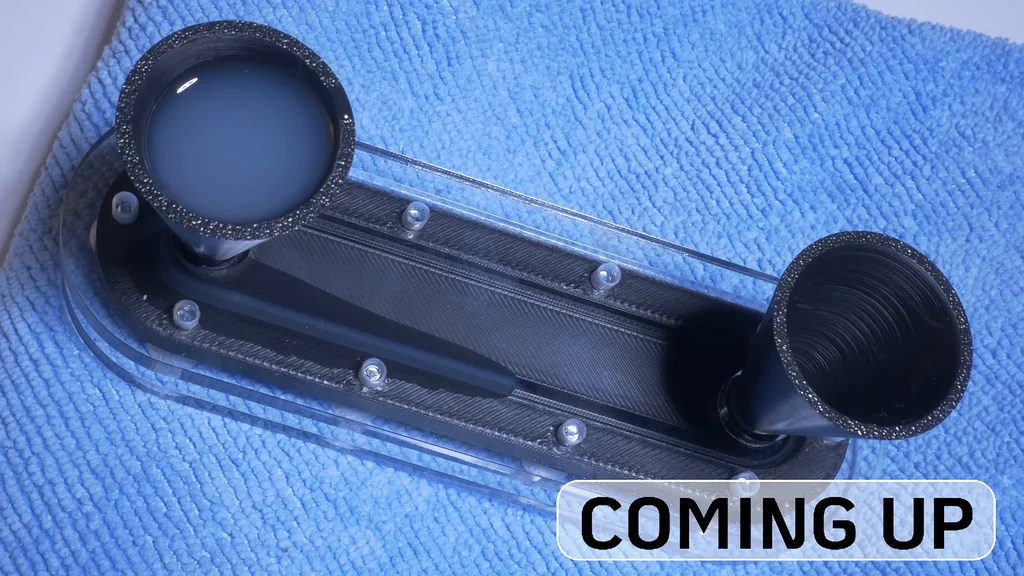
A simple 3D printed channel often leaks because it lacks a proper compression seal. Instead, I am using a 3D printed channel as a form for a custom silicone gasket. This gasket will be shielded from the water flow, ensuring longevity. I need a two-part mold to constrain the silicone while it cures. It's solid. Once cured, I can laser cut acrylic to sandwich the seal.
Testing the Proof of Concept
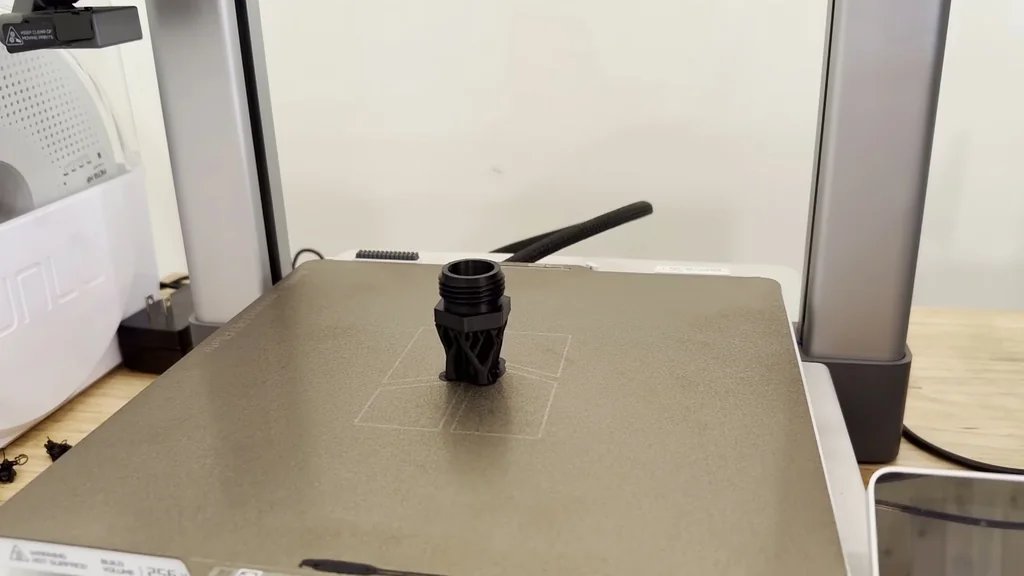
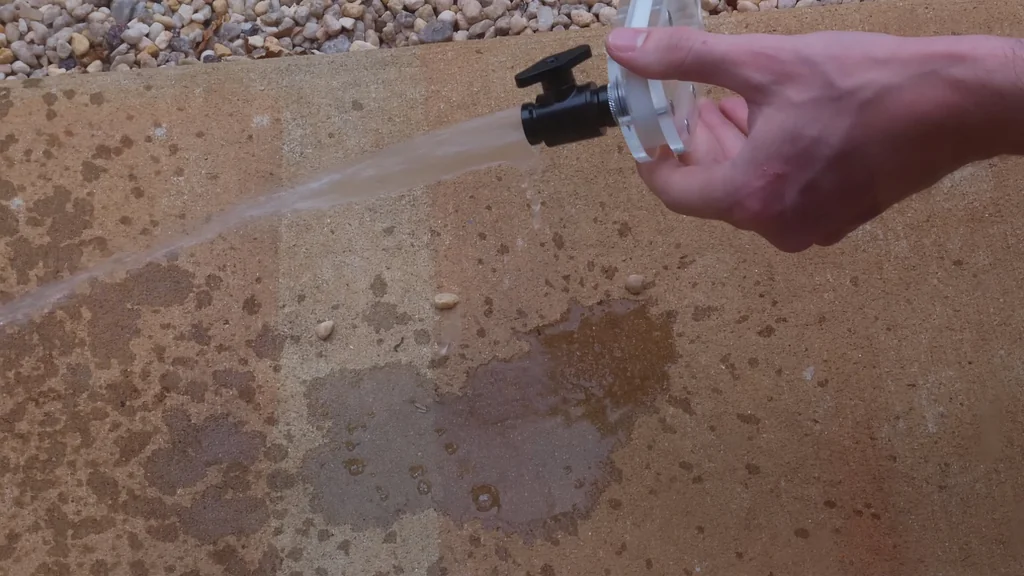
I started with 3/8 inch tubing and a 3D printed barb fitting to test the concept. That was a mistake. The barb fitting couldn't handle the pressure and blew off the hose immediately when I closed the valves. I switched to a threaded connection for better reliability. It holds water. I also ensured a safety supervisor was present during all pressure testing phases. Testing is vital.
Integrating the Pump Adapter
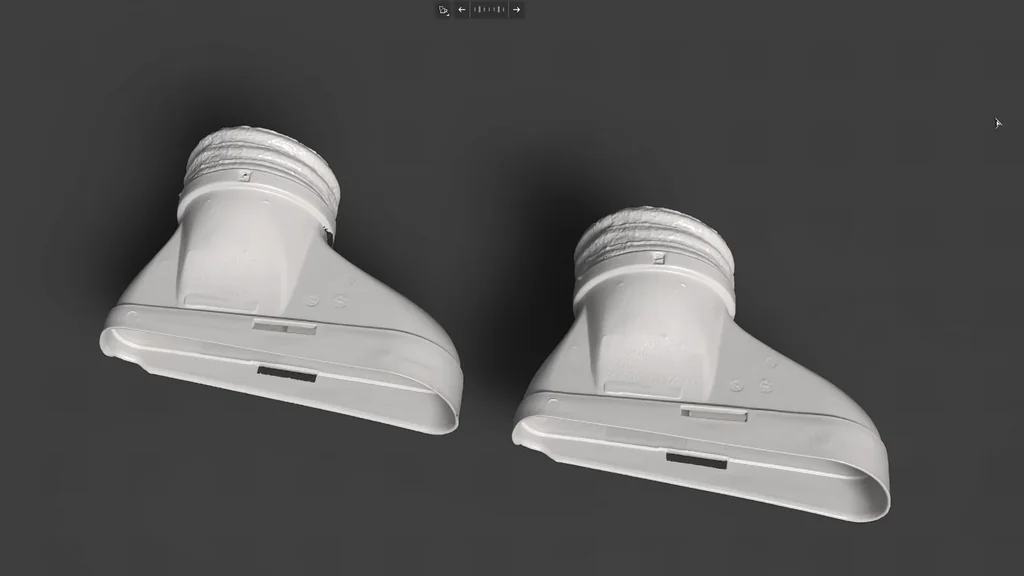
Conventional plates have a machined recess for the pump impeller. I need a different solution for my 3D printed design. I developed a small adapter to integrate the pump directly into the plate. It works well. I am building a second proof of concept to verify this specific pump integration idea before moving to the full-scale build.
Simplifying the Molding Process
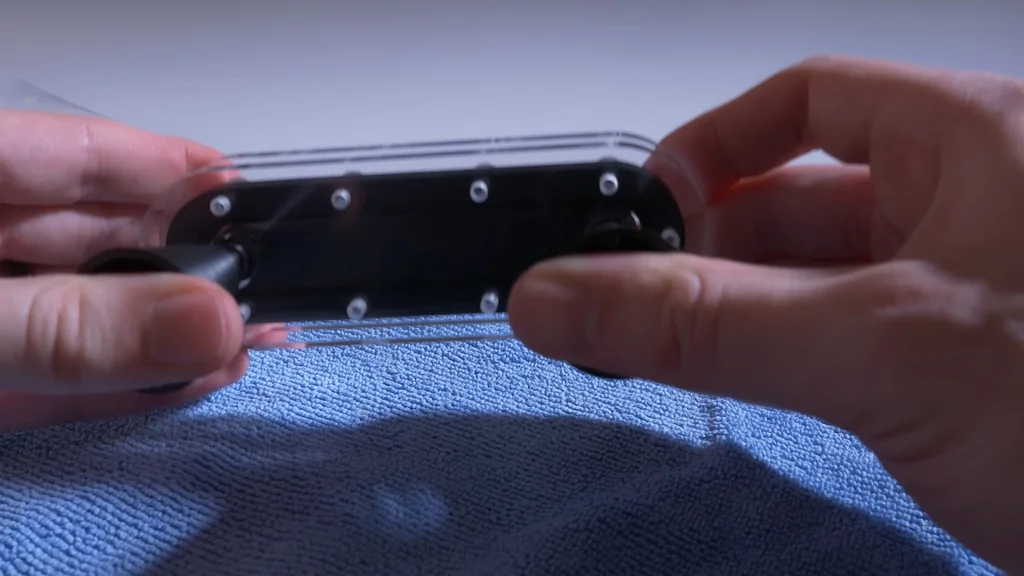
Instead of printing massive molds, I'm using the actual acrylic layers as part of the molding assembly. These layers sandwich a smaller form to create the internal seal geometry. It saves time. This method also allows me to visually monitor the silicone as it propagates through the mold, ensuring there are no gaps or air pockets in the gasket.
Refining the Gasket Demolding
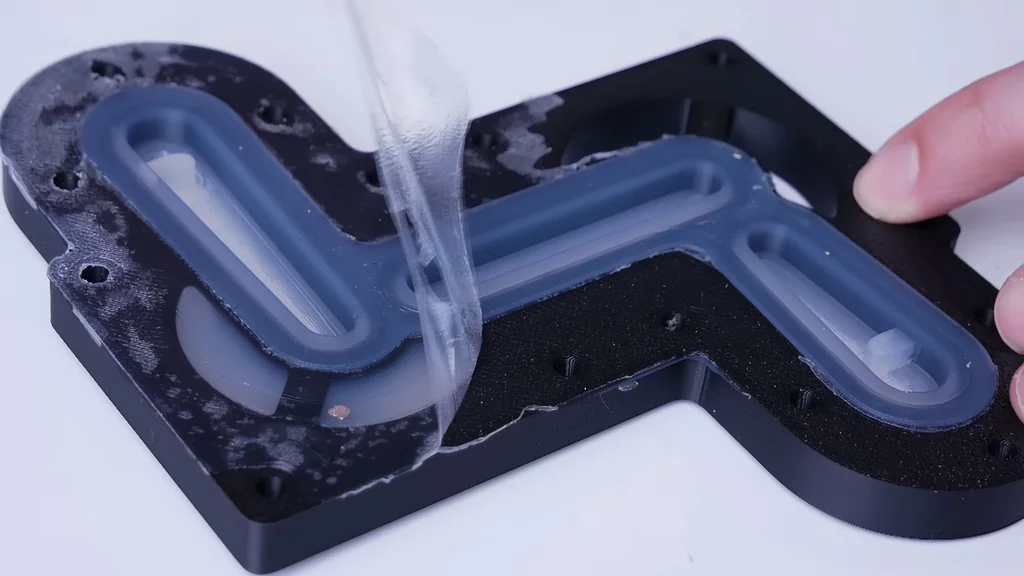
The molding process worked, but I struggled with excess flashing. It's messy. I learned that cutting the flashing away before demolding the final seal is much easier. Using a straight guide helps keep the edges clean. I also reduced the size of the assembly in this iteration, which resulted in a noticeable improvement in the final seal quality.
Developing the All-Acrylic Design
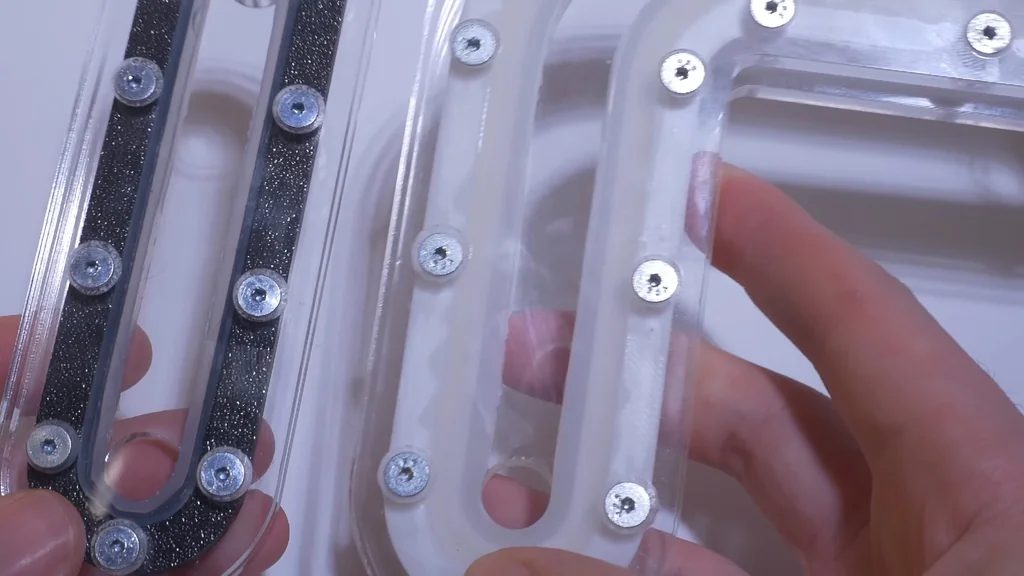
What if the 3D printed channel was replaced by an acrylic part? You get a fully transparent assembly. I am using molding shims to maintain the seal geometry. One of our community moderators suggested this path. I'm also printing the mold and shims out of TPU, a flexible filament. It's flexible. I'm hoping it forms a better seal against the acrylic surfaces.
Sponsor Integration and Learning
Brilliant helps you learn computer science through interactive problem solving. It's effective. The platform uses personalized practice to help you build genuine understanding, which is far more powerful than just watching videos. It starts you at the right level and keeps you moving forward with motivating challenges. It's a great tool for technical learning.
Addressing TPU Curing Issues
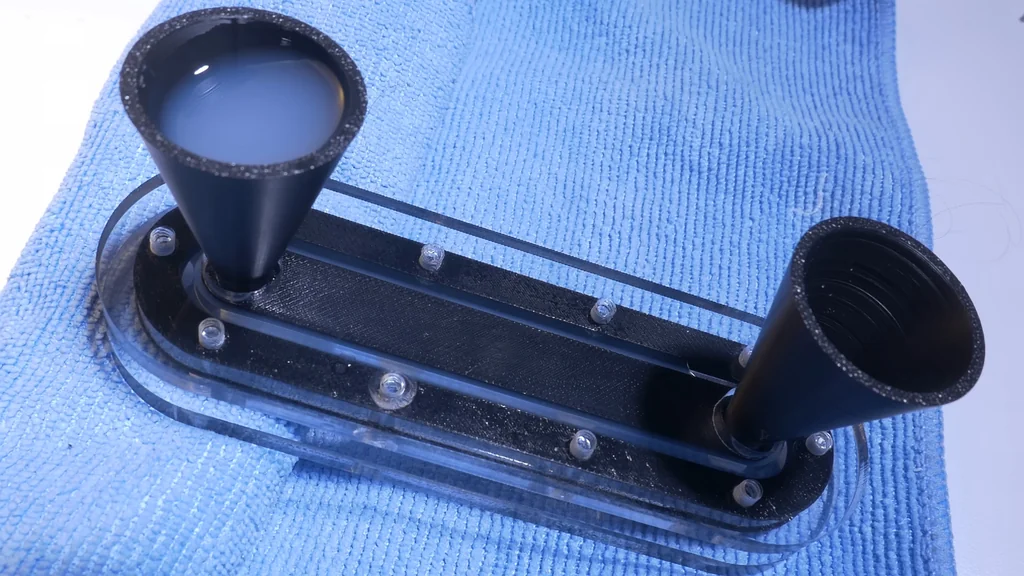
The TPU mold reduced flashing, but it introduced a new problem. The TPU material inhibits the silicone from curing fully. There was a lot of excess goo to wipe off. It's frustrating. However, I am really happy with how the all-acrylic design looks. I've learned enough from these small tests to scale up to a larger prototype.
Scaling Up the Prototype
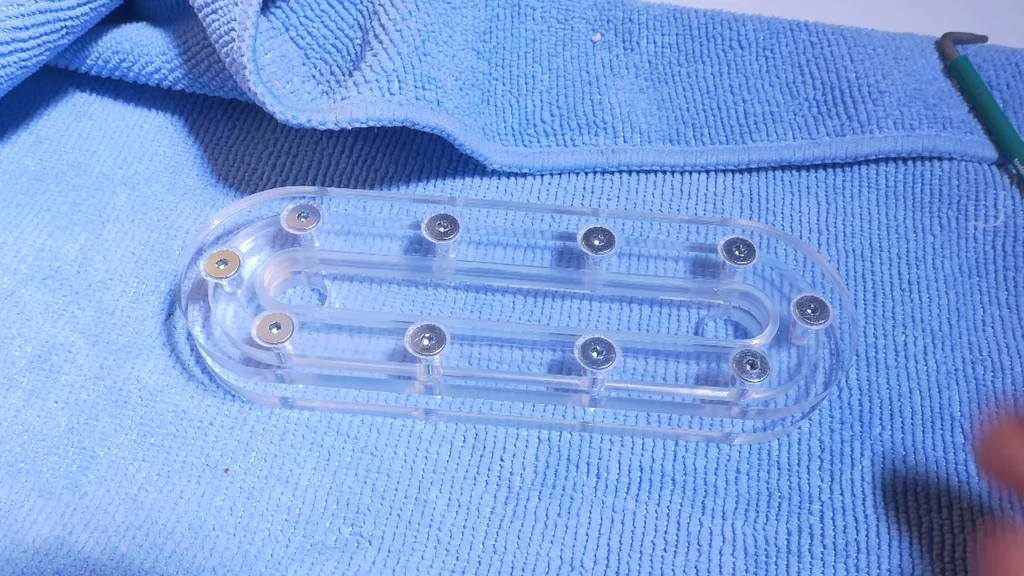
Making a longer seal is significantly harder than a small one. I bought a smooth print plate for my 3D printer to improve the mold's seal against the acrylic. The previous textured plate likely caused the excess flashing. I am tapping the base plate for M4 screws and countersinking the top plate. It's precise. Gravity feeding the silicone failed on this larger scale.
Troubleshooting Air Bubbles and Curing
Gravity feeding pulled in too many air bubbles from the sides. I tried angling the mold to vent the air, but it was ineffective. When I opened the mold, it was a disaster. The TPU inhibition issue created a massive mess of uncured silicone. It's a nightmare. I need to switch back to a different molding strategy for the next attempt.
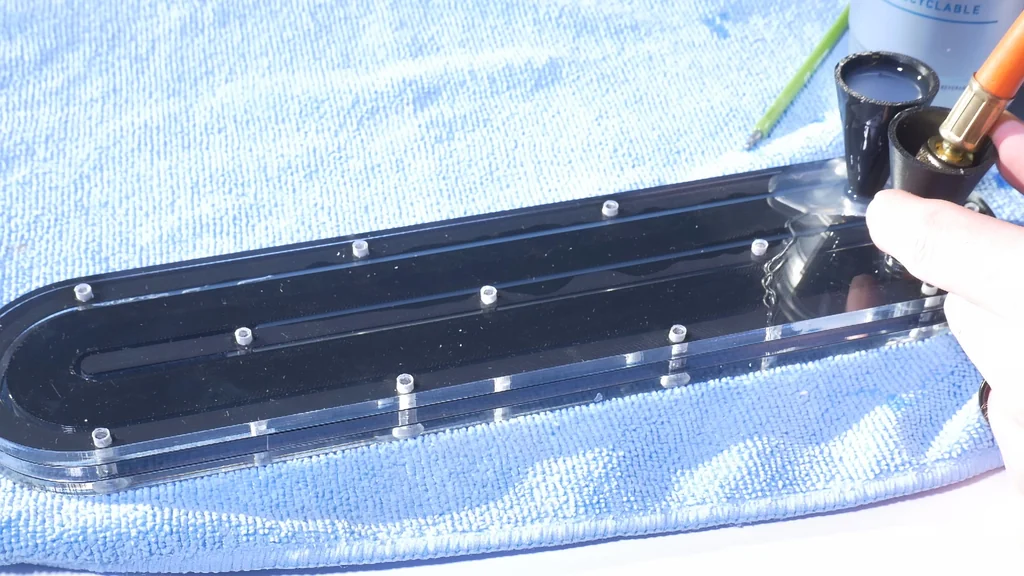
Injecting Silicone for Better Results
We are trying a new injection method for the silicone. I'm going back to the 3D printed channel for this attempt because it retains the seal in place effectively. It makes assembly easier. I'm adding small holes along the channel to allow for the injection. This should prevent the air bubble issues we saw with the gravity-fed method.
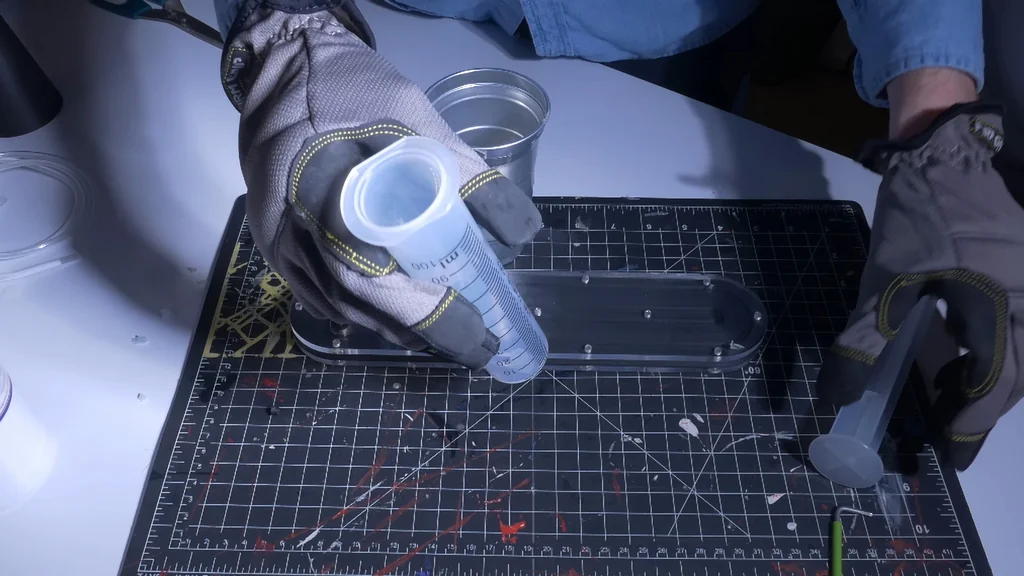
Refining the Final Assembly Process
I learned to cut the flashing while the part is still in the mold. It's much cleaner. Switching to the smooth print plate has also made the process easier. I'm committed to the full acrylic look for the build. I'll keep the 3D printed channel design in mind for future projects. I feel ready to build the full-size operational prototype.
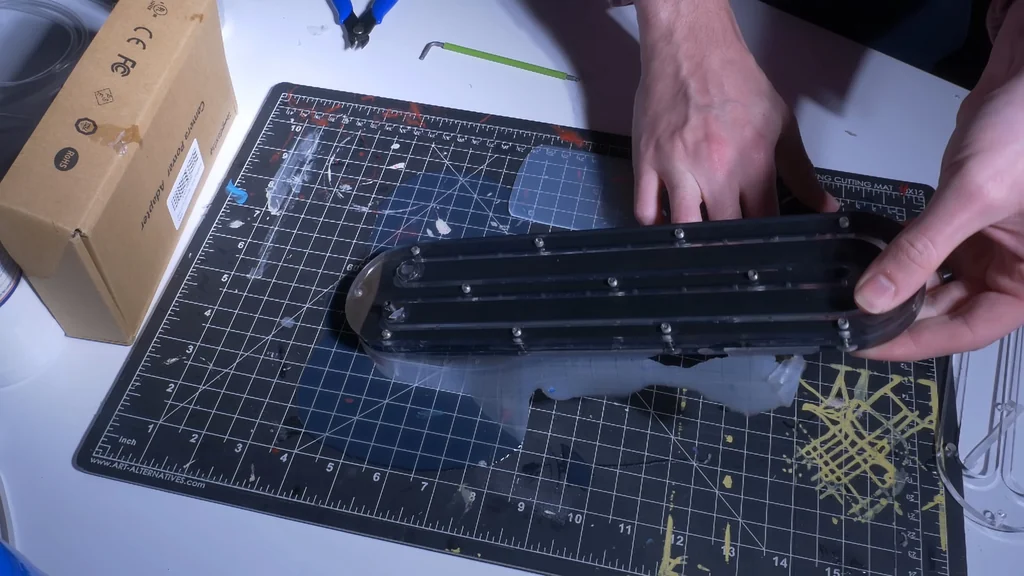
Preparing the Full-Scale Mold
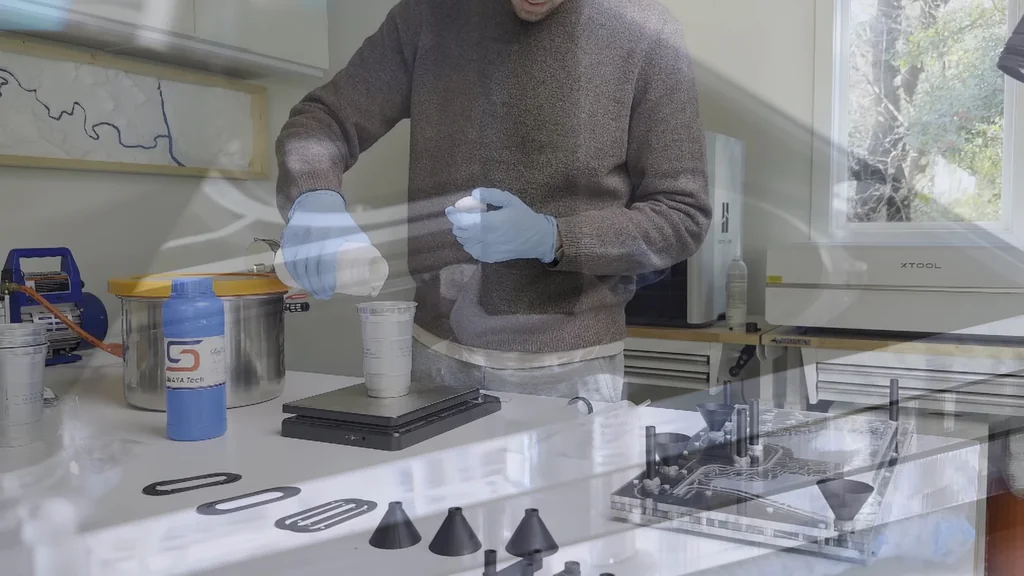
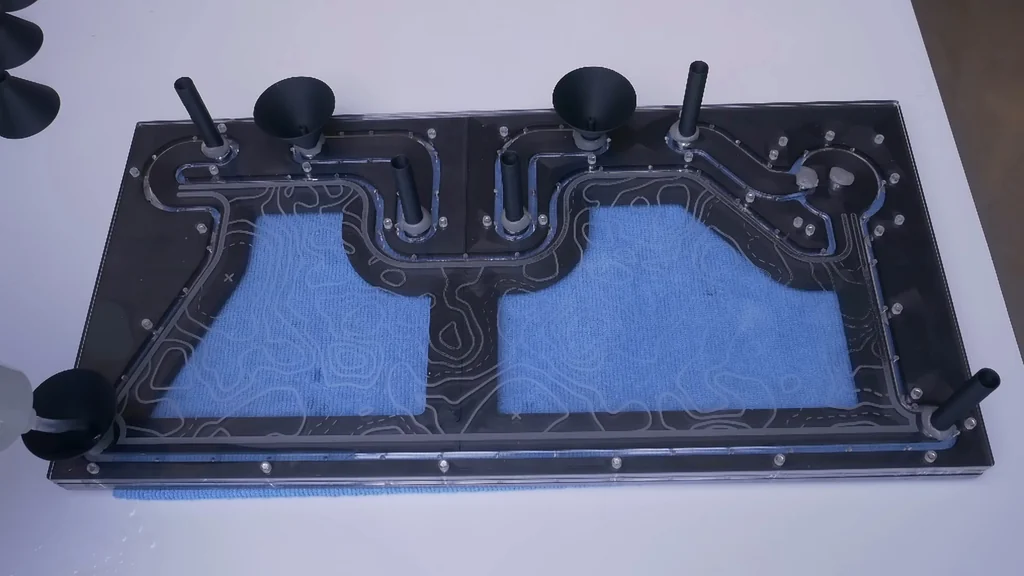
The inside mold is too large for a single print. I have two pieces that snap together for each channel. I have a single injection point and multiple chimneys to help air escape. It's complex. I'm using beetle tape to seal around the pass-throughs to ensure the mold remains airtight during the silicone injection process.
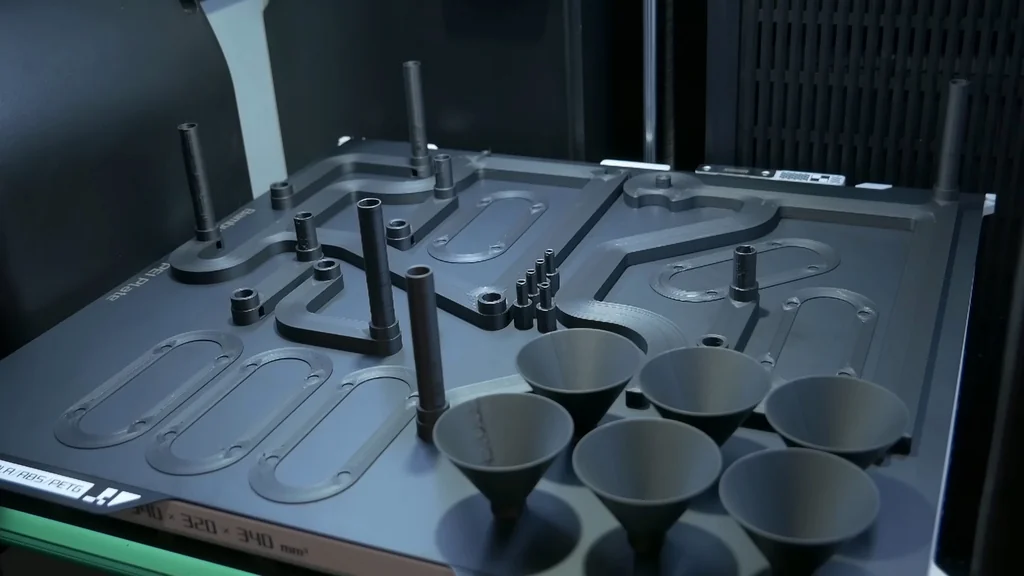
Executing the Big Pour
The injection method was promising, but the reservoir was too large. I couldn't get the silicone to travel the full perimeter. I had to cheat and inject from the opposite side. It's risky. If the mold were perfectly sealed, this would trap air, but the leaks actually helped the air escape. It worked out.
Tapping the G1/4 Ports
With the silicone cured, I can now tap the quarter-inch G1/4 holes for the plugs. This is the final step before assembly. It's satisfying. The leaking around the sides actually acted as a vent for air bubbles, which was a lucky break. Now the manifold is ready for the final assembly and testing phase.
Finalizing the Manifold Assembly
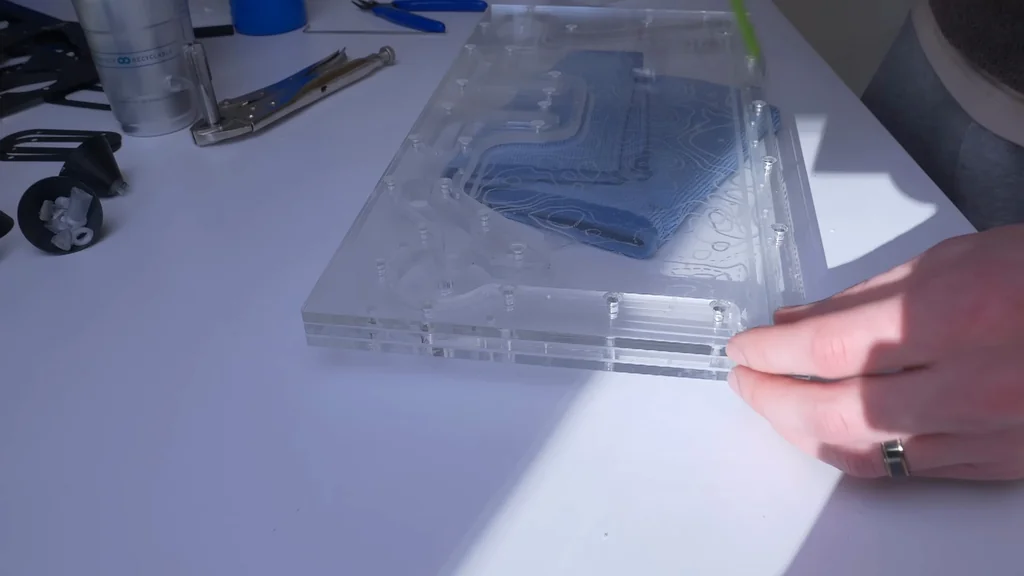
I'm making mini distros to connect the ports for testing. It's necessary. I'm labeling each port with the component it will supply to keep the loop organized. This ensures everything is routed correctly before I fill the system with coolant. The assembly is coming together nicely and looks professional.
Running the Leak Test
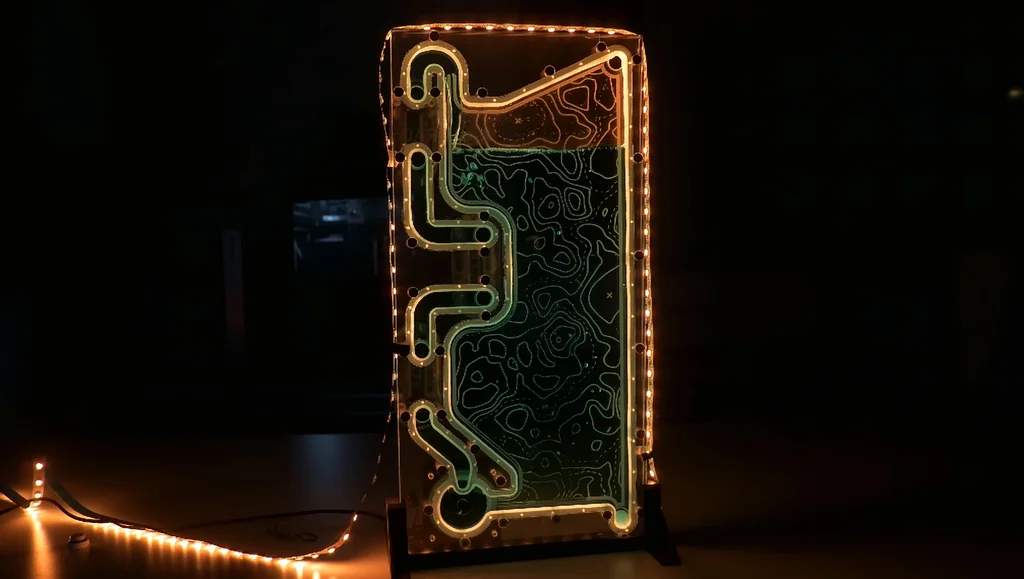
I'm using a spare power supply to run the pump for the test. It's been running non-stop for a full week. We haven't developed any leaks. It's solid. I plan to keep iterating on this idea and eventually build a custom case using this same method. The results are very encouraging for future builds.
Final Reveal of the Custom Manifold
The design has developed significantly throughout this project. It's exciting. I'm looking forward to seeing where this technology goes next. Thank you for following along with this build process. We'll see you next time for the next workshop project.
⚠️ CAUTION: SAFETY WARNING!
Always wear eye protection when tapping acrylic or working with uncured silicone. Ensure your workspace is well-ventilated when using chemicals or laser cutting materials.
Summary & Tips
This project proves that custom distro plates are achievable without a CNC router. The combination of 3D printed molds and silicone gaskets creates a reliable, leak-proof seal. It's a great workflow. I am eager to apply these techniques to a full custom case build in the future.
📋 FAQ
❓ Can I use any silicone for the gasket?
No, you should use a high-quality platinum-cure silicone. It's durable. Avoid materials that might be inhibited by your 3D printed mold filament.
❓ Why did the TPU mold fail to cure?
Certain TPU filaments contain additives that inhibit the curing process of platinum-cure silicone. It's a chemical reaction. You should test your filament with a small amount of silicone first.
❓ Is laser cutting acrylic better than CNC?
It depends on your design goals. Laser cutting is faster for 2D shapes. CNC is better for 3D pockets and complex internal features.
❓ How do I prevent air bubbles in the silicone?
Proper injection and venting are key. It's tricky. Use multiple chimneys and ensure your mold has a clear path for air to escape during the pour.
Disclaimer: I purchased all tools for this guide with my own money to ensure an unbiased review. This post contains affiliate links, meaning I earn a small commission if you make a purchase at no extra cost to you.