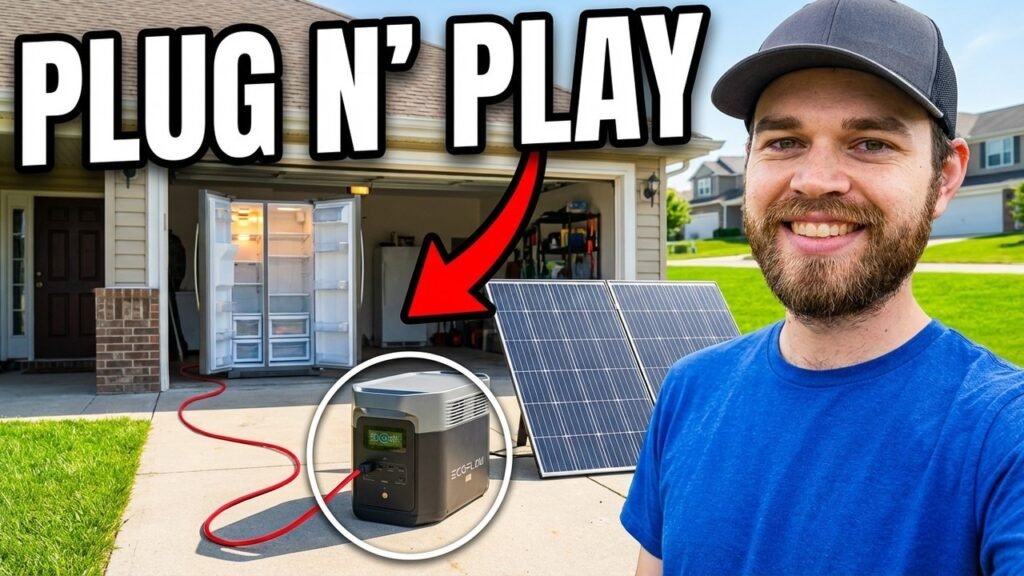
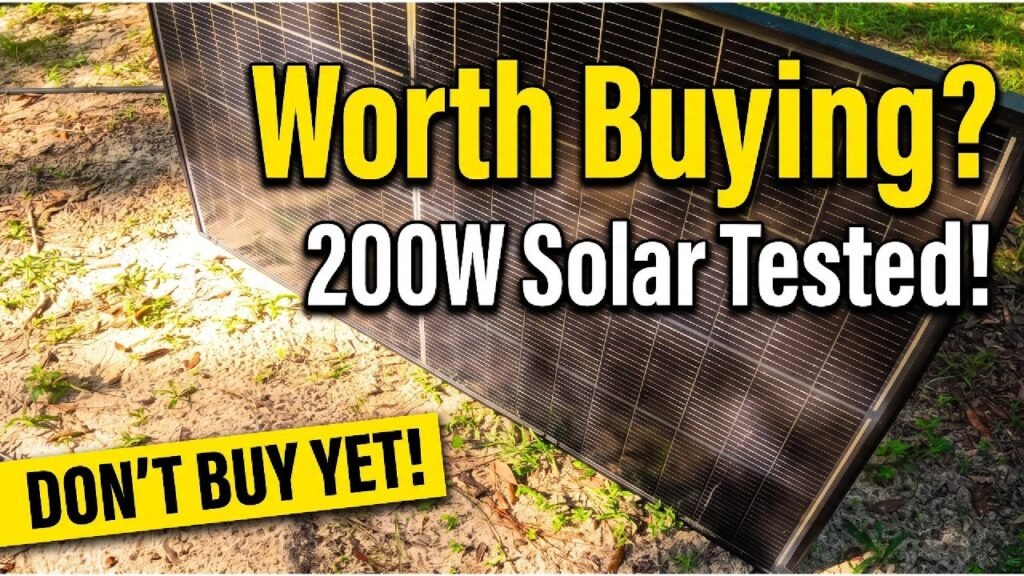
Adding solar capacity to a Tesla Model 3 requires precision and the right materials. This project utilizes the EcoFlow 256W HeatGuard solar film, designed specifically for the roof geometry of the Model 3. By integrating this with a portable power station, you can maintain auxiliary power for devices without relying solely on the vehicle’s high-voltage battery. It’s a clean, low-profile way to capture energy while parked.
⚡ Quick Guide: How to Make It in 8 Steps
📋 In This Article
- Technical Specifications & Components
- Tools & Materials Used — what you will need for this project
- Preparing the Tesla Roof Surface
- Aligning the EcoFlow Solar Film
- Setting Up the PREDATOR Power Station
- Connecting the Solar Input Cables
- Verifying 600W Power Station Operation
- Final Inspection of Solar Film Adhesion
- Organizing Trunk Cable Management
- Final System Test and Verification
- FAQ
📊 Technical Specifications & Components
| Solar Film Power | 256W |
| Compatibility | Tesla Model 3 |
| Power Station Output | 600W |
| Technology | HeatGuard Solar Film |
| Mounting Type | Adhesive/Film |
| System Integration | Portable Power Station |
📊 Project Overview & Costs
🔧 Difficulty Level: Medium
⏱️ Time Investment: DIY: 2-3 hours | Pro: 1 hour
💰 Professional Service Cost: $400 - $600
💡 Verdict: You save on professional installation labor while gaining a custom off-grid power setup.
🛠️ Tools & Materials Used
• EcoFlow 256W HeatGuard Solar Film
• PREDATOR Portable Power Station
• Microfiber cleaning cloths
• Isopropyl alcohol
• Cable management ties
Step-by-Step Assembly, Repair, Testing & Inspection
Preparing the Tesla Roof Surface
The roof glass must be perfectly clean before applying the solar film. Any dust or residue will prevent the adhesive from bonding correctly. Use a high-quality glass cleaner followed by isopropyl alcohol to strip away oils. It's critical. A clean surface ensures the film stays flat and maintains maximum light transmission. Don't rush this part.

Aligning the EcoFlow Solar Film
Carefully position the EcoFlow 256W HeatGuard film over the roof panels. The film is cut to match the specific curvature of the Model 3 glass. Take your time with the alignment. You want to ensure the edges are flush with the roof trim to avoid lifting later. It's a precise fit. Once the position is set, you can begin the final adhesion process.

Setting Up the PREDATOR Power Station
The PREDATOR power station acts as the heart of this energy system. It sits securely in the trunk, providing a centralized hub for your solar input. Make sure the unit is on a stable surface. You'll need to clear enough space for the cables to run from the roof to the trunk cavity. It's ready to go. The unit should be accessible for monitoring the charge status.

Connecting the Solar Input Cables
Route the solar output cables from the roof down to the trunk. You need to be careful not to pinch the wires in the trunk seal or hinge mechanisms. Use cable ties to keep the run clean and hidden. It's essential for longevity. Once the cables reach the PREDATOR unit, plug them into the designated solar input port. The connection must be tight. A loose connection will cause intermittent charging or potential heat build up at the contact point.

Verifying 600W Power Station Operation
Turn on the PREDATOR 600W power station to check for input voltage. The display should show the current wattage being pulled from the roof panels. It's working. If the numbers aren't climbing, check your cable polarity and ensure the panels are exposed to direct sunlight. A stable reading confirms the system is active. This is the moment of truth.

Final Inspection of Solar Film Adhesion
Check the edges of the solar film for any air bubbles or lifting. Press down firmly with a soft cloth to ensure a full bond. It's solid. If you see any gaps, work them out toward the edges slowly. The film should look like a natural part of the roof glass. Consistency is key here.

Organizing Trunk Cable Management
Tidy up the excess cabling in the trunk area to prevent tangling. Use adhesive clips or hook-and-loop straps to secure the wires along the side panels. It's clean. A neat trunk makes it easier to access the power station later. You don't want to loose wires snagging on your cargo. Everything is locked down.

Final System Test and Verification
With everything connected, perform a final check of the entire setup. Ensure the car can close its trunk without putting tension on the solar cables. It's finished. The system is now ready to harvest energy while the vehicle is parked. You've successfully integrated auxiliary solar power into your Tesla.

⚠️ CAUTION: SAFETY WARNING!
Ensure all electrical connections are dry and secure to prevent short circuits. Never attempt to modify the vehicle's high-voltage electrical system.
Summary & Tips
The installation of the EcoFlow solar film is a straightforward way to add utility to your Tesla. Proper cleaning and cable routing are the most important parts of the process. Once installed, the system provides a consistent charge to your portable power station. You now have a functional off-grid energy source for your travels.
📋 FAQ
❓ Does the solar film affect the Tesla roof glass?
No, the film is designed to be safe for automotive glass. It uses a non-permanent adhesive that won't damage the surface. It's safe.
❓ Can I charge the car battery with this?
Usually, this setup is for auxiliary power stations only. It doesn't have the output to charge the main Tesla battery. It's for devices.
❓ How long does the film stay on?
The adhesive is weather-resistant and durable. It should last for several years with proper care. It's built tough.
❓ Is the wiring visible from the outside?
The cables are routed through the trunk seals to remain hidden. It looks very clean. You won't see them.
Disclaimer: I purchased all tools for this guide with my own money to ensure an unbiased review. This post contains affiliate links, meaning I earn a small commission if you make a purchase at no extra cost to you.