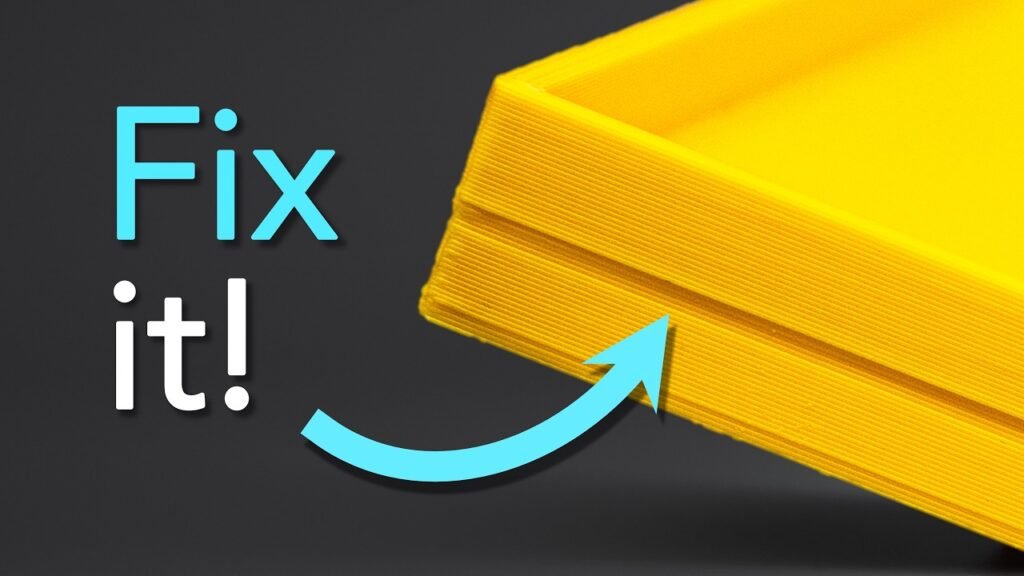
Stringing is the bane of any 3D printer operator, leaving unsightly hairs and plastic webs across your finished parts. It happens when molten filament continues to flow from the nozzle during non-printing travel moves. By dialing in your retraction settings and managing filament moisture, you can achieve clean, professional results. This guide breaks down the technical adjustments required to stop the ooze and optimize your printer’s performance.
⚡ Quick Guide: How to Make It in 5-10 Steps
- Verify your extruder E-steps are calibrated correctly.
- Inspect the hotend nozzle for signs of wear or enlargement.
- Adjust retraction distance and speed in your slicer software.
- Test filament temperatures using a temperature tower.
- Dry your filament to prevent moisture-induced pressure issues.
- Increase travel speed to minimize time for plastic to ooze.
📋 In This Article
- Technical Specifications & Components
- Tools & Materials Used — what you will need for this project
- Understanding Why Stringing Occurs
- Testing Filament Performance
- Calibrating E-Steps First
- Inspecting the Hotend Nozzle
- Optimizing Temperature Settings
- Configuring Retraction Settings
- Adjusting Retraction Distance
- Setting Retraction Speed
- Managing Minimum Travel Distance
- Dealing with Sticky Filaments
- Refining the Cleanup Process
- Preventing Moisture Absorption
- Optimizing Travel Speed
- Comparing Test Prints
- Finalizing Calibration Results
- FAQ
📊 Technical Specifications & Components
| Retraction Distance | Dependent on extruder type (Direct vs Bowden) |
| Retraction Speed | Must be balanced to avoid grinding filament |
| Minimum Travel Distance | Threshold for initiating retraction |
| Filament Types | TPU, Nylon, PEEK, PETG (High stringing susceptibility) |
| Extrusion Calibration | 10cm manual extrusion test |
| Nozzle Condition | Standard vs Worn/Drilled |
📊 Project Overview & Costs
🔧 Difficulty Level: Easy
⏱️ Time Investment: DIY: 30-60 minutes | Pro: 15 minutes
💰 Professional Service Cost: $0 - $20
💡 Verdict: Proper calibration saves hours of post-processing and cleanup time.
🛠️ Tools & Materials Used
• Zero Clearance Cutters
• Small Blow Torch
• Desiccant Packs
• Airtight Storage Bags
Step-by-Step Assembly, Repair, Testing & Inspection
Understanding Why Stringing Occurs
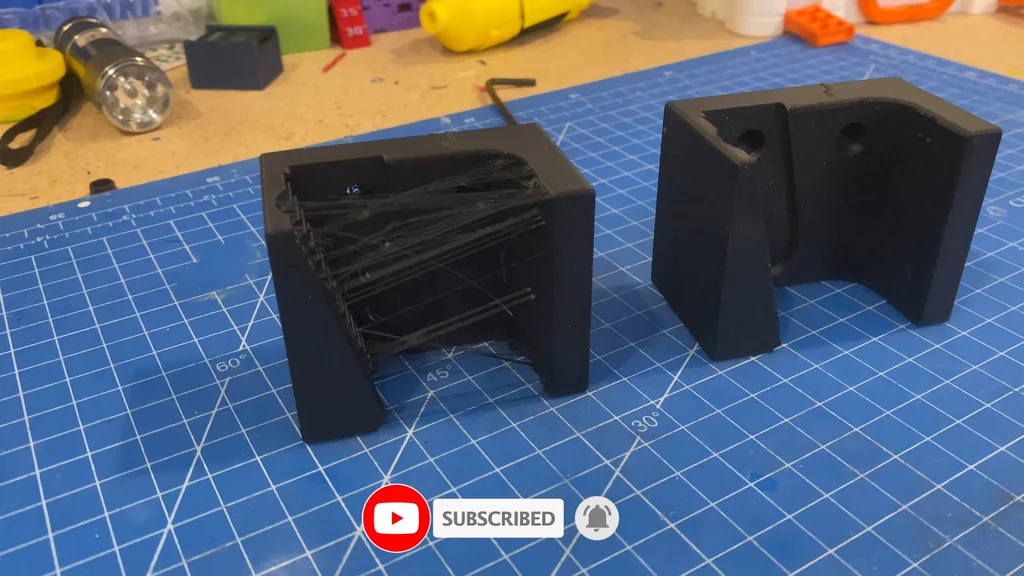
Stringing is essentially unwanted plastic flow during travel moves. It's a common issue. Your printer is moving between two points, and the nozzle continues to leak molten material. This happens because the pressure inside the hotend isn't being relieved effectively. It's a flow control problem. You need to stop that plastic from leaking. The goal is to keep the nozzle clean during non-printing movements.
Testing Filament Performance
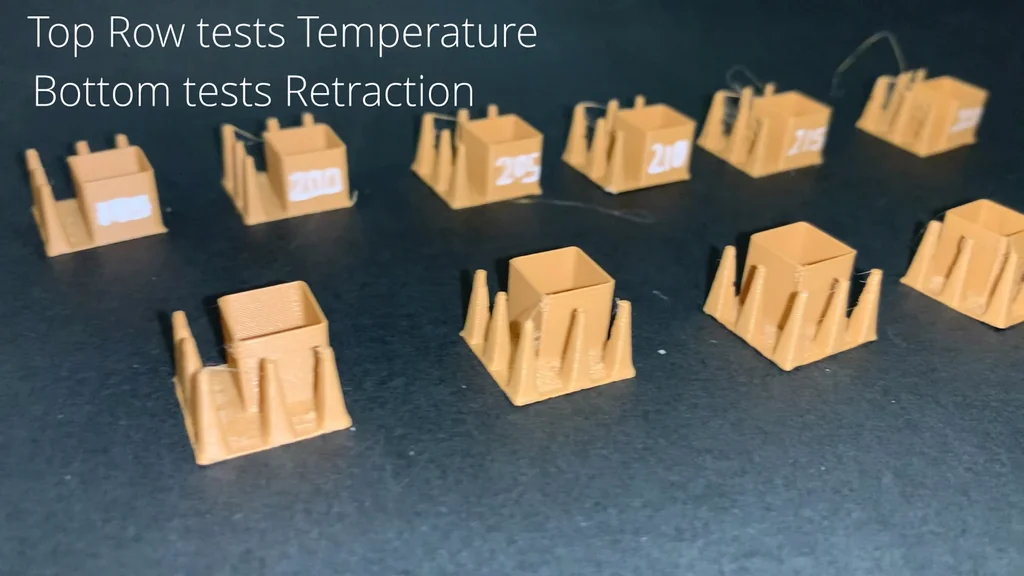
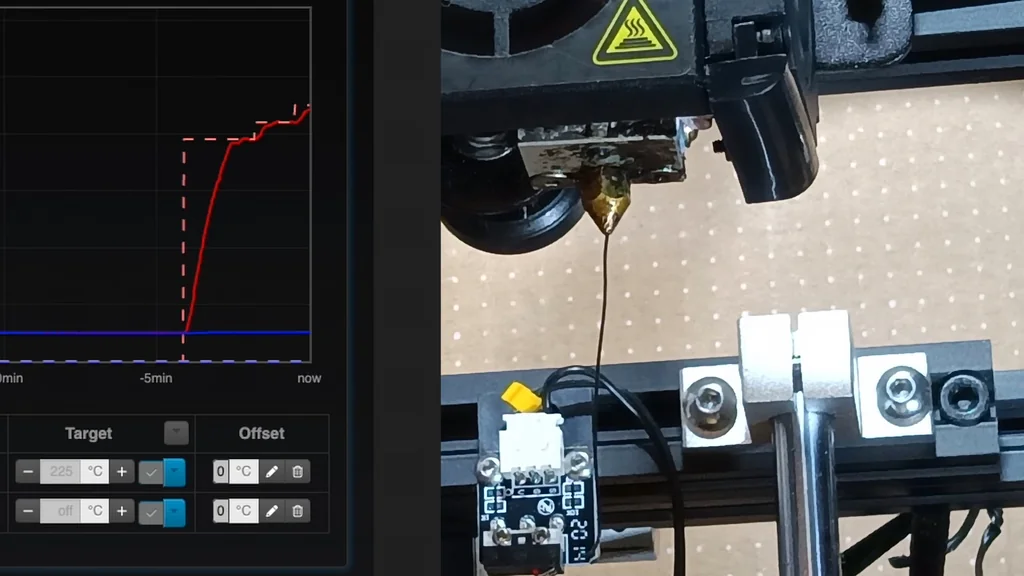
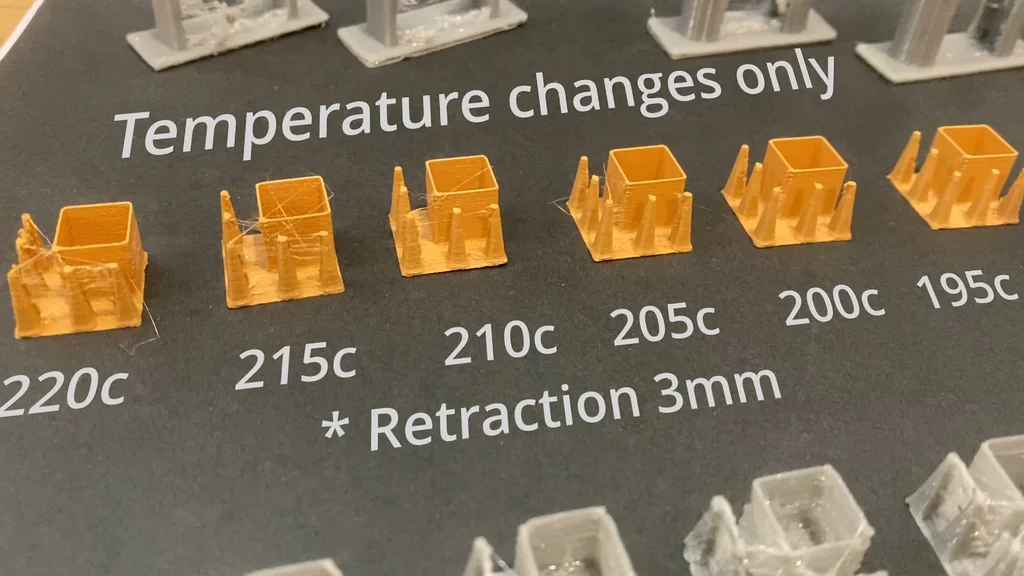
You should use a temperature tower to find the optimal melt point. It's a standard test. You must modify your slicer settings to change the temperature at specific layers. PrusaSlicer and its clones make this easy. Just slice the model and insert a G-code change at the desired layer. I prefer the four-post test model. It uses very little filament. It's efficient.
Calibrating E-Steps First
Rule out hardware issues before touching slicer settings. It's vital. You need to verify your E-steps are configured correctly. Manually extrude exactly 10cm of filament. Measure the actual output. If it doesn't match, your flow calculations are wrong. This is the foundation. Don't skip this step.
Inspecting the Hotend Nozzle
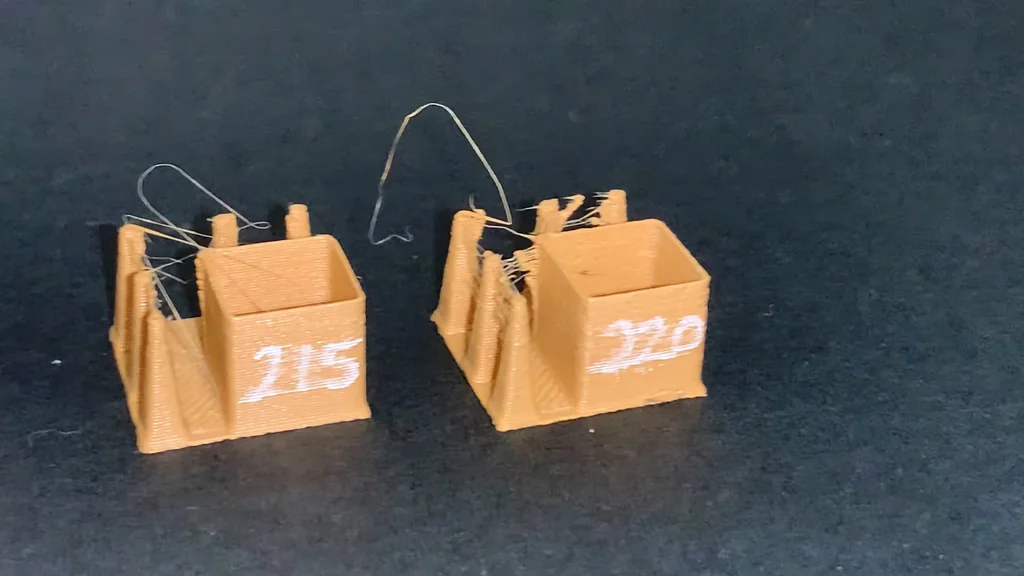
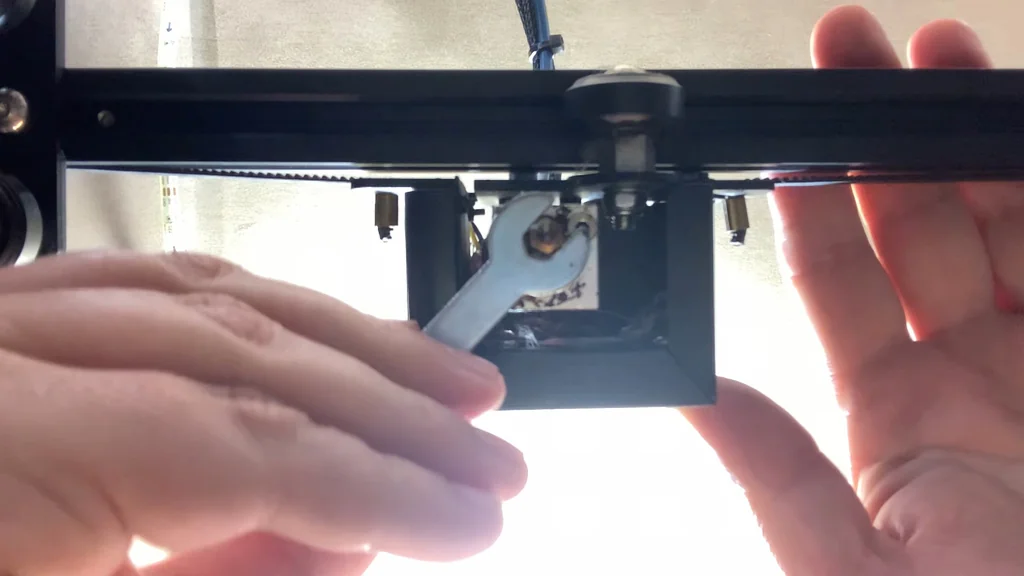
A worn nozzle can cause significant stringing issues. It's a physical failure. The hole becomes larger than the printer expects, creating space for plastic to leak. You really should just replace it. Some people try to drill them out for larger diameters, but that requires a drill press for accuracy. It's risky. Most users are better off with a fresh nozzle. It's a simple swap. Don't overcomplicate the repair.
Optimizing Temperature Settings
Temperature recommendations exist for a reason. It's about melt flow. If the temp is too low, the extruder struggles to push filament, causing pressure buildup and under-extrusion. If it's too high, the plastic becomes too runny. You get stringing. Always test new filament brands. Write the successful temperature directly on the spool. It helps later.
Configuring Retraction Settings
Retraction is the most important slicer setting for stringing. It's usually enabled by default. The printer pulls the filament back when moving between points. This relieves pressure in the nozzle. It stops the ooze. You need to find the balance for your specific setup.
Adjusting Retraction Distance
Retraction distance depends on your extruder type. It's a mechanical factor. Direct drive systems need much less distance than Bowden tube setups. Bowden tubes have extra give, requiring more pull-back. If you pull back too far, you risk clogging. It's a delicate balance.
Setting Retraction Speed
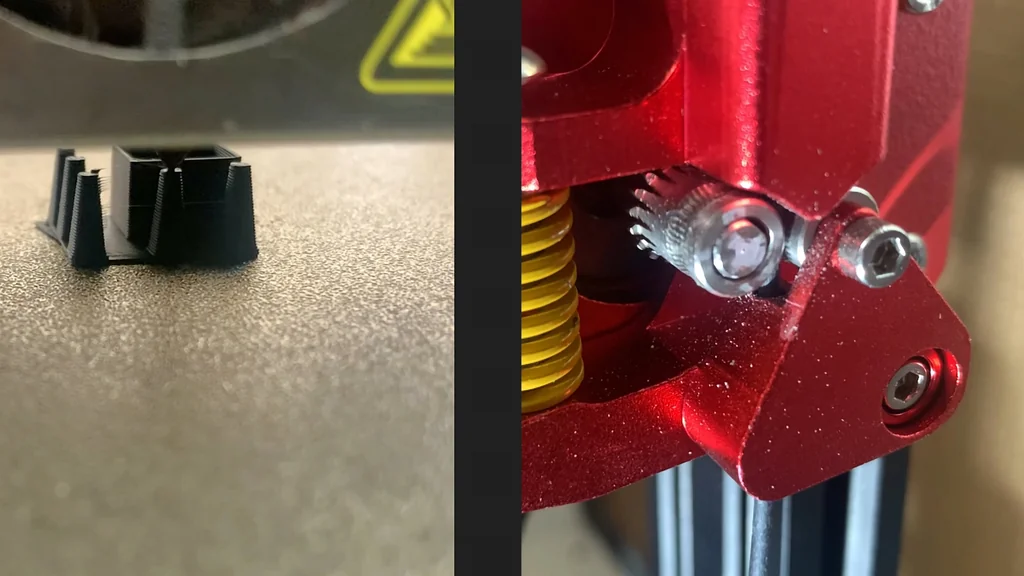
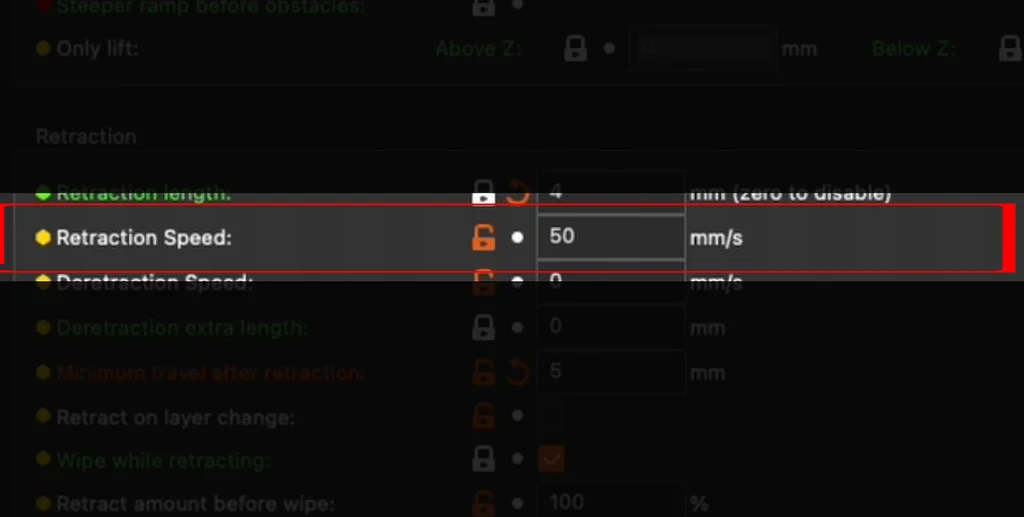
Speed matters just as much as distance. It's about timing. You want to pull back quickly to stop the ooze. But go too fast, and you'll grind the filament. The extruder gears will strip it. Then it can't push the filament back. It's a common failure point.
Managing Minimum Travel Distance
Some slicers have a minimum distance setting. It's a threshold. If the hotend moves over a gap smaller than this, it won't retract. I've used this to prevent stripping filament on older extruders. It's useful for complex prints. Too many retractions can kill a print job.
Dealing with Sticky Filaments
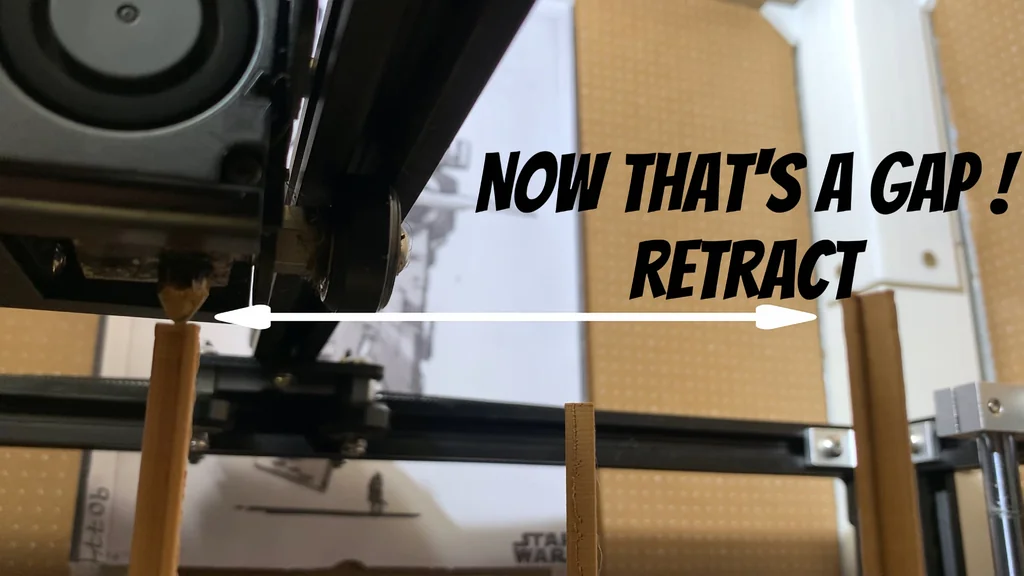
TPU, Nylon, and PETG are prone to stringing. It's the nature of the material. They are sticky and require high temperatures. You might never eliminate it entirely. Aim for thin, hair-like strings instead of thick webs. It's easier to clean up. Don't stress the small stuff.
Refining the Cleanup Process
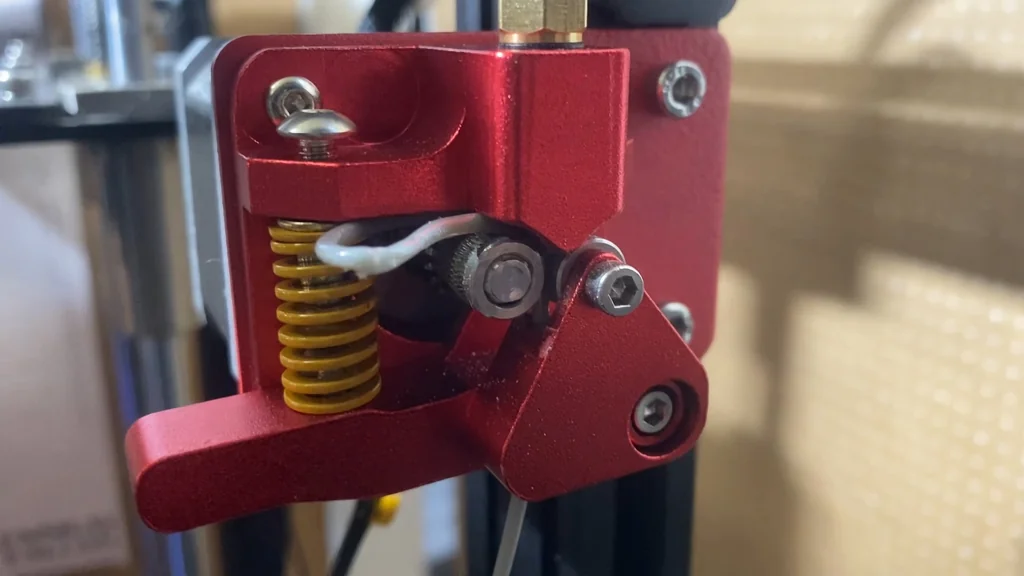
Sometimes you just have to clean the print. It's reality. I aim for stringing in the wide spaces between parts. It's easier to remove there. Use zero-clearance cutters for the bulk of it. A small blow torch works wonders for the fine hairs. It's a quick fix.
Preventing Moisture Absorption
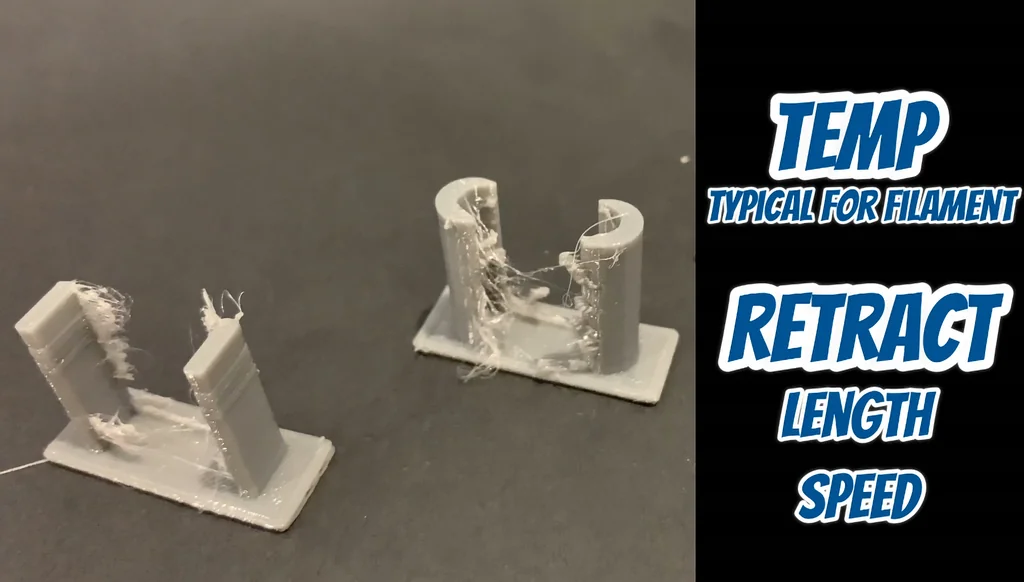
Moisture is a silent killer for print quality. It's a major cause of stringing. Water in the plastic evaporates in the hotend, creating pressure. It forces filament out. Keep your filament in airtight bags with desiccant. It's cheap insurance. Prevention is best.
Optimizing Travel Speed
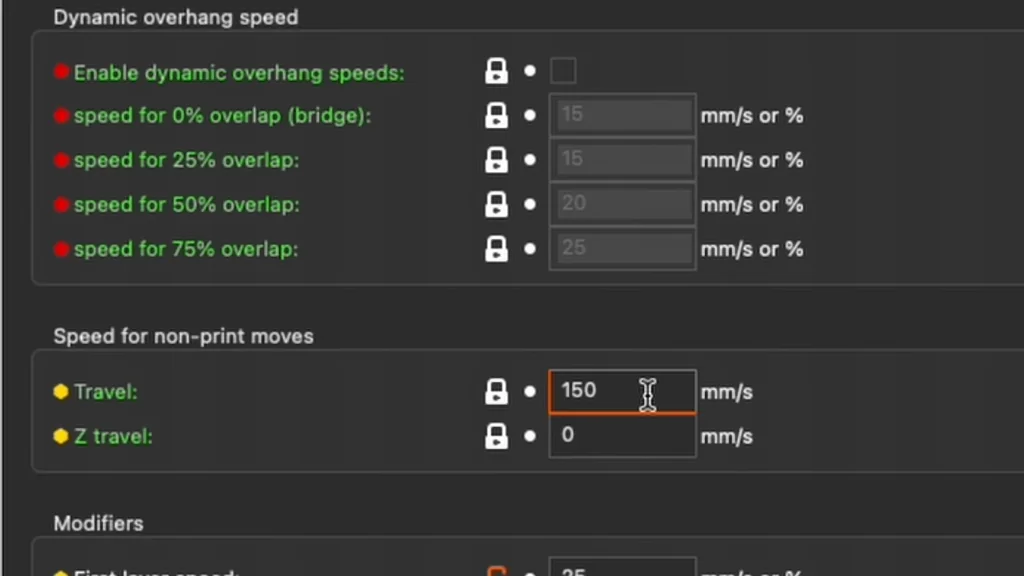
Speeding up travel moves reduces ooze time. It's a simple trick. The nozzle spends less time crossing gaps. You might still get thin strings. Use the blow torch method for those. Slicers can also optimize travel paths. It's worth exploring.
Comparing Test Prints
Always compare your test prints. It's how you learn. Change one setting at a time. Don't guess. When you try a new filament, run a test. It ensures your print is working as well as possible. It's a good habit.
Finalizing Calibration Results
You've dialed in the settings. It's done. Keep your notes on the filament rolls. It saves time later. If you're still having trouble, re-check your moisture levels. It's usually the culprit. Happy printing.
⚠️ CAUTION: SAFETY WARNING!
Always exercise caution when using a blow torch near plastic parts to avoid fire hazards or toxic fumes. Ensure your workspace is well-ventilated during any thermal cleanup.
Summary & Tips
Stringing is a manageable issue with the right calibration. Start by verifying your hardware and E-steps before tweaking software. Consistent testing with every new filament roll will prevent future headaches. You now have the knowledge to keep your prints clean and professional.
📋 FAQ
❓ Why does my printer still string after changing retraction?
Honestly, check your filament for moisture first. It's a common oversight. Damp plastic creates internal pressure that retraction can't fix. Dry it out.
❓ Is a higher retraction speed always better?
Nah, it's not. If you go too fast, you'll strip the filament. The gears will grind it down. Find the sweet spot for your extruder.
❓ How do I know if my nozzle is worn out?
Usually, you'll see inconsistent extrusion and increased stringing. It's a physical wear issue. Just replace it if you're unsure.
❓ Does travel speed really affect stringing?
Yeah, it definitely does. Faster travel means less time for plastic to ooze. It's a simple way to minimize the problem.
Disclaimer: I purchased all tools for this guide with my own money to ensure an unbiased review. This post contains affiliate links, meaning I earn a small commission if you make a purchase at no extra cost to you.