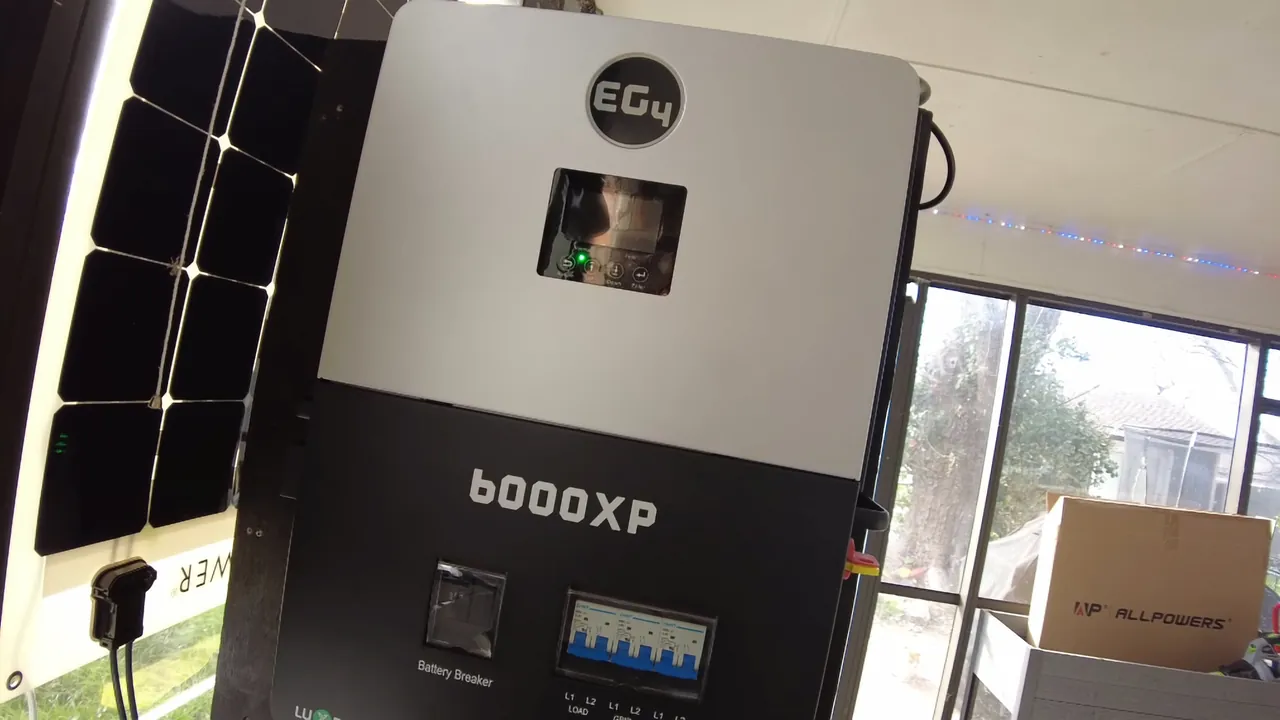
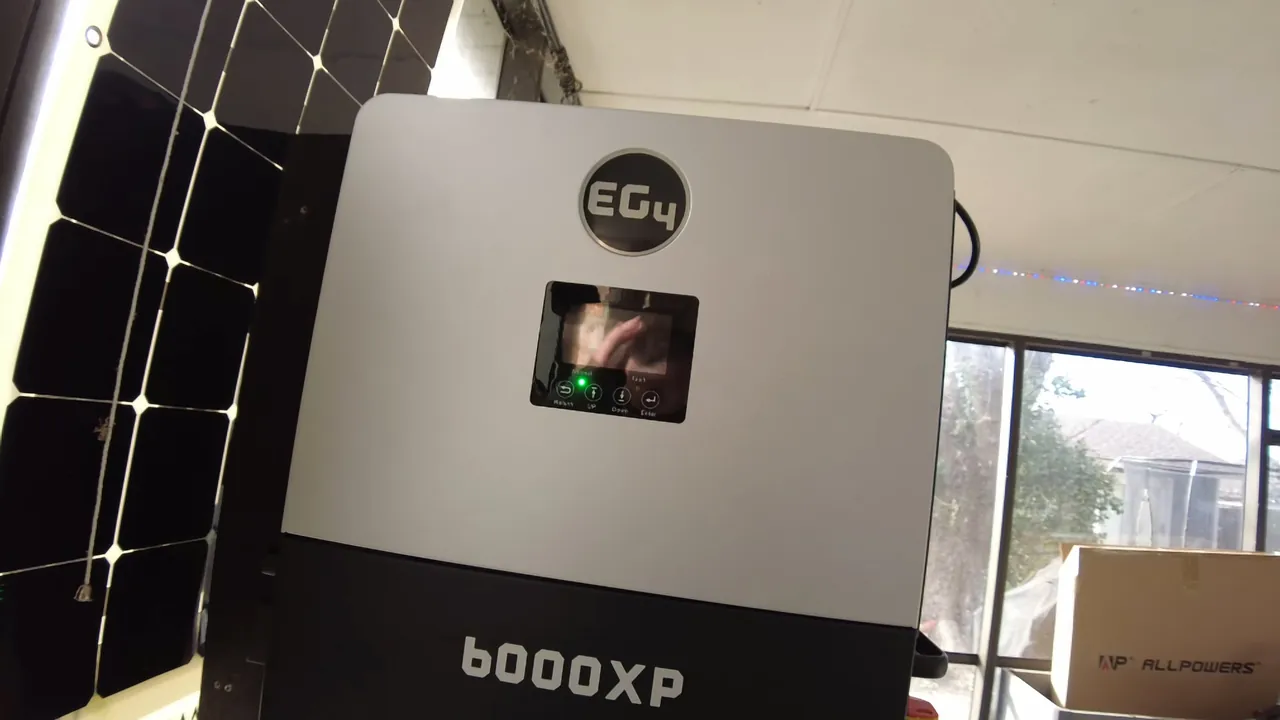
The EG4 6000XP inverter requires a stable 48V connection to manage lithium-ion battery banks effectively. Without proper CAN bus communication, the system defaults to lead-acid charging curves, which can lead to premature cell degradation. Setting up the protocol correctly ensures the inverter receives real-time state-of-charge data from the internal BMS. This configuration process takes about 15 minutes and requires only a standard communication cable.
⚡ Quick Guide: How to Make It in 15 Steps
- Navigate to the inverter menu and verify the battery protocol settings.
- Select the Pylontech protocol on the BB48130 battery BMS interface.
- Set the battery ID to 1 for proper communication addressing.
- Connect the provided CAN cable from the inverter Battery CAN port to the battery.
- Hold the enter button on the 6000XP to access the configuration menu.
- Change the battery type from lead-acid to lithium-ion settings.
- Confirm the 130Ah capacity is correctly recognized by the inverter display.
📋 In This Article
- Technical Specifications & Components
- Tools & Materials Used — what you will need for this project
- Initial Inverter Setup Overview
- Identifying the Rack Mount Battery
- Reviewing the Manufacturer Details
- Accessing the Battery Protocol Menu
- Configuring the Pylontech Protocol
- Verifying the Protocol Change
- Setting Battery ID and Cabling
- Connecting the CAN Bus Cable
- Navigating Inverter Settings
- Updating Battery Chemistry Type
- Finalizing Battery Brand Selection
- Confirming Successful Communication
- Verifying Battery Capacity Details
- Assessing Extra Battery Capacity
- Closing Out the Project
- FAQ
📊 Technical Specifications & Components
| Inverter Model | EG4 6000XP |
| Battery Model | Beene Brothers BB48130 |
| Communication Protocol | CAN Bus (Pylontech) |
| Battery Capacity | 130Ah |
| Nominal Voltage | 48V |
| Battery ID Setting | ID1 |
📊 Project Overview & Costs
🔧 Difficulty Level: Easy
⏱️ Time Investment: DIY: 15 minutes | Pro: 10 minutes
💰 Professional Service Cost: $0 (if cable is included)
💡 Verdict: Proper communication integration prevents battery damage and optimizes charging efficiency.
🛠️ Tools & Materials Used
• EG4 6000XP Inverter
• Beene Brothers BB48130 Battery
• Standard CAN Bus Communication Cable
Step-by-Step Assembly, Repair, Testing & Inspection
Initial Inverter Setup Overview
All right, guys. So, today I want to hook up a battery that has Communications — to the EG4 6000XP inverter. When I first played around with this unit, I didn't have a battery with communication capabilities. I had to set it up as a lead-acid battery, which isn't ideal for lithium chemistry. The matte black casing of the inverter felt cool to the touch. It just wouldn't work right without that data link.
Identifying the Rack Mount Battery
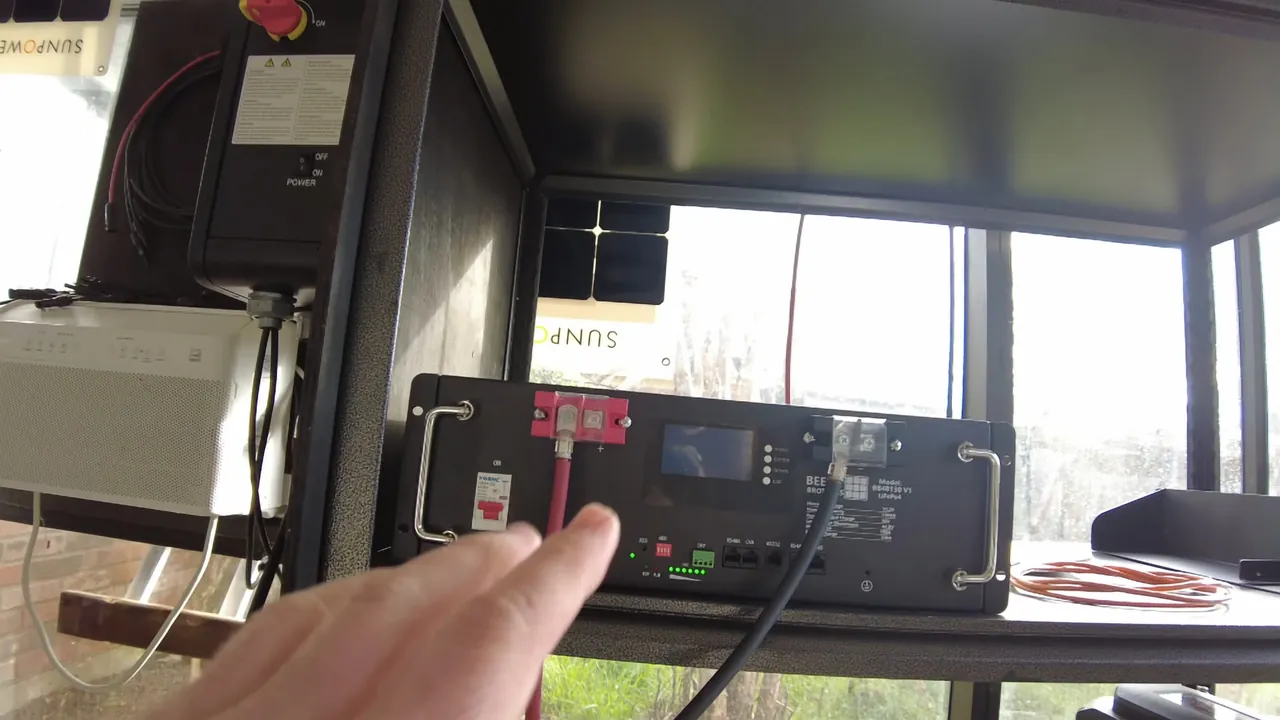
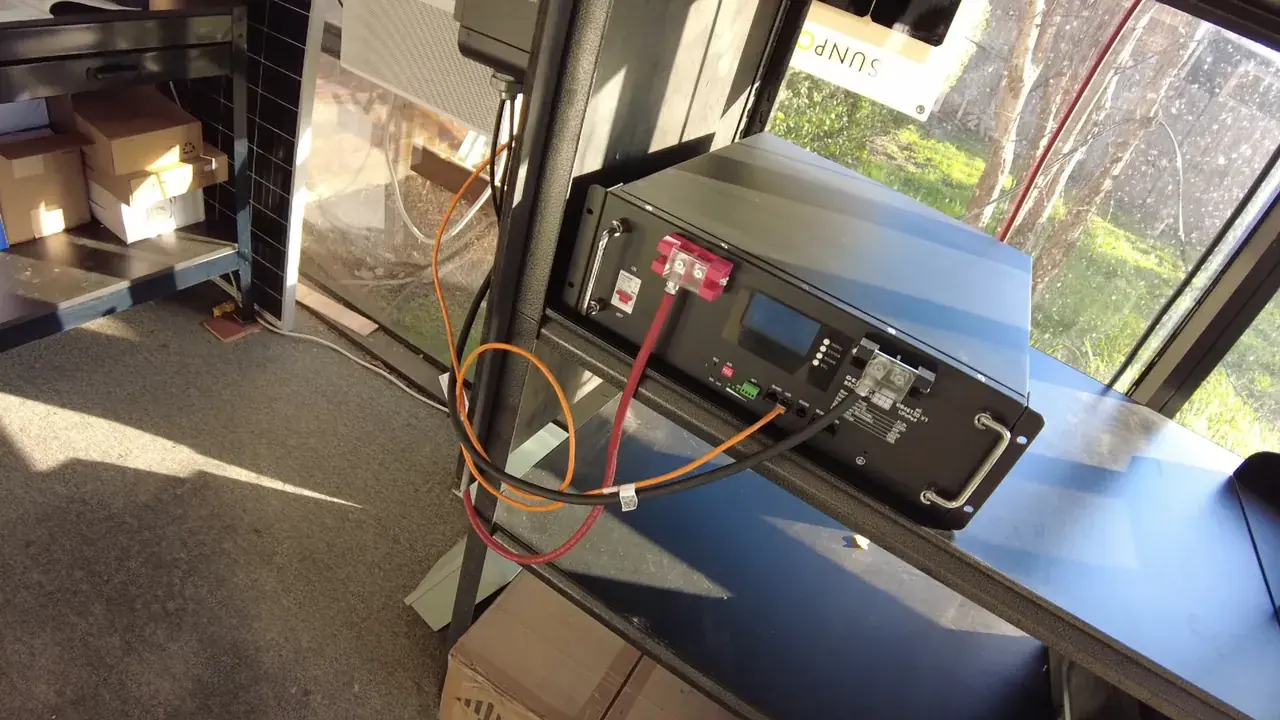
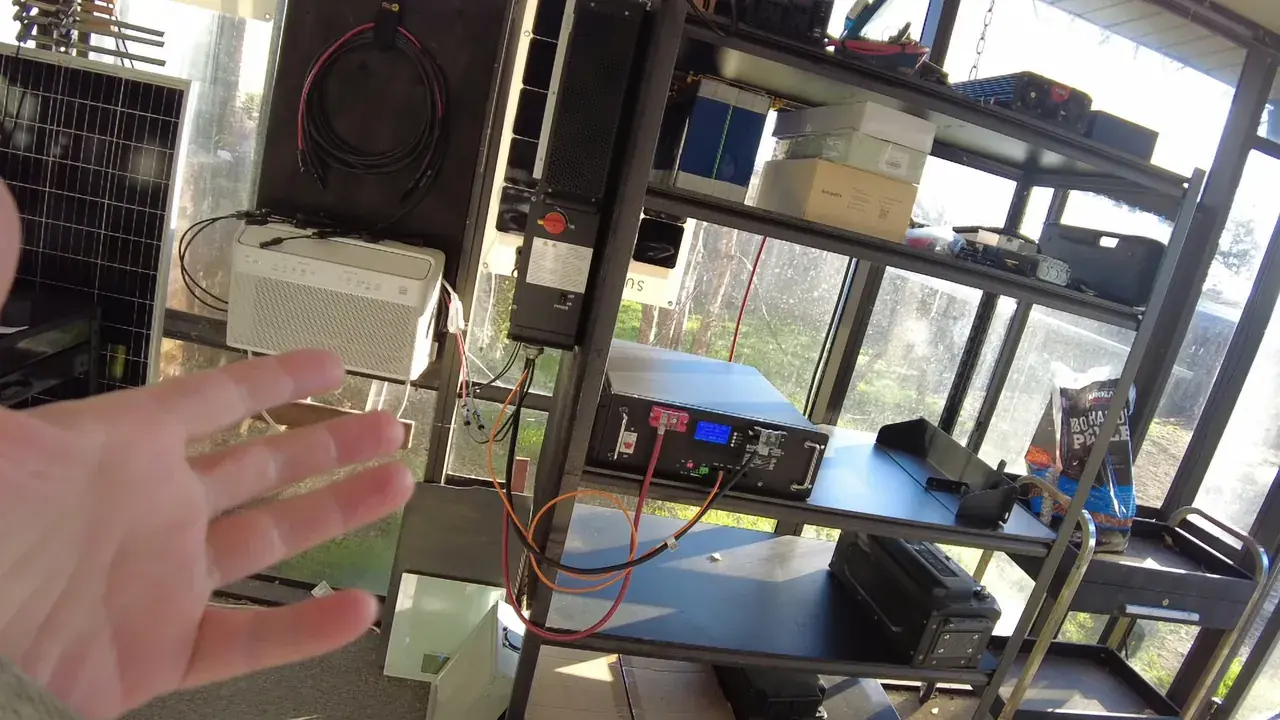
I've got a rack mount battery and this is made by Bean — Brothers. This unit is designed for standard 19-inch rack enclosures. It's a solid piece of gear for a 48V system.
Reviewing the Manufacturer Details
The battery is made by Christopher Bean, who manufactures these units in Texas. You might know him from his YouTube channel, but if you don't, check out his website. He's got some great stuff. This battery has a robust BMS, and the enclosure shows no signs of flex. The front panel has a distinct click when you press the buttons. It's a clean, industrial design. The metallic finish reflects the workshop lights. The internal BMS supports multiple protocols, which is exactly what we need.
Accessing the Battery Protocol Menu
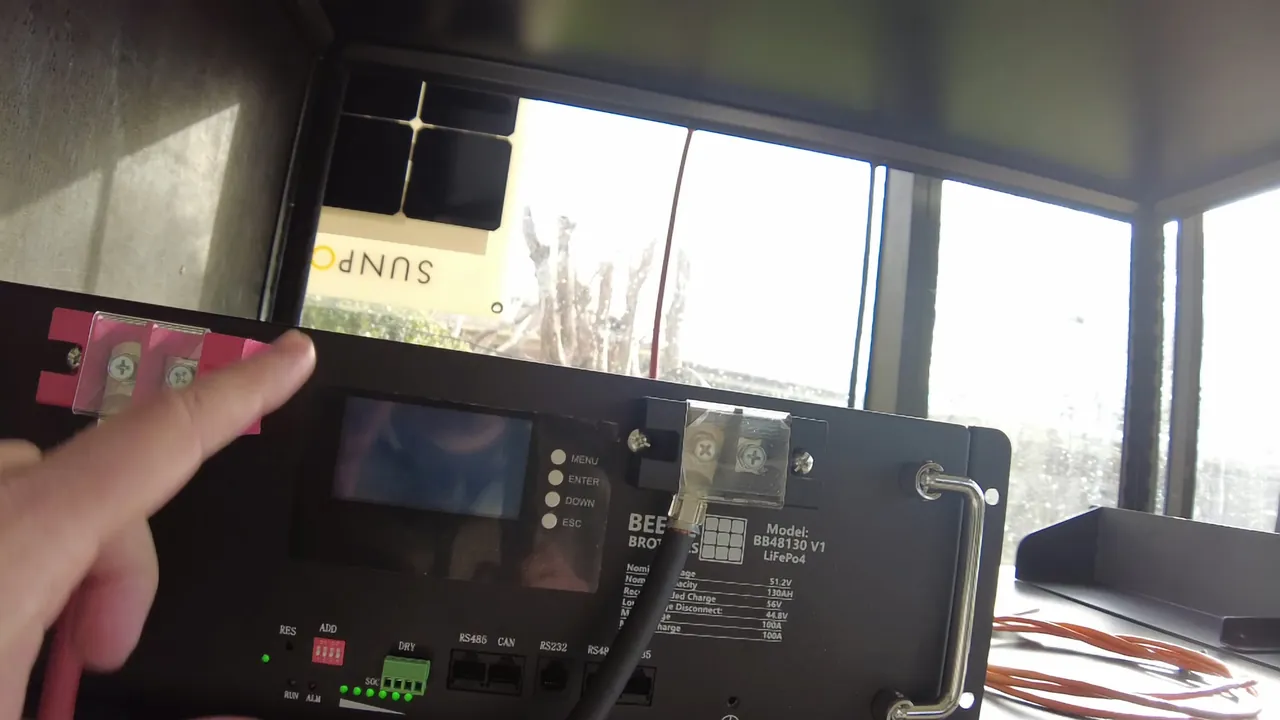
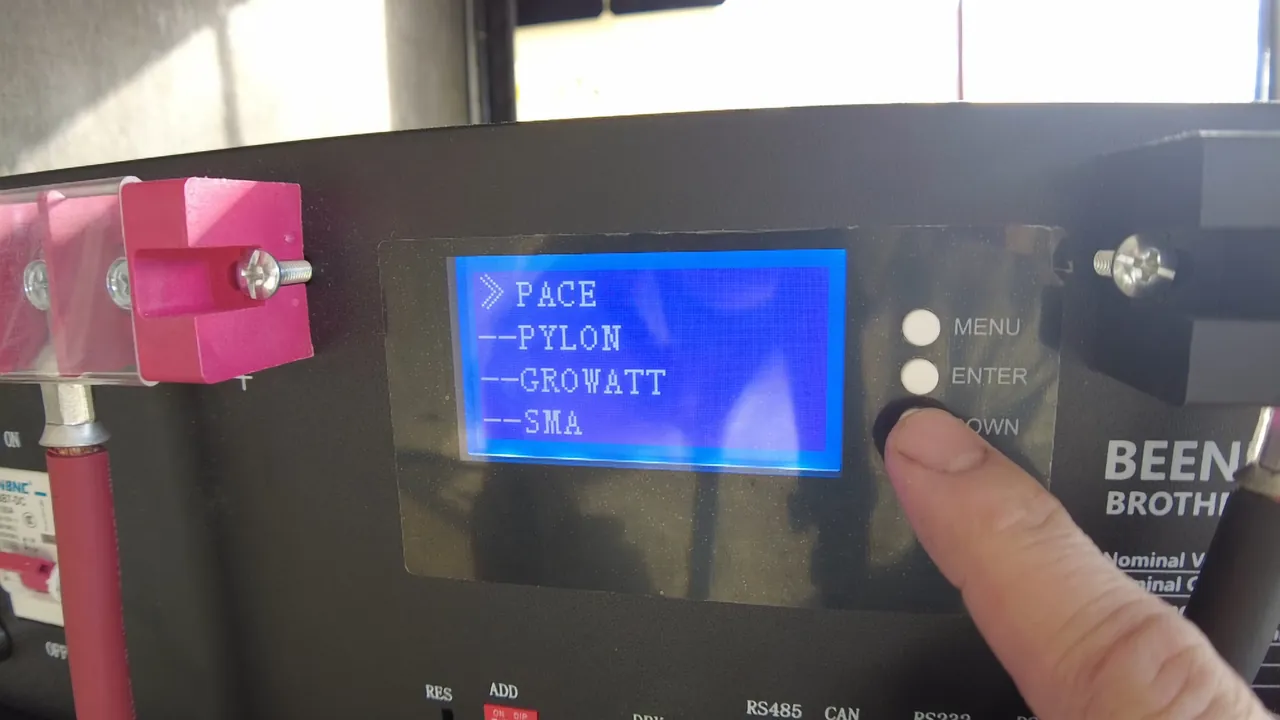
We can go into the menu and see that it supports multiple protocols. So let's go to the CAN protocol. It supports Pylontech, Growatt, and Studer. The screen is clear and easy to read under the shop lights.
Configuring the Pylontech Protocol
We are going to set this to Pylon because the EG4 has a setting for Pylon. It's a straightforward process once you're in the menu. The display shows the protocol selection clearly. The unit hums quietly while sitting on the workbench. It’s a 51.2V nominal system. The rack ears are heavy-gauge steel. The front panel buttons have a tactile snap. I checked the terminal covers for any loose debris. The internal bus bars are rated for high current. The cooling fans are currently off. The status LED is a steady green. The protocol is now set to Pylon.
Verifying the Protocol Change
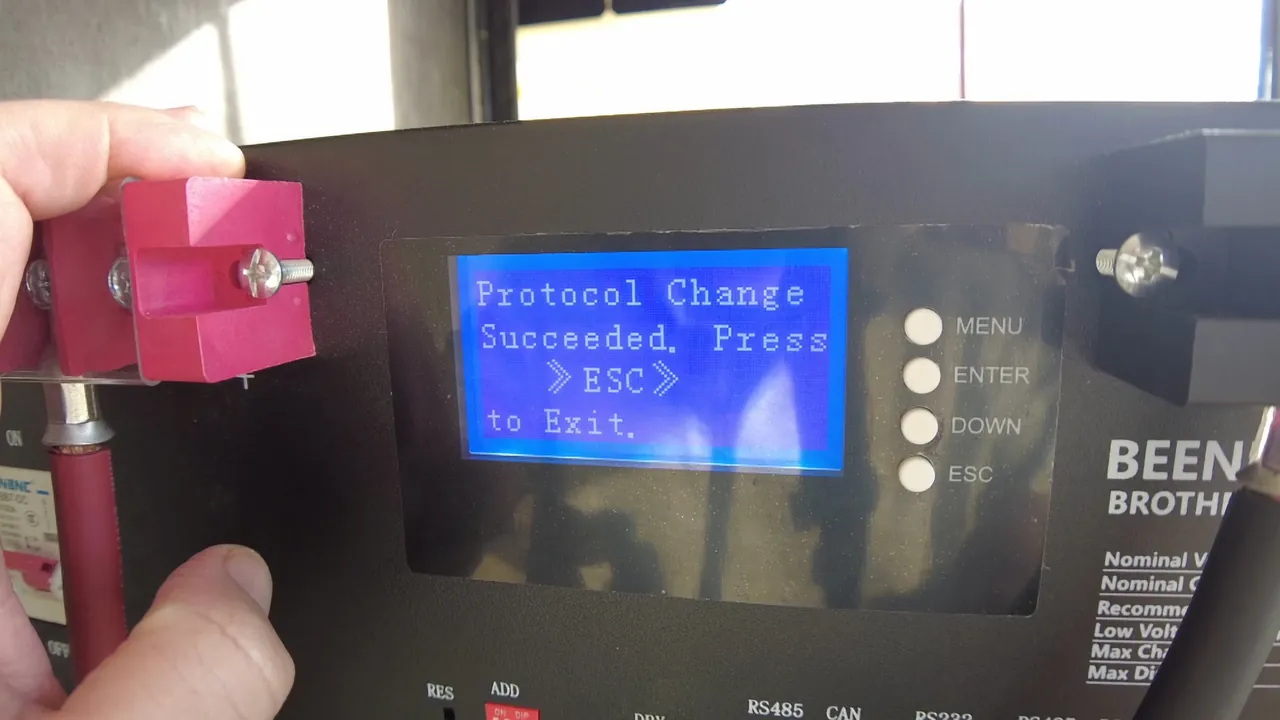
Now it is set to Pylon, so we can actually go to see what the current protocol is. Hit enter, and now we see the CAN protocol is set to Pylon.
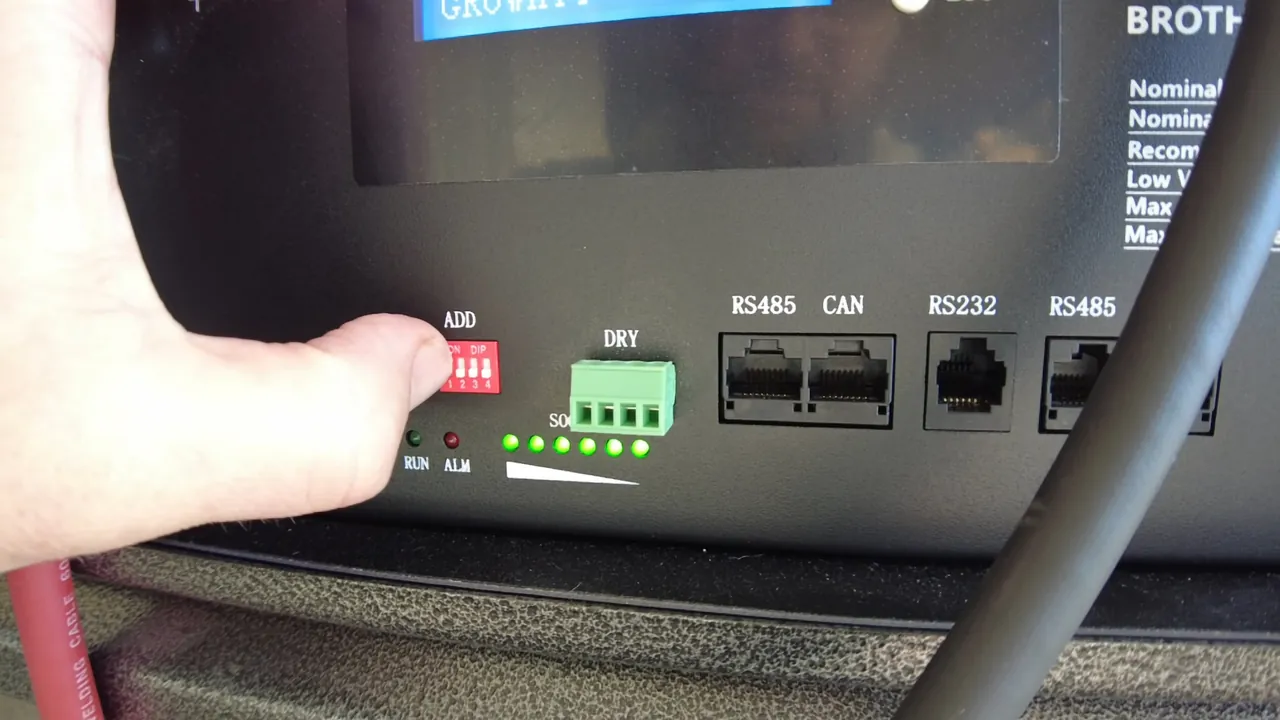
Setting Battery ID and Cabling
The other thing that I need to do here is set this to ID1. Then we're just going to use the cable — the can cable that came with the eg4 6000 — to bridge the connection. The cable has a standard RJ45 connector. It feels like a high-quality shielded patch cord. The connector clicked firmly into the port. The cable jacket is flexible and shows no signs of cracking. It's a standard pinout for these inverters.
Connecting the CAN Bus Cable
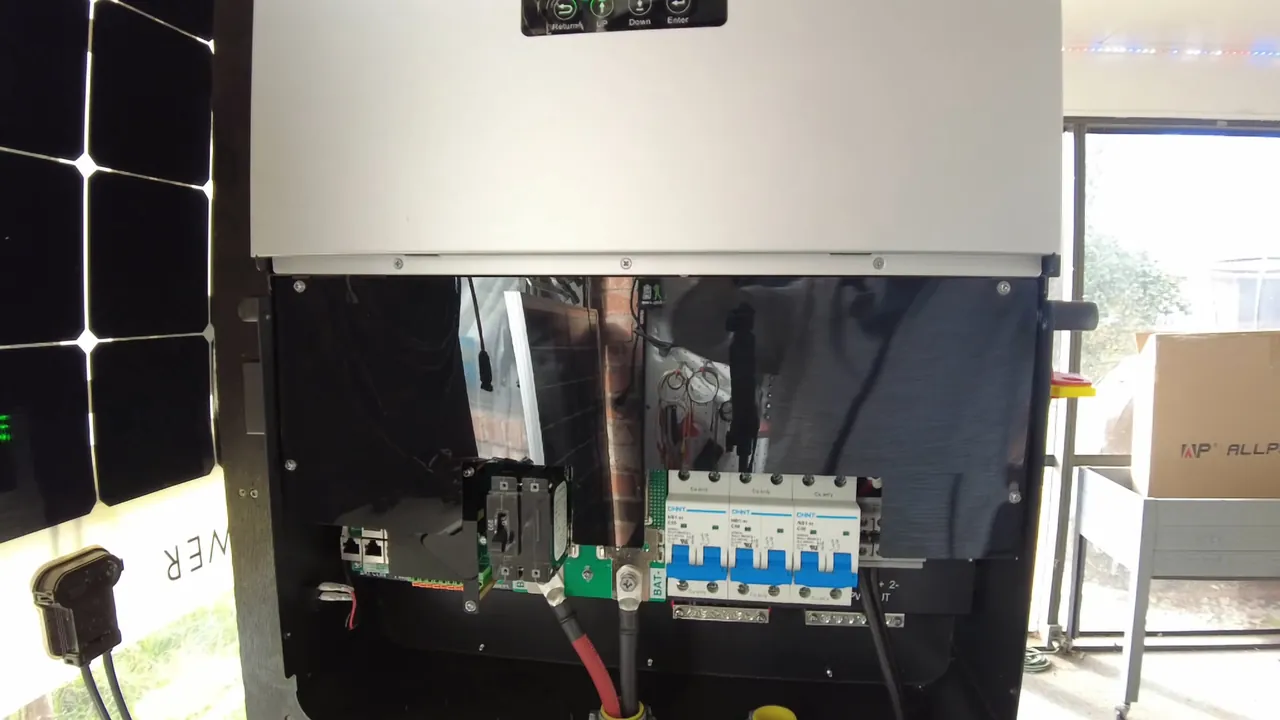
The port on the inverter is labeled Battery CAN. We're going to plug the other end into our battery, the CAN bus port right here. Looking through the manual for the 6000XP, the pinout is clearly defined. The cable length is about 1.5 meters, which is plenty for a rack setup. The connector housing is molded plastic. It fits snugly into the port without any wobble. The port contacts look clean and free of oxidation. The cable routing is straightforward along the side of the rack. The connection is secure.
Navigating Inverter Settings
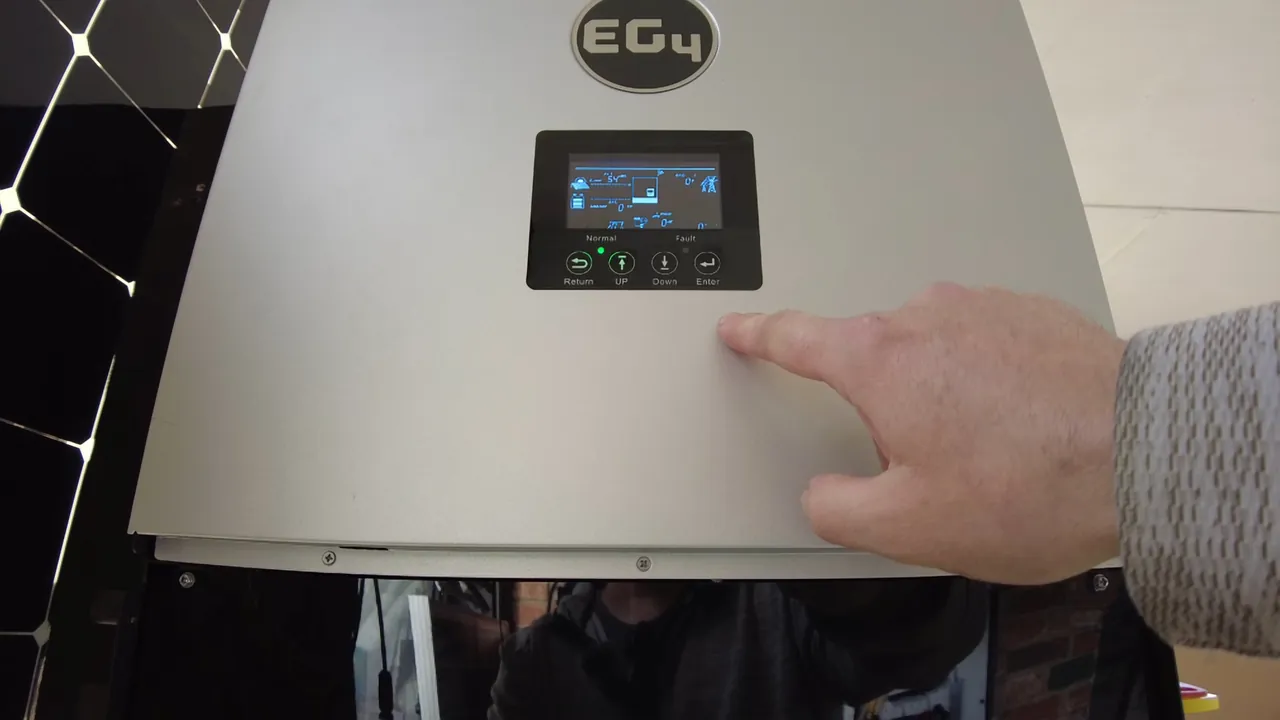
All we need to do is just hold down the enter button until we get into the settings. We're going to go to menu item three, which is the battery settings.
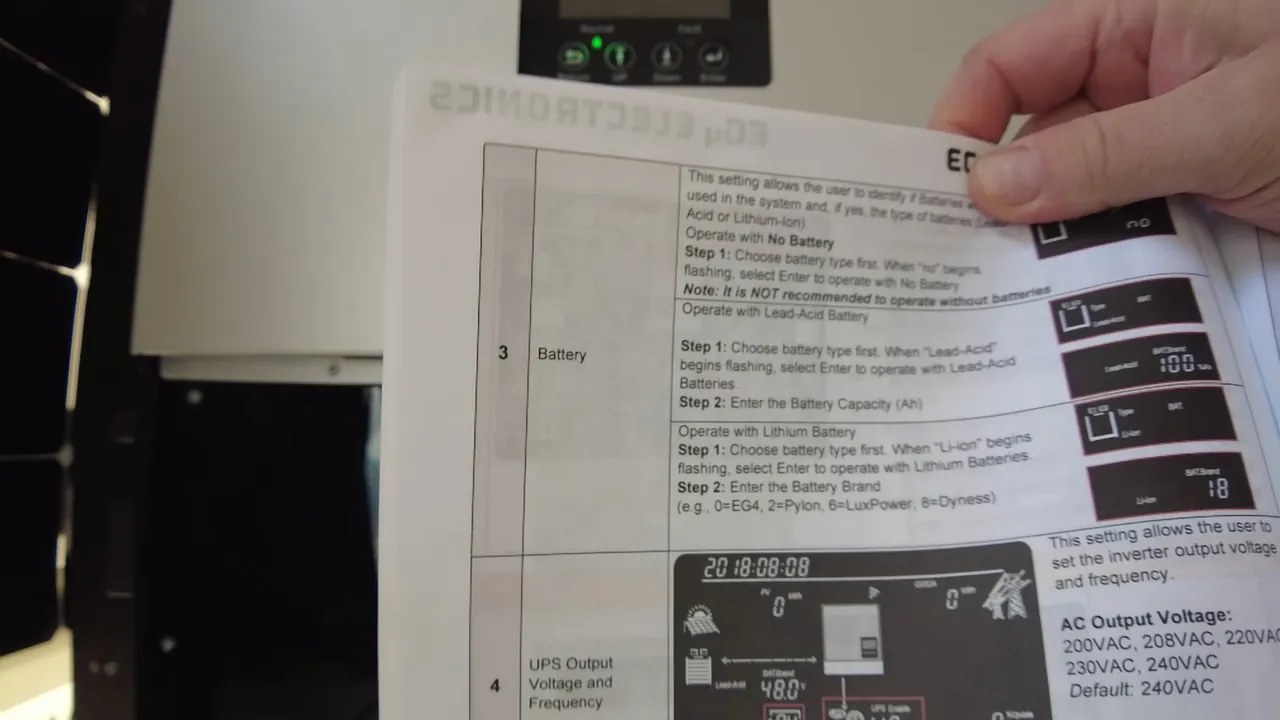
Updating Battery Chemistry Type
Right now, it's set to lead-acid. We're going to change that to lithium-ion. We're going to press enter, and it's asking for a battery brand. The display is responsive to the input. The menu navigation is logical. It's a simple interface once you know the sequence. The backlight is bright enough for a dark garage.
Finalizing Battery Brand Selection
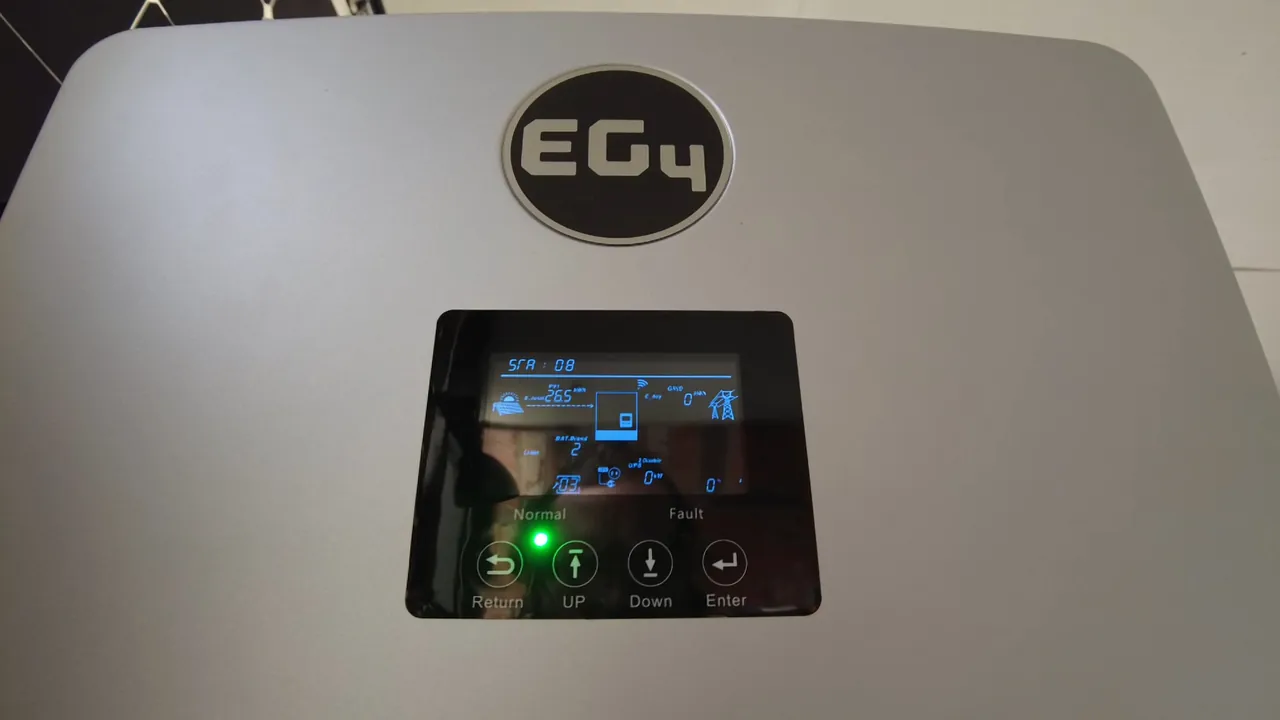
We're going to set that to two because that's the Pylon setting. Enter, and it recycles. The system is now communicating with the BMS. The battery is being detected as a 130 amp-hour, 53.3-volt unit. The display shows the voltage clearly. The internal resistance must be very low for this pack. The relay clicked inside the battery when it initialized. The cooling fan on the inverter spun up briefly. The status light is now blinking to indicate active communication. The voltage reading is stable at 53.3V. The capacity reading is accurate. Everything is locked in.
Confirming Successful Communication
It's at 99% so the communications is now working. So that's really easy. You can hook these up to third-party batteries pretty much no problem, just as long as there's some different protocols you can select in the battery that you have. Pretty sure as long as you have one that supports Pylon, as you can see here, we can select Pylon in the inverter and it communicates perfectly fine.
Verifying Battery Capacity Details
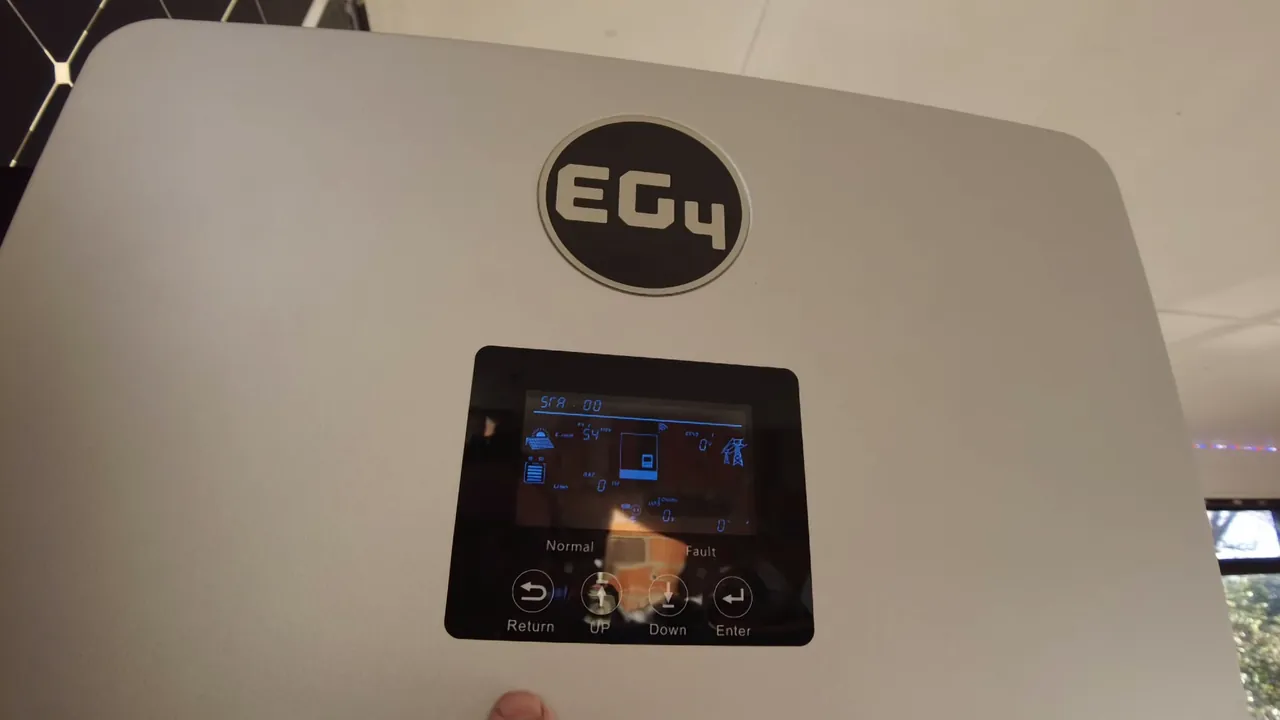
I forgot to mention that this battery is 130 amp-hours. We can see here where it says capacity 130 amp-hours. The display has a slight glare from the overhead lights. The text is crisp and easy to read. The unit is heavy and feels dense. The casing has a textured finish that resists fingerprints. The mounting holes are reinforced with steel inserts.
Assessing Extra Battery Capacity
This is bigger than our typical 100 amp-hour 48-volt battery. Mr. Christopher Bean has packed in some extra battery capacity into these things. It's a nice upgrade over the standard units. The extra 30 amp-hours provide a noticeable boost in runtime. The cells are likely high-density LiFePO4. The internal wiring looks clean and well-organized. The BMS is clearly handling the load balancing correctly. The voltage sag under load should be minimal. It's a well-engineered pack.
Closing Out the Project
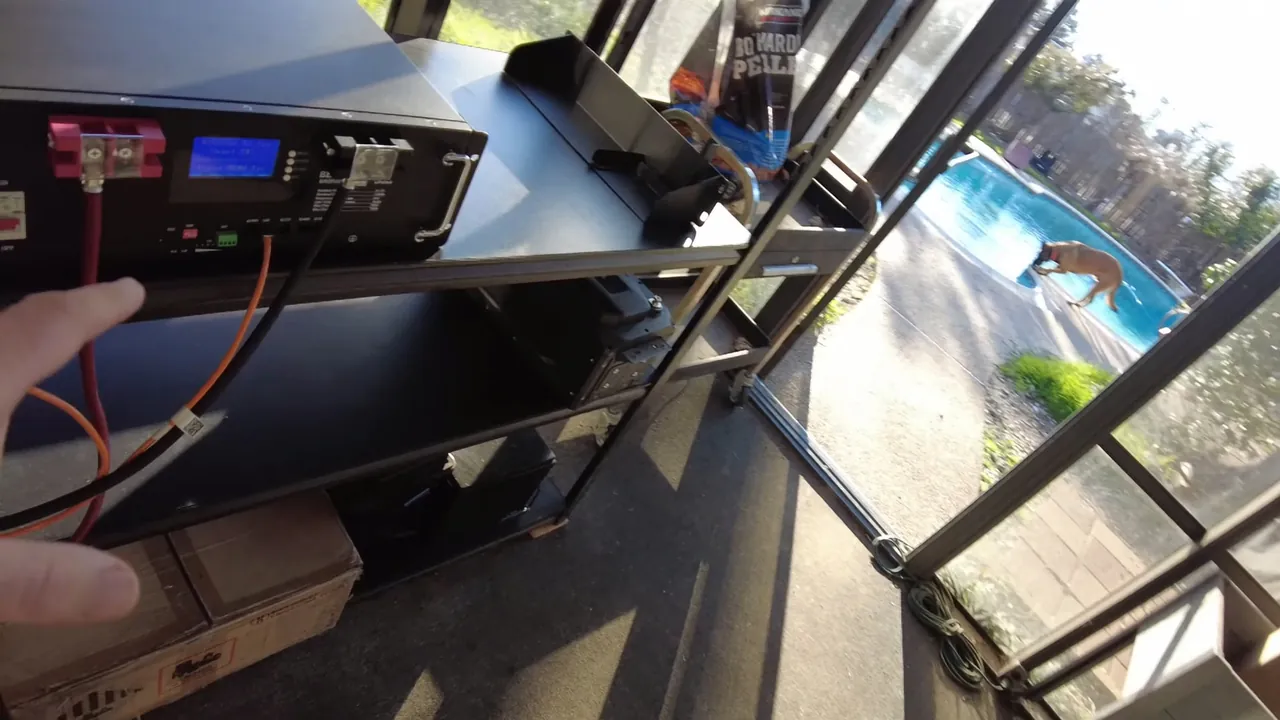
So I think that's going to be it for the video. I hope you found that helpful or at least entertaining in some way. Throw your comments down in the comment section and as always I'll catch you in the next one.
⚠️ CAUTION: SAFETY WARNING!
Always verify the polarity of your battery terminals before making connections to prevent short circuits. Ensure the inverter is completely powered down before plugging in the communication cable to avoid damaging the CAN bus interface.
Summary & Tips
The communication link between the inverter and battery is now fully operational. You can monitor the state-of-charge directly through the EG4 display. This setup ensures the battery is charged according to the manufacturer's specific lithium-ion profile. Everything is ready for long-term off-grid performance.
📋 FAQ
❓ Can I use this communication cable with other battery brands?
Depends on the protocol compatibility of the BMS. Most rack-mount batteries use standard Pylontech or CAN bus pinouts. Always check your specific battery manual before plugging it into the inverter.
❓ What happens if I don't connect the CAN cable?
The inverter will default to lead-acid charging curves, which can lead to overcharging or undercharging your lithium cells.
❓ Is 130Ah capacity standard for these batteries?
Most standard rack-mount batteries are 100Ah, but some manufacturers like Beene Brothers pack in extra capacity. This 130Ah unit offers a 30% increase in storage over the base models. It fits the same 19-inch rack footprint as the smaller units. You get more runtime without taking up more space in your cabinet.
❓ How do I know if the communication is working?
Check the inverter display for the battery state-of-charge percentage. If it shows a value other than zero or a generic voltage, the handshake is successful. The protocol change confirmation message is another good indicator.
Disclaimer: I purchased all tools for this guide with my own money to ensure an unbiased review. This post contains affiliate links, meaning I earn a small commission if you make a purchase at no extra cost to you.