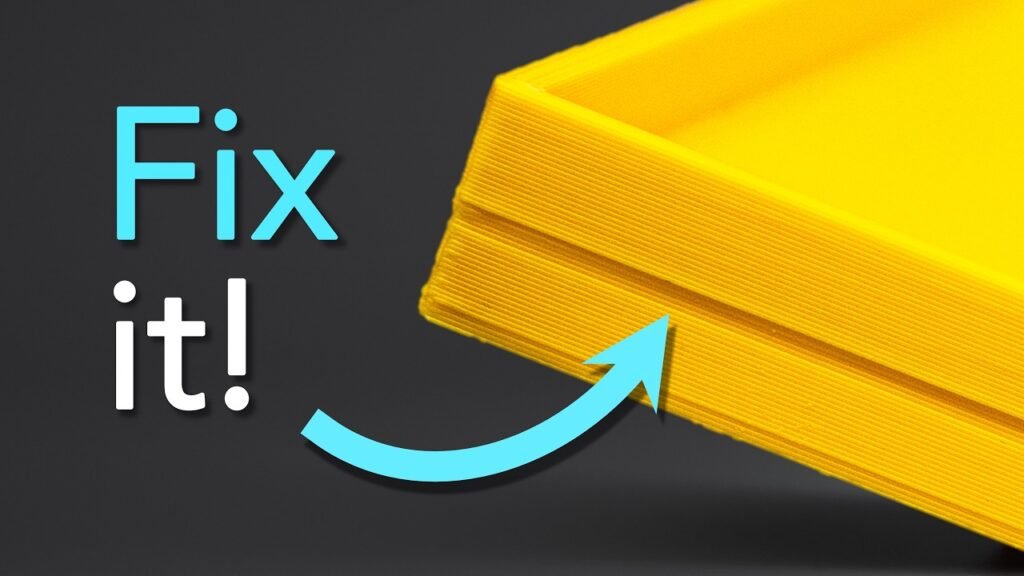
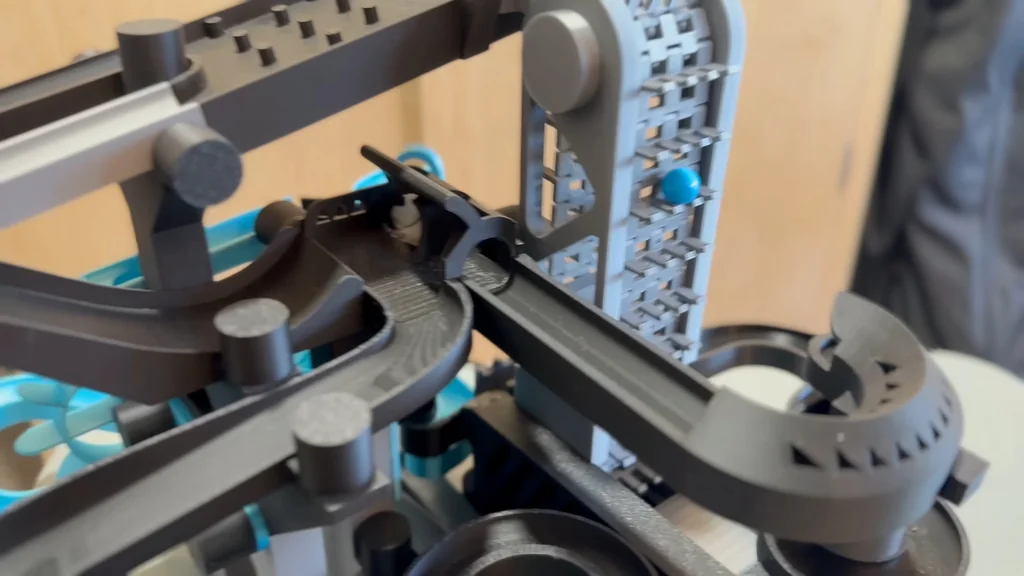
Surface ripples and repeating shadows on 3D prints are not slicer errors. These artifacts are symptoms of mechanical instability within your printer’s motion system. By addressing the physics of vibration, you can systematically remove these defects rather than guessing with software settings. This guide focuses on the mechanical and dynamic tuning required to achieve clean, sharp edges on FDM printers.
⚡ Quick Guide: How to Make It in 10 Steps
- Identify mechanical vibration as the source of ripples.
- Understand the printer’s role as a mechanical oscillator.
- Inspect frame rigidity and belt tension.
- Verify pulley alignment and linear motion smoothness.
- Tune acceleration settings to reduce force spikes.
- Adjust jerk settings for smoother direction changes.
- Optimize print speed relative to motion dynamics.
- Use test towers to validate parameter changes.
- Upgrade structural components like dual Z-axis or rails.
- Finalize stability to ensure consistent print quality.
📋 In This Article
- Technical Specifications & Components
- Tools & Materials Used — what you will need for this project
- Identifying Mechanical Vibration
- Understanding the Mechanical Oscillator
- Analyzing Motion Dynamics
- The Mechanical Inspection Checklist
- Tuning Acceleration Settings
- Setting Safe Acceleration Ranges
- Controlling Jerk and Junction Deviation
- Testing and Validation Methodology
- Implementing Structural Upgrades
- Achieving Mechanical Stability
- FAQ
📊 Technical Specifications & Components
| Bed Slinger Acceleration Range | 500-1500 mm/s² |
| Core XY Acceleration Range | 2000-5000 mm/s² |
| Primary Artifact Causes | High acceleration, high jerk, loose belts, frame flex |
| Mechanical Stability Factors | Belt tension, pulley grub screws, linear rail smoothness |
| Structural Upgrades | Dual Z-axis, metal frame bracing, linear rails, lightweight tool heads |
📊 Project Overview & Costs
🔧 Difficulty Level: Medium
⏱️ Time Investment: DIY: 1-3 hours | Pro: 45 minutes
💰 Professional Service Cost: $0 - $50
💡 Verdict: Proper mechanical tuning eliminates the need for expensive hardware upgrades by maximizing the performance of your existing machine.
🛠️ Tools & Materials Used
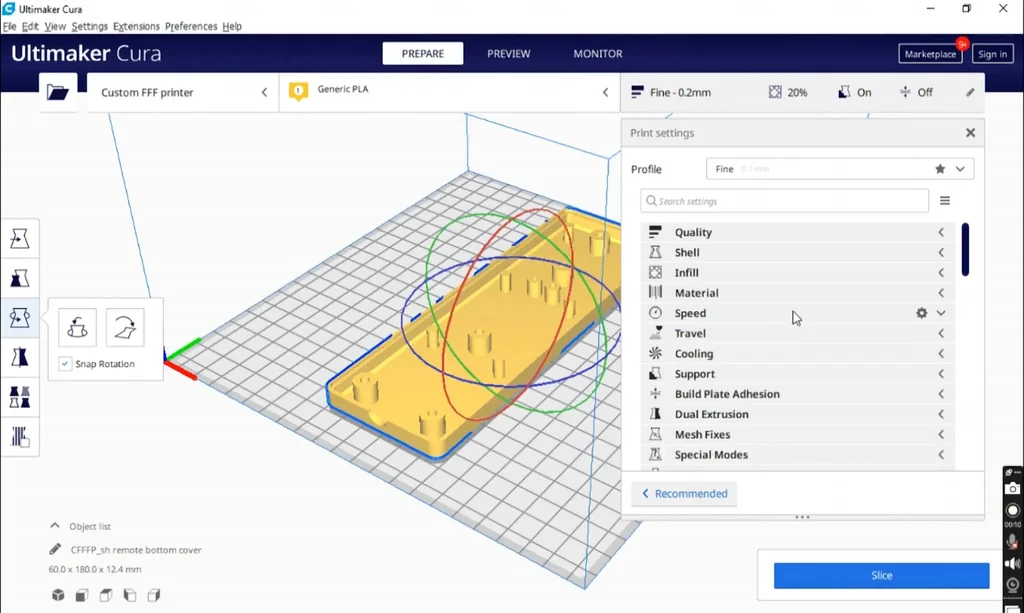
• Slicer Software (Ultimaker Cura)
• Ringing Test Towers
Step-by-Step Assembly, Repair, Testing & Inspection
Identifying Mechanical Vibration
Ripples appearing after sharp corners are a clear indicator of mechanical issues. It's not a slicer problem. When you see repeating shadows of sharp edges, your printer is struggling with dynamic instability. You need to stop guessing and start looking at the physics. This process is about systematic elimination of vibration. It's straightforward.
Understanding the Mechanical Oscillator
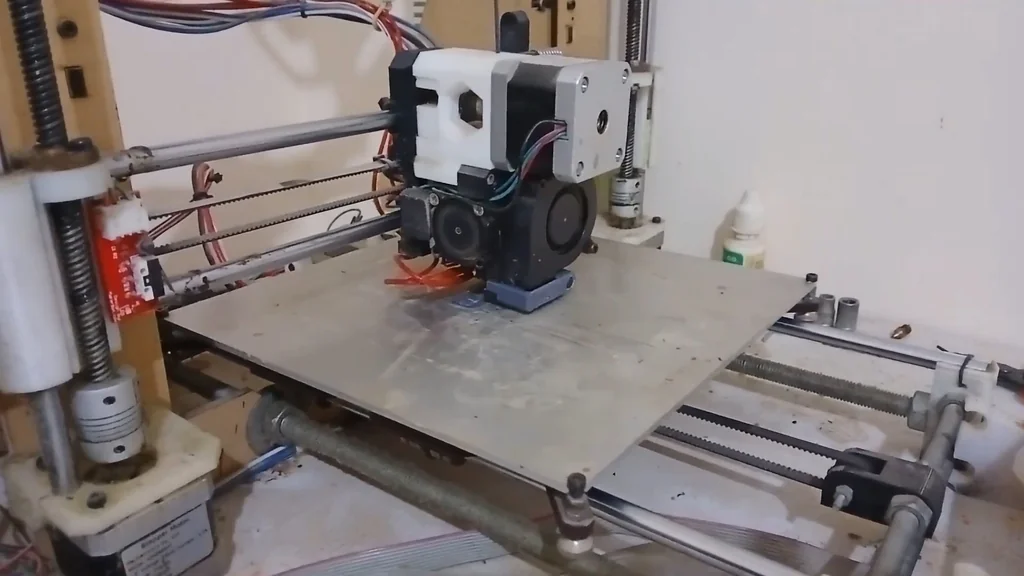
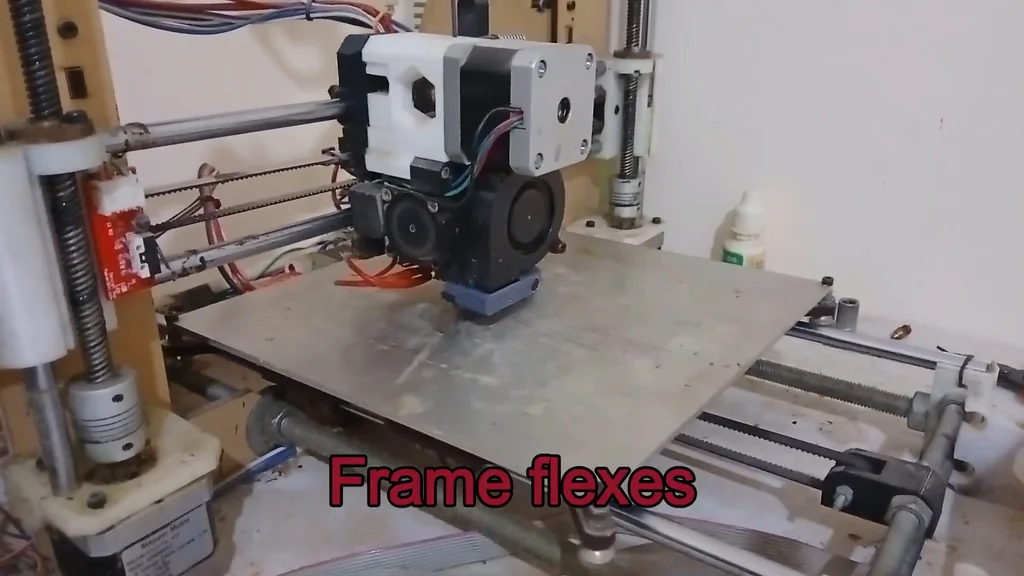
Your printer acts like a mechanical oscillator during operation. Waves and echo artifacts are essentially vibrations recorded directly into the plastic. When motion changes suddenly, the mass of the tool head wants to keep moving. Belts stretch and the frame flexes under these forces. It's a physical reality.
Analyzing Motion Dynamics
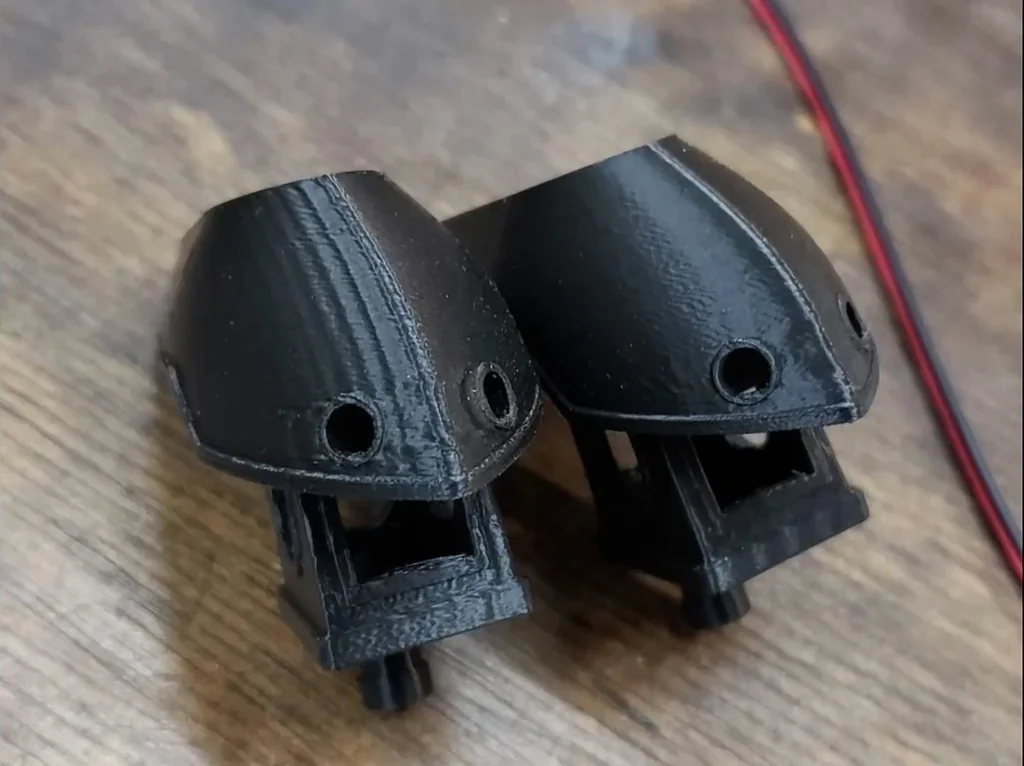
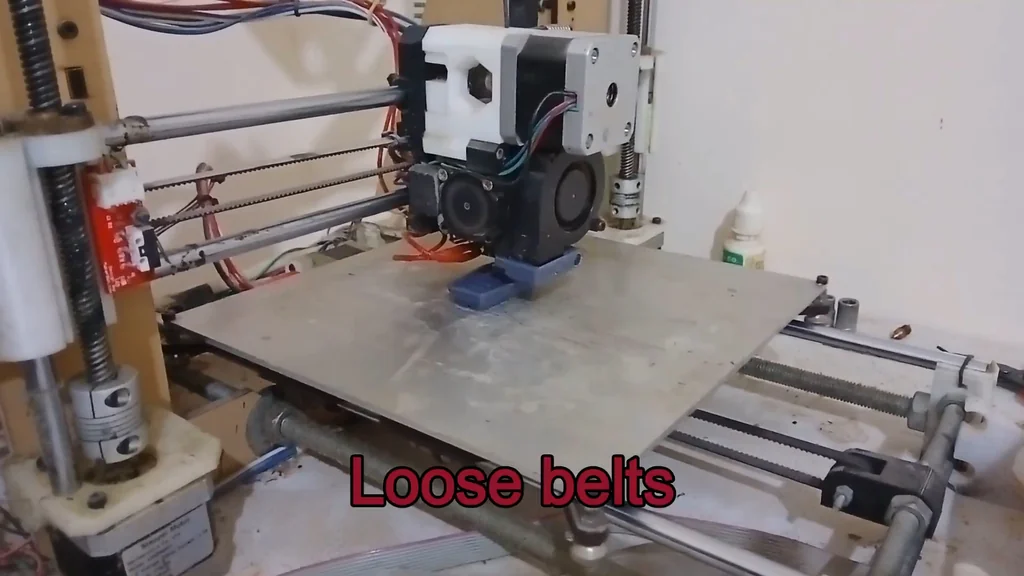
The printer cannot change direction instantly. It overshoots the target and then corrects itself, which creates those visible surface artifacts. This is pure mechanical dynamics at work. High acceleration, high jerk, loose belts, and heavy tool heads are the primary culprits. It's a system-level challenge.
The Mechanical Inspection Checklist
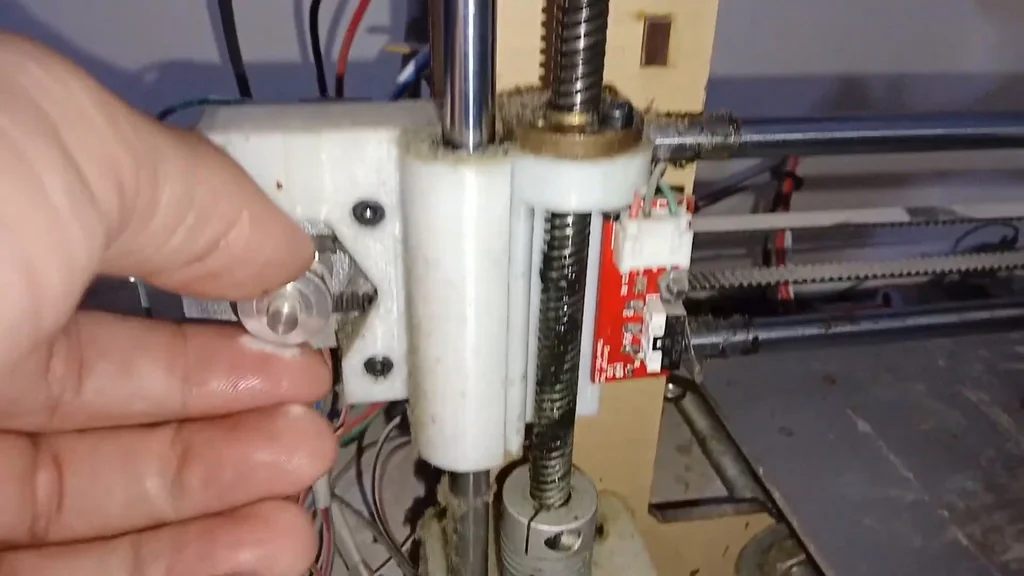
Before you touch a single slicer setting, you must verify the machine's physical state. Check the frame rigidity and ensure every screw is tight to eliminate wobble. Set your belt tension so it's firm but not guitar-tight; there should be no slack. Verify pulley alignment and ensure grub screws are biting into the flat spot of the motor shafts. Linear motion must be smooth and free of binding. If the mechanics are off, software tuning is just a band-aid. It's critical.
Tuning Acceleration Settings
Acceleration dictates how fast the printer reaches its target velocity. High acceleration creates sharp force spikes, which inevitably lead to more vibration. Lowering these values improves surface finish significantly. You will trade some print speed for better quality. It's a necessary compromise.
Setting Safe Acceleration Ranges
For bed slingers, a safe range is typically 500 to 1500 mm/s². Rigid Core XY machines can handle 2000 to 5000 mm/s². Always start low and increase the values gradually. Don't rush the process. You need to find the sweet spot for your specific machine.
Controlling Jerk and Junction Deviation
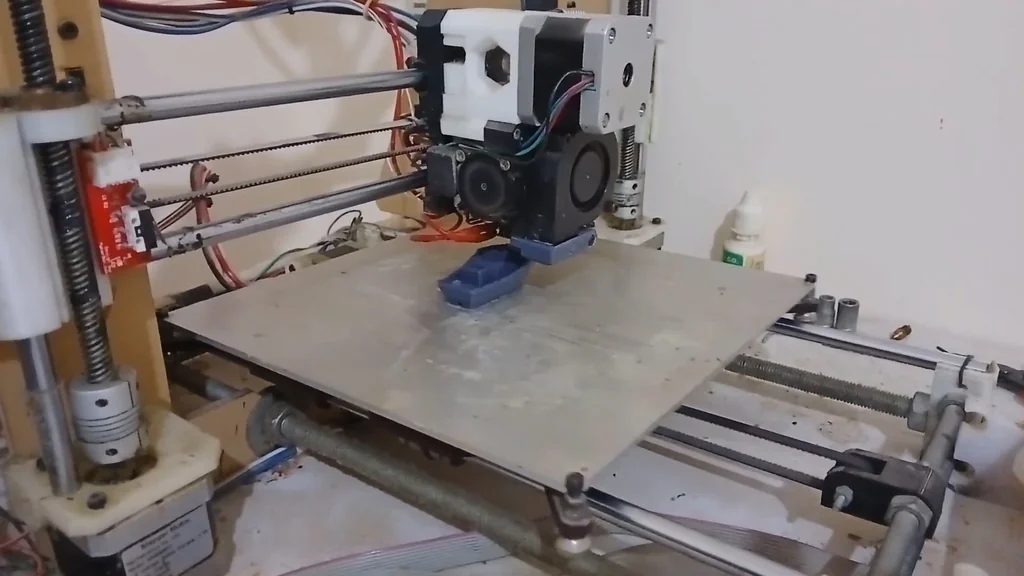
Jerk defines how abruptly direction changes occur during a print. High jerk values lead to faster cornering but also significantly more vibration. Lowering the jerk results in smoother transitions and much cleaner surfaces. It's the most powerful parameter for controlling ringing. Small changes here have big effects.
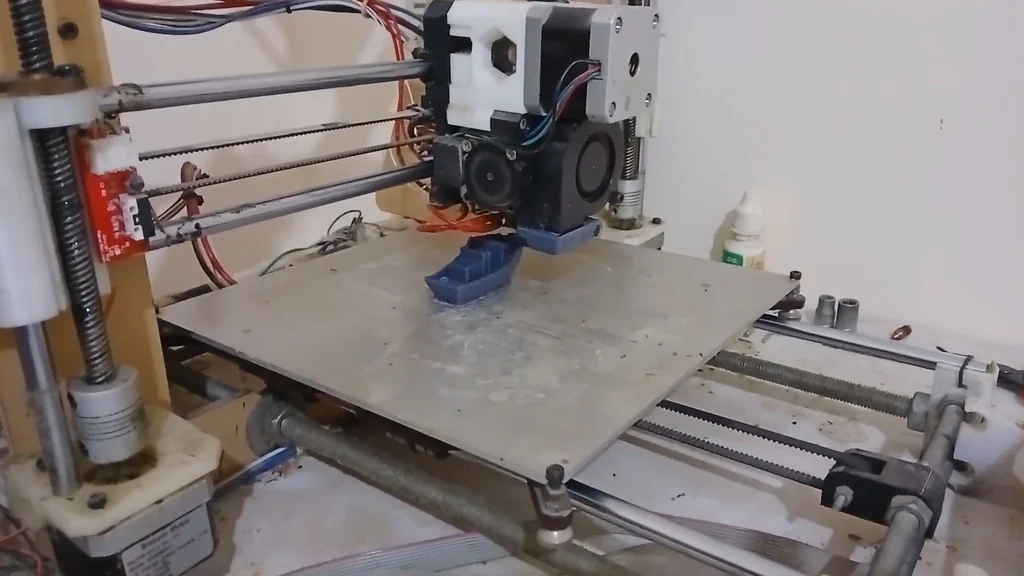
Testing and Validation Methodology
Use ringing test towers or sharp corner cubes to validate your settings. Change only one variable at a time, such as acceleration or jerk. Look for amplitude reduction and faster vibration decay in the test prints. Engineering principles dictate that you control the oscillation, not hide it. It's solid advice.
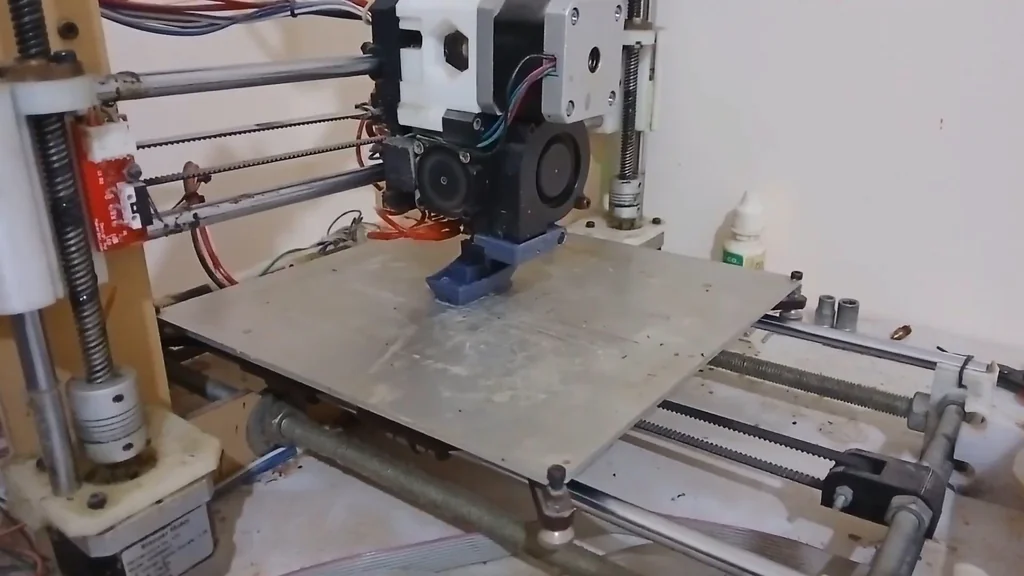
Implementing Structural Upgrades
Real improvements often require hardware changes. Consider a dual Z-axis, metal frame bracing, linear rails, or a lighter tool head. These upgrades raise the system's natural frequency and reduce resonance. Don't make the mistake of lowering speed to fix acceleration issues. Ringing is mechanical first, software second.
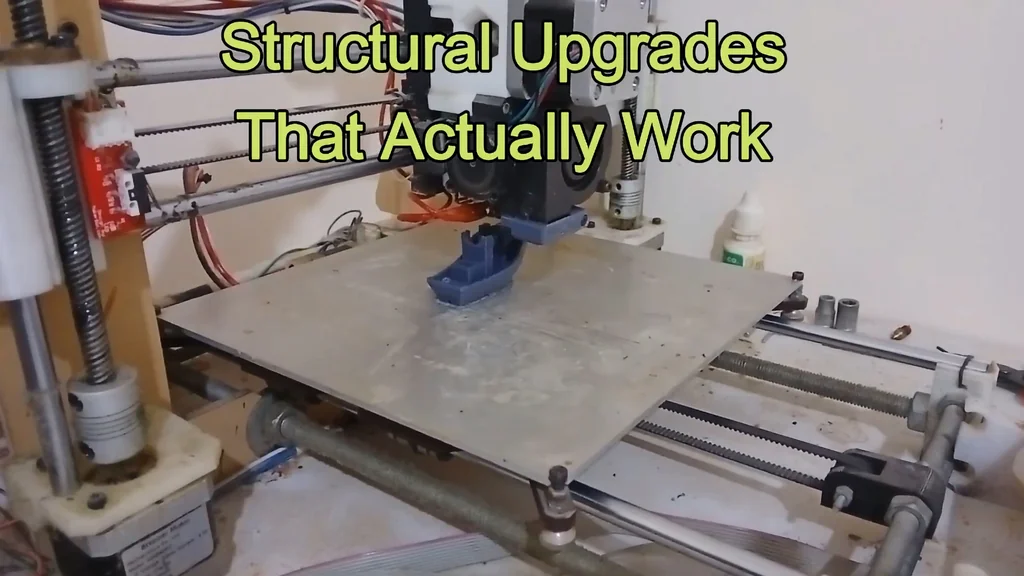
Achieving Mechanical Stability
Once you eliminate ringing, your printer is finally mechanically stable. You've moved past the phase of constant adjustment. The machine is now capable of consistent, high-quality output. It's a great feeling. Keep maintaining the hardware to keep it that way.
⚠️ CAUTION: SAFETY WARNING!
Always power down the printer and disconnect from the main supply before performing mechanical adjustments or tightening fasteners near electrical components.
Summary & Tips
Mechanical ringing is a solvable problem if you treat the printer as a physical system. By balancing acceleration and jerk, you can achieve professional surface quality. Don't rely on slicer profiles to mask underlying hardware issues. A stable machine is the foundation of every successful print.
📋 FAQ
❓ Can I fix ringing just by changing slicer settings?
Usually, no. Slicer settings only hide the symptoms of mechanical instability. You must address the physical causes first.
❓ What is the most important setting for ringing?
Honestly, jerk or junction deviation is the most powerful parameter. It controls how abruptly the printer changes direction.
❓ Are my belts too tight?
Maybe. Belts should be firm but not guitar-tight, as excessive tension can cause binding and increase vibration.
❓ Does a faster printer always have more ringing?
Depends. If your acceleration and jerk are properly tuned, you can maintain speed without sacrificing surface quality.
Disclaimer: I purchased all tools for this guide with my own money to ensure an unbiased review. This post contains affiliate links, meaning I earn a small commission if you make a purchase at no extra cost to you.