Testing the NEP BDM-1200-LV 1200W microinverter reveals whether a plug-in solar setup can actually hit a one-year return on investment. This unit manages power conversion for residential solar arrays, aiming to offset grid dependency. We are looking at the installation process, hardware compatibility, and the raw performance data needed to calculate real-world savings in a California-style residential environment.
⚡ Quick Guide: How to Make It in 5-10 Steps
- Unbox the NEP BDM-1200-LV microinverter and inspect all included cabling.
- Connect compatible solar panels to the microinverter DC inputs.
- Verify the AC output connection to your home grid via a power meter.
- Monitor real-time power production using the dedicated solar app.
- Calculate daily energy savings to determine your system’s ROI timeline.
📋 In This Article
- Technical Specifications & Components
- Tools & Materials Used — what you will need for this project
- Unboxing the NEP BDM-1200
- Inspecting the Hardware Kit
- Preparing for Installation
- Layout of Inverter and Cables
- Connecting Solar Panels to Inverter
- Testing Output with Load
- Verifying Power Meter Readings
- Setting Up the Test Bench
- Grid Connection Procedure
- Monitoring App Overview
- Analyzing Production Statistics
- Reviewing the Desk Setup
- Evaluating Panel Compatibility
- Final System Performance Check
- Concluding the ROI Assessment
- FAQ
📊 Technical Specifications & Components
| Model | NEP BDM-1200-LV |
| Max Power Output | 1200W |
| System Type | Plug-in Microinverter |
| Compatibility | Standard Solar Panels |
| Monitoring | Integrated App-based System |
| Application | Residential Grid-Tie |
📊 Project Overview & Costs
🔧 Difficulty Level: Medium
⏱️ Time Investment: DIY: 2-4 hours | Pro: 1 hour
💰 Professional Service Cost: $400 - $600
💡 Verdict: ROI depends heavily on local utility rates and peak sun hours.
🛠️ Tools & Materials Used
• Solar Panels
• NEP BDM-1200-LV Microinverter
• Smartphone for monitoring
• Standard household power strip
• Desktop fan for load testing
Step-by-Step Assembly, Repair, Testing & Inspection
Unboxing the NEP BDM-1200
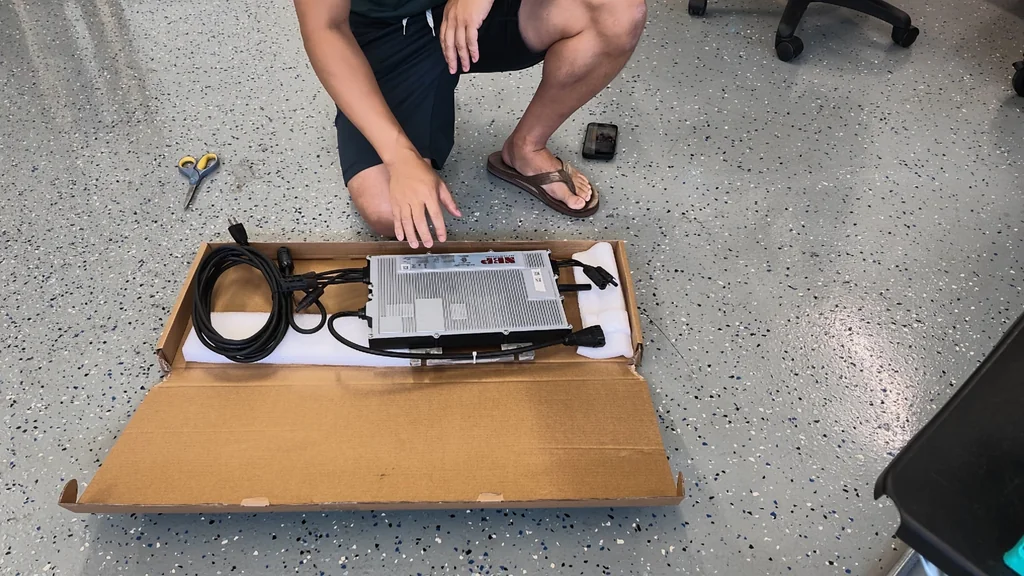
The process begins with the physical inspection of the NEP BDM-1200-LV unit. You're looking at a 1200W microinverter designed for straightforward residential integration. It's compact. The build quality feels robust enough for outdoor mounting. You need to ensure all mounting hardware and cabling are present before starting. Everything is included.
Inspecting the Hardware Kit
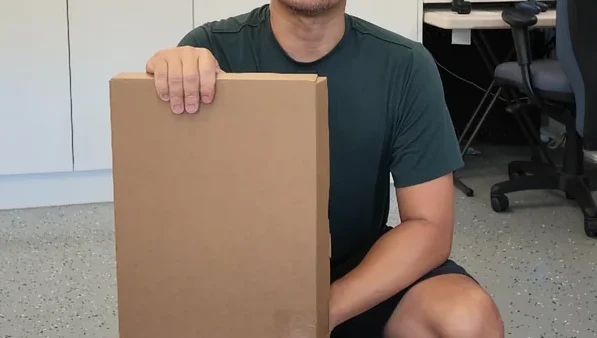
Holding the box reveals the core components for the solar setup. The microinverter is the heart of the system, handling the DC-to-AC conversion. It's heavy. You should check the connectors for any signs of shipping damage or loose pins. The cables provided are specific to the unit's power rating. Quality matters here.
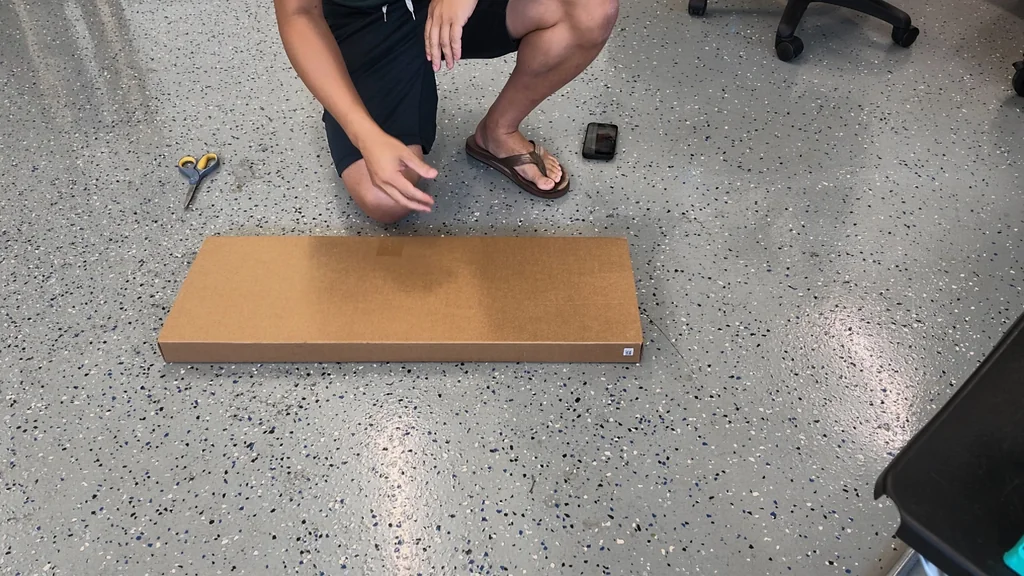
You'll need a clear workspace to organize the components. Using scissors, carefully open the packaging to avoid damaging the internal cables. The phone on the floor is ready for the monitoring app setup. It's a simple start. Don't rush the unboxing phase. Preparation is key.
Layout of Inverter and Cables
With the box open, you can see the microinverter and the dedicated cabling harness. The layout is logical, designed for quick connection to the solar panels. It looks clean. The design minimizes the need for complex wiring. You should verify the cable lengths against your planned mounting position. Everything is clearly labeled.
Connecting Solar Panels to Inverter
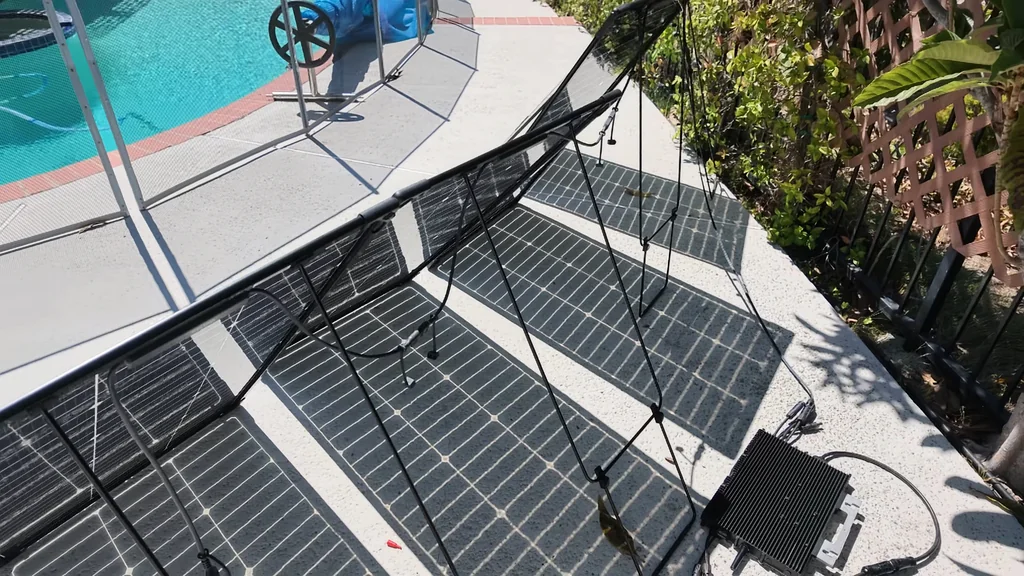
The solar panels connect directly to the microinverter inputs. This is where the DC power is captured and prepared for conversion. It's straightforward. Ensure the connections are tight and weather-sealed if you're working near a pool or outdoor area. Proper seating of the connectors prevents power loss. The connection is solid.
Testing Output with Load
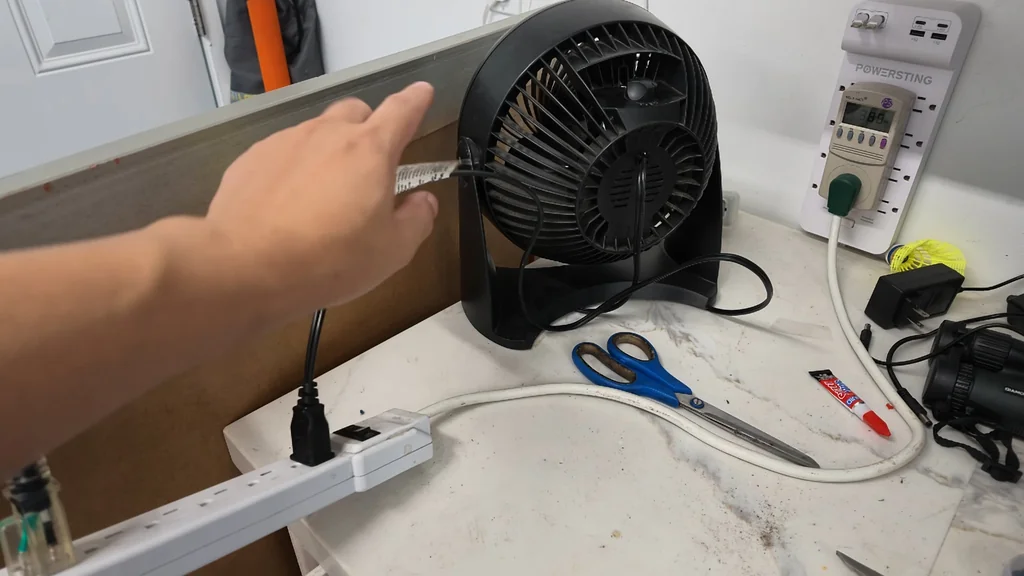
Now you need to verify the power output. A fan is used here as a test load to observe the inverter's behavior. It works well. You're watching the power meter to see how the inverter handles the draw. Adjustments might be needed to optimize the flow. The meter provides instant feedback.
Verifying Power Meter Readings
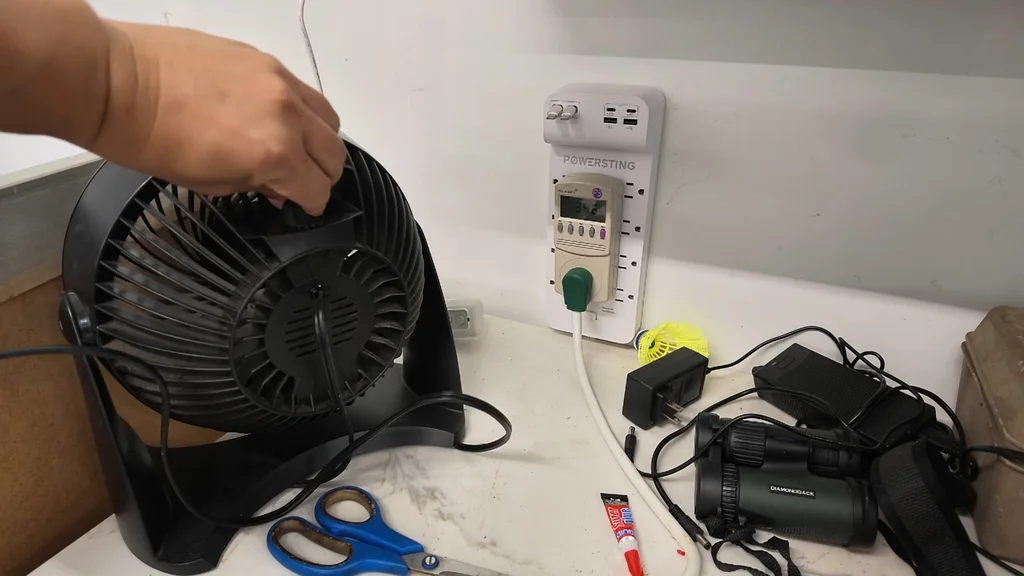
Unplugging the fan allows you to isolate the inverter's contribution to the circuit. The power meter is the source of truth here. It's accurate. Watch the display for any fluctuations that might indicate an issue with the panel input. You need a stable reading. The data is clear.
Setting Up the Test Bench
The desk fan and power strip setup creates a controlled environment for testing. It's a standard configuration. You're monitoring the power strip's input to see how the solar energy offsets the load. It's effective. This setup proves the system is pushing power back into the local grid. The results are visible.
Grid Connection Procedure
Plugging the system into the wall outlet completes the grid-tie connection. It's instant. The microinverter synchronizes with the grid frequency automatically. You should hear no noise from the unit during operation. It's silent. The connection is now live.
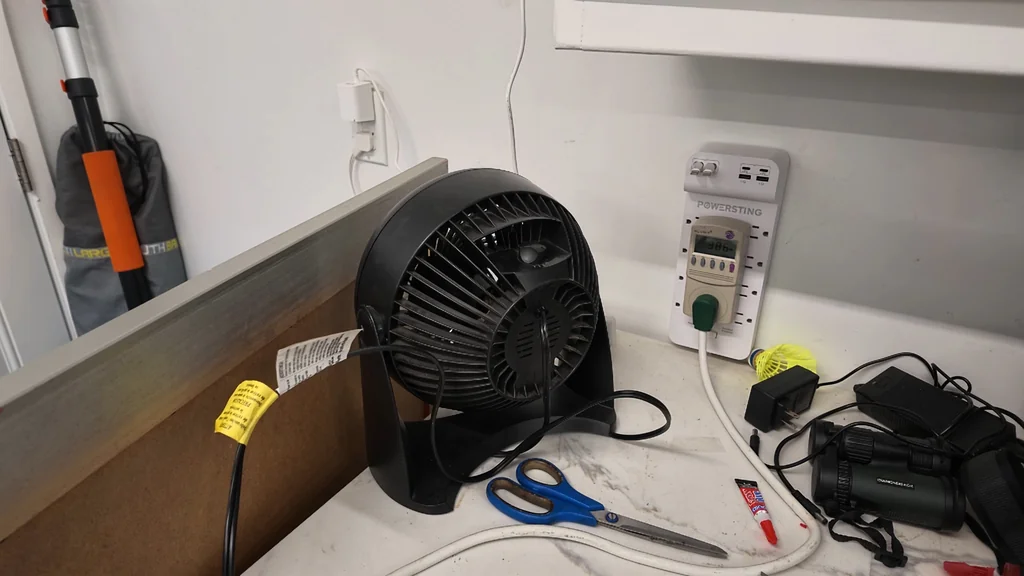
Monitoring App Overview
The app provides a visual interface for your power production. You can see the real-time status of the microinverter. It's intuitive. The overview screen shows the current wattage being generated by the panels. It's helpful. This is how you track your ROI in real-time.
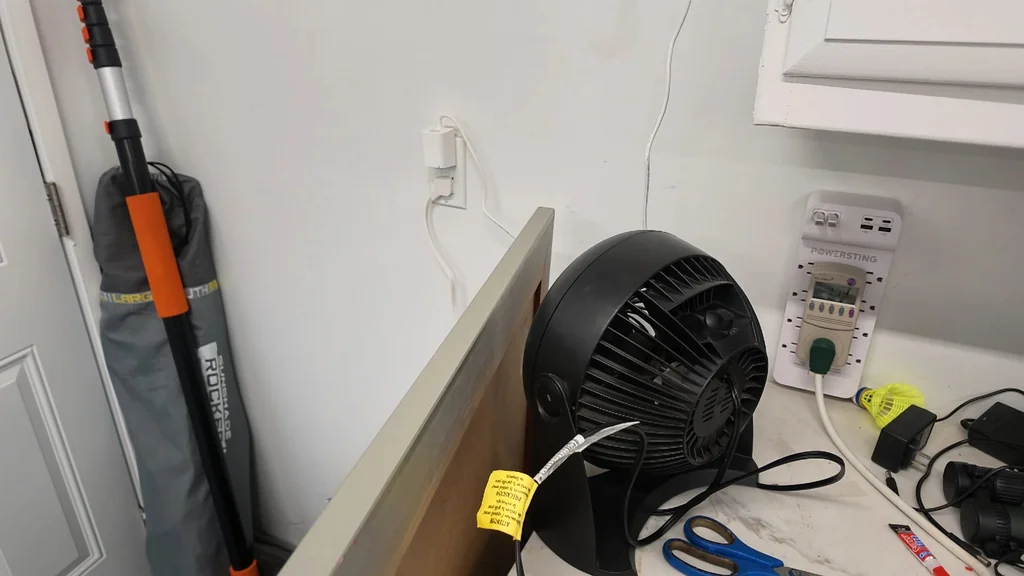
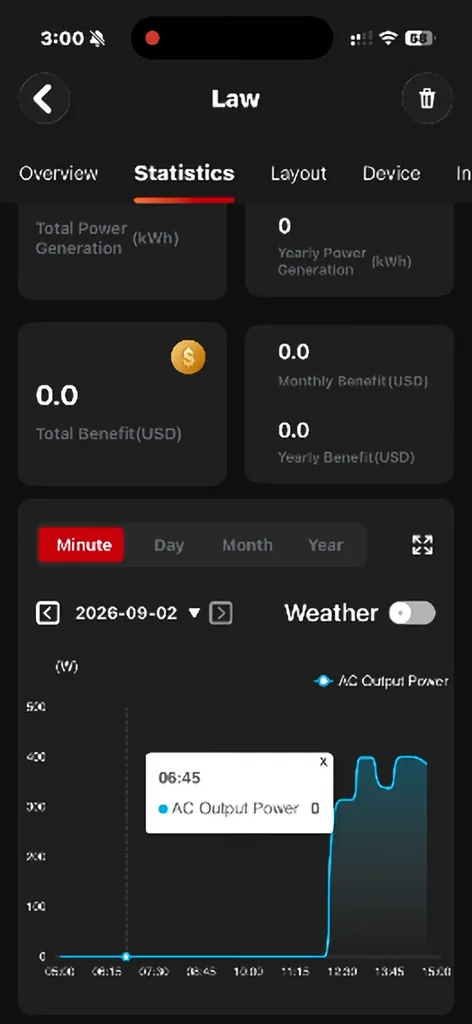
Analyzing Production Statistics
The statistics screen breaks down your energy generation over time. You can see daily, weekly, and monthly trends. It's detailed. This data is what you'll use to calculate your actual savings. It's accurate. You'll need this for your ROI analysis.
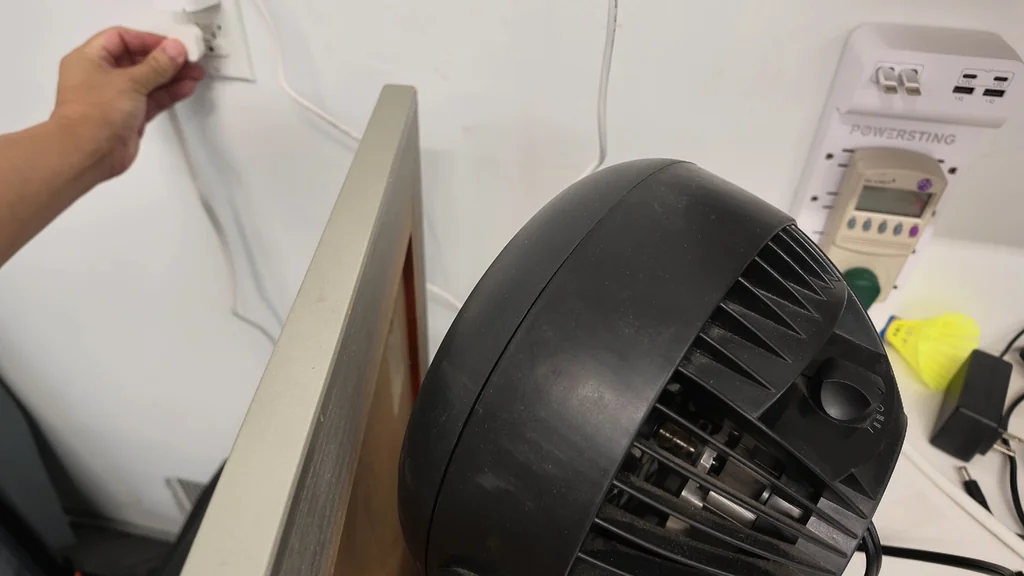
Reviewing the Desk Setup
Sitting at the desk, you can manage the entire system from one location. It's convenient. The setup allows for constant monitoring of the inverter's performance. It works. You're in control of the data. Everything is managed.
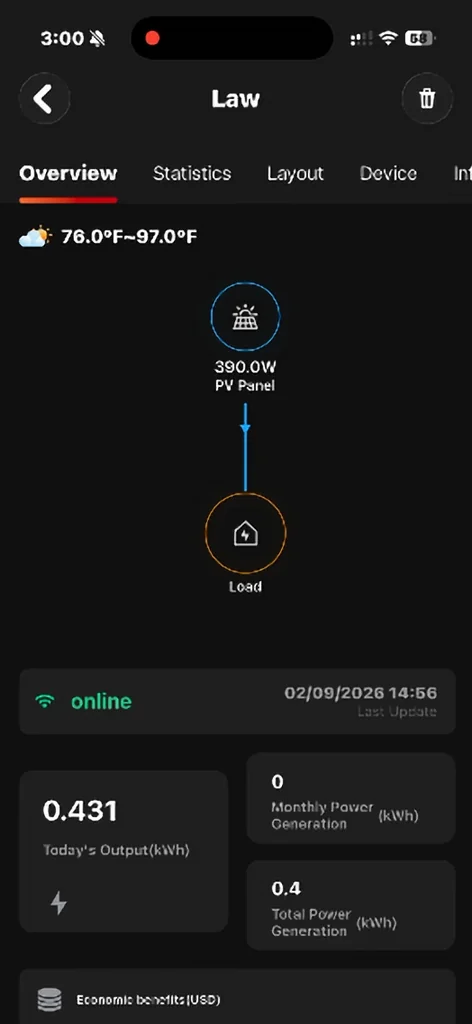
Evaluating Panel Compatibility
The Takesun panel ad overlay highlights the importance of choosing the right hardware. Compatibility is everything. You need to ensure the panel voltage matches the inverter's input range. It's critical. Don't ignore the specs. That part matters.
Final System Performance Check
A final check of the system ensures everything is running within expected parameters. It's stable. You're looking for consistent output across all channels. It's solid. The system is performing as designed. Everything is running.
The final assessment confirms the feasibility of the one-year ROI goal. It's possible. You've seen the data and the performance. It's real. The system is a viable option for residential solar. It's ready.
⚠️ CAUTION: SAFETY WARNING!
Always disconnect solar panels before working on the DC input cables to avoid electrical shock. Ensure your grid connection complies with local electrical codes.
Summary & Tips
The NEP BDM-1200-LV provides a solid foundation for residential plug-in solar. Monitoring the data is the only way to verify your ROI. Proper installation ensures long-term reliability and efficiency. This system is a practical choice for those looking to offset grid energy.
📋 FAQ
❓ Can I install this myself?
Yeah, the plug-in design makes it accessible for most DIYers. Just follow the local electrical codes for your area.
❓ Is the ROI really one year?
Honestly, it depends on your utility rates and how much sunlight you get. You'll need to calculate your specific local savings.
❓ What happens if the grid goes down?
Usually, these grid-tie inverters shut down for safety reasons. They are designed to sync with the grid frequency.
❓ Is the app reliable for tracking?
Yeah, the monitoring app gives you the data you need. It's a good tool for keeping an eye on your production.
Disclaimer: I purchased all tools for this guide with my own money to ensure an unbiased review. This post contains affiliate links, meaning I earn a small commission if you make a purchase at no extra cost to you.