The Creality K1 is a high-speed workhorse, but its stock cable chain is notorious for sagging, which can lead to interference with the X-axis rod and potential cable fatigue. This guide details how to replace the stock chain with a redesigned, high-tolerance version and a modified riser to keep the cable path elevated and clear of the printer’s motion components.
⚡ Quick Guide: How to Make It in 10 Steps
- Remove the stock cable chain by disconnecting the front plate and guide screw.
- Print the redesigned ViniS chain links using PETG for durability.
- Clean the printed links by removing all support material.
- Modify the chain link riser to ensure a rounded fit and proper tolerance.
- Assemble the new chain, using 24 links for sufficient reach.
- Mount the modified riser to the rear bracket using original hardware.
- Feed the cables through the new chain assembly carefully.
- Install the front riser to maintain chain alignment.
- Reconnect the cable to the motherboard and secure the hotend cover.
- Verify the assembly with a full range-of-motion test.
📋 In This Article
- Technical Specifications & Components
- Tools & Materials Used — what you will need for this project
- Removing the Stock Creality K1 Cable Chain
- Understanding the Sagging Problem
- Printing and Preparing the Redesigned Links
- Modifying the Chain Link Riser
- Assembling the New Cable Chain
- Installing the Rear Bracket and Riser
- Attaching the Front Riser and Connecting Cables
- Reassembling the Hotend Cover
- Testing the Printer in Motion
- Final Inspection and Conclusion
- FAQ
📊 Technical Specifications & Components
| Chain Link Count | 24 links |
| Material | PETG |
| Printer Model | Creality K1 |
| Modification Type | Cable Chain Anti-Sag Riser |
📊 Project Overview & Costs
🔧 Difficulty Level: Medium
⏱️ Time Investment: DIY: 60-90 minutes | Pro: 45 minutes
💰 Professional Service Cost: $15 - $25
💡 Verdict: Eliminating the sag prevents premature cable failure and costly long-term repairs.
🛠️ Tools & Materials Used
• PETG Filament
• Flush Cutters
Step-by-Step Assembly, Repair, Testing & Inspection
Removing the Stock Creality K1 Cable Chain
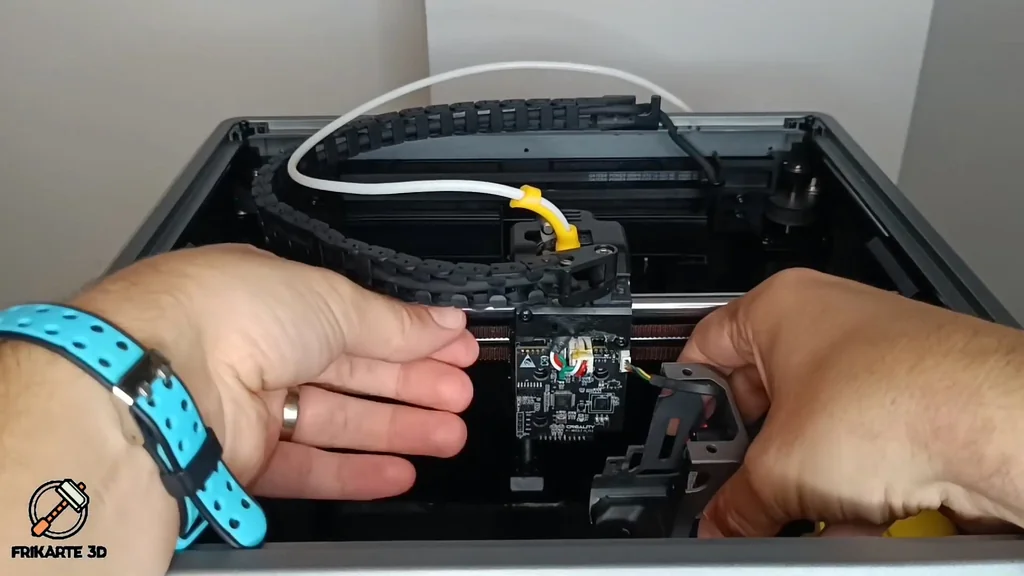
The stock cable chain on the K1 often sags due to loose tolerances between the links. It's a common failure point. To start the repair, you must disassemble the front plate of the print head. Remove the guide screw carefully and disconnect the cable from the motherboard. Pull the chain links apart to release the cable from the internal openings. Keep track of all original screws.
Understanding the Sagging Problem
The primary issue is the accumulation of tolerance gaps between the individual chain links. This causes the chain to droop and eventually drag against the X-axis rod. Temporary fixes rarely last. The ViniS redesign addresses this by reshaping the links to minimize these gaps. It's a solid engineering fix. The new design ensures the chain remains rigid and elevated throughout the print head's travel.
Printing and Preparing the Redesigned Links
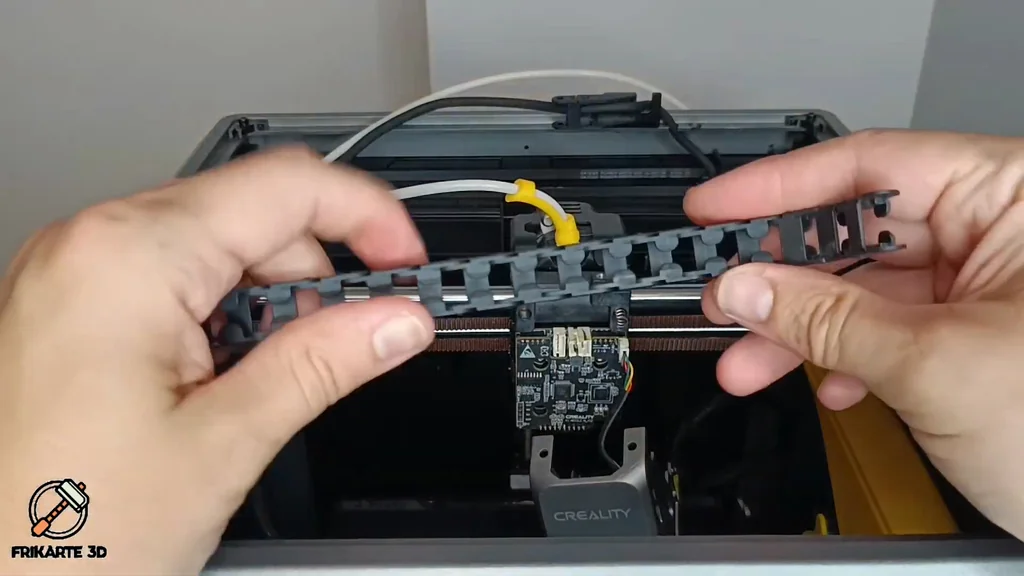
Print the redesigned links using PETG filament for improved thermal resistance and durability. The files include built-in supports to maintain precise link geometry. After printing, you must remove every support carefully. This prep work is essential. The links need to be tight and precise to prevent future sagging. A clean surface ensures the snap-fit mechanism works as intended.
Modifying the Chain Link Riser
The chain link riser keeps the assembly elevated. I found that the initial print needed adjustments to fit correctly. I changed the flat shape to a rounded profile to match the links. It's a necessary tweak. I also modified the wall thickness and tolerances to ensure smooth movement. The result is a riser that guides the chain perfectly without binding. It runs smooth now.
Assembling the New Cable Chain
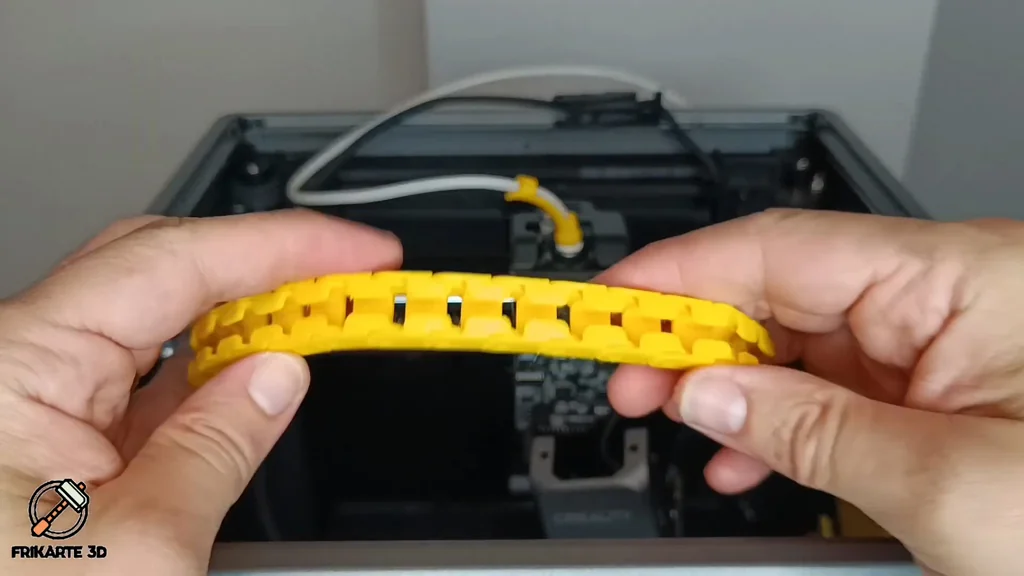
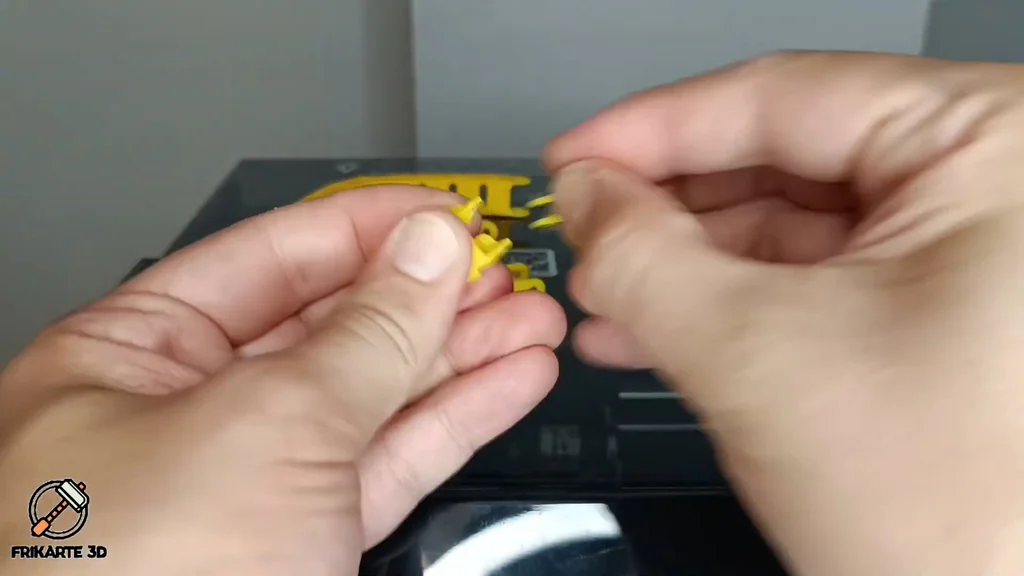
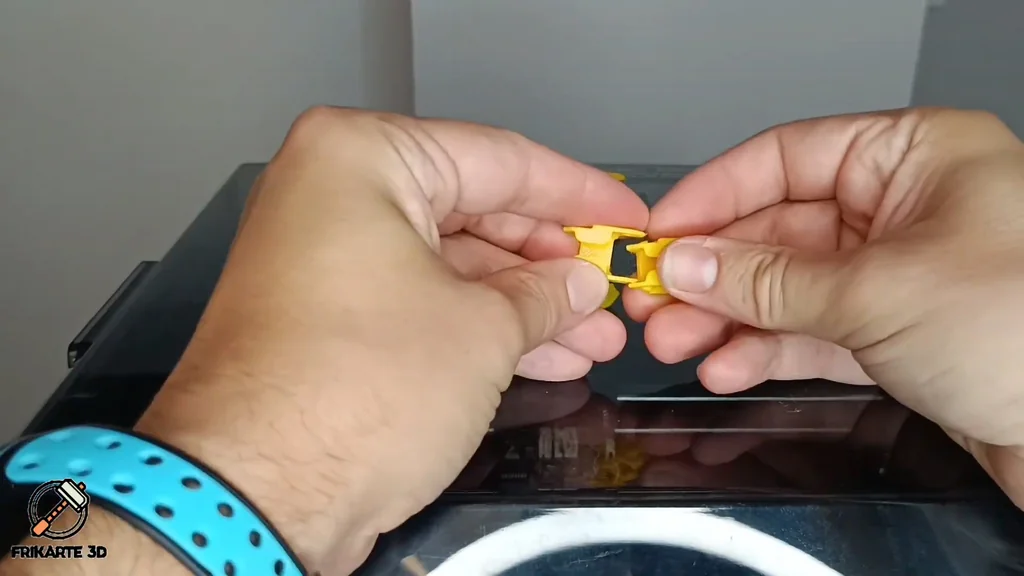
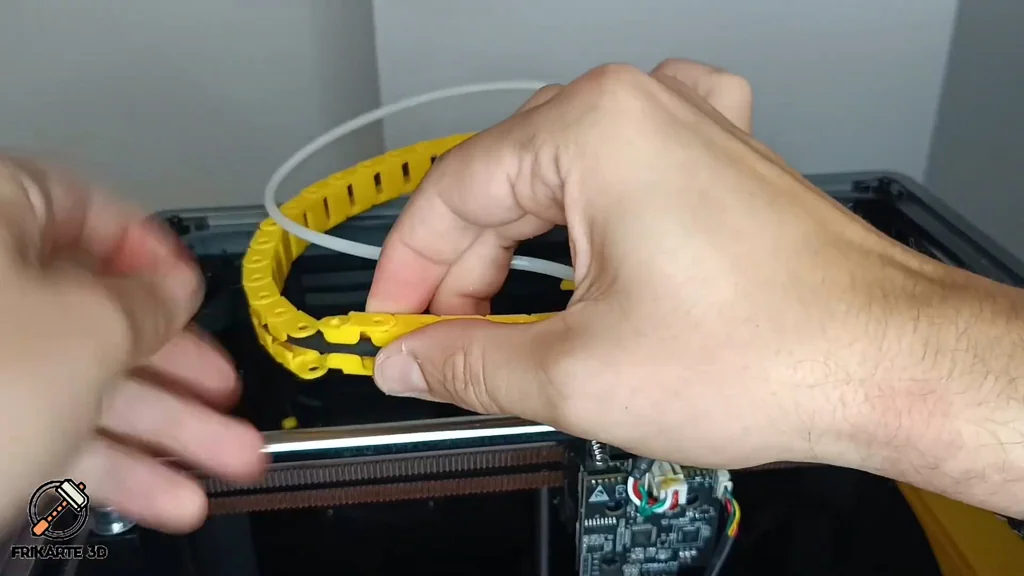
With the supports removed, the links snap together to form a sturdy, sag-free chain. The original setup used 28 links, but 24 is sufficient for the K1. It's plenty of length. This shorter length still allows the print head to reach the entire build plate. The assembly is straightforward. Just ensure each link is fully seated to maintain structural integrity.
Installing the Rear Bracket and Riser
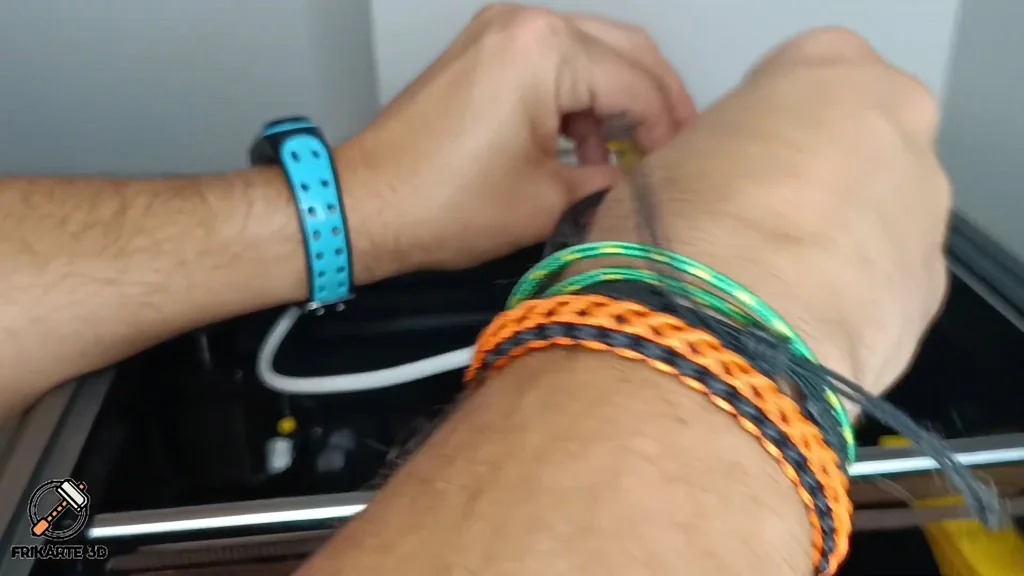
Start the installation by replacing the rear bracket with the modified riser. Use the original screws to mount it securely. I set it to the highest position to maximize clearance. Feeding the cable through the new chain takes some patience. It's a slow process. The links might separate occasionally, but that's normal. Just take your time to avoid damaging the wiring.
Attaching the Front Riser and Connecting Cables
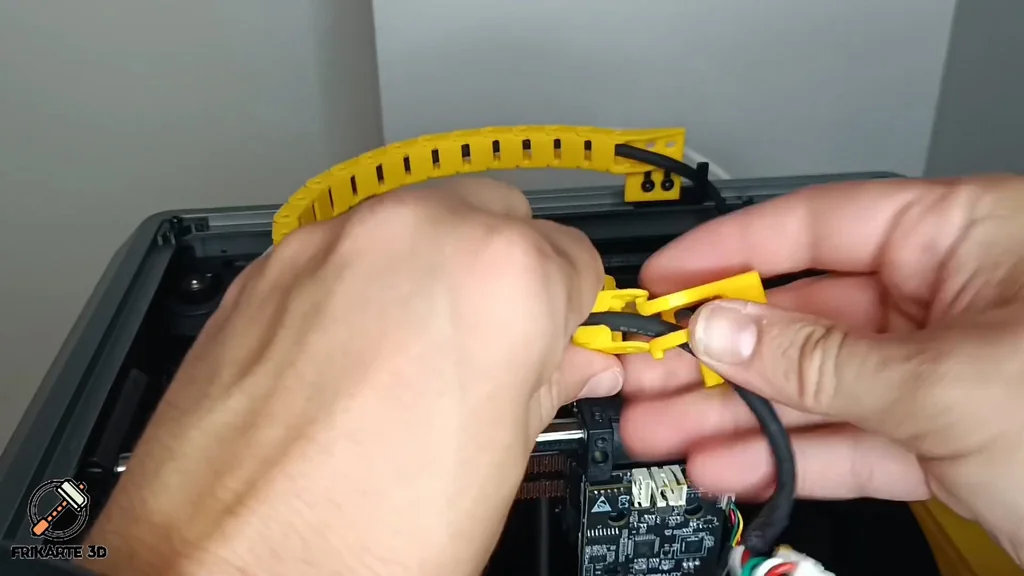
A second riser is required at the front to keep the chain straight. Attach this riser to the hotend using the original guide screw. Reconnect the cable to the motherboard. Since I used only 24 links, you must adjust the cable start point. It's a tight fit. This adjustment ensures the chain stays properly aligned during printer movement.
Reassembling the Hotend Cover
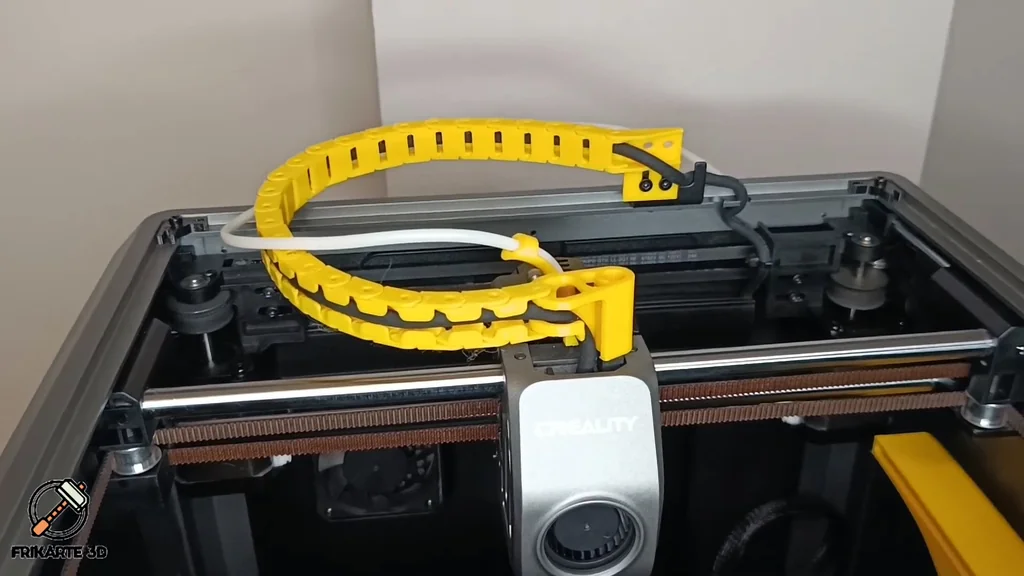
Now, reassemble the hotend cover, starting with the cable holder. Follow up with the cover itself. It snaps into place. Secure it with the side screws. The chain is now fully stabilized. It won't touch the X-axis rod anymore. This fix keeps the chain in line even during long, complex prints.
Testing the Printer in Motion
Run a test print to verify the chain's performance. The movement should be smooth and free of interference. It's working perfectly. The chain stays elevated and does not sag toward the X-axis rod. This confirms the modification is successful. You can now print with confidence.
Final Inspection and Conclusion
The modification is complete. The printer is ready for operation. This simple fix significantly improves the reliability of the K1's cable management. It's a solid upgrade. Keep an eye on the chain during the first few prints to ensure everything remains seated.
⚠️ CAUTION: SAFETY WARNING!
Always power off and unplug the printer before working on the motherboard or hotend wiring. Ensure the printer is completely cool before handling the print head components.
Summary & Tips
The cable chain sag on the Creality K1 is a manageable issue with the right parts. By replacing the stock links and adding a proper riser, you eliminate interference with the X-axis. This modification is a straightforward way to improve printer longevity. Your cable management is now rock solid.
📋 FAQ
❓ Why does the K1 cable chain sag?
The stock chain suffers from loose tolerances between links. This causes it to droop over time. It's a common design limitation.
❓ Do I need to print the chain in a specific material?
PETG is recommended for its durability and heat resistance. PLA might soften near the hotend. Use PETG for the best results.
❓ How many links should I use?
I used 24 links for this setup. It provides enough reach for the full build plate. It's the right length.
❓ Is this modification hard to install?
Not really, but it takes time. You need to be careful with the wiring. Just take it slow.
Disclaimer: I purchased all tools for this guide with my own money to ensure an unbiased review. This post contains affiliate links, meaning I earn a small commission if you make a purchase at no extra cost to you.