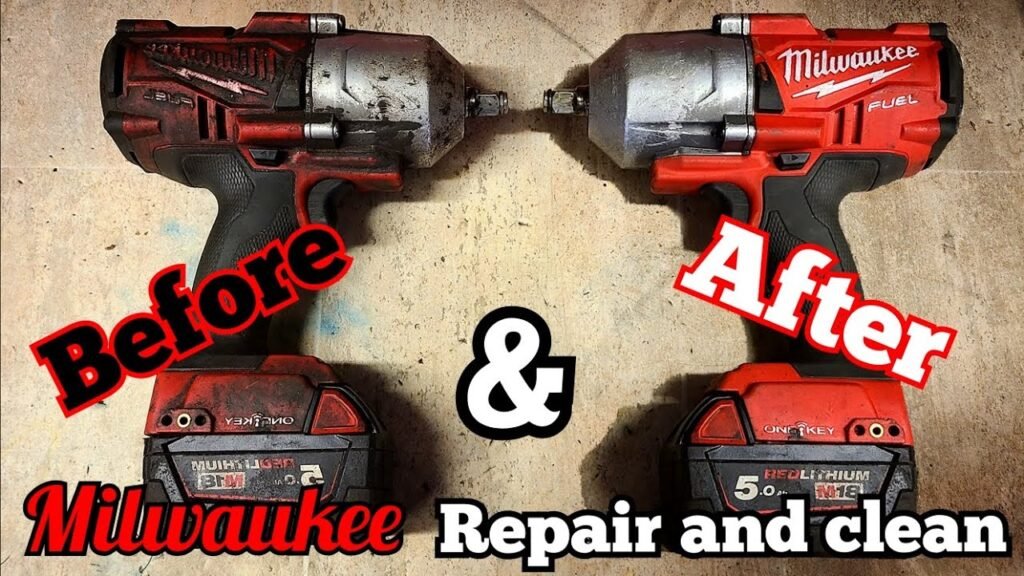
Rebuilding a Milwaukee M18 drill gearbox requires precision and a clean workspace. If your drill is slipping or making grinding noises, the internal planetary gears or the clutch assembly might be the culprit. This guide walks you through the mechanical reassembly process, ensuring every gear and washer sits exactly where it belongs for smooth, reliable operation.
⚡ Quick Guide: How to Make It in 15 Steps
📋 In This Article
- Technical Specifications & Components
- Tools & Materials Used — what you will need for this project
- Preparing the Gearbox Housing
- Inspecting the Planetary Carrier
- Seating the Internal Ring Gear
- Applying Fresh Synthetic Grease
- Installing the Sun Gear Assembly
- Aligning the Clutch Springs
- Mounting the Output Spindle
- Securing the Gearbox Retaining Plate
- Testing the Torque Collar
- Checking Gearbox Free-Spin
- Installing the Gearbox Housing Cover
- Fastening the Outer Casing
- Verifying Speed Selector Switch
- Final Functional Load Test
- Cleaning Up the Workspace
- FAQ
📊 Technical Specifications & Components
| Drill Model | Milwaukee M18 Series |
| Gearbox Type | Planetary reduction |
| Lubrication | High-temperature synthetic grease |
| Clutch System | Adjustable torque collar |
| Output Spindle | Keyless chuck interface |
📊 Project Overview & Costs
🔧 Difficulty Level: Medium
⏱️ Time Investment: DIY: 45 minutes | Pro: 20 minutes
💰 Professional Service Cost: $80 - $120
💡 Verdict: Rebuilding the gearbox is significantly cheaper than replacing the entire drill unit.
🛠️ Tools & Materials Used
• Lint-free shop towels
• Synthetic grease
• Pick tool
Step-by-Step Assembly, Repair, Testing & Inspection
Preparing the Gearbox Housing
Start by clearing out all old, contaminated grease from the main housing. Old grease gets gritty. It ruins gears. Use a lint-free towel to wipe the interior walls until they shine. Any debris left behind acts like sandpaper on the internal components.
Inspecting the Planetary Carrier
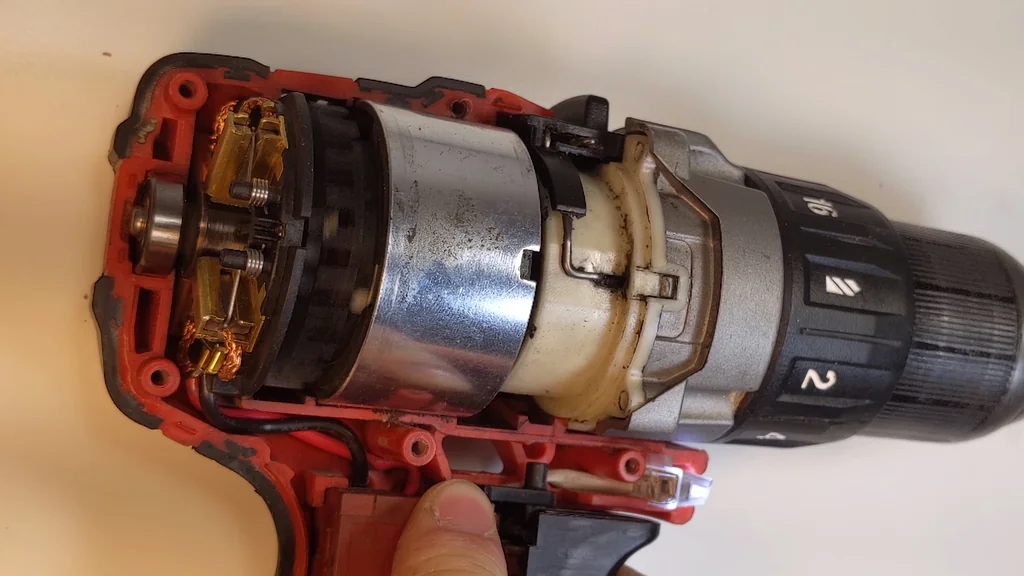
Check the planetary carrier for any signs of chipped teeth or excessive wear. These gears take the brunt of the torque. If they look pitted, replace them immediately. A bad gear will fail under load. It's not worth the risk.
Seating the Internal Ring Gear
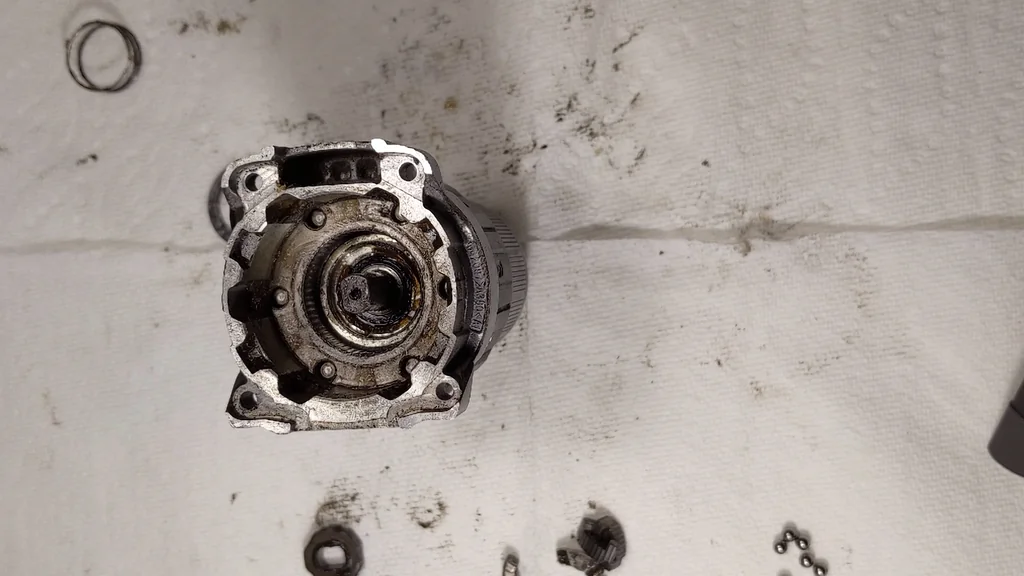
Slide the ring gear into the housing carefully. It needs to seat flush against the shoulder. Don't force it. If it doesn't drop in, check for obstructions. Proper alignment is everything.
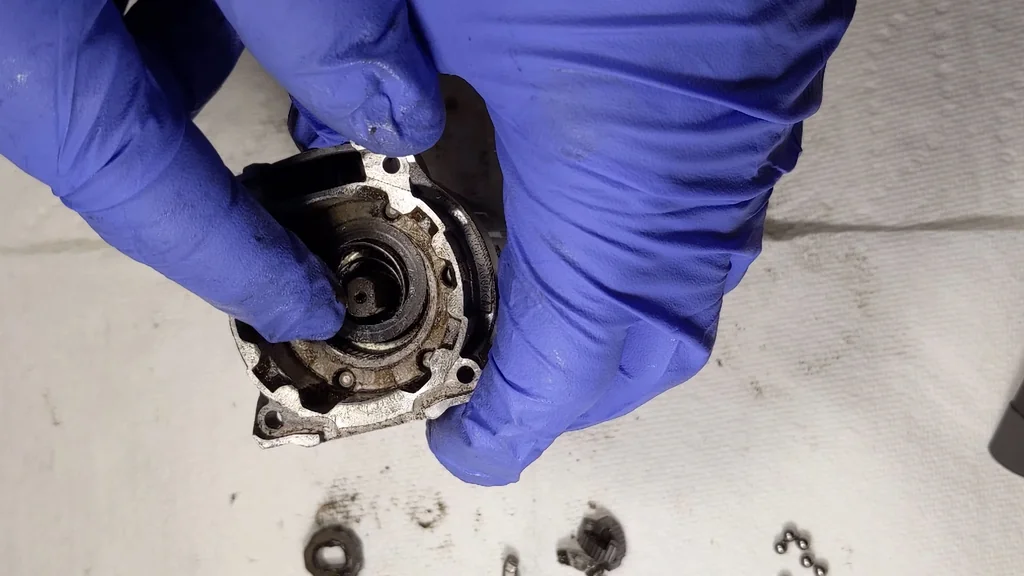
Applying Fresh Synthetic Grease
Apply a light, even coat of high-temperature synthetic grease to the gear teeth. Don't overdo it. Excess grease just creates drag and attracts dust. A thin film is all you need. It keeps things moving smoothly.
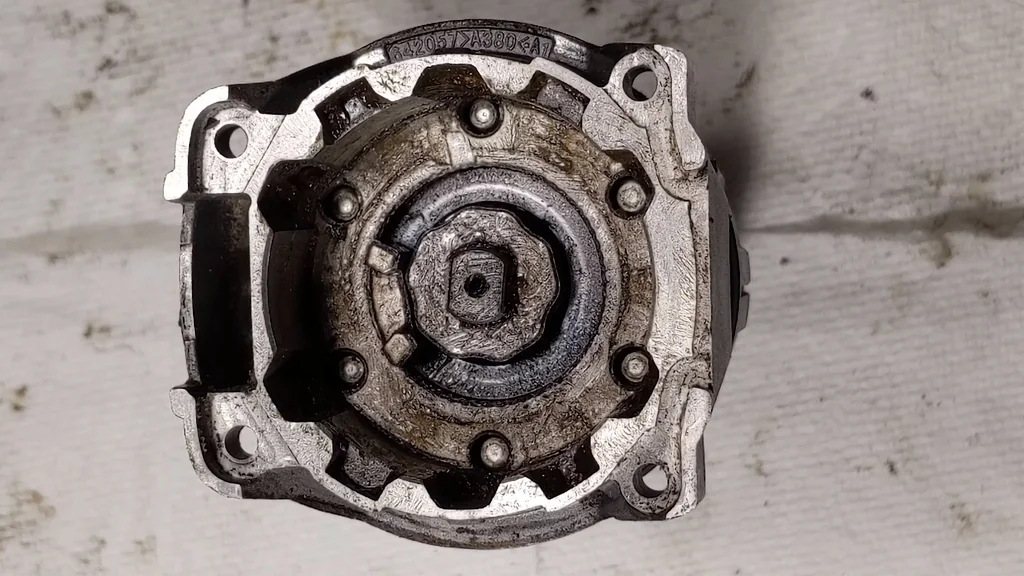
Installing the Sun Gear Assembly
Insert the sun gear into the center of the planetary carrier. It should spin freely without binding. If it feels tight, pull it out and check the alignment. Smooth rotation is the goal. It's absolutely critical.
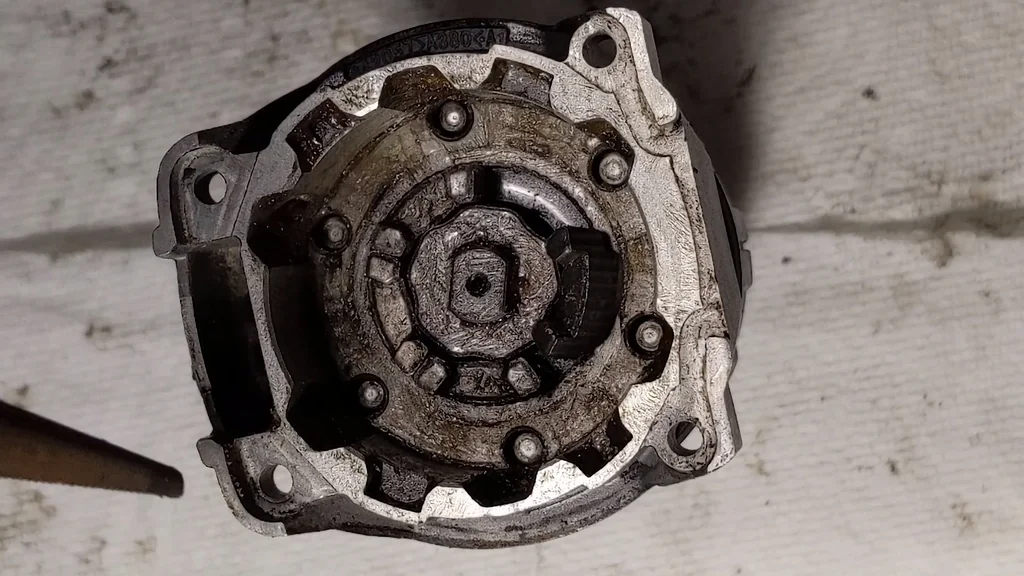
Aligning the Clutch Springs
Position the clutch springs into their respective pockets. These springs control your torque settings. They must be seated perfectly level. If one is cocked, the clutch will slip unevenly. Check them twice.
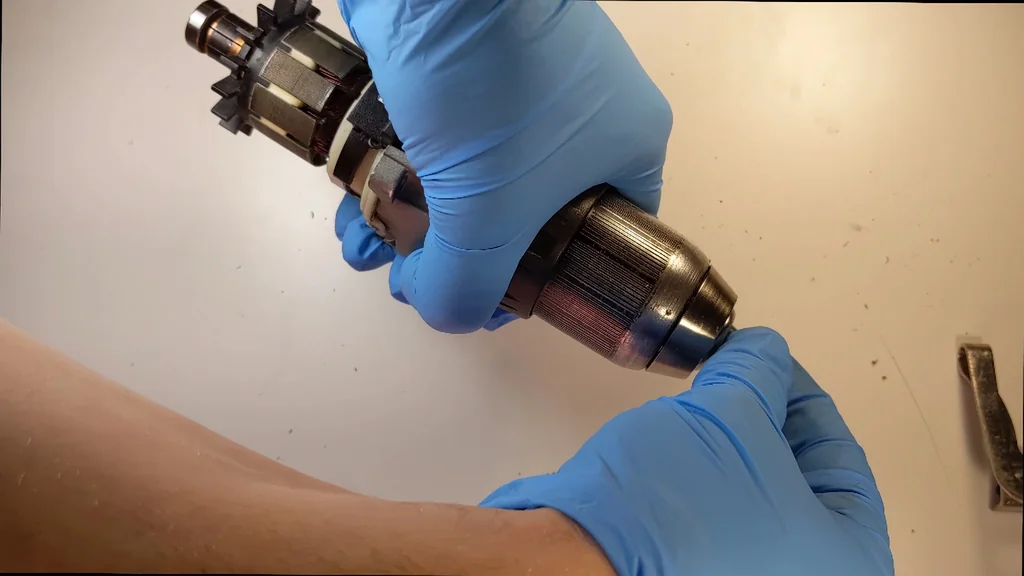
Mounting the Output Spindle
Carefully lower the output spindle assembly onto the gear stack. You'll feel it click into place when the splines engage. Don't rush this. If it doesn't seat, rotate the spindle slightly to line up the teeth.
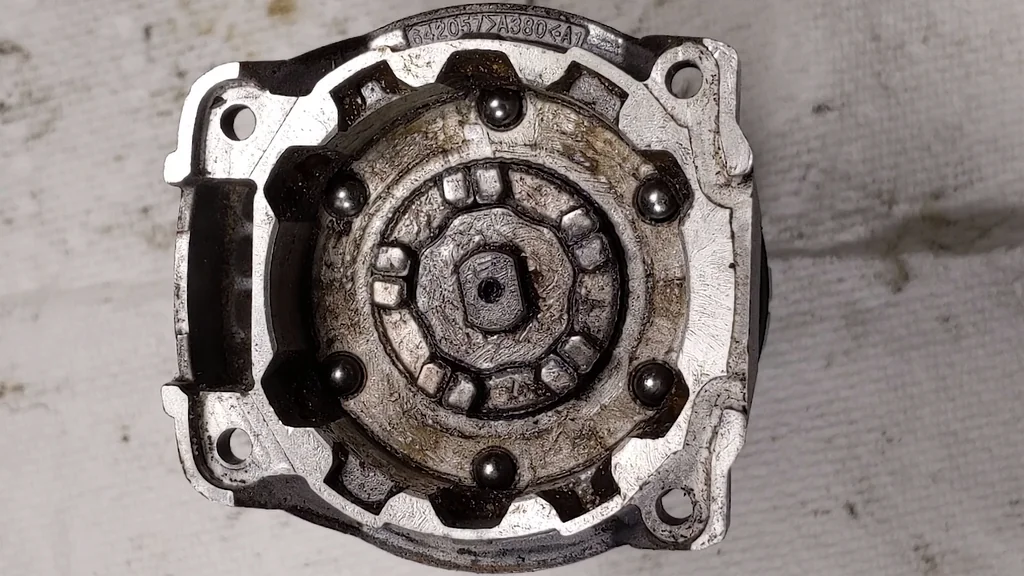
Securing the Gearbox Retaining Plate
Install the retaining plate to lock the assembly in place. Tighten the screws in a star pattern. This ensures even pressure across the housing. Don't overtighten. You might strip the plastic threads.
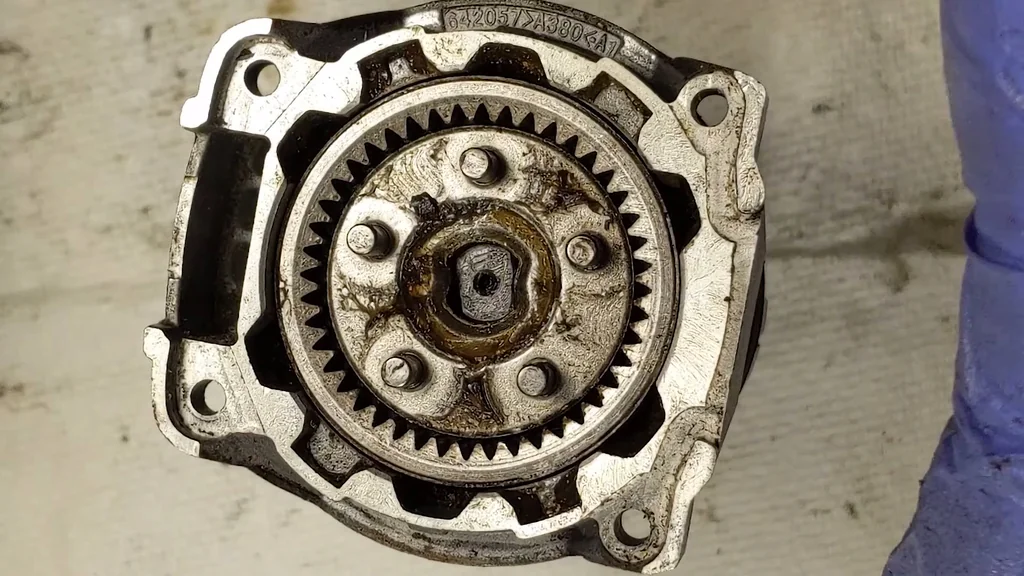
Testing the Torque Collar
Rotate the torque collar through its full range of settings. You should feel distinct clicks at each position. If it feels mushy, the detent ball is likely misaligned. It needs to be crisp.
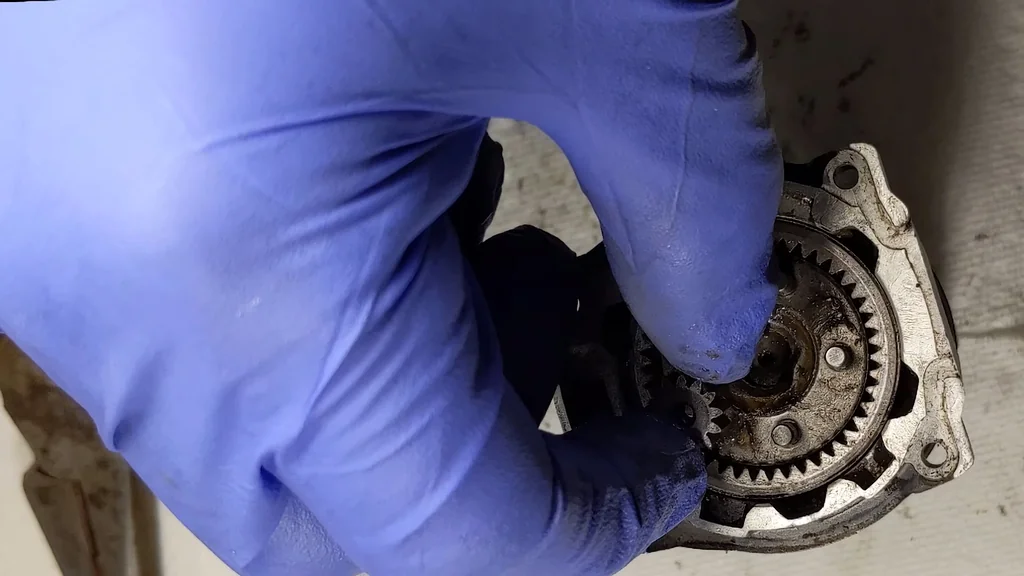
Checking Gearbox Free-Spin
Turn the output spindle by hand to verify smooth operation. It should turn without any grinding or resistance. If you hear a crunch, stop. Something is misaligned.
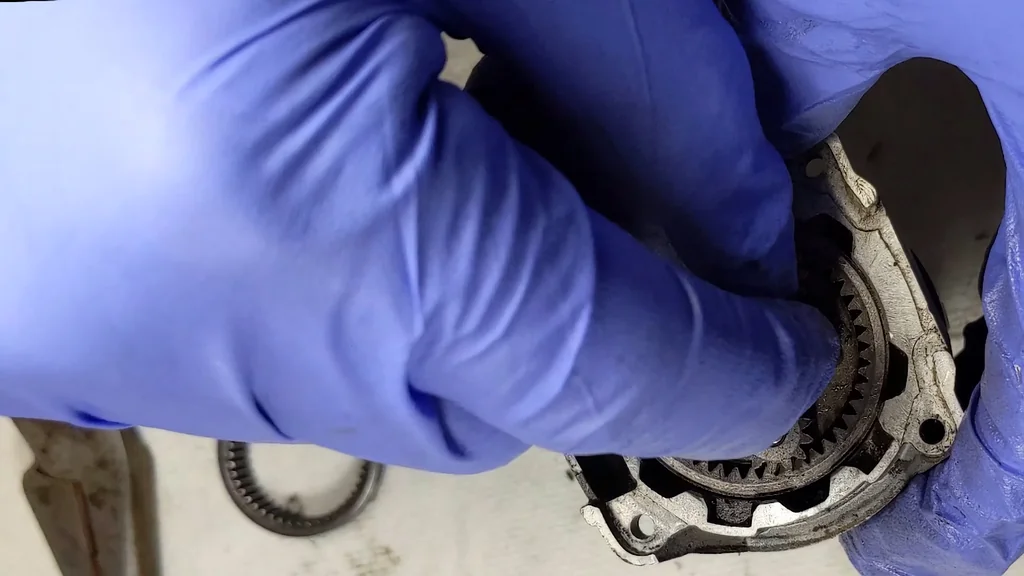
Installing the Gearbox Housing Cover
Place the cover over the gearbox and align the screw holes. Ensure no wires are pinched between the halves. Pinching wires causes shorts. Watch your cable routing.
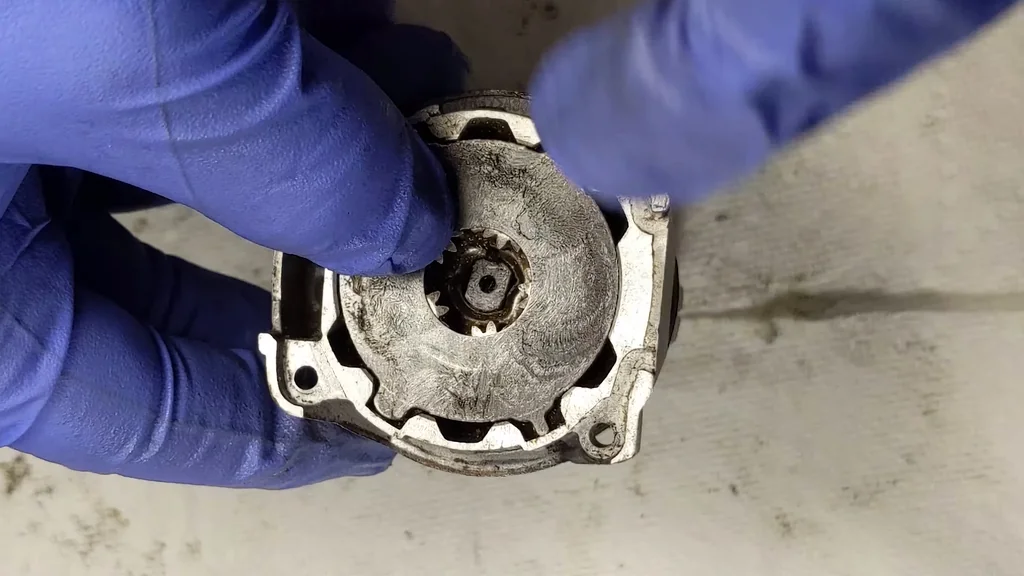
Fastening the Outer Casing
Drive the housing screws home using the appropriate driver. Use a manual screwdriver to avoid damaging the plastic. Firm pressure is enough. Don't over-torque them.
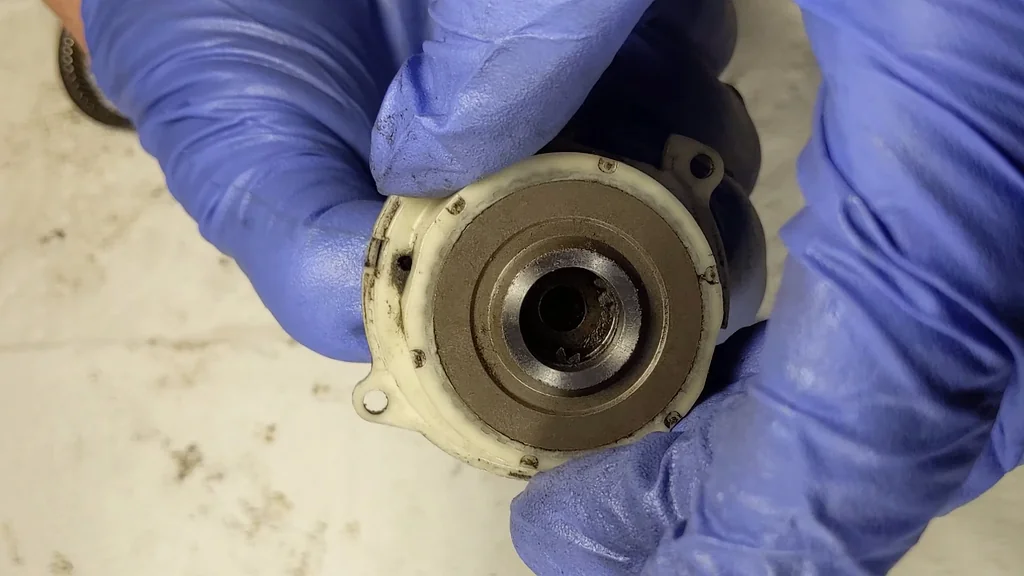
Verifying Speed Selector Switch
Toggle the high-low speed switch to ensure it engages both gears. You should hear a solid mechanical click. If it sticks, check the linkage. It must move freely.
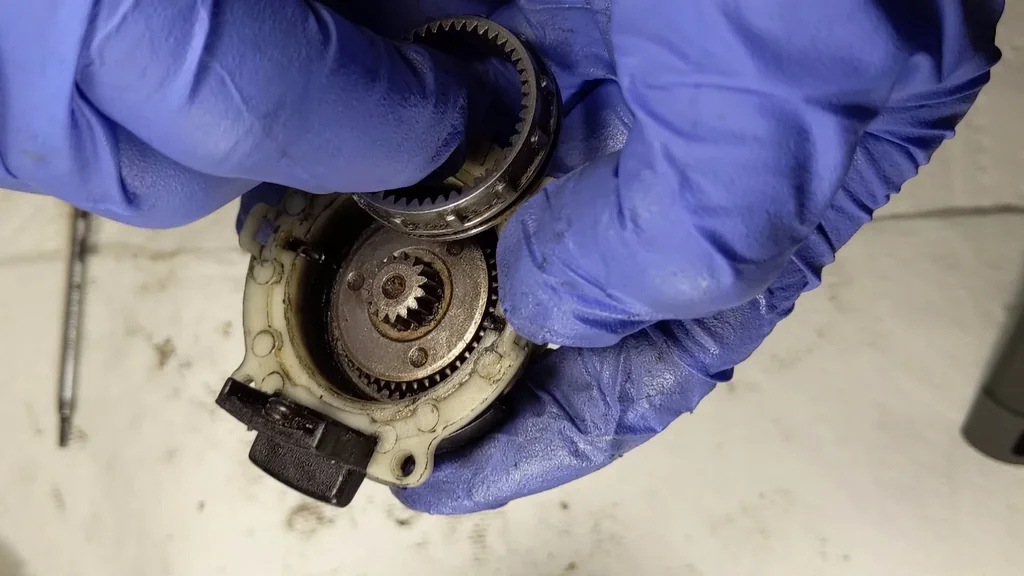
Final Functional Load Test
Attach a battery and run the drill at low speed. Listen for any abnormal noises or vibrations. It should sound consistent. If it sounds healthy, you're done. It's ready for work.
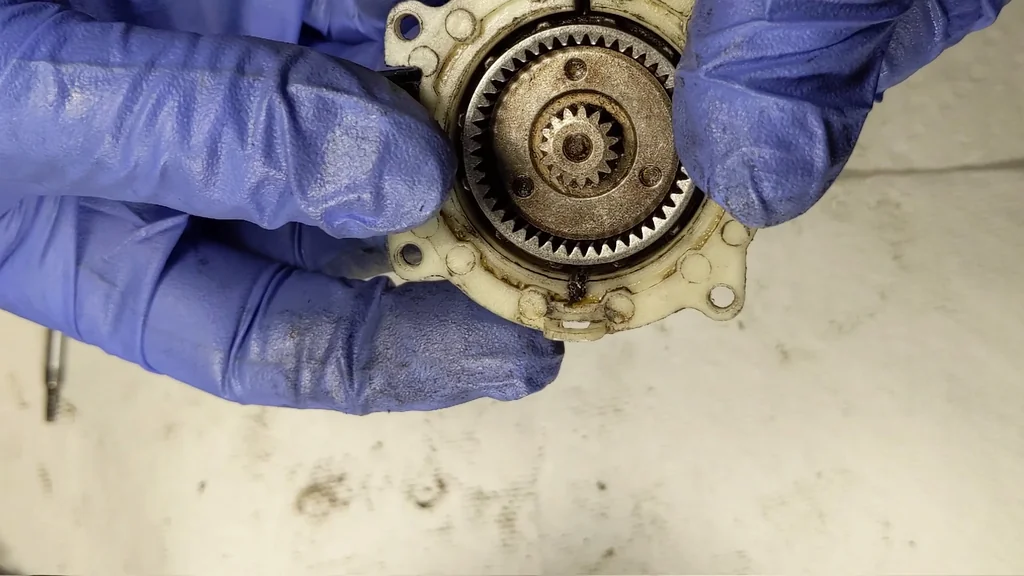
Cleaning Up the Workspace
Wipe down the drill body to remove any stray grease. A clean tool is a professional tool. Store your tools back in the kit. You're finished.
⚠️ CAUTION: SAFETY WARNING!
Always remove the battery before performing any maintenance on the drill. Failure to do so can result in accidental activation and injury.
Summary & Tips
Reassembling the Milwaukee M18 gearbox is a straightforward process if you keep your components organized. Always ensure the gear teeth are clean and properly lubricated before closing the housing. A methodical approach prevents common issues like clutch slippage or gear binding. Your drill should now perform like it just came off the factory line.
📋 FAQ
❓ Can I use any grease for the gearbox?
Nah, don't use just anything. Use a high-quality synthetic grease meant for plastic and metal gears. Standard automotive grease can sometimes degrade plastic components.
❓ Why does my drill make a grinding noise?
Usually, that means you have stripped gear teeth or debris inside the housing. It's a sign of wear. Open it up and inspect the planetary gears immediately.
❓ Is it hard to align the clutch springs?
Honestly, it takes a steady hand. They can be finicky. Just take your time and ensure each one sits perfectly flat in its seat.
❓ What if the drill still slips after assembly?
Check your clutch spring alignment again. It's possible one shifted during the final casing installation. If they are fine, the clutch plates themselves might be worn out.
Disclaimer: I purchased all tools for this guide with my own money to ensure an unbiased review. This post contains affiliate links, meaning I earn a small commission if you make a purchase at no extra cost to you.