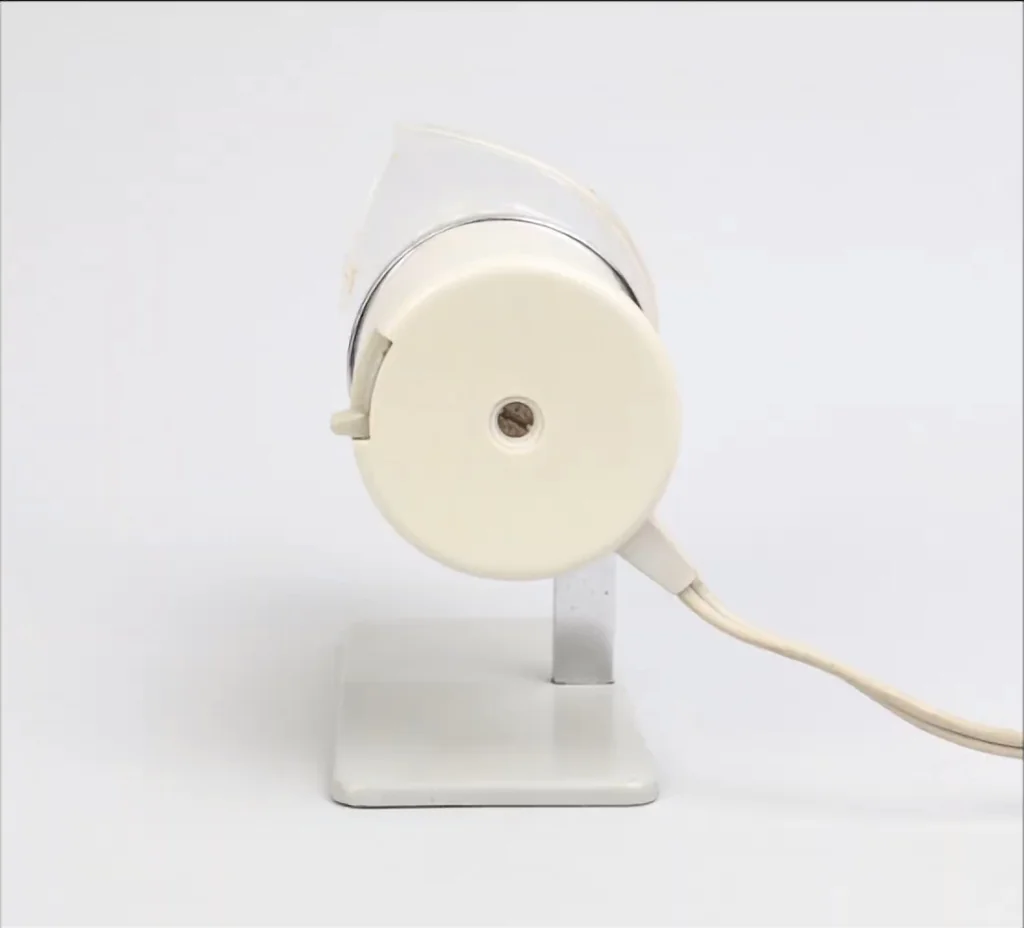
The Braun HL70 desk fan, designed by Reinhold Weiss in 1961, remains a pinnacle of mid-century industrial design. While original units command steep prices, 3D printing offers a path to replicate this classic aesthetic. This project documents the process of designing, printing, and finishing a functional tribute to Dieter Rams’ design philosophy, focusing on intentional fabrication rather than mass-produced plastic toys.
⚡ Quick Guide: How to Make It in 15 Steps
- Analyze the original design language.
- Model parts for 3D printing.
- Optimize print orientation for strength.
- Break down assemblies to minimize supports.
- Sand and prime for a factory finish.
- Apply automotive body filler for surface perfection.
- Wet sand up to 2500 grit.
- Form the acrylic base using a custom heating coil.
- Bond acrylic components with precision cement.
- Assemble and calibrate the final unit.
📋 In This Article
- Technical Specifications & Components
- Tools & Materials Used — what you will need for this project
- Understanding the Braun Design Ethos
- The Case for Custom Fabrication
- 3D Printing as a Design Tool
- Intentional Design and Quality Parts
- Optimizing Print Orientation
- Reducing Support Material
- Post-Processing Challenges
- Refining the Factory Finish
- Applying Automotive Body Filler
- Overcoming Printer Limitations
- Acrylic Forming Techniques
- Bonding and Final Assembly
- Reflecting on the Build
- Demonstrating the Camera Mount
- Final Setup and Calibration
- FAQ
📊 Technical Specifications & Components
| Original Designer | Reinhold Weiss |
| Design Era | 1961 |
| Material | PETG Filament |
| Finishing | Automotive body filler and spray paint |
| Base Construction | Formed Acrylic |
| Sanding Grit | Up to 2500 |
| Bonding Agent | Acrylic cement |
📊 Project Overview & Costs
🔧 Difficulty Level: Hard
⏱️ Time Investment: DIY: 3-4 weeks | Pro: 40 hours
💰 Professional Service Cost: $300 - $500
💡 Verdict: You gain a custom, repairable piece of industrial design that would otherwise be unaffordable.
🛠️ Tools & Materials Used
• 3D Printer
• PETG Filament
• Automotive body filler
• Wet/Dry Sandpaper (up to 2500 grit)
• Acrylic cement
• Custom heating coil for acrylic bending
• Plywood negative mold
Step-by-Step Assembly & Testing
Understanding the Braun Design Ethos
The best products disappear into everyday life. They define a generation. In the mid-20th century, Braun, under Dieter Rams, redefined consumer electronics for over 40 years. Rams' commitment to simplicity and functionality shaped modern design. One specific creation, the HL70 desk fan, stands out as a forgotten icon. It's a masterclass in minimalism.
The Case for Custom Fabrication
Reinhold Weiss designed this fan in 1961. It remains an icon of the Braun lineup. Finding an original in mint condition is expensive. Buying one is easy. Building it is the real challenge. That's why this project exists.
3D Printing as a Design Tool
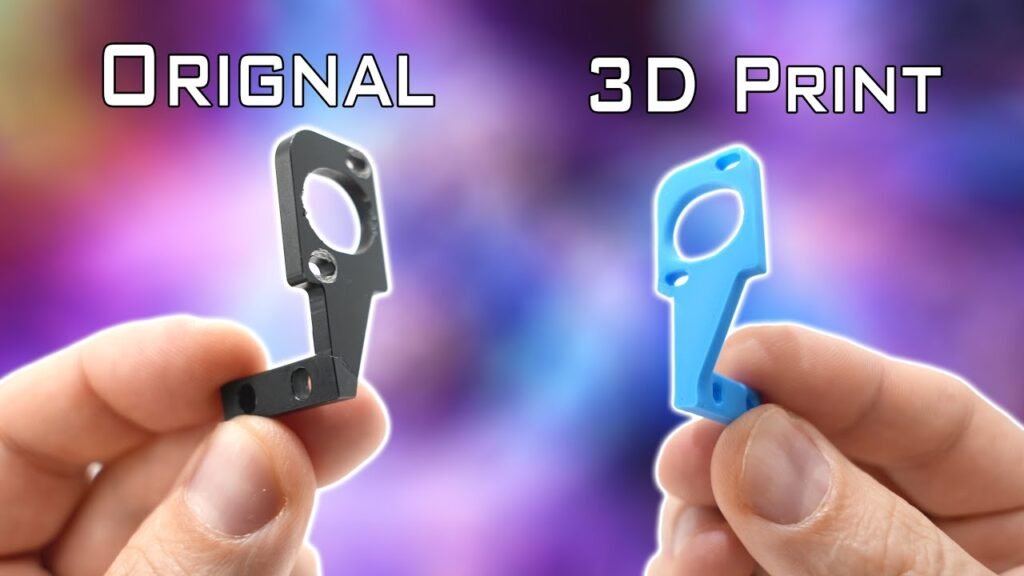
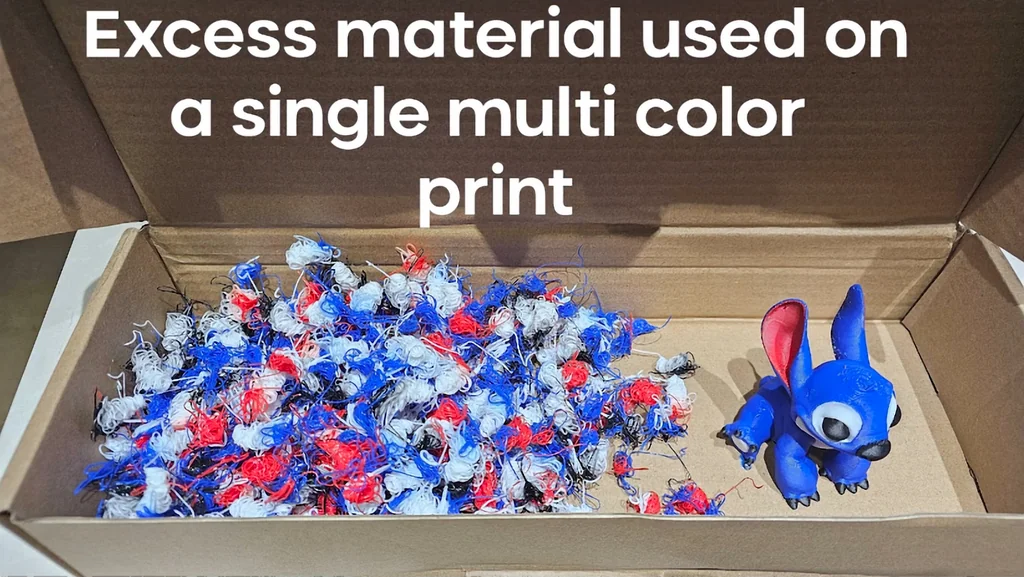
3D printing democratizes product creation. It moves ideas from sketches to prototypes in a single day. I have a love-hate relationship with the technology. It's powerful. It's also a responsibility. As printers become common, I see too many low-quality plastic toys flooding the market.
Intentional Design and Quality Parts
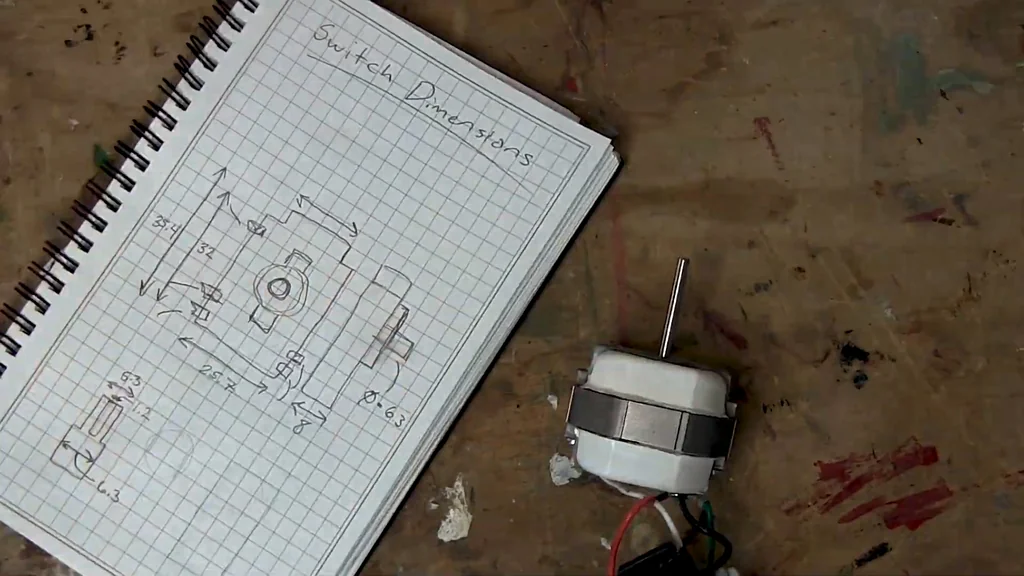
I want to show that 3D printing can be intentional. Quality starts with design. Keeping things simple is the hardest part. It's difficult to discard ideas you've spent time on. True quality requires discipline. You have to focus on the end result.
Optimizing Print Orientation
When designing parts, I always consider print orientation. Think about a plastic snap hook. If you print it vertically, it snaps along the layer lines. Print it on its side instead. The layer lines become parallel to the flexing force. This makes the part much stronger. Orientation matters.
Reducing Support Material
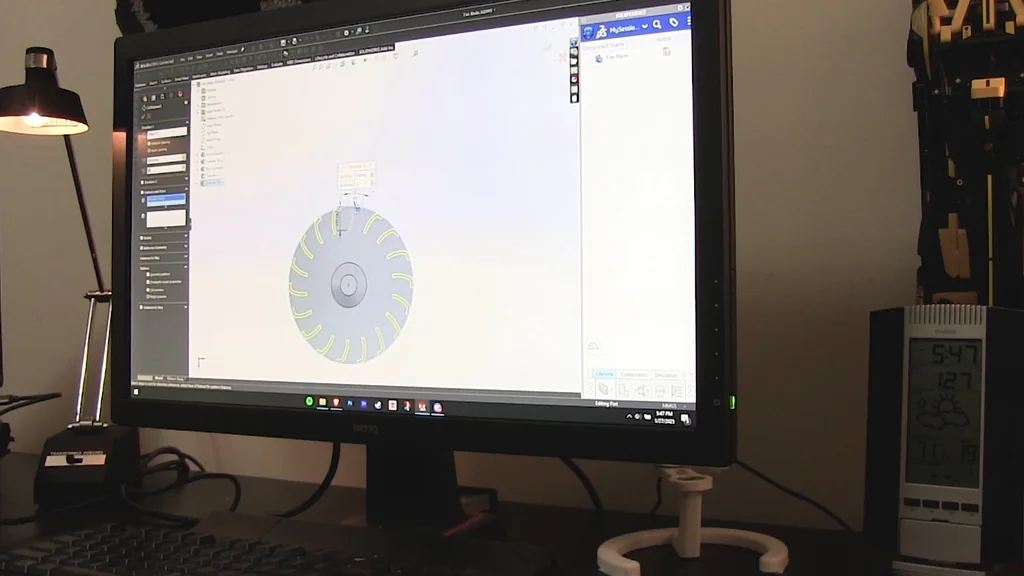
I hate using supports. I limit them whenever possible. One way is breaking complex parts into smaller assemblies. I did this for the fan blades. It saves material. It also allows for modular changes. Gluing them was a pain. That part is on me.
Post-Processing Challenges
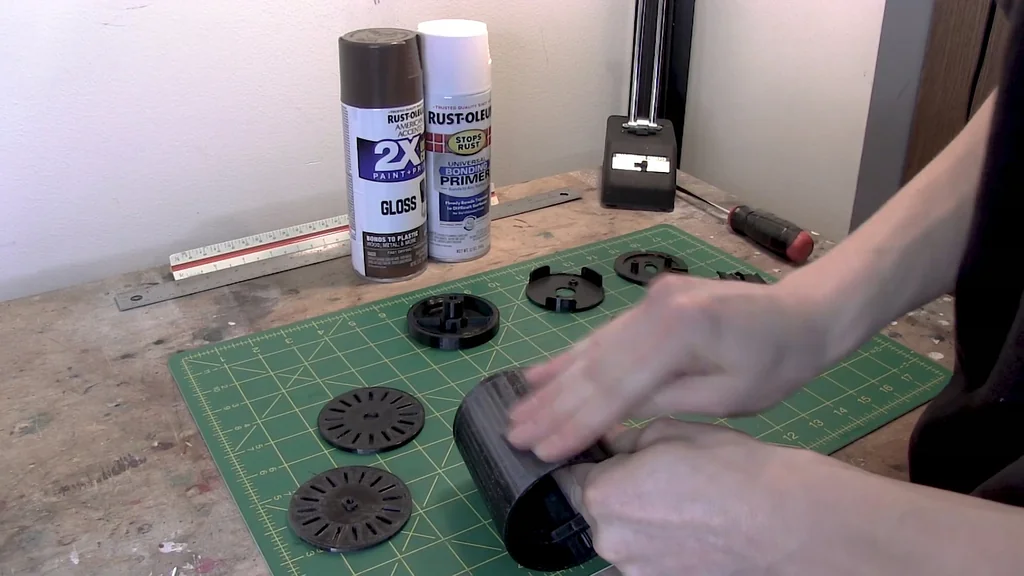
Post-processing was tougher than I expected. I rushed the initial brown paint job. I had a tight timeframe. The result was disappointing. The surface finish lacked quality. There were too many visible flaws.
Refining the Factory Finish
I wanted a factory-looking finish. I took everything apart to start over. It took two weeks to paint properly. I used PETG filament. It's a difficult plastic to smooth. Other materials offer easier paths.
Applying Automotive Body Filler
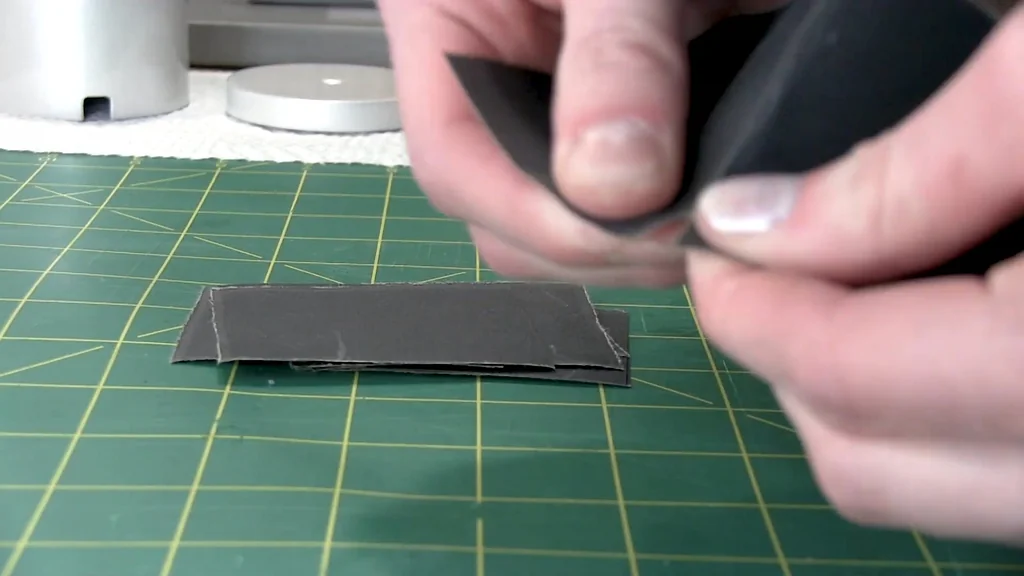
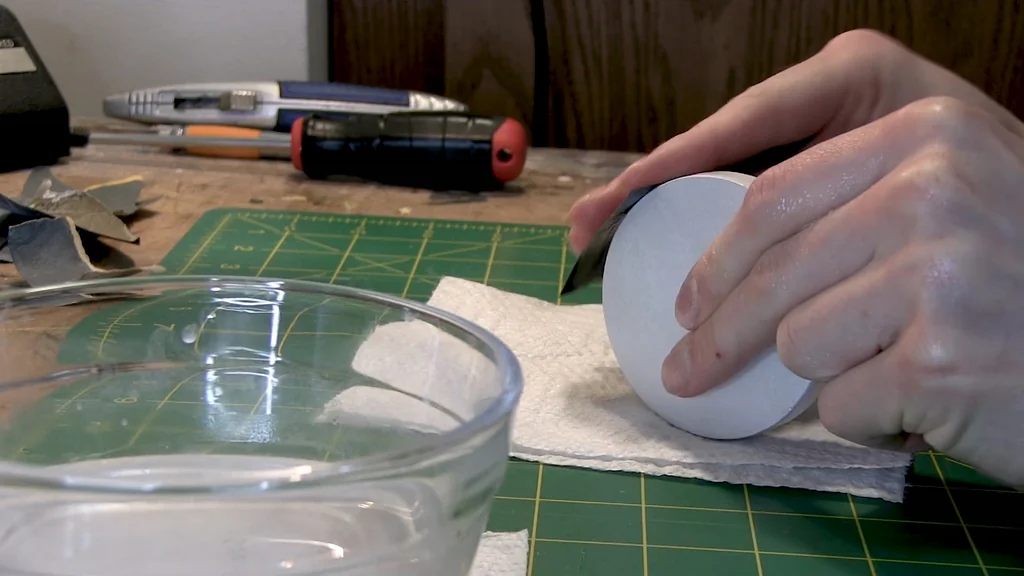
The original paint acted as a primer. I touched up imperfections using automotive body filler. After sanding the filler smooth, I restarted the painting process. It was repetitive. I wet sanded the final coat to 2500 grit. Patience is mandatory.
Overcoming Printer Limitations
Patience is the key to a proper finish. My Ender 3 is slow. It requires constant tuning. I lost time because the printer acted up. Then I had to tackle the base. I decided to mimic the HL70 base. It was a mistake.
Acrylic Forming Techniques
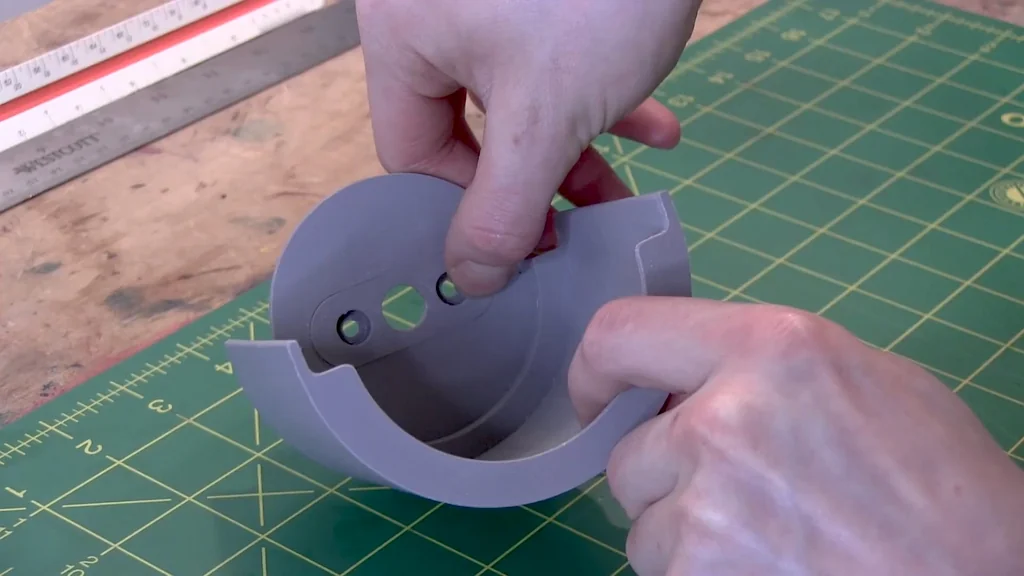
Acrylic forming is new to me. It took many trials. I built a hot coil for bending. Applying current heats the coil. It ensures an even bend line. For the curved piece, I made a plywood negative mold. I heated the acrylic and pressed it in.
Bonding and Final Assembly
I bonded the pieces using acrylic cement. You must be precise. Spilling it ruins the finish. I didn't spill any on the first try. The project felt infinite at times. It taught me about patience. Simple designs win.
Reflecting on the Build
I created something I will use for a long time. Replacing parts is easy. I designed them. My version isn't an exact replica. The changes don't hurt the design. I hope you see 3D printing differently now. Focus on quality.
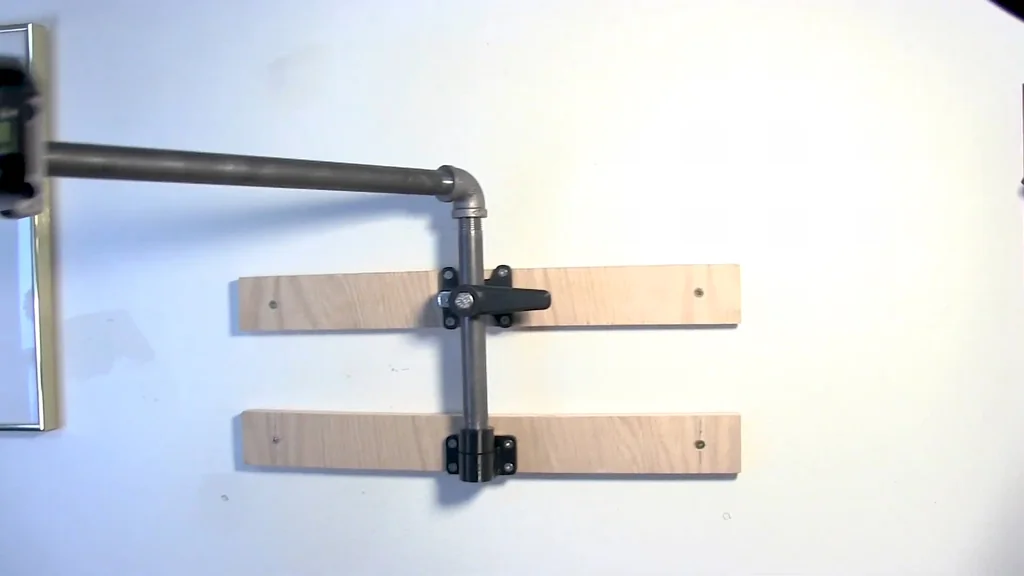
Demonstrating the Camera Mount
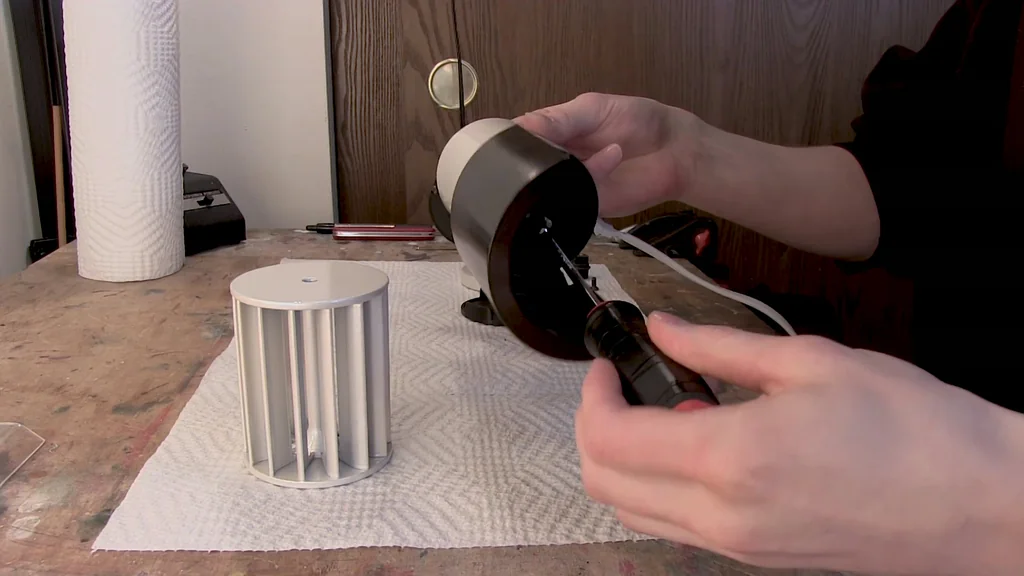
Here is how it works. I took this part from my tripod. I can remove it by unscrewing the knob. It clamps to the pipe. I can slide it anywhere. It swings out because it rotates.
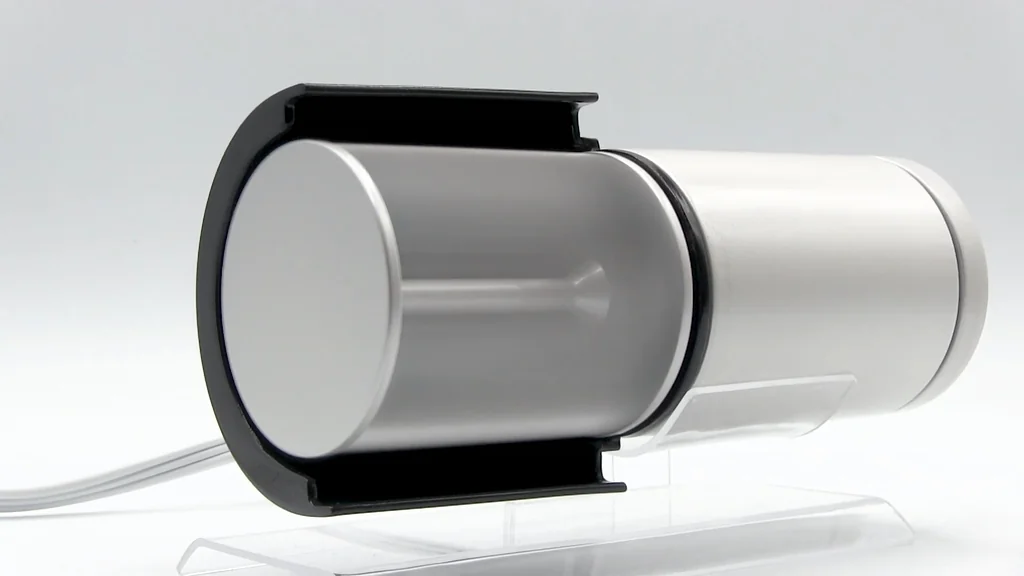
Final Setup and Calibration
It rotates right here. Just tighten it up. It doesn't move at all. It's a quick overhead mount. It's solid.
⚠️ CAUTION: SAFETY WARNING!
Working with hot coils and acrylic cement requires caution. Ensure proper ventilation when using chemicals and avoid direct contact with heating elements.
Summary & Tips
This project proves that 3D printing is more than just a hobby for plastic trinkets. By focusing on intentional design and rigorous post-processing, you can create functional, lasting objects. Patience remains the most important tool in any workshop. It's a rewarding process.
📋 FAQ
❓ Is PETG the best material for this project?
PETG is durable and heat-resistant. It's a solid choice for functional parts. Other plastics might be easier to sand, though.
❓ How do I get a smooth finish on 3D prints?
You need automotive body filler and lots of sanding. Start with coarse grit and move up to 2500. It takes time.
❓ Can I use a standard printer for this?
Yes, you can. My Ender 3 worked fine. It just required a lot of tuning and patience.
❓ Is acrylic bending dangerous?
It involves high heat. You need to be careful. Always use proper safety gear and work in a ventilated area.
Disclaimer: I purchased all tools for this guide with my own money to ensure an unbiased review. This post contains affiliate links, meaning I earn a small commission if you make a purchase at no extra cost to you.