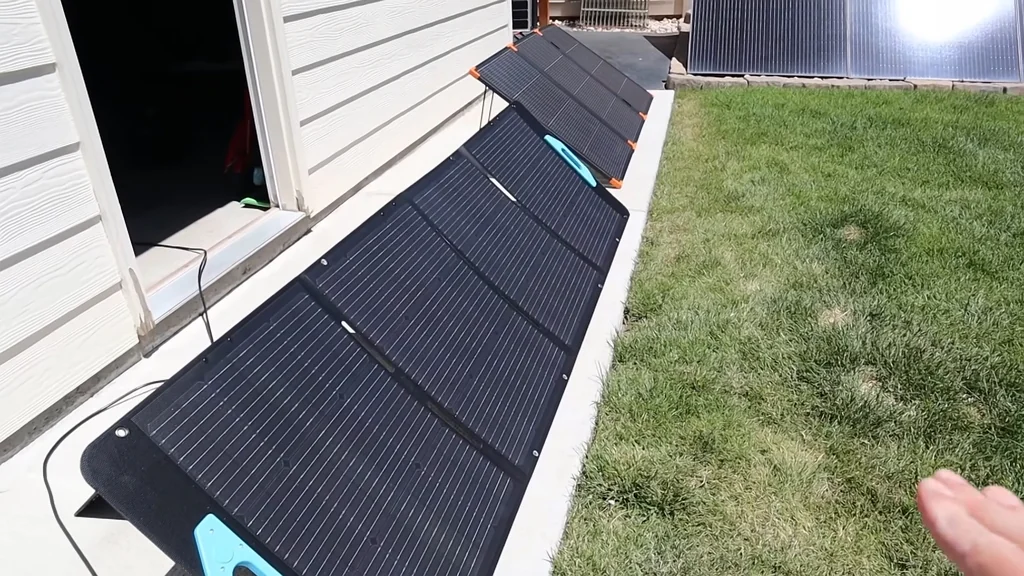
Connecting solar panels to a portable power station seems simple until environmental factors like cloud cover, shadows, and poor positioning degrade your wattage. This 200-watt foldable panel kit claims to offer rapid off-grid charging, but performance rarely matches the label in the field. I set up the Anker 200W panel array with an Anker Solix S2000 to measure actual power delivery under direct sunlight, indirect angles, and shade conditions.
⚡ Quick Guide: How to Make It in 10 Steps
- Unfold panel and release magnetic closure latches.
- Deploy fold-out kickstands for backside angle support.
- Verify IP68 weatherproof seals and keyed connectors.
- Run extension leads to power station location.
- Angle solar array away from sun initial baseline.
- Record indirect solar input wattage reading on screen.
- Reorient panels directly toward midday sunlight position.
- Benchmark peak wattage output against 200W rating.
- Test partial and full shade drop off performance values.
- Secure cabling and position power station in shade.
📋 In This Article
- Technical Specifications & Components
- Tools & Materials Used — what you will need for this project
- Unfolding the Solar Array Enclosure
- Inspecting Connectors and IP68 Weatherproof Seals
- Plugging Keyed Output Cables into Extension Leads
- Recording Baseline Indirect Sunlight Output
- Reorienting the Panel Array into Direct Sunlight
- Tuning Angle Tilt and Testing Partial Shade Drop
- Measuring Deep Shade Performance Limits
- Evaluating Directional Sensitivity vs Alignment Geometry
- Reviewing Real-World Wattage vs Factory Ratings
- Completing the Field Setup and Pack-Down Routine
- FAQ
📊 Technical Specifications & Components
| Panel Rated Output | 200 Watts |
| Ingress Protection Rating | IP68 (Dust-tight and submersion to 1m) |
| Certification Standard | Solar standard certified |
| Enclosure Type | Folding multi-segment with magnetic retainers |
| Angle Adjusters | Integrated fold-out rear support kickstands |
| Indirect Sun Power Input | 68 Watts (2.2h charge time) |
| Direct Sun Peak Input | 176W - 177W (0.7h charge time) |
| Partial Shade Power Input | 6W - 7 Watts |
| Full Shade Power Input | 0W - 3 Watts |
| Output Connectors | Keyed differential solar leads |
📊 Project Overview & Costs
🔧 Difficulty Level: Easy
⏱️ Time Investment: DIY: 10 minutes | Pro: 5 minutes
💰 Professional Service Cost: $0 (DIY Setup)
💡 Verdict: Deploying your own solar charging array takes minutes and saves hundreds over paying for field power setups.
🛠️ Tools & Materials Used
• Anker Solix S2000 Power Station
• Solar Panel Extension Cable Set
Step-by-Step Guide
Unfolding the Solar Array Enclosure
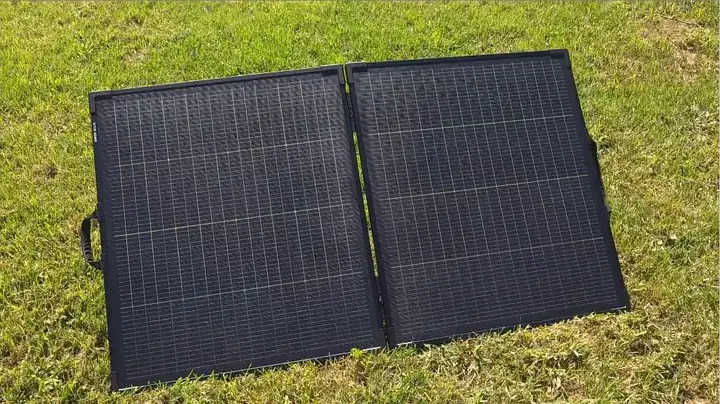
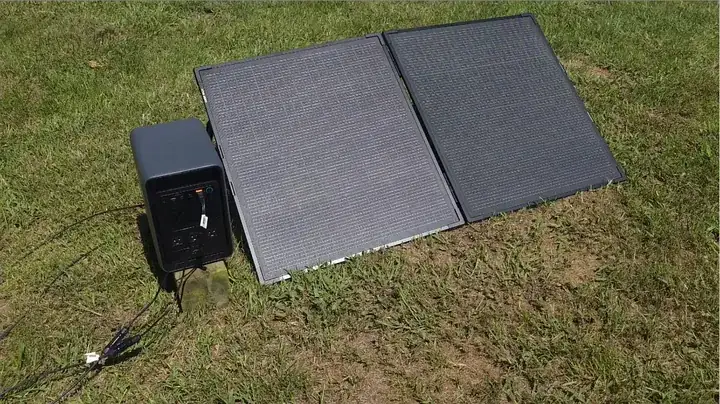
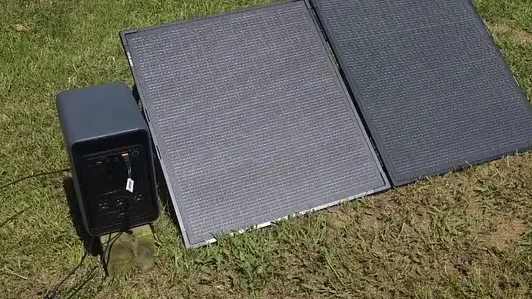
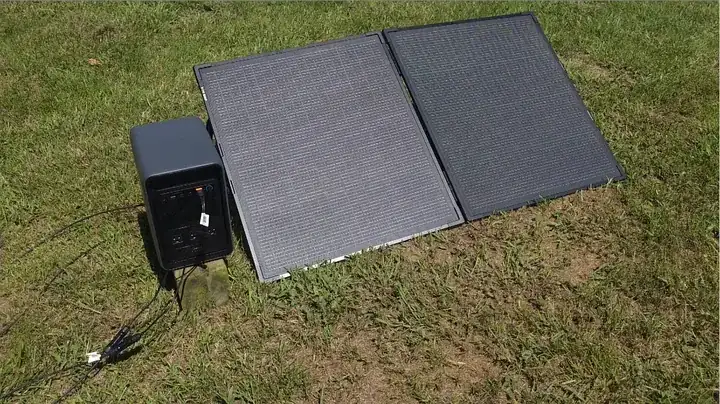
The setup is straightforward. I began by opening the foldable array on the grass. Anker integrated magnetic snaps into the casing to keep the unit closed during transit. Separating the panels requires a firm pull, which is better than dealing with fragile plastic clips. The handle feels rubberized and sturdy. I deployed the rear kickstands to tilt the monocrystalline cells toward the sun rather than laying them flat.
Inspecting Connectors and IP68 Weatherproof Seals
I examined the corner junction box before running the cables. The housing features an IP68 rating, ensuring dust-tight operation and protection against water submersion up to one meter. This provides peace of mind if rain catches the gear. The power station sat nearby, ready for connection. I used a solar extension cable to allow the battery pack to stay sheltered in a tent while the panels remained in the light.
Plugging Keyed Output Cables into Extension Leads
The connectors are keyed to prevent polarity errors. One end features a male shroud with locking tabs, while the other uses a female socket. This design prevents shorts or damage to the input port. My test plan included three phases: ambient light performance, direct sun output, and a worst-case shade test.
Recording Baseline Indirect Sunlight Output
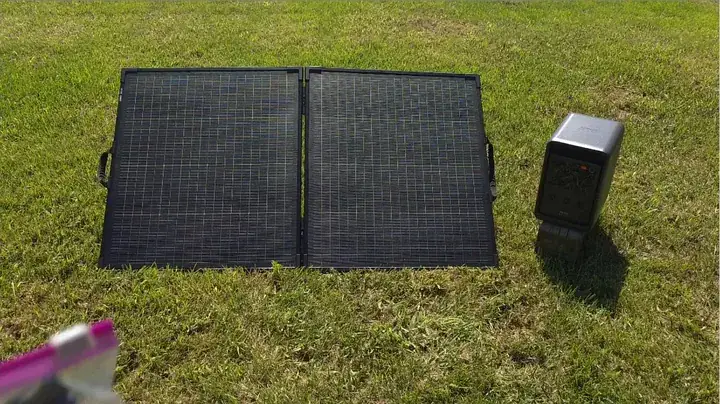
I inserted the cable into the DC solar input port on the Anker Solix unit. With the panels faced away from the sun, the screen confirmed active charging. The unit recorded 68W. This ambient input would recharge the battery from zero in roughly 2.2 hours. It’s a decent result for indirect exposure, though direct light is necessary for higher yields.
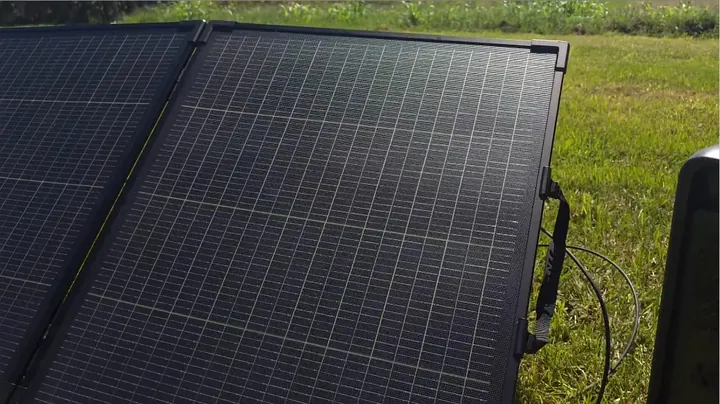
Reorienting the Panel Array into Direct Sunlight
I rotated the panels to face the southern sky. Angle is everything with portable solar. As the cells captured direct rays, the charge meter surged. The power output climbed to between 176 and 177 watts. The estimated recharge time dropped to 0.7 hours, demonstrating the efficiency gained through proper alignment.
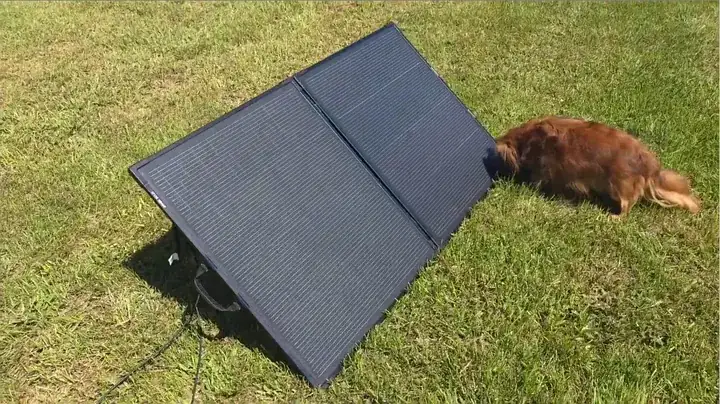
Tuning Angle Tilt and Testing Partial Shade Drop
Adjusting the kickstand didn't push the output past 177 watts, as that was the peak for the current conditions. I then moved the array into a mixed light area to assess diode performance. Shading half of the panels caused a severe drop in power. The readout fell to a mere 6 or 7 watts, showing that partial shade significantly impacts overall string performance.
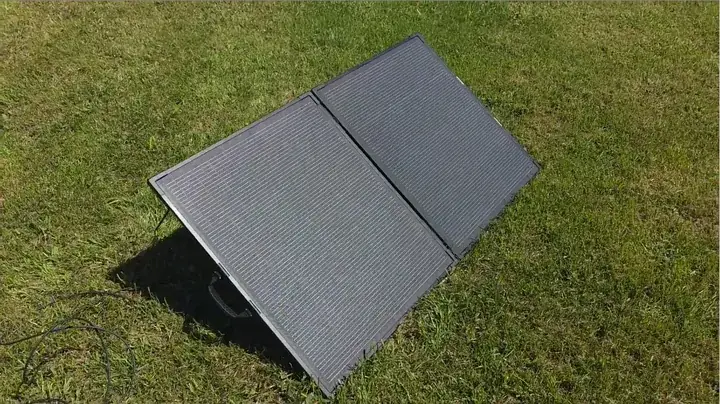
Measuring Deep Shade Performance Limits
I placed the array entirely within a thick tree canopy. Power output vanished, registering only 0 to 3 watts. This confirmed that without direct sunlight, solar panels cannot generate useful current. Keeping the array clear of overhead obstructions is essential for maintaining a charge.
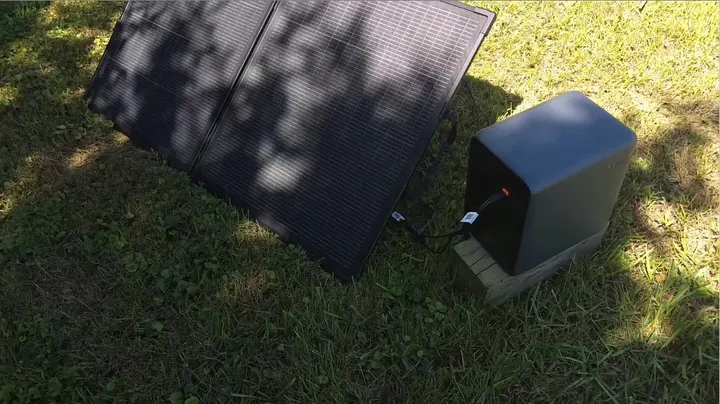
Evaluating Directional Sensitivity vs Alignment Geometry
Orientation is critical. I treat these portable panels like satellite dishes; if the surface isn't aimed squarely at the sun, resistance increases and efficiency falls. My testing shows that shade patches impact output far more significantly than minor tilt errors or environmental haze.
Reviewing Real-World Wattage vs Factory Ratings
Hitting 177 watts from a 200-watt rated panel is an impressive result for field use. Lab conditions are hard to replicate due to heat and atmospheric variables. On a cooler day, these panels would likely reach the full 200W capacity. The build quality, from the rubberized handle to the hinges, feels durable and appropriate for outdoor use.
Completing the Field Setup and Pack-Down Routine
I disconnected the leads, coiled the cables, and folded the panels along the seams. The magnets held the assembly flat for transport. The process is efficient. Always use long extension cords so the power station remains in a cool, shaded area while the panels absorb heat outdoors.
⚠️ CAUTION: SAFETY WARNING!
Never charge portable power stations in hot direct sunlight; keep the main battery enclosure shaded using extension cables while exposing only the solar panels to direct solar heat.
Summary & Tips
Testing shows this 200-watt panel array provides 177 watts in direct sun. Even partial shading drastically reduces performance. Durable IP68 seals and keyed connectors ensure reliable field use. Keep the battery pack in the shade and adjust your panel aim throughout the day to maximize power.
📋 FAQ
❓ Why don't 200W solar panels produce 200 watts continuously?
Factory ratings originate from controlled lab environments. Heat increases cell resistance, which reduces output. Sun angle and atmospheric conditions also affect light intensity. Achieving 175-180 watts in the field is a high-performance result.
❓ Can I leave these solar panels outside in the rain?
Yes, the panels feature an IP68 weatherproofing rating. The surfaces and junction boxes resist heavy rain and dust. Ensure connections are secure before inclement weather arrives. Always keep the power station in a dry, covered area.
❓ How bad does shade affect solar panel output?
Shading causes a drastic drop in power. Covering even a small percentage of the panels disrupts current across the internal strings. In my testing, partial shade reduced output from 177 watts to 6 watts. Keep overhead branches trimmed away from the panels.
❓ Is an extension cable necessary for portable solar generator setups?
It is recommended. A long extension cable allows the panels to be placed in full sun while the power station remains in a cool, shaded environment. Excessive heat can degrade lithium battery lifespan.
❓ Can you reverse the polarity when plugging solar leads into the generator?
No, the connectors are keyed to prevent this. Molded male and female plugs only fit together in one configuration. This design prevents shorts and reverse polarity damage. Always check that the connection is fully snapped into place.
Disclaimer: I purchased all tools for this guide with my own money to ensure an unbiased review. This post contains affiliate links, meaning I earn a small commission if you make a purchase at no extra cost to you.