The DATOUBOSS 4863U thing, it’s a 6300W hybrid solar inverter for 48V battery systems, isn’t it? It has got two MPPT trackers and can handle a massive 10,000W of solar, so it’s a serious contender if you’re going off-grid. We are going to rip into its build quality, peek at how it cools itself, and then really push it with a load test to see if it can take the heat.
⚡ Quick Guide: How to Make It in 15 Steps
- Verify battery voltage matches the 48V system requirement.
- Connect solar arrays to the dual MPPT inputs.
- Wire the AC input and output circuits to a breaker box.
- Monitor the inverter display for load and solar charging status.
- Test under load using an oscilloscope to ensure a clean sine wave.
- Setting Up the Test Bench
- Testing Solar Panel Configuration
- Monitoring Inverter Display Data
- Analyzing Internal Bus Voltage
- Connecting AC Loads
- Verifying Sine Wave Quality
- Measuring Inverter Load
- Running Extended Load Tests
- Checking Idle Current Draw
- Calculating Idle Power Consumption
📋 In This Article
- Technical Specifications & Components
- Tools & Materials Used — what you will need for this project
- Inspecting the Inverter Interface
- Reviewing Electrical Ratings
- Analyzing PV Input Parameters
- Opening the Inverter Chassis
- Checking Internal Cooling Fans
- Setting Up the Test Bench
- Testing Solar Panel Configuration
- Monitoring Inverter Display Data
- Analyzing Internal Bus Voltage
- Connecting AC Loads
- Verifying Sine Wave Quality
- Measuring Inverter Load
- Running Extended Load Tests
- Checking Idle Current Draw
- Calculating Idle Power Consumption
- FAQ
📊 Technical Specifications & Components
| Rated Power | 6300W |
| DC Input Voltage | 48V |
| Max PV Input Power | 10,000W (5000W x 2) |
| Max PV Input Voltage | 500V DC |
| MPPT Tracking Range | 80 - 450V DC |
| Max PV Input Current | 18A x 2 |
| AC Output | 120V, 50/60Hz |
| Max AC Charging Current | 80A |
| Idle Power Consumption | ~65W |
📊 Project Overview & Costs
🔧 Difficulty Level: Medium
⏱️ Time Investment: DIY: 2-3 hours | Pro: 1 hour
💰 Professional Service Cost: $150 - $250 labor
💡 Verdict: Installing it yourself saves a solid chunk of change compared to hiring a solar contractor.
🛠️ Tools & Materials Used
• Hand truck
• Breaker box
• Mini split air conditioner
• Air compressor
Step-by-Step Guide
Inspecting the Inverter Interface
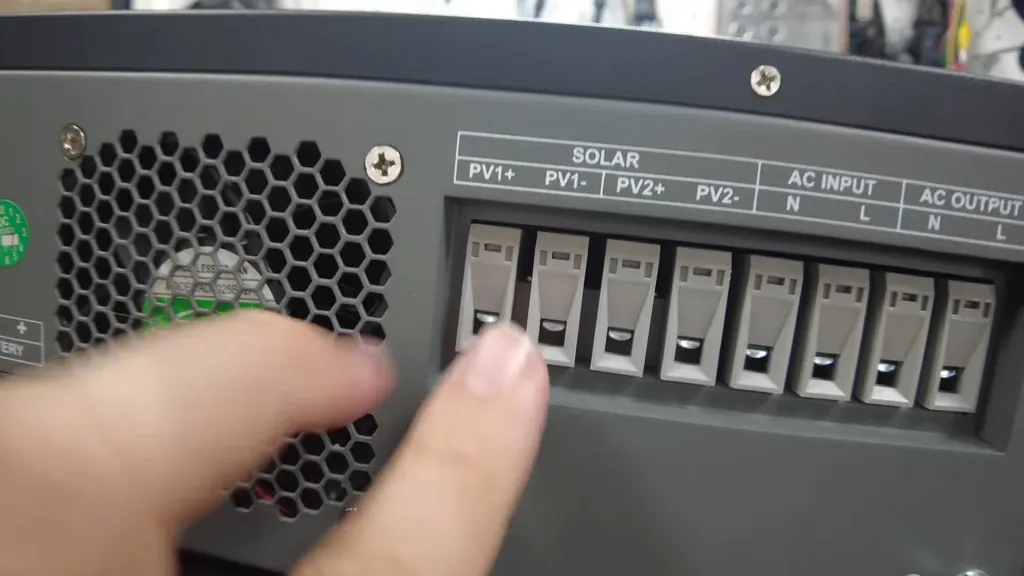
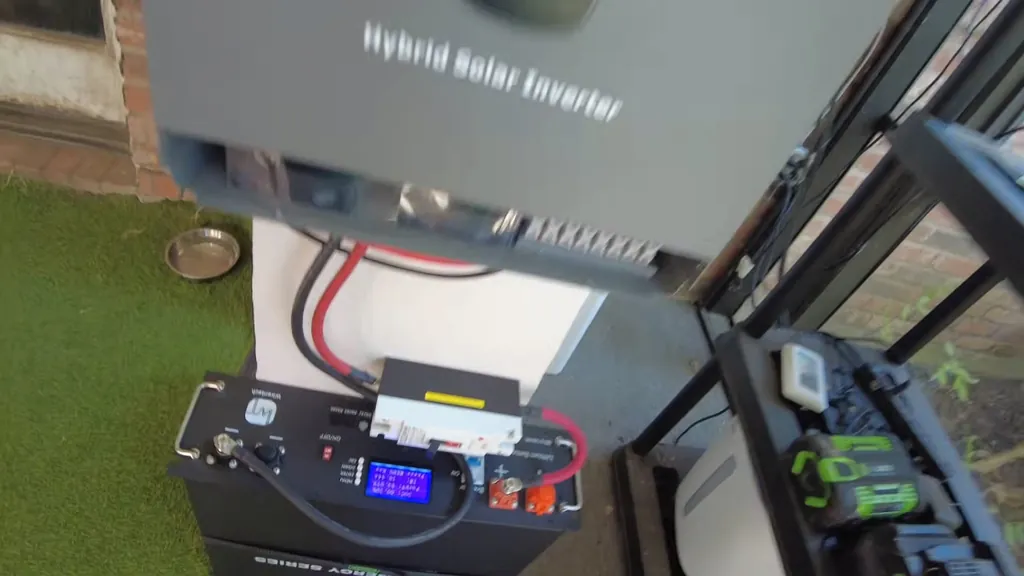
First off, just check out the layout, man. You've got the battery terminals tucked right at the bottom, pretty much sitting next to the cooling fans, and it's a really simple setup. This unit even comes with dual MPPT trackers, which is super handy if you've got two different solar arrays to manage. And yeah, there's also a dedicated ground lug, plus separate ports for your AC input and output. The front display? It's super clean. Totally gets the job done.
Reviewing Electrical Ratings
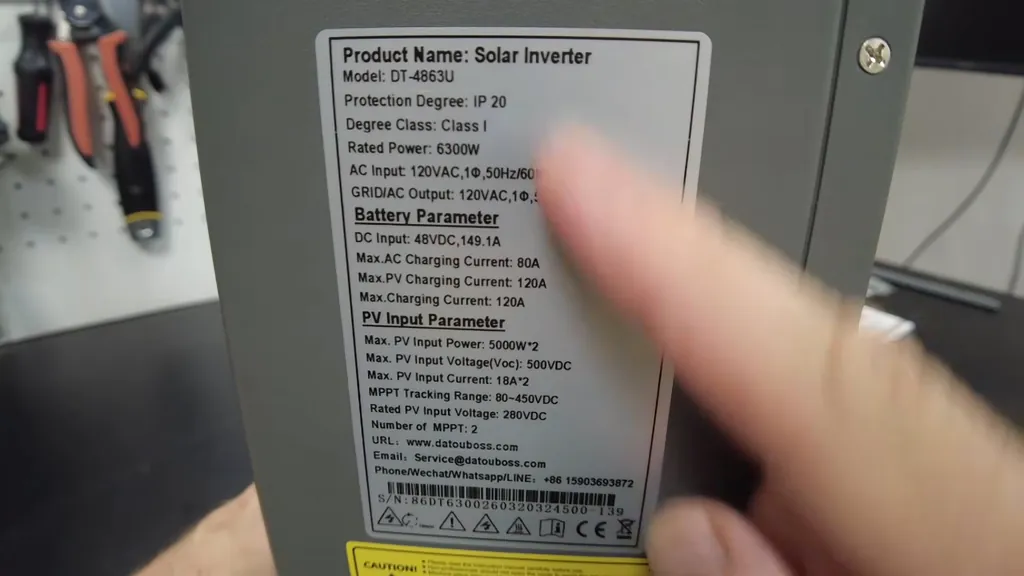
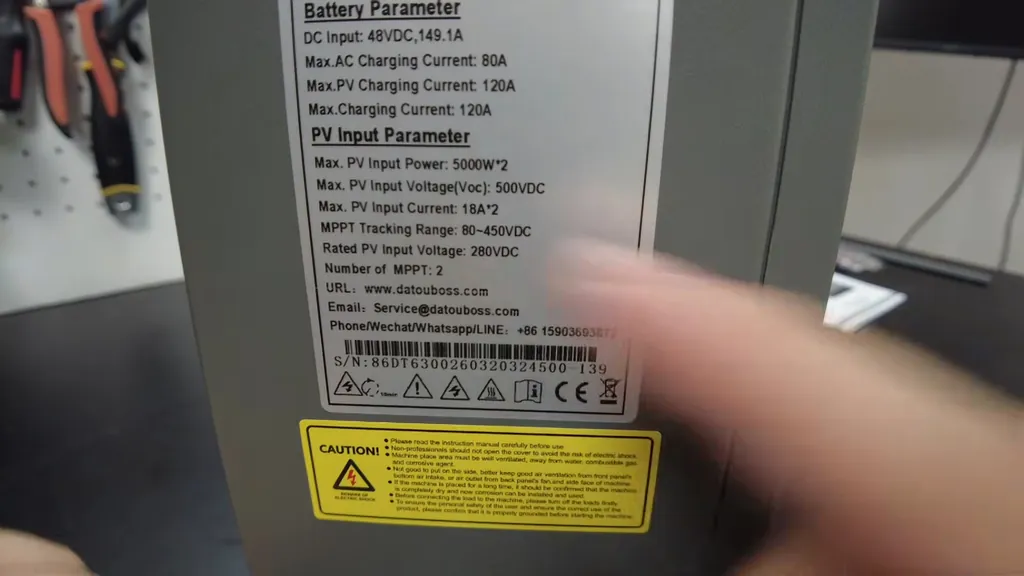
So, the sticker on this thing? It spills all the beans. We're talkin' 6300W power output, and it'll do 120V for both AC in and out. But hey, it's a 48V system, so seriously, don't even think about hooking this up to a 12V or 24V battery bank, you'll just mess it up. And on the AC side, it can handle 52.5 amps. Plus, the charging? Man, those specs are pretty stout. This thing's just made for brute force.
Analyzing PV Input Parameters
Man, this inverter is an absolute monster when it comes to solar. It can take a whopping 10,000 watts total, split between its two inputs, which is pretty sweet. So, you're looking at a max PV voltage of 500V DC and it'll pull 18 amps on each input. And the MPPT range? It kicks in at 80V and goes all the way up to 450V. That's a huge window. Super flexible, really.
Opening the Inverter Chassis
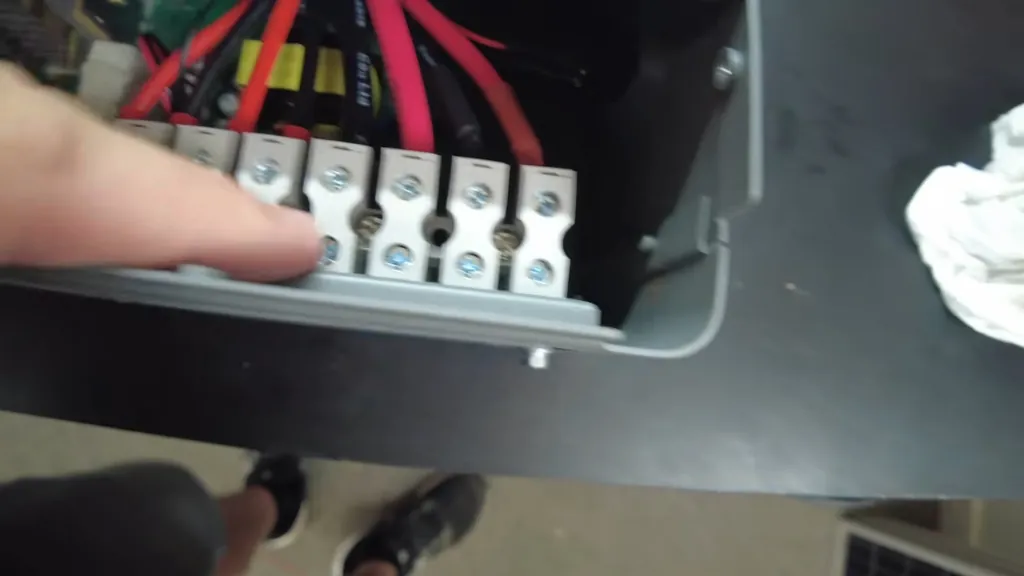
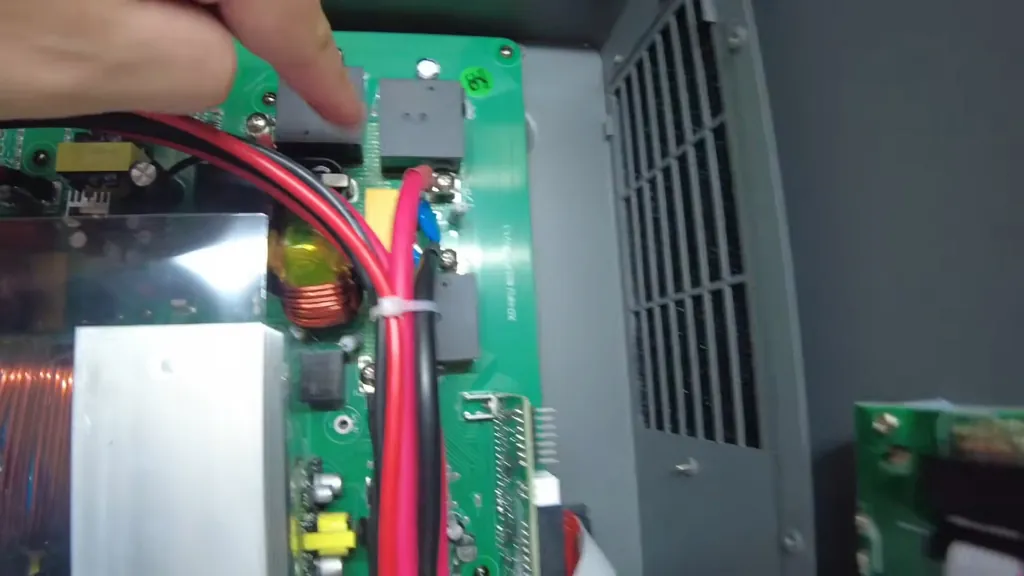
Alright, so it's time to actually peek under the hood, you know, see what's really going on in there. I already got all the screws out of the casing, so popping this thing open is pretty easy. Once the cover's off, you'll spot the internal terminal blocks right away for all your solar, AC, and battery hookups. And honestly? It's pretty clean inside there. Everything's right where you can get at it.
Checking Internal Cooling Fans
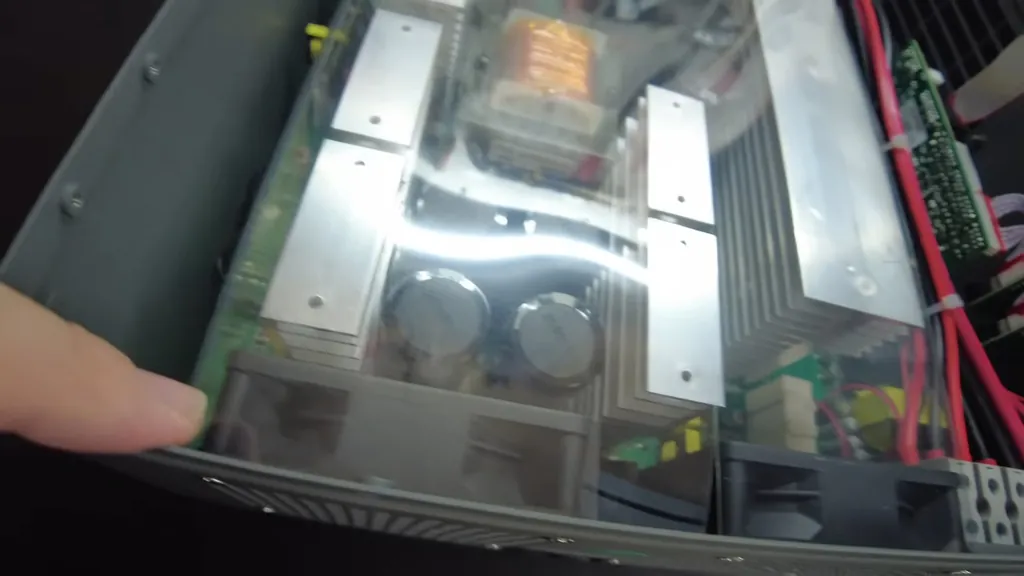
The way they set up the cooling is kinda neat. You've got fans up top that suck air in, and then it pushes it right out the bottom. There's actually a plastic channel in there, and that thing makes sure the airflow goes right over those heat sinks. So yeah, that's a pretty smart move for keeping it cool. And honestly, the whole thing feels pretty well put together. Definitely not some cheap junk.
Setting Up the Test Bench
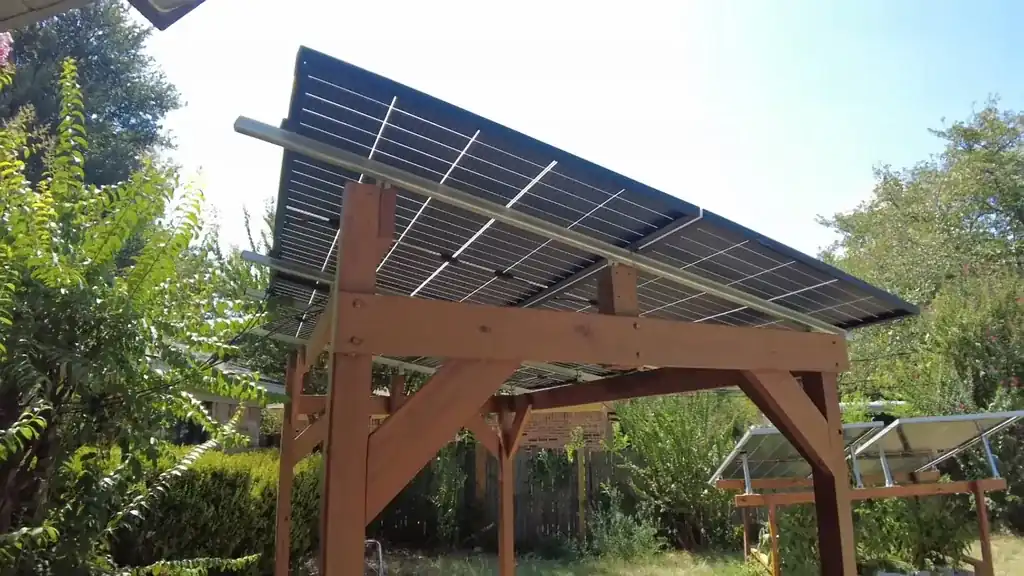
So, I've got this unit all set up on a hand truck for testing it out, which is pretty convenient. And, you know, it's hooked up to a 48V battery and a whole solar array. See that charge light flashing? That means it's definitely pulling power, which is good. We've got it wired right now with four panels all in series. So far, so good, it's doing its job.
Testing Solar Panel Configuration
I actually tried it with just two panels at first, but the voltage was just too low to keep it charging steady, which was a pain. It just kept cutting out. So, once I hooked up four panels in series instead, everything just locked in. Now the voltage is sitting comfortably over 100V. That's totally the sweet spot.
Monitoring Inverter Display Data
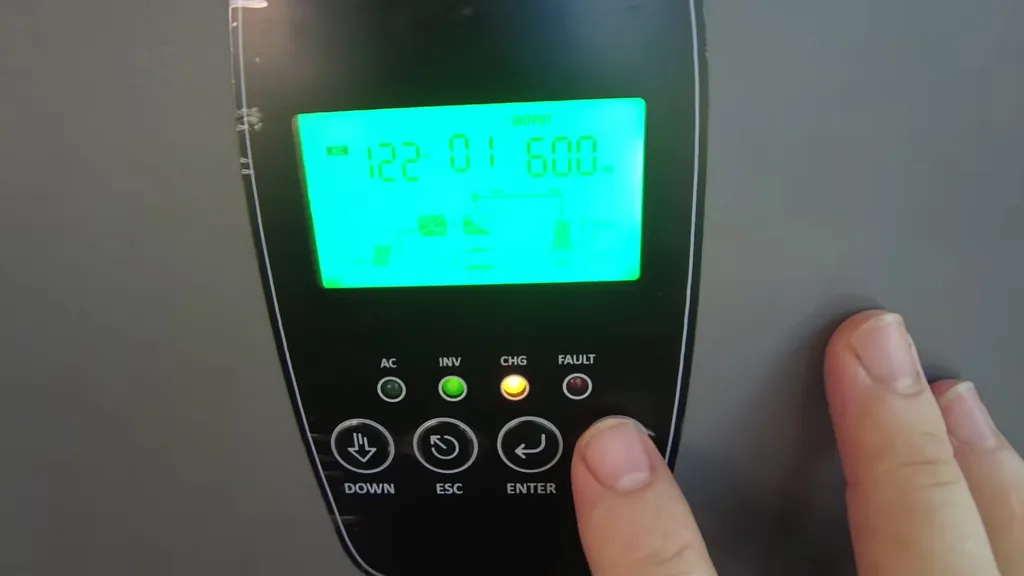
Okay, so the display on this thing cycles through a few different screens. One of 'em actually shows you the wattage that's going straight into the battery. Right now, it's just hanging out around 970 watts, which is pretty cool. It's kinda neat to watch all that power going in, you know? And the numbers are super clear.
Analyzing Internal Bus Voltage
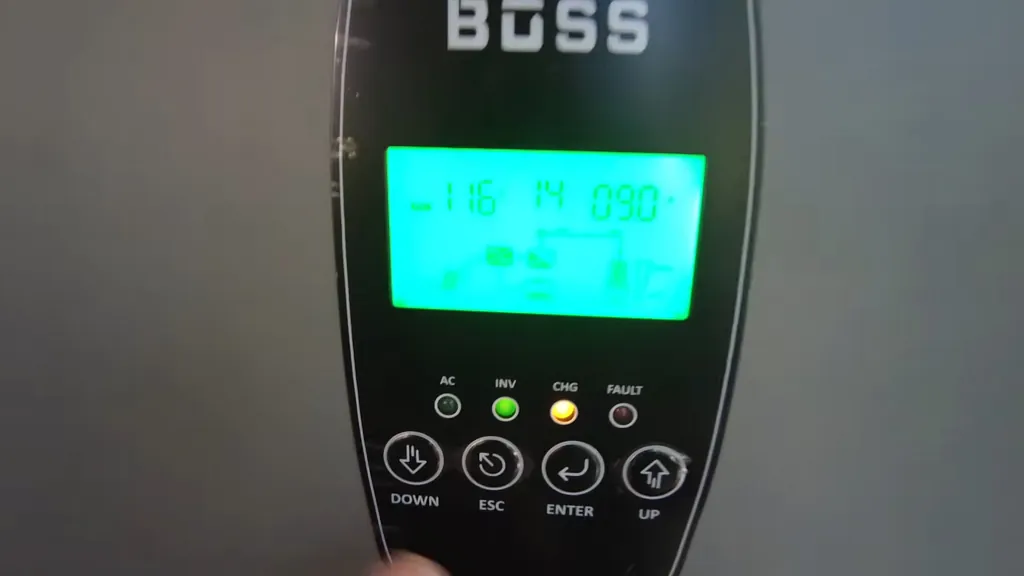
So, when I checked the internal bus voltage, we're seeing a good 405V there. Yep, it's definitely running a high-voltage bus inside this thing. And you can see the current crossing it, sitting at around 2.5 amps. Then on the solar side, it's pulling in a solid 8 to 9 amps. Pretty efficient, I'd say.
Connecting AC Loads
I went ahead and wired up a little breaker box to the AC output, just to test things out. So, I've got a mini split running on one circuit and then an air compressor hooked up to the other. And man, it's just handling that load like a champ, no problem at all. Haven't seen any issues yet, which is great.
Verifying Sine Wave Quality
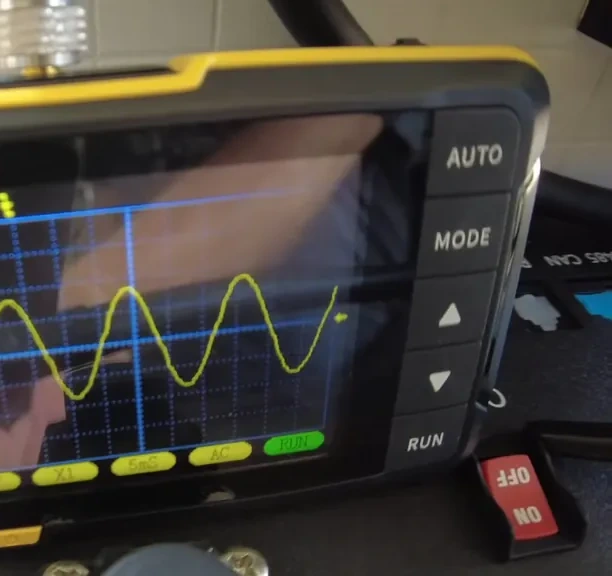
Alright, so I've got the oscilloscope all hooked up to see what kind of wave we're getting. And man, it's a super nice, clean sine wave, just what you want to see. Even when that air compressor fires up and puts a big load on it, it just holds stable, which is impressive. It doesn't get all wacky or anything. This inverter is pretty solid.
Measuring Inverter Load
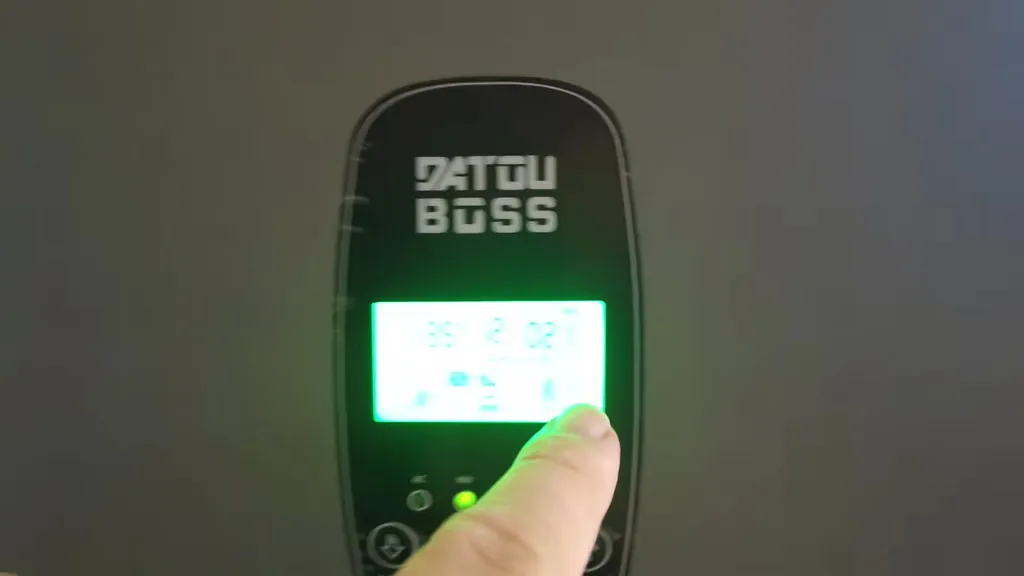
So, with the AC unit just humming along, we're sitting at about 21% load, which works out to 1.34 kilowatts. But then, when that compressor kicks on, boom, it jumps right up to 2.88 kilowatts pretty quick. Now, the fans do spin up more, sure, but they're not obnoxiously loud or anything. It's totally manageable.
Running Extended Load Tests
I've actually fired up and shut down the compressor a bunch of times now, just to see how it handles it. And man, it's just running perfectly fine, absolutely no problems. Haven't gotten any overloads or errors, which is awesome. So yeah, the whole system really seems super stable under these kinds of loads. That's a really good sign.

Checking Idle Current Draw
After all that, I killed everything to check the idle draw, you know? I'm just measuring the current coming out on both the positive and negative lines. And it's showing about 1.22 amps leaving the battery, which makes sense. So, it's just sitting there, chilling out.
Calculating Idle Power Consumption
Okay, so crunching the numbers: 1.22 amps at 53.2V? That puts us at around 65 watts of idle consumption. Honestly, for an inverter this big, that's really not too shabby. And that's it, man. We're done. That pretty much wraps up this whole test.
⚠️ CAUTION: SAFETY WARNING!
High-voltage DC from solar arrays can be lethal. Always verify all connections are de-energized before touching terminal blocks.
Summary & Tips
So, bottom line, that DATOUBOSS 6300W inverter totally held its own during all our load tests, which was great. It even kept a super clean sine wave, even when we hit it with big inductive stuff like the air compressor. Plus, the way it's built on the inside is practical, and the cooling system? They really thought that through. Honestly, for a 48V solar setup, it's a really solid, budget-friendly choice.
📋 FAQ
❓ Can this inverter run on a 24V battery bank?
Nah, man, this thing is strictly made for a 48V system. Seriously, try to run it on 24V and you'll probably just get an under-voltage error, or it won't even power up at all.
❓ How loud are the cooling fans?
Honestly, they're really not all that bad. They kinda pulse a little, depending on how much load you've got on it, but they definitely don't shriek like some of the other units I've messed with.
❓ Do I need to use both MPPT inputs?
Well, that really just depends on your setup, doesn't it? You can totally just use one, but having two inputs definitely gives you way more wiggle room, especially if you've got solar arrays facing different ways.
❓ Is the idle power consumption high?
I mean, 65 watts? For an inverter this size, that's actually pretty standard. It's not the absolute lowest I've ever seen, but it's definitely not sucking down power like crazy either.
Disclaimer: I purchased all tools for this guide with my own money to ensure an unbiased review. This post contains affiliate links, meaning I earn a small commission if you make a purchase at no extra cost to you.