
Buying broken electronics on the secondary market can be a solid way to build workshop capital. This project breaks down the process of sourcing, diagnosing, and repairing three PS4 controllers acquired for 40 euros. We focus on common failure points like joystick drift, faulty ribbons, and damaged buttons to turn a profit.
⚡ Quick Guide: How to Make It in 10 Steps
- Clean and label controllers for tracking.
- Perform visual inspection for physical damage.
- Use online gamepad testers to identify drift.
- Disassemble the shell and remove internal ribbons.
- Desolder vibration motors if necessary.
- Replace damaged D-pad ribbon cables.
- Swap out worn-out R2 buttons.
- Clean potentiometers with compressed air and cleaner.
- Reassemble and test all inputs.
- Calculate profit margins after parts costs.
📋 In This Article
- Technical Specifications & Components
- Tools & Materials Used — what you will need for this project
- Initial Inspection and Labeling
- Diagnosing Mechanical Failures
- Opening the Controller Chassis
- Internal Component Disassembly
- Repairing the D-Pad Ribbon
- Reassembly and Button Replacement
- Processing the Second Controller
- Fixing Joystick Drift
- Financial Breakdown
- Project Summary
- FAQ
📊 Technical Specifications & Components
| Controller Type | Sony PS4 DualShock 4 |
| Input Interface | USB/Bluetooth |
| Common Failure | Joystick potentiometer drift |
| Common Failure | R1/R2 button mechanical fatigue |
| PCB Connection | Ribbon cable for charging port |
| PCB Connection | Ribbon cable for touch bar |
| Actuator | Vibration motors (desoldered) |
| D-pad Interface | Conductive ribbon film |
📊 Project Overview & Costs
🔧 Difficulty Level: Medium
⏱️ Time Investment: DIY: 2-3 hours | Pro: 45 minutes
💰 Professional Service Cost: $20-$30
💡 Verdict: Restoring controllers is significantly cheaper than buying new units.
🛠️ Tools & Materials Used
• Plastic prying tools
• Potentiometer cleaner
• Compressed air
• Replacement D-pad ribbon cable
• Replacement R2 buttons
Step-by-Step Assembly, Repair, Testing & Inspection
Initial Inspection and Labeling
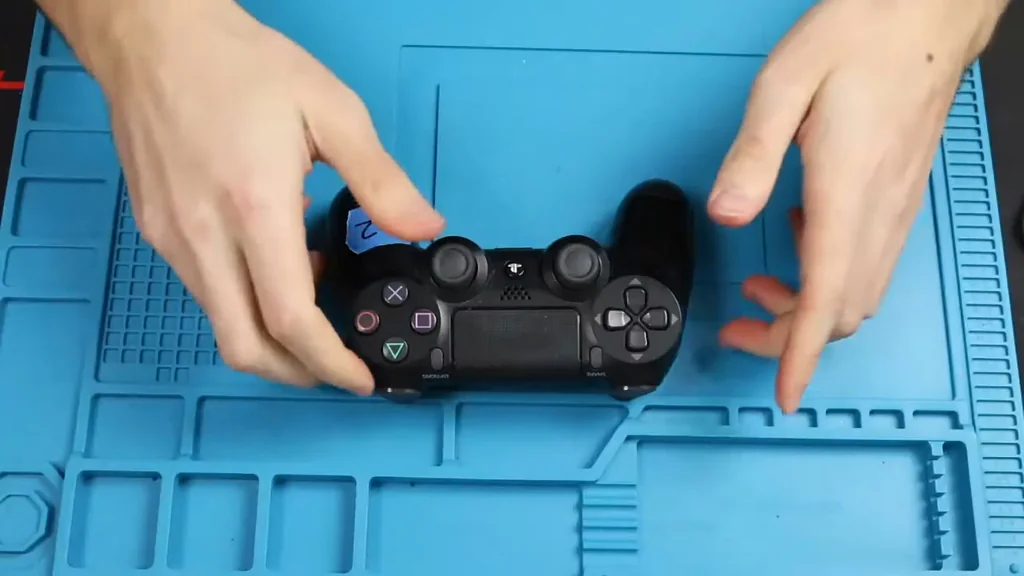
Start by cleaning the units thoroughly to remove grime and skin oils. Label each controller with a permanent marker to keep your diagnostic data organized. It's vital. A quick visual inspection reveals the most obvious issues immediately. One unit shows a torn joystick and a falling-apart R1 button. Everything else looks okay for now.

Diagnosing Mechanical Failures
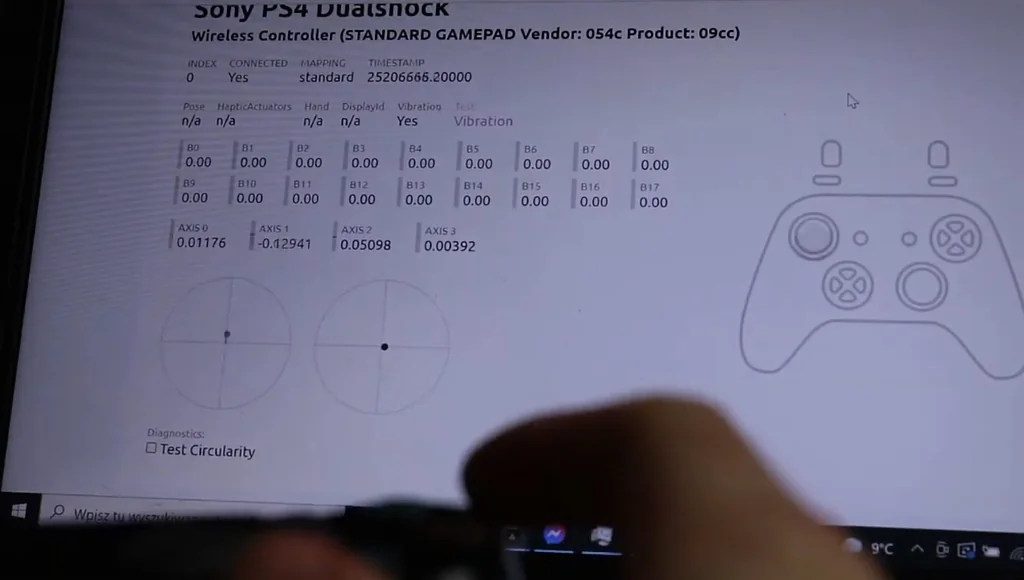
Controller number two presents a sticky joystick and a broken options button. Controller number three appears visually pristine. Next, hook them up to an online gamepad tester to verify input functionality. The D-pad on the first unit is completely unresponsive. Drift is common. Both the first and second controllers show significant joystick drift during testing.
Opening the Controller Chassis
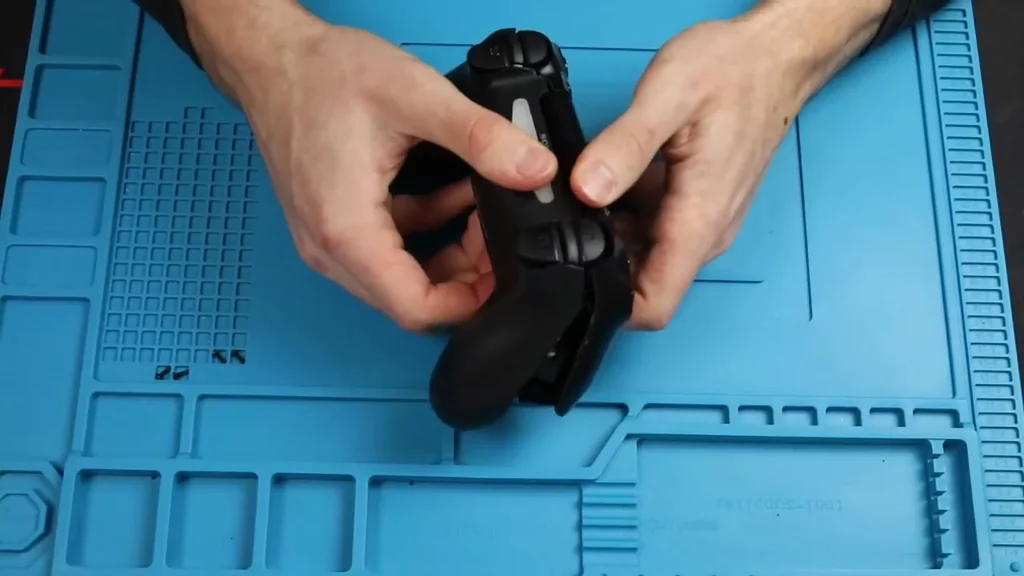
Controller number three is fully functional, so set it aside. Start by removing the four screws on the back of the first controller. Use a plastic pry tool to gently separate the shell near the L2 and R2 buttons. Watch the headphone jack area. It's tight. Once the shell pops, carefully disconnect the ribbon cable linking the charging port to the main motherboard.
Internal Component Disassembly
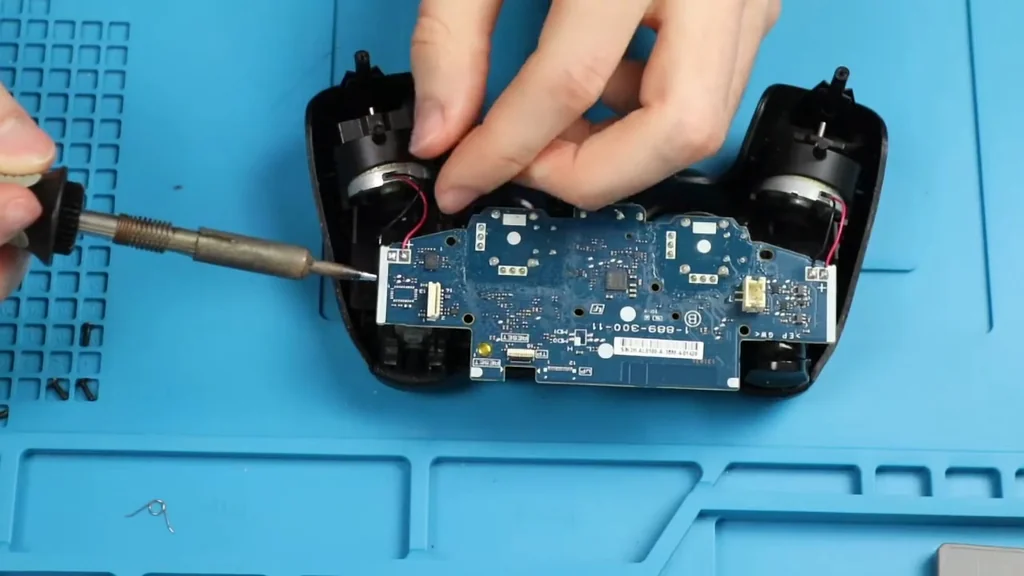
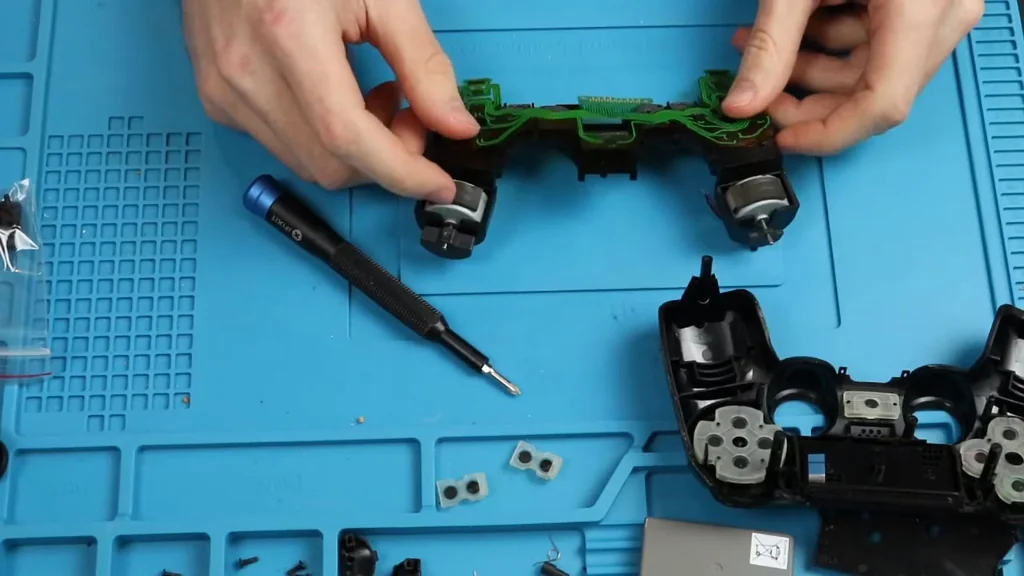
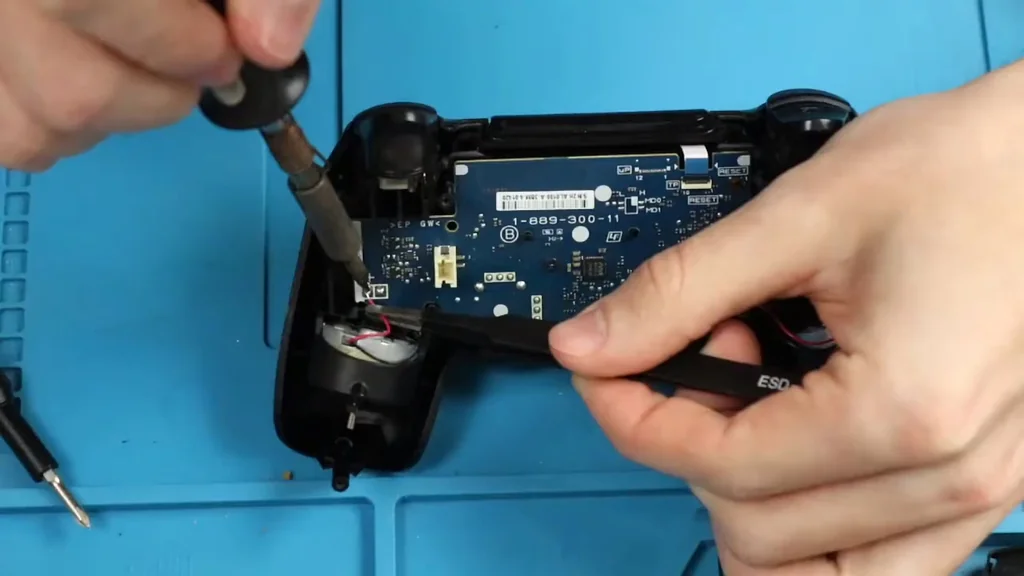
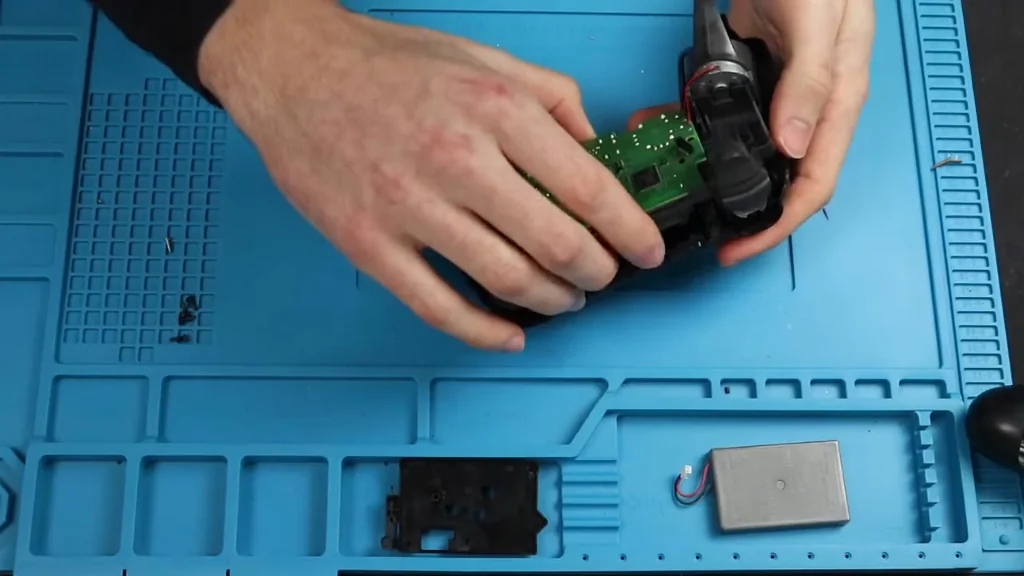
Disconnect the battery connector and lift the battery out of its tray. Remove the battery tray by unscrewing the mounting points. You'll need to disconnect the ribbon cable that handles the touch bar input. Desolder the vibration motors from the PCB to gain full access to the internal components. This step is only necessary if you need to reach the underlying button ribbons.
Repairing the D-Pad Ribbon
Access the ribbon cable responsible for the D-pad inputs. Use a digital microscope to inspect the traces. The main power line on the D-pad ribbon is clearly ripped. It's toast. Since these parts are inexpensive, replacement is the most efficient path forward. Install the new ribbon and prepare for reassembly.
Reassembly and Button Replacement
Once the new ribbon is seated, begin putting the motherboard and internal frame back together. Replace the damaged R2 button with a fresh component. Align the buttons carefully. It's solid. Ensure all ribbons are seated firmly before closing the shell.
Processing the Second Controller
Repeat the disassembly procedure for the second controller. The process is identical to the first unit. Keep your screws organized. Don't lose them. Follow the same sequence to access the internal PCB for drift repair.
Fixing Joystick Drift
To address the joystick drift, use compressed air to clear out debris from the potentiometers. Apply a small amount of high-quality potentiometer cleaner to the sensor housing. Work the stick to distribute the cleaner. It works wonders. Once the sensors are clean and dry, reassemble the unit.
Financial Breakdown
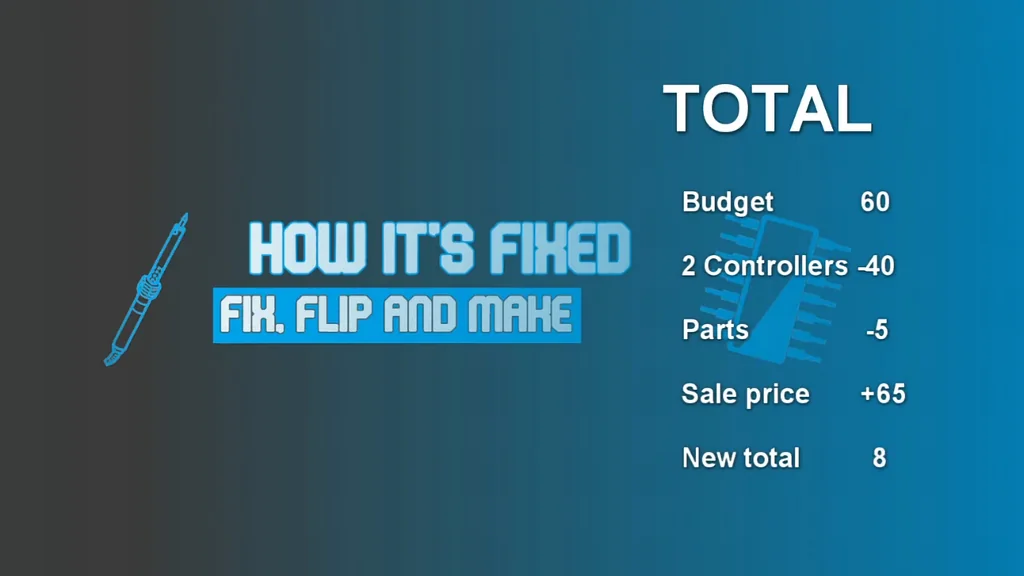
The initial investment was 40 euros for the lot. Parts cost an additional 5 euros. Selling two repaired units for 32.50 euros each brought in 65 euros total. That's a 20 euro profit. The math checks out.
Project Summary
The final sum stands at 80 euros after accounting for the initial purchase and sales. We kept one controller for future testing. It's a good baseline. Stay tuned for the next episode to see what we do with the remaining unit.
⚠️ CAUTION: SAFETY WARNING!
Always disconnect the battery before working on the PCB to prevent short circuits. Use caution when using chemicals like potentiometer cleaner near sensitive plastic components.
Summary & Tips
Repairing PS4 controllers is a straightforward way to turn a profit if you source them cheaply. The process requires basic soldering skills and patience with delicate ribbon cables. Keeping a clean workspace helps prevent losing tiny internal screws. This project demonstrates that even minor repairs can significantly increase the value of discarded hardware.
📋 FAQ
❓ Is it hard to replace the D-pad ribbon?
Nah, it's pretty straightforward if you have a steady hand. Just take your time with the ribbon connectors.
❓ Can I fix joystick drift without replacing the sensor?
Yeah, often a good cleaning with potentiometer cleaner and compressed air does the trick. It's worth trying before you commit to desoldering the whole sensor module.
❓ What tools do I absolutely need?
Honestly, a decent precision screwdriver set and a soldering iron are the main requirements. Plastic pry tools also make opening the shell much easier.
❓ Are these controllers worth buying for parts?
Depends on the price. If you can get them for under 15 euros each, you've got plenty of room for profit.
Disclaimer: I purchased all tools for this guide with my own money to ensure an unbiased review. This post contains affiliate links, meaning I earn a small commission if you make a purchase at no extra cost to you.