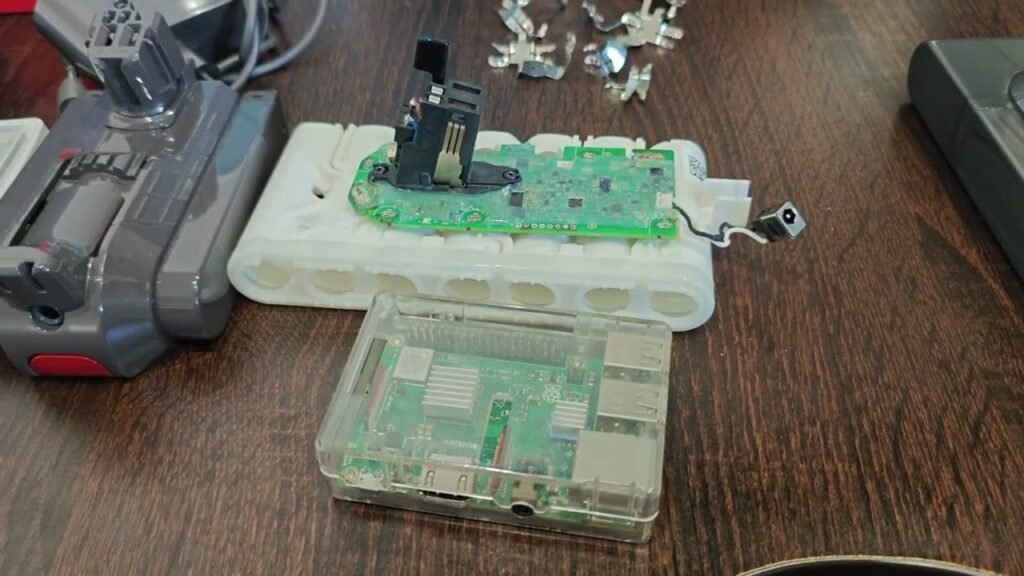
When I need to bring Dyson battery packs back from the dead, especially those showing no lights on the wall dock, it’s usually because the factory’s Battery Management System (BMS) has engaged its low-voltage protection mode. This makes the vacuum utterly lifeless. Plugging it into the standard wall adapter won’t do anything since the charger senses that the cell voltage is below its operational threshold and won’t deliver any current. I’ll show you how I get past this by opening up the casing, checking the cell block, and then manually boosting the voltage to reactivate the pack.
⚡ Quick Guide: How to Make It in 8 Steps
- Inspect the dead Dyson battery casing thoroughly.
- Remove retaining screws from the vacuum pack.
- Pry open the outer battery housing tabs.
- Probe total pack voltage with a multimeter.
- Measure each individual series cell voltage tap.
- Inject low charging current to wake cells.
- Check that BMS safety lockout cleared out.
- Snap housing shut and test on charger.
📋 In This Article
- Technical Specifications & Components
- Tools & Materials Used — what you will need for this project
- Initial Inspection and Symptom Check
- Back Out Housing Screws
- Unclip and Separate the Shell
- Probe Total Pack Voltage
- Inspect Individual Cell Voltage Drops
- Manual Low-Current Pre-Charge Jump
- Clear Fault Flags and Reconnect Trigger
- Reassemble Case and Verify OEM Charging
- FAQ
📊 Technical Specifications & Components
| Battery Chemistry | Lithium-ion (NMC) |
| Nominal Pack Voltage | 21.6V (6S configuration) |
| Cell Form Factor | 18650 / 20700 Cylindrical Cells |
| Minimum Cutoff Threshold | 2.8V per cell (approx. 16.8V pack level) |
| BMS Controller | Microcontroller with firmware hard-latch lock |
| Charging Input Voltage | 26.1V DC direct plug |
| Wake-Up Injection Current | 0.2A - 0.5A constant current |
📊 Project Overview & Costs
🔧 Difficulty Level: Medium
⏱️ Time Investment: DIY: 35 minutes | Pro: 15 minutes
💰 Professional Service Cost: $95 - $130
💡 Verdict: Saves cost of OEM replacement pack.
🛠️ Tools & Materials Used
• Benchtop DC Power Supply
• Plastic Pry Bar
Step-by-Step Guide
Initial Inspection and Symptom Check
The first thing I do is check the status LEDs on the battery's side. When I pull the vacuum trigger or set it in the wall mount, I usually get nothing. It's completely silent. No red flashes, no blue lights either. Dyson designs these battery management systems to hard-lock when any individual cell group dips below the factory's low-voltage cutoffs. This protects compromised cells from overheating, but it also renders perfectly good batteries useless if they've just sat uncharged in a closet for a few months. Before I even think about a screwdriver, I inspect the external plastic casing for any signs of thermal bulging, hairline cracks, or nasty fluid leaks.
Back Out Housing Screws
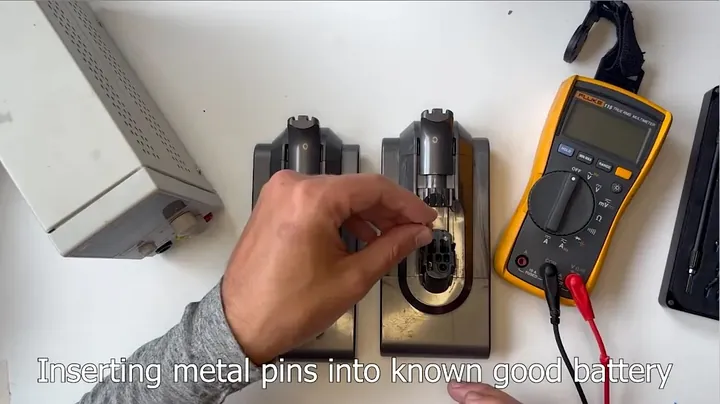
I grab a small Torx or Phillips precision bit from my screwdriver kit to get those case fasteners out. Dyson didn't exactly design these housings for easy home repair. You'll find mounting screws tucked away around the handle connector stem and near the base where the assembly slides into the vacuum's motor chassis. I make sure to apply straight down pressure so I don't strip these shallow screw heads; they're quite easy to strip. Then, I put the tiny fasteners into a magnetic parts tray, so they don't roll off my bench and vanish under the tool chest.
Unclip and Separate the Shell
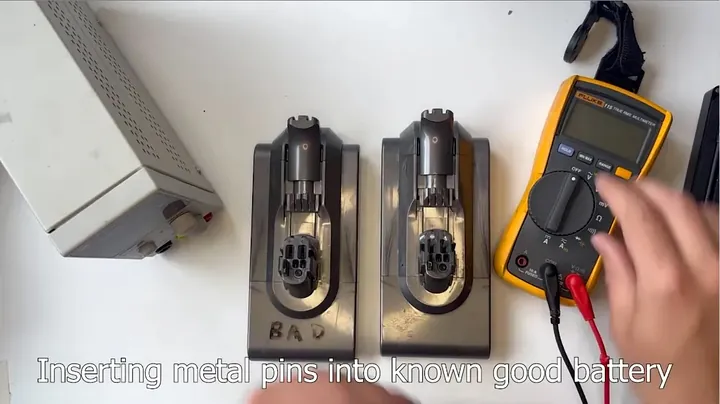
I take my time and carefully separate the plastic shell seam using a nylon spudger or a thin pry tool. Those plastic clips are designed to snap in tightly along the perimeter. I never force them with a heavy steel screwdriver; that'll butcher the edges. I work slowly along the side seams until the internal cell cradle detaches from the outer protective shell. You'll hear a distinct mechanical snap as each internal clip releases. I then carefully slide out the internal six-cell assembly, being careful not to snag the trigger switch wires or tear the thin flex ribbon that runs to the side LED indicator board.
Probe Total Pack Voltage
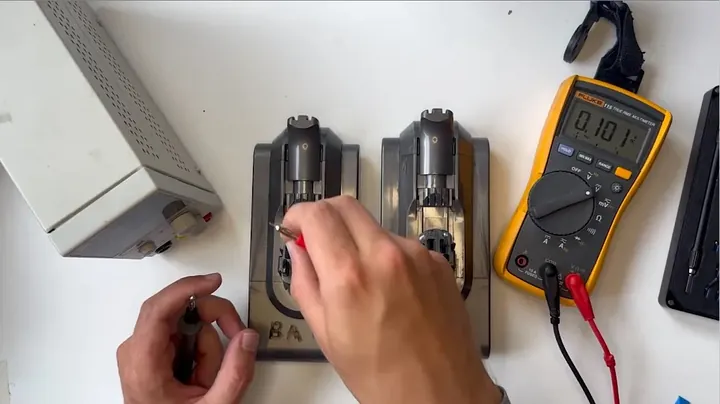
I pull out my digital multimeter and set the dial to DC voltage measurement. I place my black probe on the main negative terminal tab and the red on the positive side. No big surprises here. My meter showed roughly 14.2 volts across the entire six-cell series string. A healthy, fully charged pack should register somewhere between 21.6 volts and 25.2 volts, so this pack had definitely dipped well below the microcontroller's safe floor. Because the total string potential had fallen below the cutoff point, the standard wall charger assumes a cell is either permanently dead or has an internal short. That's precisely why the wall dock refuses to activate the charge circuit.
Inspect Individual Cell Voltage Drops
I measure each cell individually along the nickel spot-welded balance tabs on the circuit board. This really tells the whole story. I touch my probes across each pair in the 6S string: cell one, then cell two, and so on, all the way up through cell six. In this particular pack, five cells registered around 2.45 volts, while one slightly weaker cell had dropped to 2.20 volts. That's low. But I notice none of them hit absolute zero, and none showed any signs of a short-circuit. As long as the lithium cells haven't reversed polarity or swollen into balloons, there's a very good chance of bringing them back to life safely.
Manual Low-Current Pre-Charge Jump
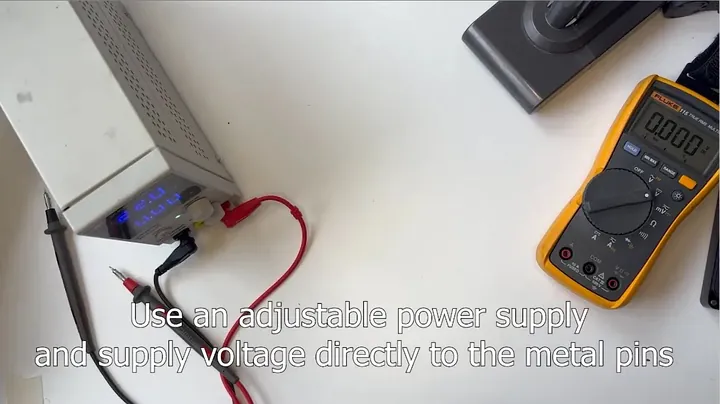
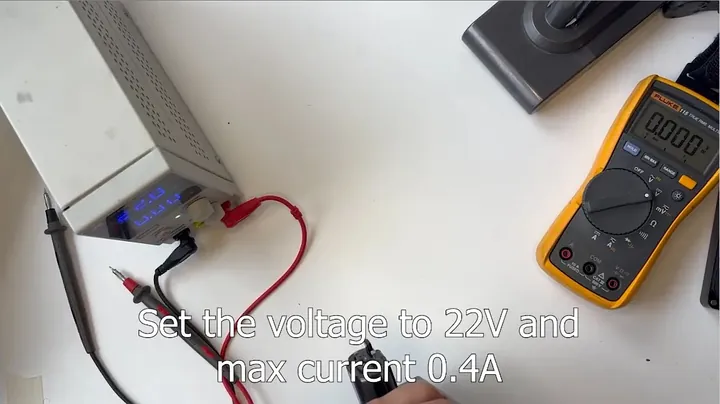
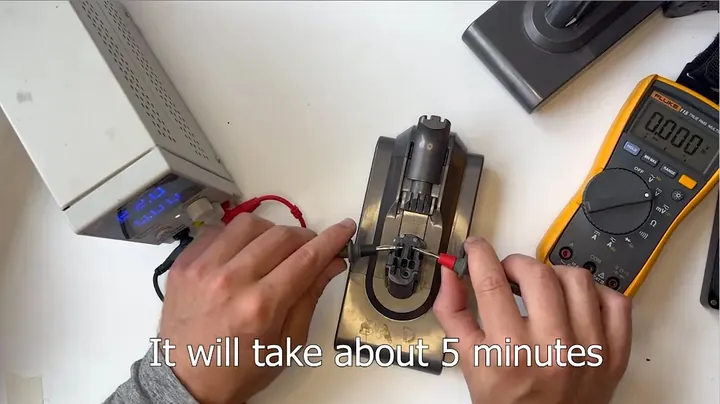
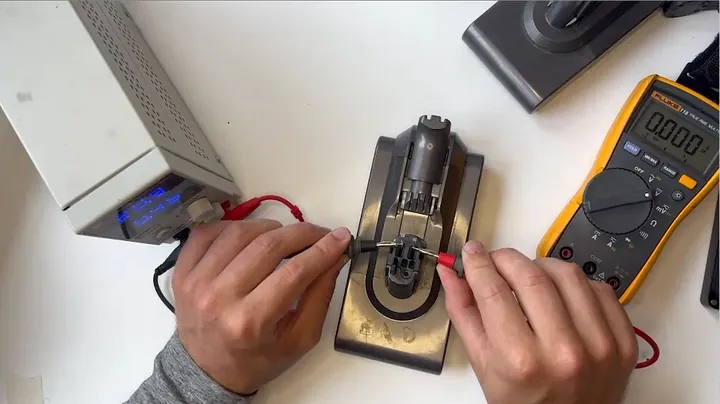
I connect an adjustable DC bench power supply, making sure it's set to constant current mode. It's important to never connect a standard high-amp charger directly to deeply discharged cells. I set the bench supply to 22.0 volts with a strict current limit of 0.25 amps. Then, I connect my leads directly to the battery's raw positive and negative terminals, completely bypassing the locked output MOSFETs on the BMS board. The cells slowly begin to soak up power. I keep a very close watch on the temperature, using my hand or an infrared thermal sensor. If any cell starts feeling noticeably warm to the touch, I shut the bench supply down immediately; that's it for the day. After about twenty minutes of trickle feeding, all cell voltages had comfortably risen past 3.2 volts each.
Clear Fault Flags and Reconnect Trigger
the BMS microcontroller can be a bit stubborn once it logs an undervoltage fault code. Some revisions will latch the protection circuit until power is momentarily grounded out on the reset trace. I take a small wire jumper and touch the reset pad to battery ground for about three seconds. Then, I check the gate voltage at the output switching transistors. Once the voltage across the main discharge terminals matches the raw cell pack voltage, that logic switch has opened back up. The lockout cleared. I then hit the manual trigger switch momentarily to confirm the controller responds with a steady pulse.
Reassemble Case and Verify OEM Charging
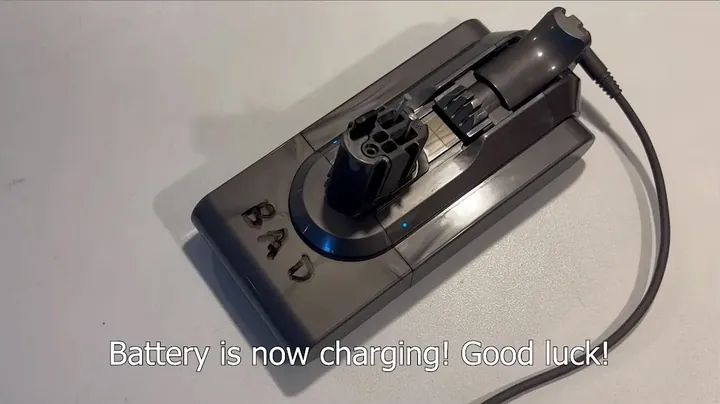
I slide the revived battery pack back into its molded plastic case. I carefully line up the screw holes and press firmly until all the peripheral plastic clips click back into their locked position. Then, I reinstall the small Torx screws into the handle post and torque them down snugly by hand. It's important not to overtighten plastic. Finally, I plug the standard Dyson wall charger barrel jack into the port on the back. The blue LED came on solid. That means the internal charging circuit recognized the battery pack and began pushing full current normally. It's back in business.
⚠️ CAUTION: SAFETY WARNING!
Lithium-ion cells carry a serious risk of thermal runaway and fire if charged below 1.5 volts or fed excessive initial current. Keep a fire-safe container nearby and stop immediately if any cell gets warm to the touch.
Summary & Tips
Bringing a dead Dyson pack back to life always beats shelling out a hundred bucks for a new one. It took me under an hour on the bench to crack the case, boost the voltage, and clear the BMS lock. Sometimes I save them, sometimes I don't. This one took the charge cleanly and works like a charm again.
📋 FAQ
❓ Why won't my Dyson battery light turn on when plugged into the charger?
The battery's internal management board detects when cell voltage drops below a preset safety threshold. Once that cutoff is breached, the microcontroller cuts power to prevent damage and ignores the charger. It looks completely dead. Supplying a manual low-current jump directly to the cell tabs can often wake the circuit right back up.
❓ Can I jump a Dyson battery with another 18V tool battery?
People do it, but it can be dangerous if you don't regulate the current. Hooking up a high-output drill battery directly will dump tens of amps in a fraction of a second. That can overheat compromised cells fast. Always use a current-limited bench supply or put a 12V automotive bulb in series to choke the current down.
❓ What if my Dyson battery flashes red 12 or 32 times?
A red blinking code usually signals a permanent hardware lockout rather than simple undervoltage. Dyson programs the chip to trip permanently if a cell fails an internal resistance test or drops to zero. That chip locks hard. In those cases, jumping the voltage won't clear the fault, and the board or whole pack needs replacement.
❓ Is it safe to revive lithium-ion cells that dropped below 2.5 volts?
Depends entirely on how low they went and how long they sat there. If cells sit below 1.5 volts for months, internal copper shunts can form and create dangerous micro-shorts. If they only dipped to 2.2V or 2.4V from normal standby drain, they are generally fine to recover. Just keep the initial charging current low and monitor heat constantly.
❓ Do I need special tools to open a Dyson V6, V7, or V8 battery casing?
Usually just a couple of small precision screwdrivers and a plastic pry tool will do it. Some models use tiny Torx security fasteners, while others stick to small Phillips screws. The hardest part is unclipping the plastic tabs without snapping them off. Take your time with a nylon wedge and they pop loose cleanly.
Disclaimer: I purchased all tools for this guide with my own money to ensure an unbiased review. This post contains affiliate links, meaning I earn a small commission if you make a purchase at no extra cost to you.